This post contains affiliate links. As an Amazon Associate we earn from qualifying purchases, at no extra cost to you. Read our disclosure.
Key takeaways
- Every layout here uses outer frame sizes and a 2 inch gap. The sizes are our own arithmetic, so swap in the frames you own.
- Set the center of the whole group about 57 inches from the floor on a bare wall. Above a sofa, start 6 to 8 inches over the back.
- A group about two thirds as wide as the sofa looks balanced, so a 46 inch group suits a sofa about 69 inches wide.
- Trace each frame on kraft paper, tape the paper up and hang from the paper, so you do not guess.
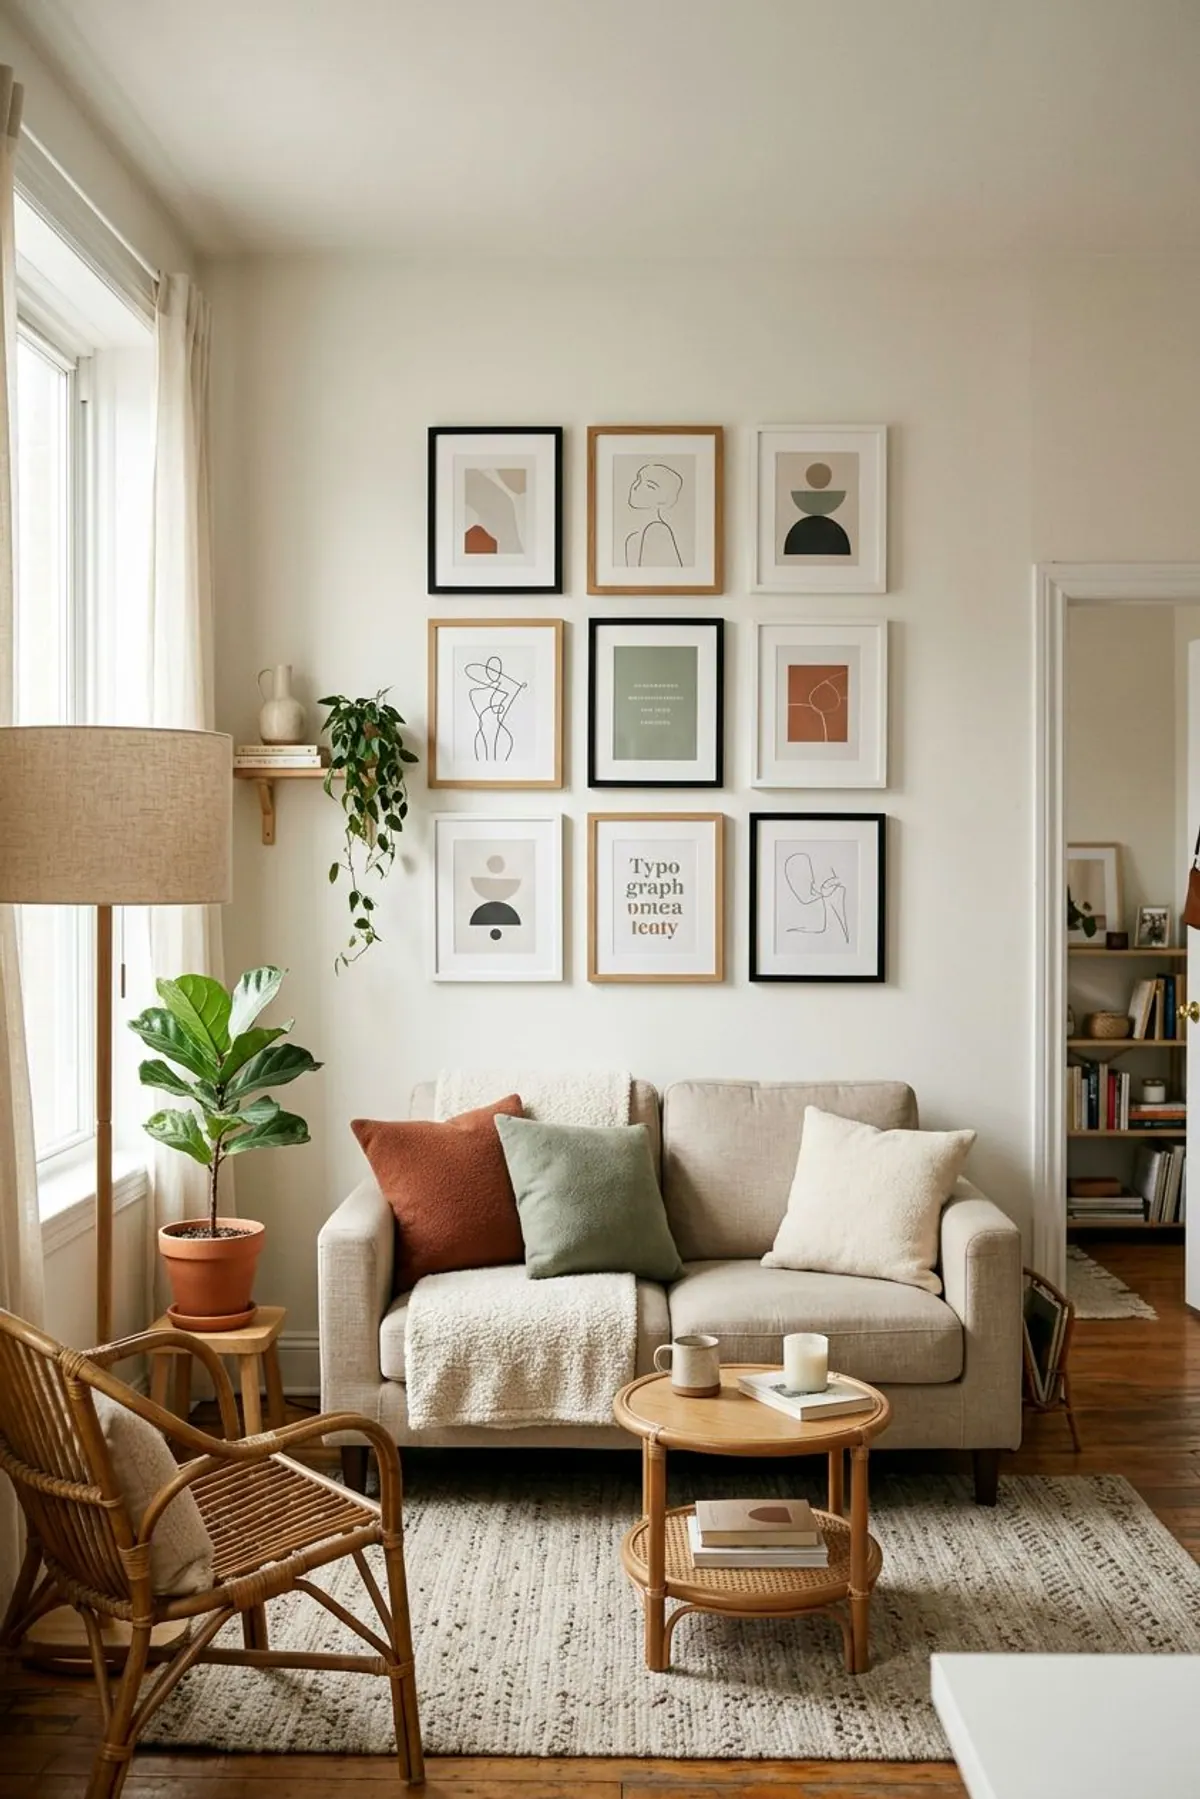
- Strip weight and frame size limits are printed on the package and differ by brand. Read yours and weigh each frame.
In this post12 sections
- Gallery wall template with sizes: five layouts to copy
- The five templates, frame by frame
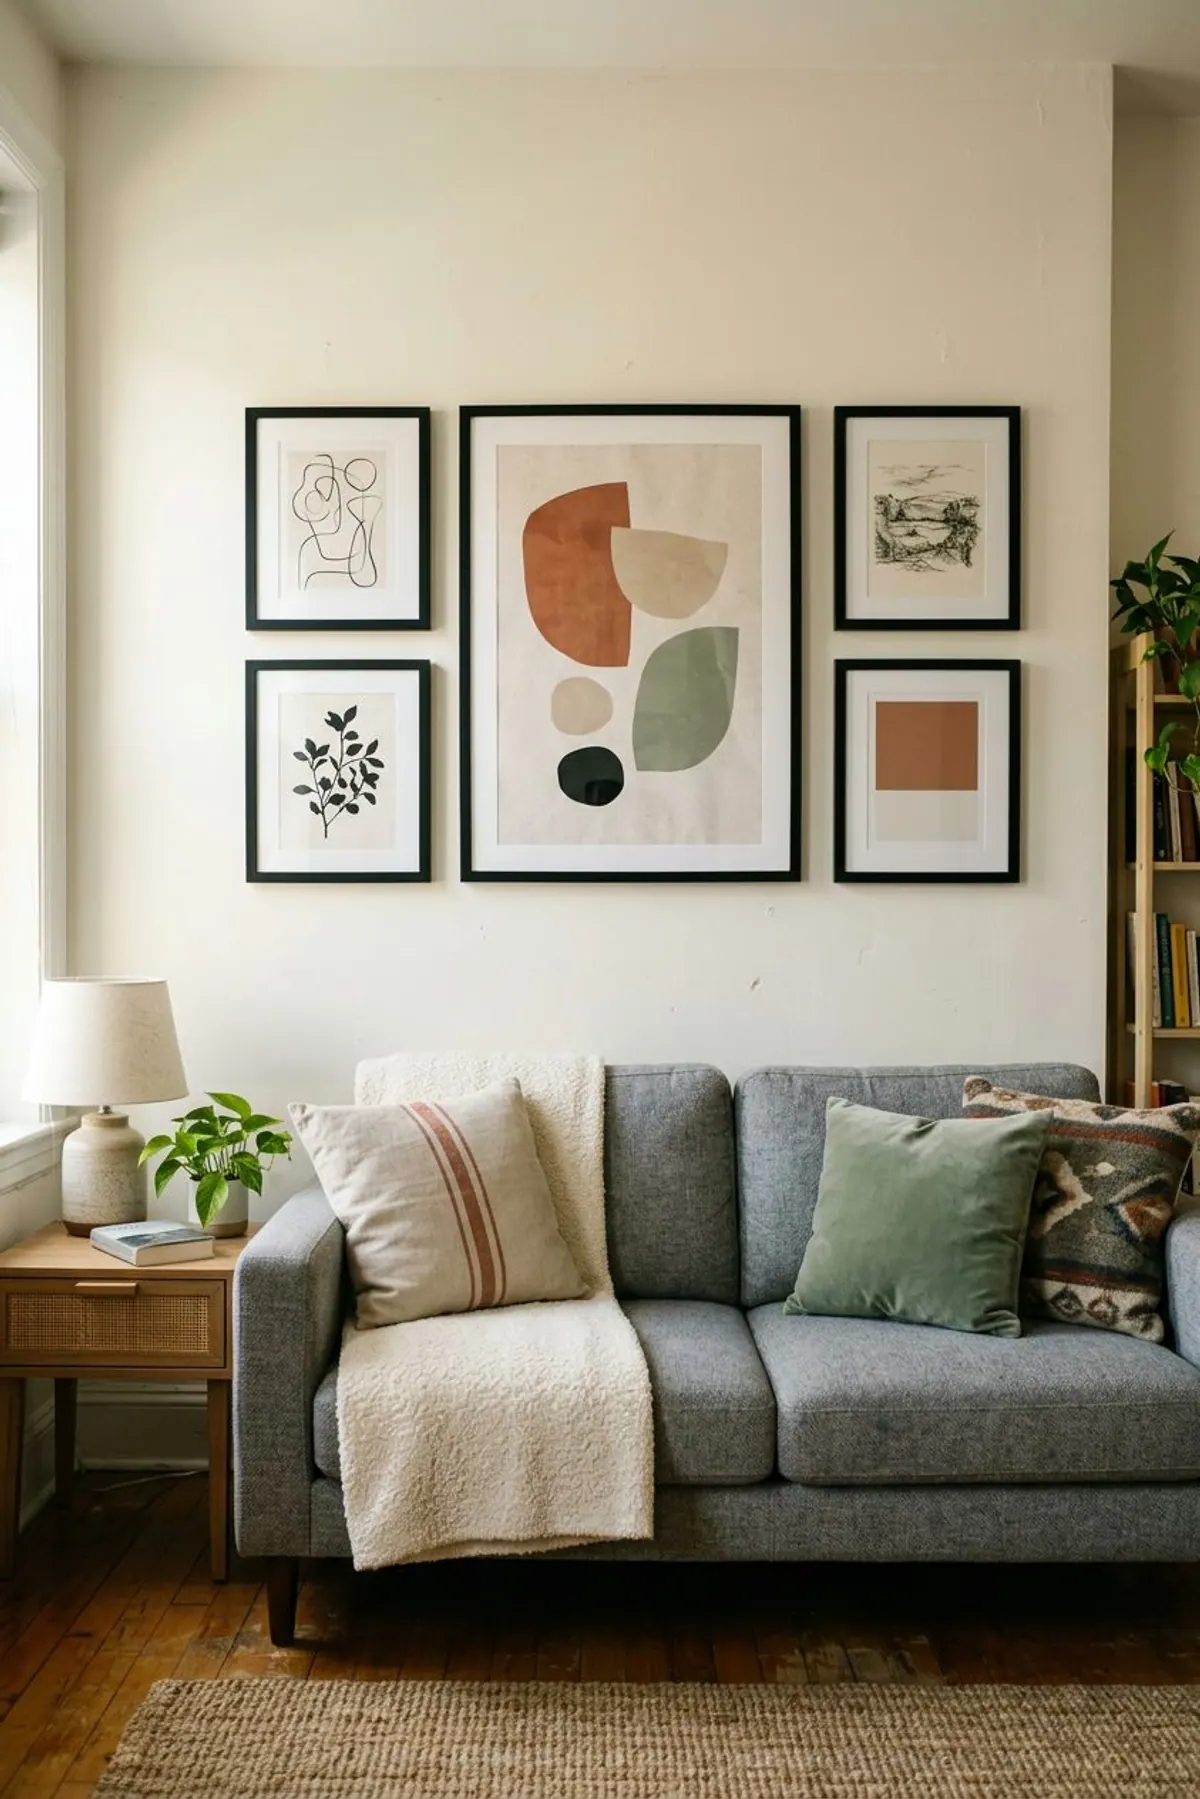
- 1. Big center plus four
- 2. Six-frame grid
- 3. Row of three above a small sofa
- 4. Hallway row
- 5. Narrow column beside a door
- Step by step: hang any template with paper and strips
- The renter method: paper templates and no-drill strips
- Gallery wall spacing mistakes to avoid
- Frames and tools for your gallery wall
- FAQ
Disclosure: some links below are Amazon search links, and we may earn a small commission if you buy. It costs you nothing, and we have not tested these products hands-on.
Gallery wall template with sizes: five layouts to copy
Each layout uses outer frame sizes, meaning the frame itself and not the print inside it, and a 2 inch gap between frames. These are our own arithmetic and examples, not a standard, so swap in the sizes you already own.
Two rules sit behind all of them. Keep the gap the same across the wall, and put the center of the whole group about 57 inches from the floor. Bob Vila's picture-hanging guide gives the 57 inch figure and suggests taping paper templates up first, and Frameology's gallery wall guide gives 2 to 3 inches as a tight gap.
| Template | Frames | Outer sizes | Overall size (wide x tall) | Sofa width it suits | Best for |
|---|---|---|---|---|---|
| 1. Big center plus four | 5 | One 20 x 30, four 11 x 14 | 46 x 30 | About 69 | Above a sofa |
| 2. Six-frame grid | 6 | Six 11 x 14 | 37 x 30 | About 55 | Above a console, a bed or a loveseat |
| 3. Row of three | 3 | 11 x 14, 16 x 20, 11 x 14 | 42 x 20 | About 63 | Above a small sofa |
| 4. Hallway row | 4 | Four 11 x 14 | 50 x 14 | Not needed | Hallway or entry wall |
| 5. Narrow column | 3 | 16 x 20, 11 x 14, 8 x 10 | 16 x 48 | Not needed | Wall beside a door |
The five templates, frame by frame
1Big center plus four
Frames: one 20 x 30 in the center and four 11 x 14, with a 2 inch gap.
Positions: measured from the top left corner of the group, the two left frames have their left edge at 0 and their top edges at 0 and 16. The 20 x 30 has its left edge at 13 and its top at 0. The two right frames have their left edge at 35 and their top edges at 0 and 16.
Overall size: 46 wide by 30 tall.
Hang it: on a bare wall, center the group at 57 inches, so the top edge is at 42 and the bottom at 72. Above a sofa, put the bottom edge 6 to 8 inches over the sofa back instead.
- The 20 x 30 is the one most likely to be too heavy for strips. See the hanger table below.
2Six-frame grid
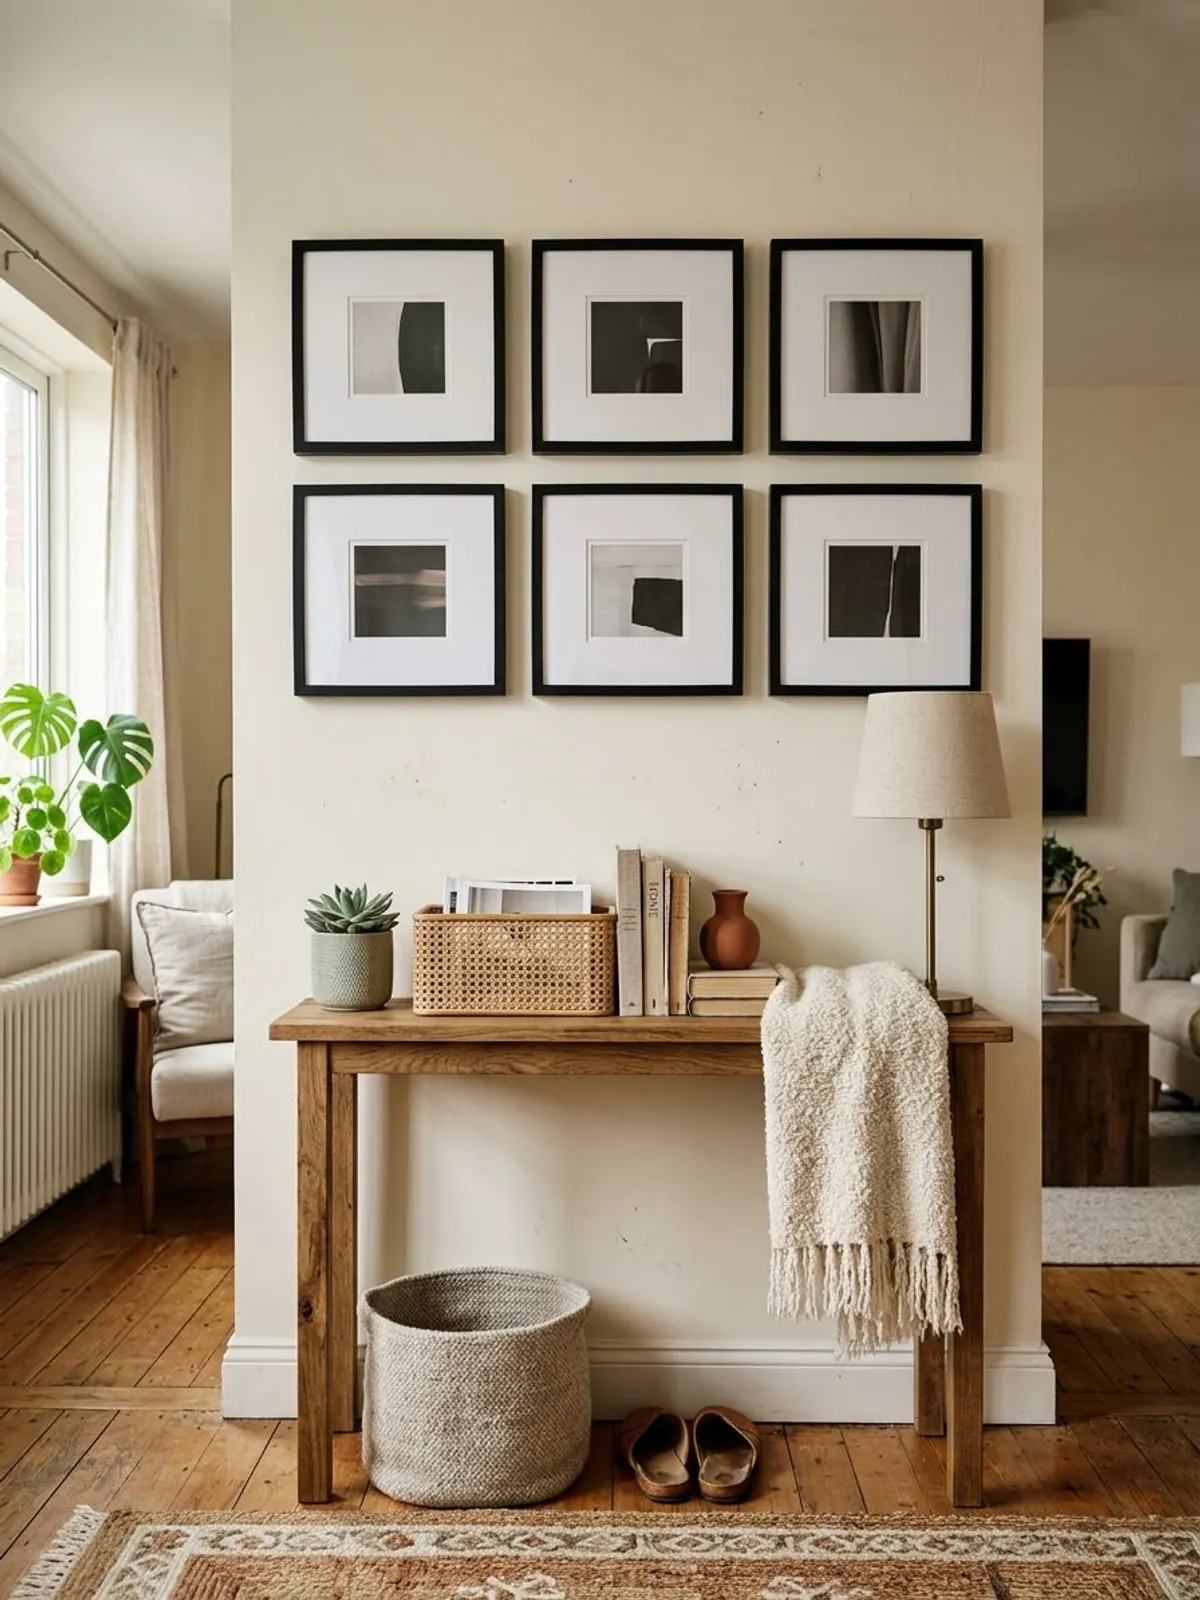
Frames: six 11 x 14, three across and two down, with a 2 inch gap.
Positions: left edges at 0, 13 and 26, top edges at 0 and 16.
Overall size: 37 wide by 30 tall.
Hang it: center at 57 inches, so the top edge is at 42. A grid is the easiest template, because every frame is the same size and every gap is the same.
- Hang one corner frame with a level, then measure every other frame from it.
3Row of three above a small sofa
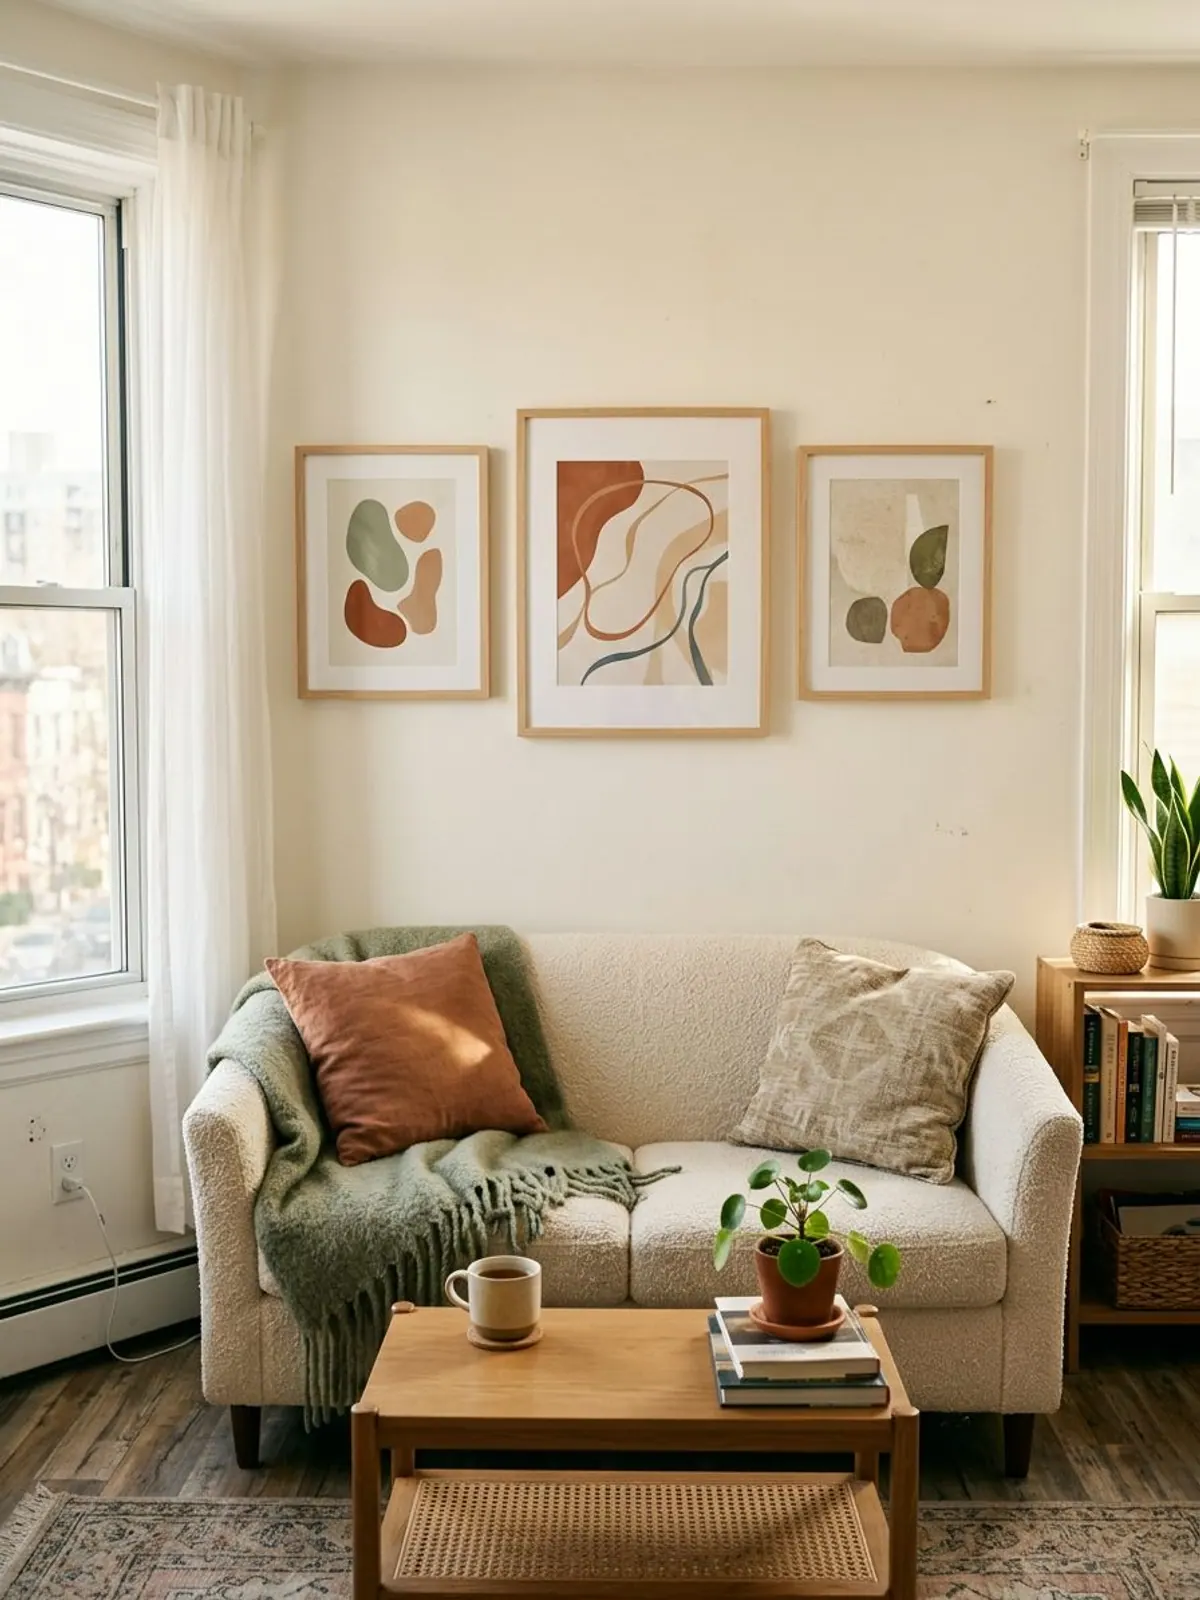
Frames: an 11 x 14, a 16 x 20 and an 11 x 14, with a 2 inch gap.
Positions: left edges at 0, 13 and 31. Align the centers of all three on one horizontal line, which means the 16 x 20 has its top at 0 and each 11 x 14 has its top at 3.
Overall size: 42 wide by 20 tall.
Hang it: bottom edge 6 to 8 inches over the sofa back, and the center of the group on the sofa's center.
4Hallway row
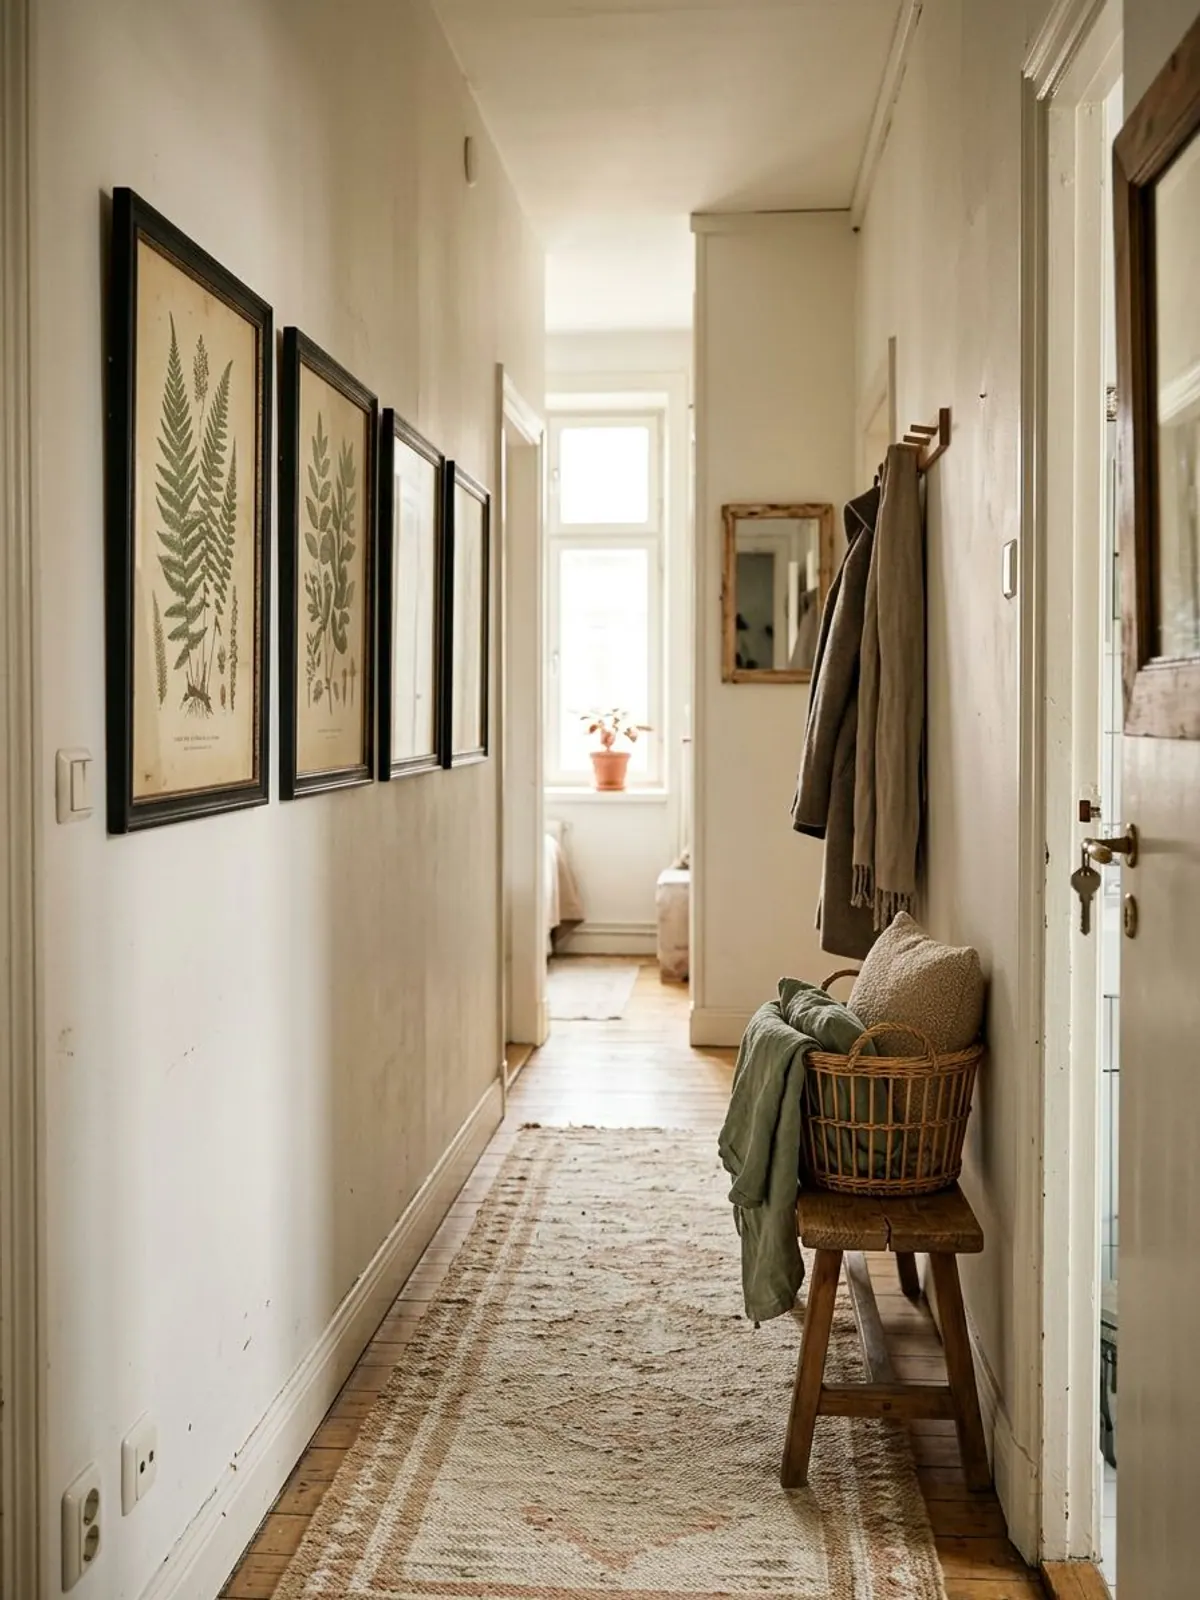
Frames: four 11 x 14, with a 2 inch gap.
Positions: left edges at 0, 13, 26 and 39, all with their top at 0.
Overall size: 50 wide by 14 tall.
Hang it: center at 57 inches, so the top edge is at 50 and the bottom at 64. People brush past in a hallway, so pick slim, flat frames.
- For a stair wall, follow the slope of the stairs and keep the same distance above the stair edge on every frame. Paper templates help most here.
5Narrow column beside a door
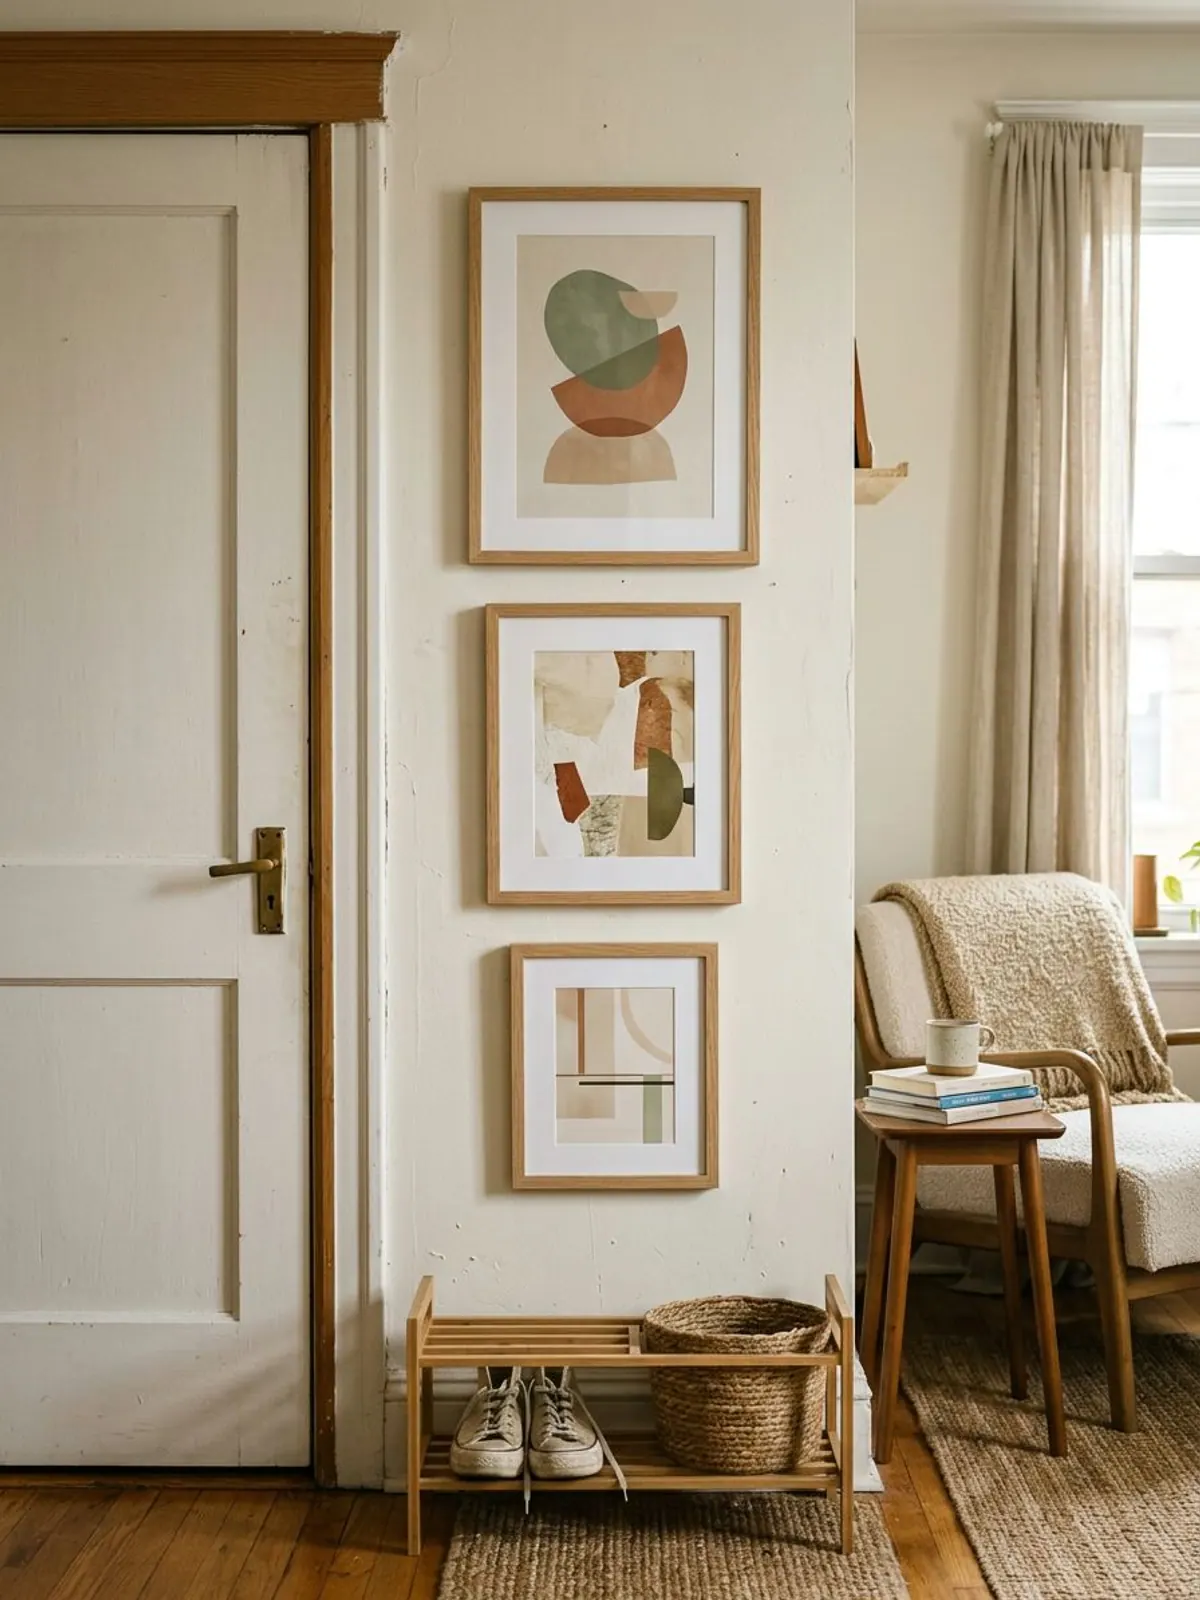
Frames: a 16 x 20, an 11 x 14 and an 8 x 10, stacked big to small with a 2 inch gap.
Positions: the 16 x 20 has its left edge at 0 and its top at 0. The 11 x 14 has its left edge at 2.5 and its top at 22. The 8 x 10 has its left edge at 4 and its top at 38.
Overall size: 16 wide by 48 tall, with every frame centered on the one above.
Hang it: on a narrow wall, run the column so its middle sits near 57 inches, then move it a few inches up or down if a shoe shelf or a lamp is in the way.
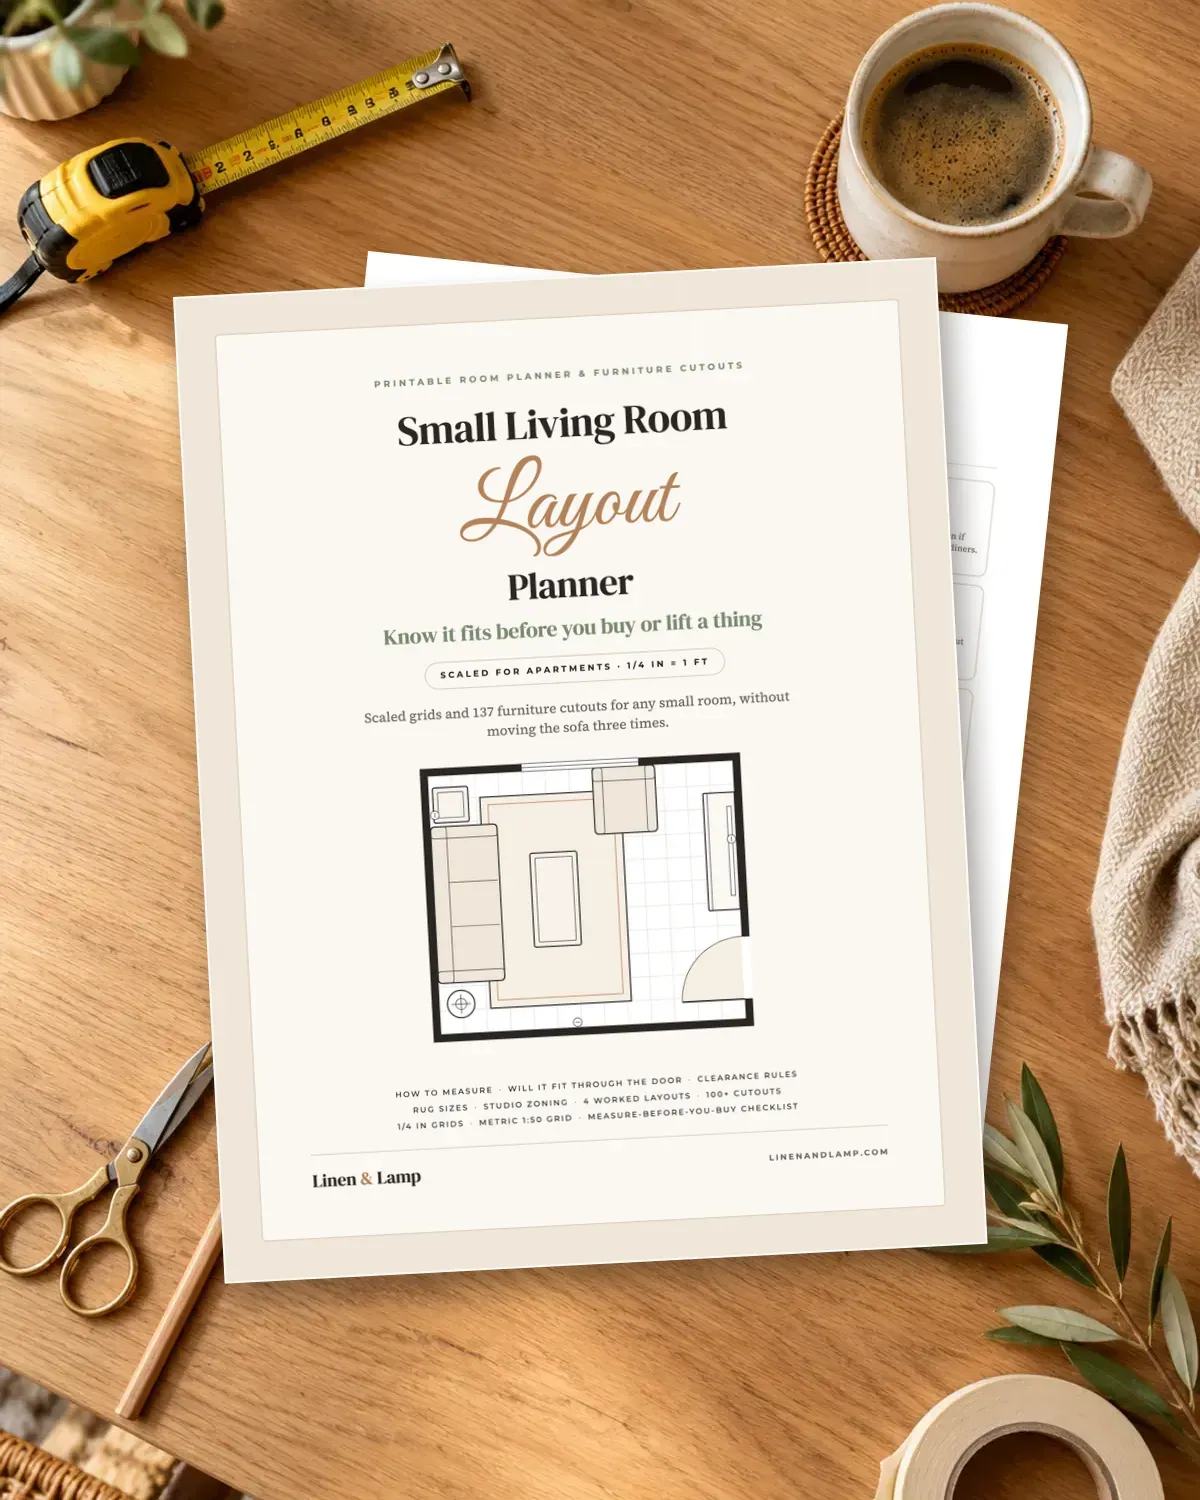
Want to see which template fits your wall and your sofa? Check the room on paper before you buy frames. The Small-Space Room Layout Kit has a measuring sheet for doors, windows and heaters and a scaled grid with sofa cutouts, so you can see how wide your sofa and wall are. It does not include gallery wall templates, because those are in this guide.
Step by step: hang any template with paper and strips
-
Step 1: Measure the wall and the furniture
Write down the width of the wall space and of the sofa or console below it. A group about two thirds as wide as the sofa looks balanced.
-
Step 2: Trace each frame on kraft paper
Lay the frame on the paper, trace the outer edge and cut it out. Label each sheet with the frame size.
-
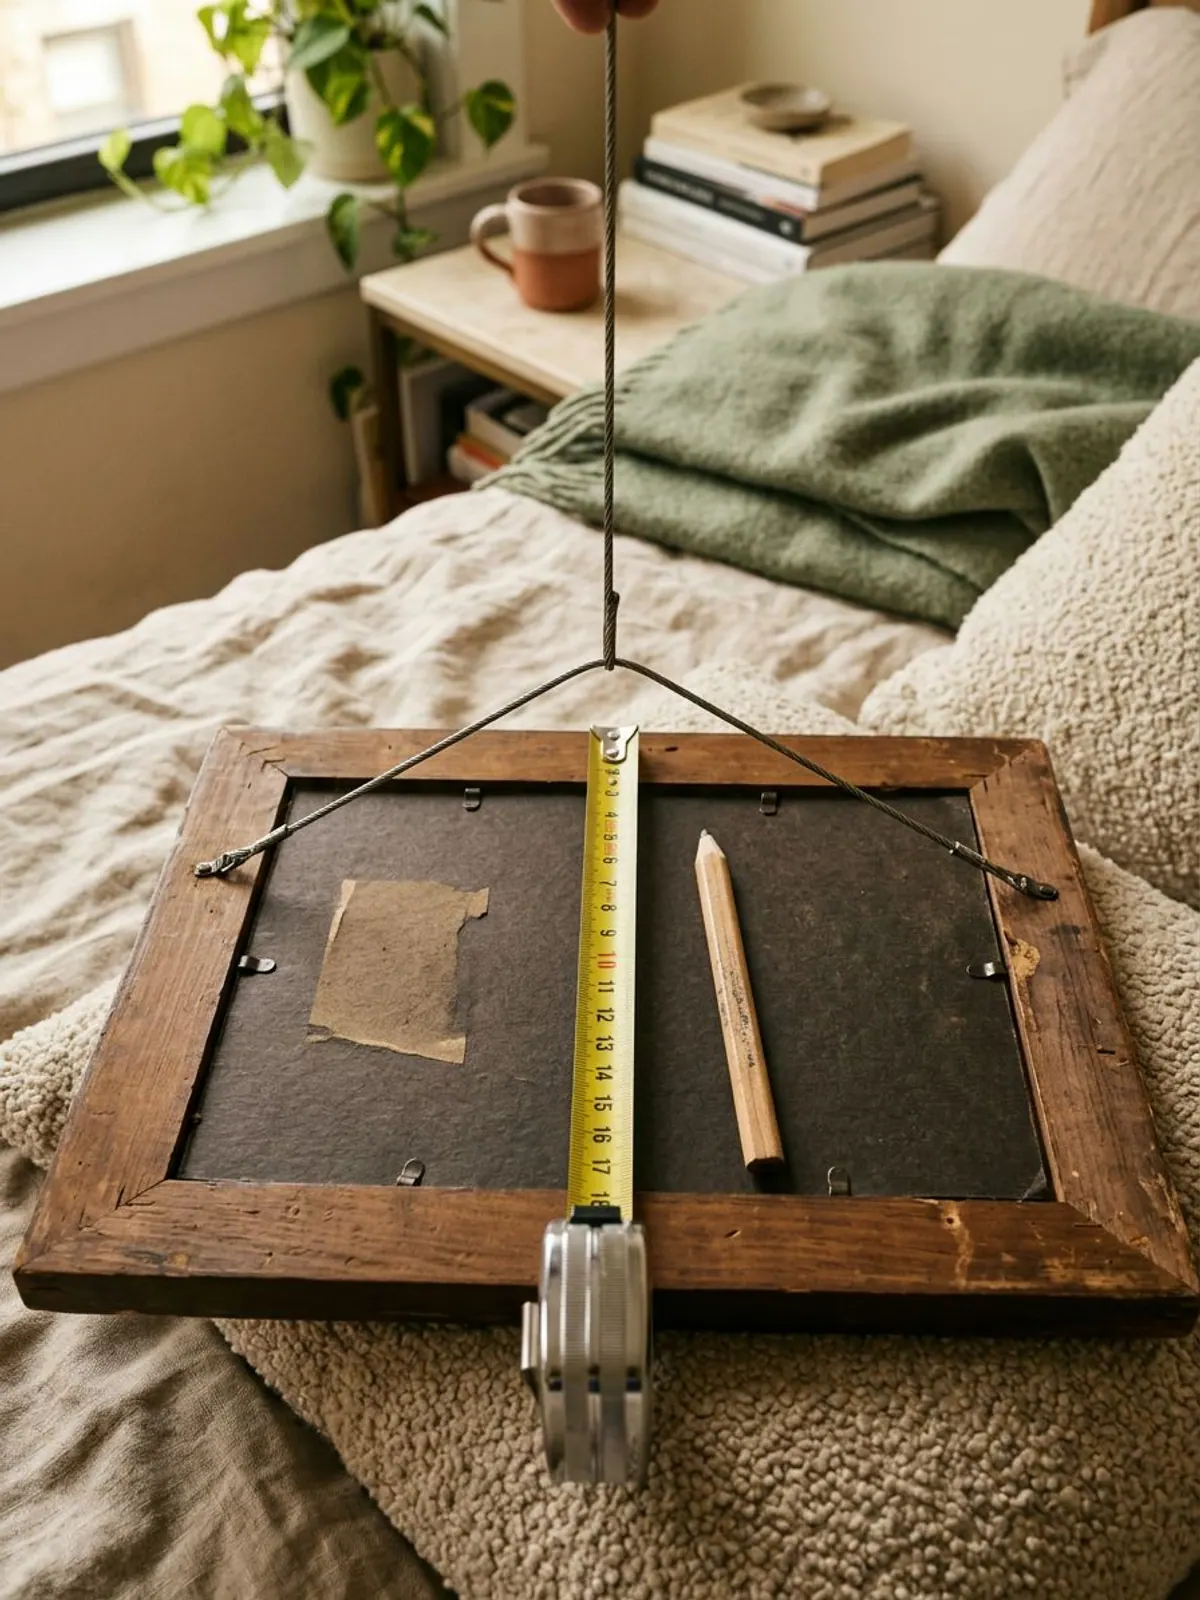
Step 3: Mark the hanging point
Pull the hanging wire tight, measure from the top of the frame down to it and mark that spot on the paper. For strips, mark the corner spots instead.
-
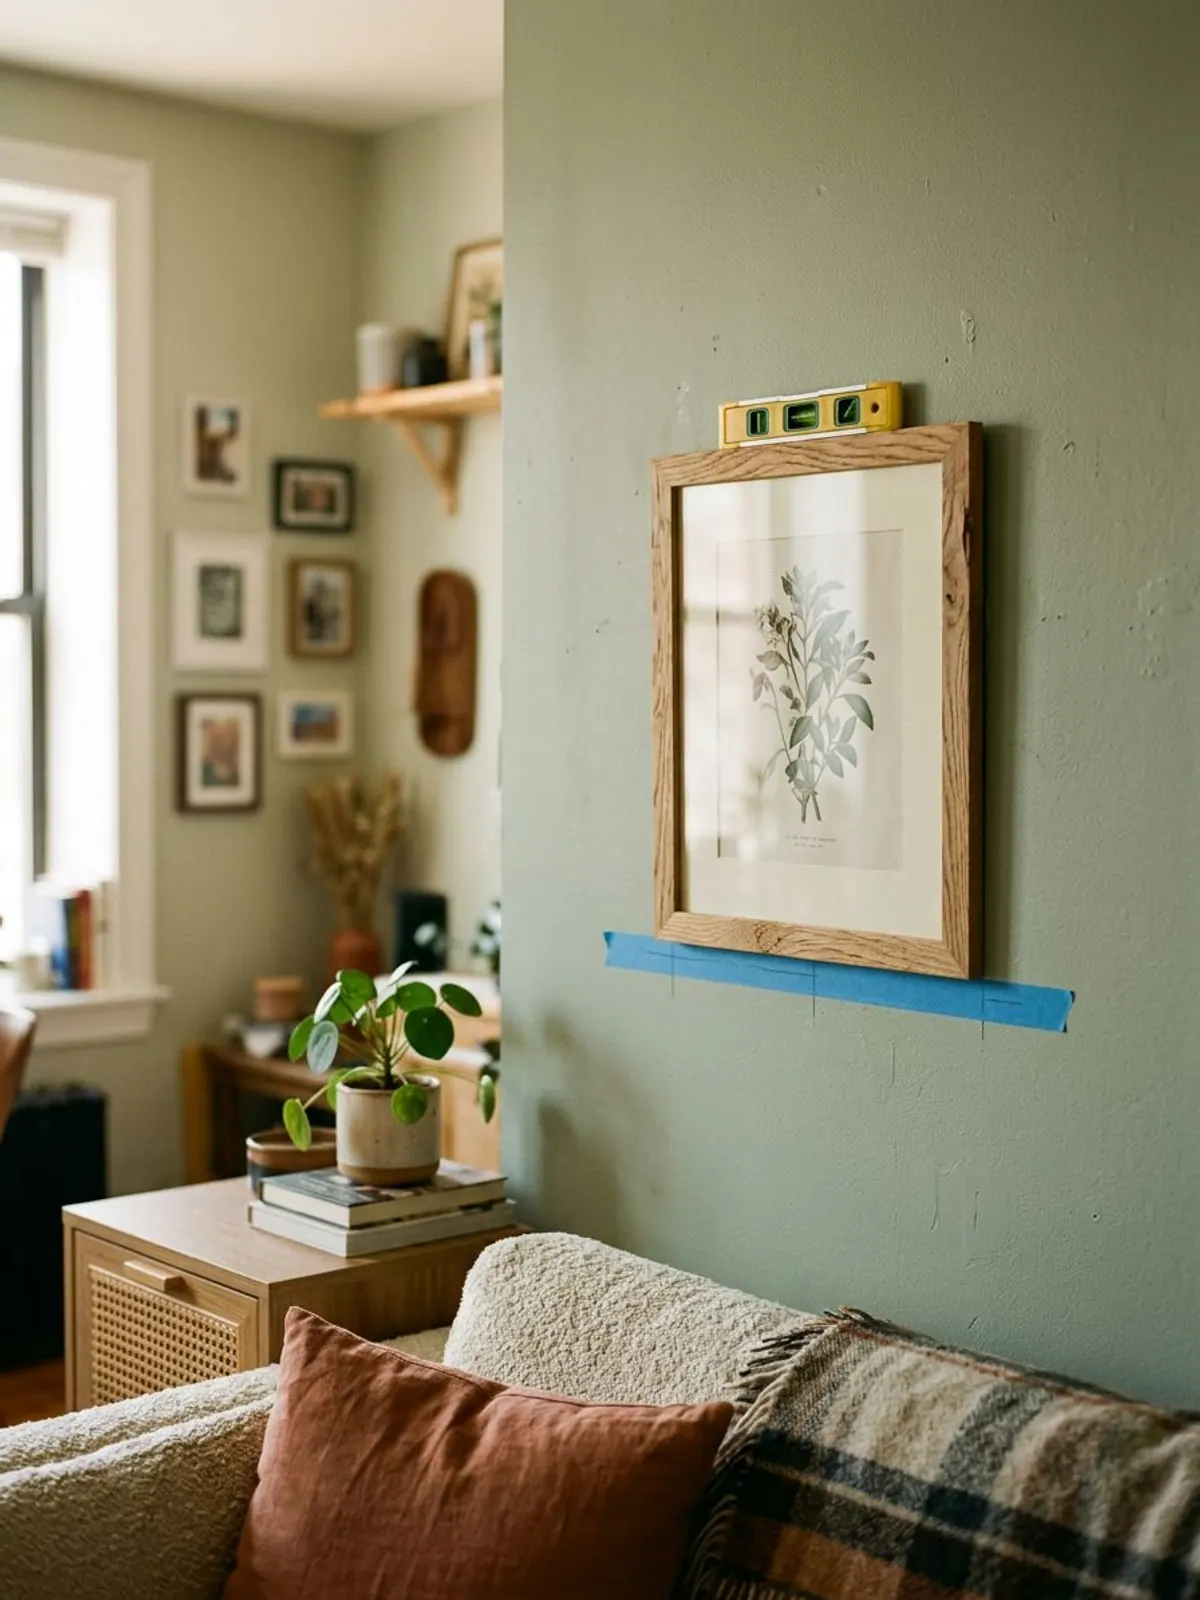
Step 4: Tape the templates to the wall
Use painter's tape and the 2 inch gap from the template you picked. Stand back, take a photo and move any sheet that looks off.
-
Step 5: Hang the middle frame first
Peel the paper off one sheet at a time, hang that frame in its place and check it with a level. Work outward from the middle.
-
Step 6: Step back and fix
Check the gaps with a tape. If you hang before guests come, do it a week ahead so strips have time to set.
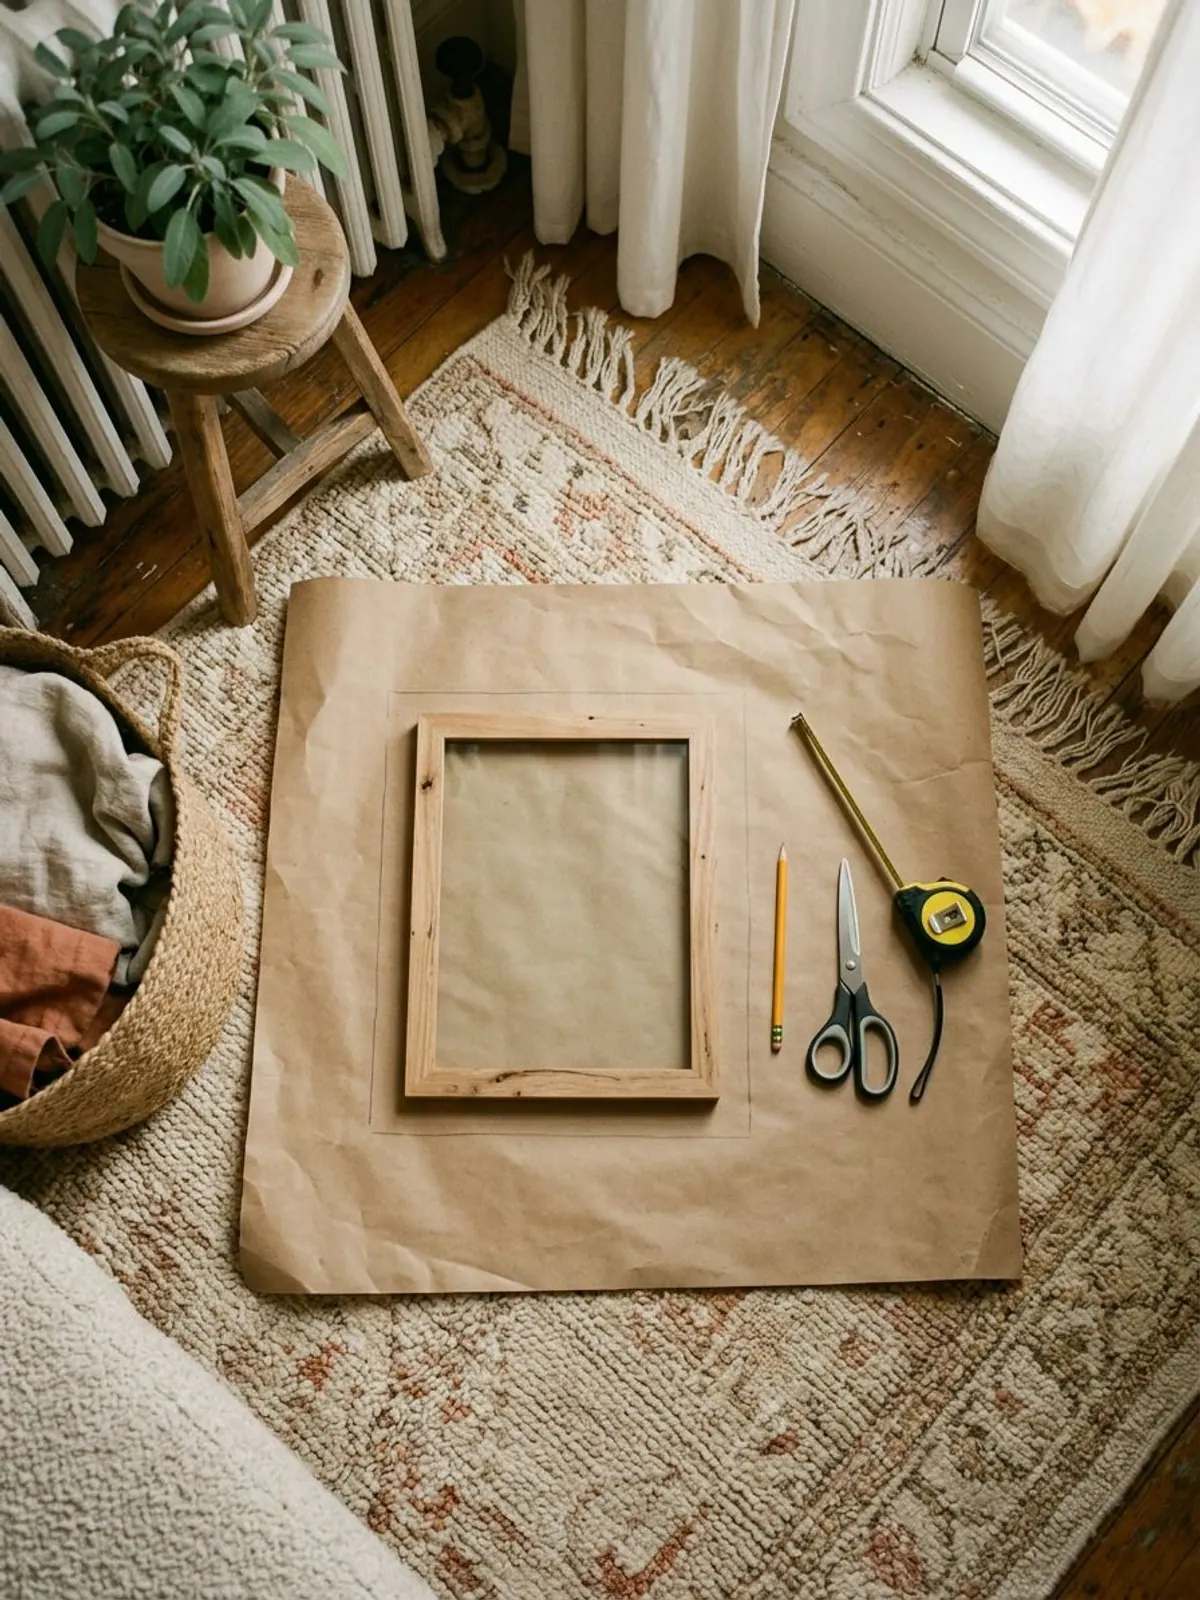
The paper is the whole trick. You can move a paper rectangle ten times and leave no mark, while a nail or a strip gives you one try.
The renter method: paper templates and no-drill strips
Adhesive picture strips hold light and medium frames on smooth, painted walls without a hole. Press each strip for the time on the package, wait as the package says before you hang the frame, and keep the pairs in the pattern the package shows.
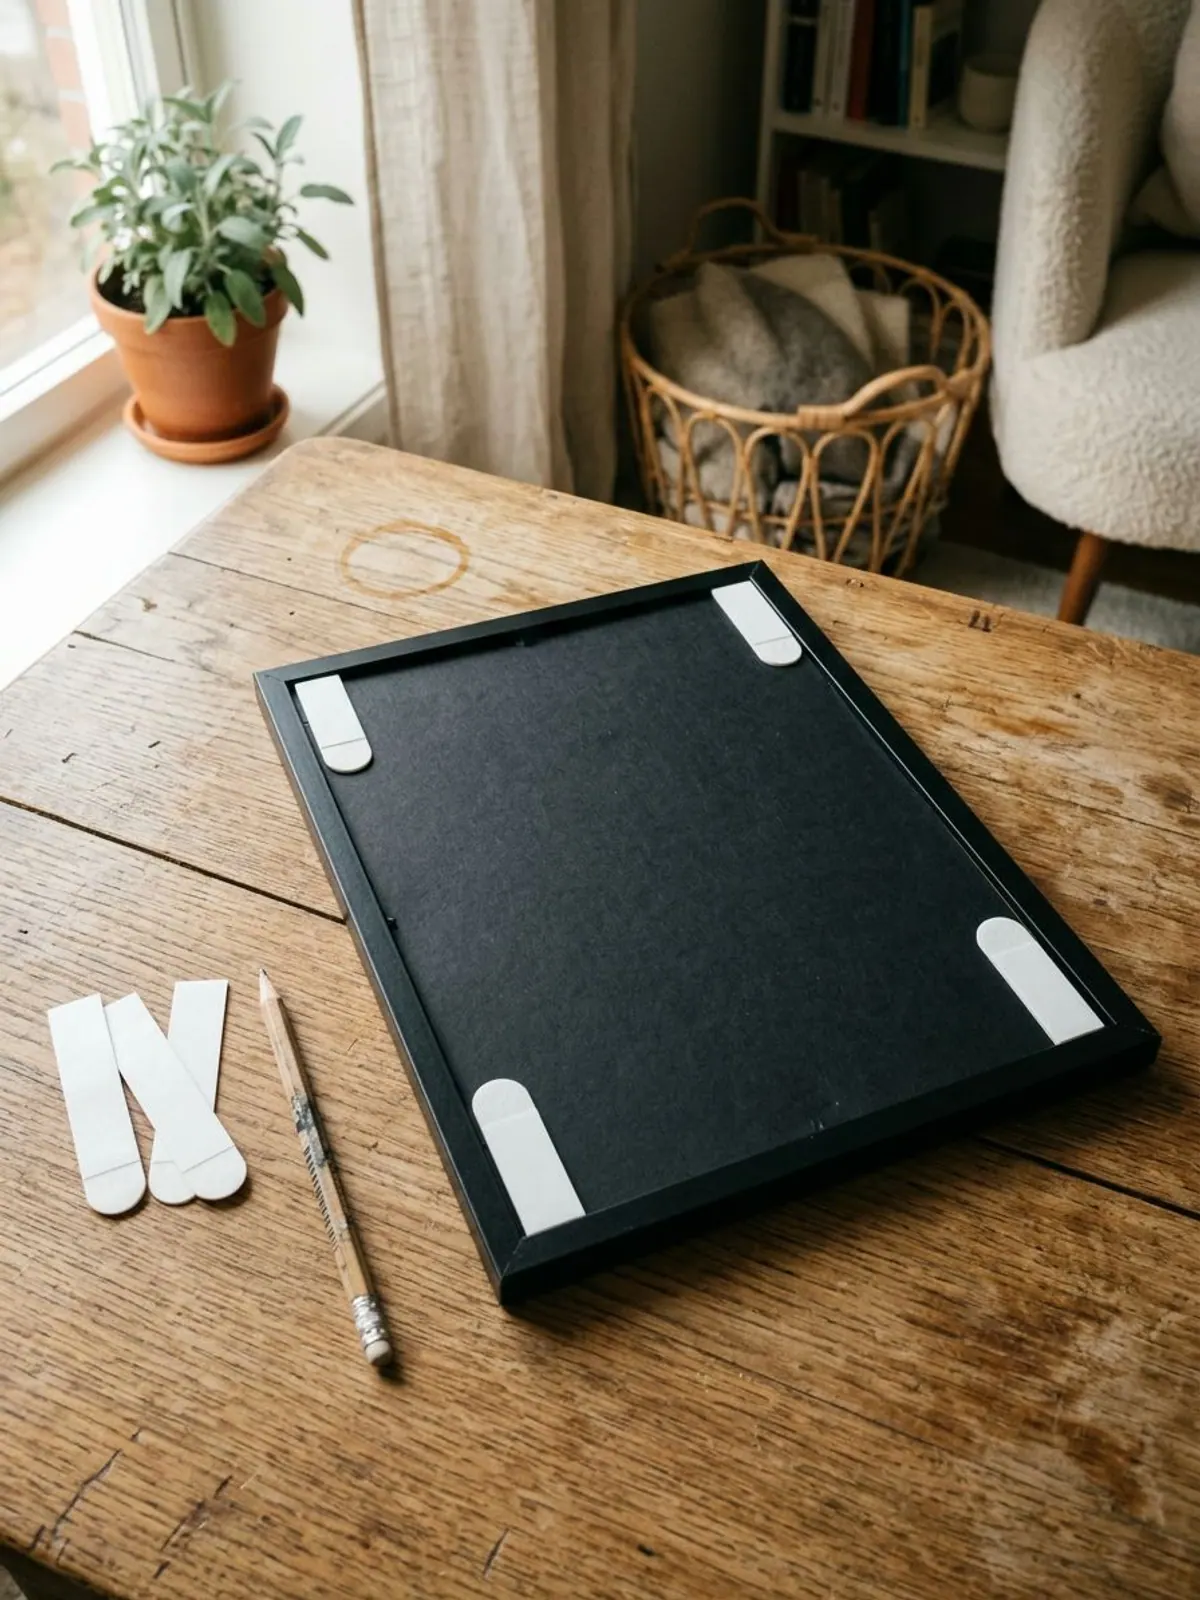
About weight limits: strip ratings are printed on the package, and they differ by brand, strip size and pack. When we compared retailer listings the weight and frame size figures did not match each other, so we do not quote one. Read the pack in your hand, then stay well under its limit.
To weigh a frame, put a small one on a kitchen scale. For a large one, stand on a bathroom scale holding it and subtract your own weight.
| Frame | What to try | Watch out for |
|---|---|---|
| Small, light frame with a plastic front | Strips rated for the frame | Smooth painted walls only |
| Medium frame | Strips if the frame is inside the pack's weight and size limits | Use the pair count the package gives for that size |
| Large or glass frame, like the 20 x 30 | A small nail if your lease allows, or lean it on a ledge | A fall can break glass and lift paint |
| Textured wall, wallpaper or a steamy bathroom | Test one strip for a day, or skip strips | Strips grip poorly on dust, texture and moisture |
Check your lease before you use a nail, and keep a photo of the empty wall. A small hole is easy to fill at move-out, and the photo shows the wall as it was.
For more ideas on what to hang, see our gallery wall ideas for living rooms. To check the room first, our small living room layouts and rug size guide show how the sofa and rug sit under the wall.
Gallery wall spacing mistakes to avoid
What we like
- Pick one gap and keep it on every side
- Center the group at about 57 inches on a bare wall
- Keep the group about two thirds as wide as the sofa
- Trace and tape paper templates before you hang
- Read the strip package and weigh each frame
Keep in mind
- Mixing 1 inch and 4 inch gaps
- Hanging the whole wall too high, above eye level
- Making the group wider than the sofa
- Hanging from a guess and filling holes later
- Putting a heavy glass frame on strips beyond their limit
Gallery wall checklist
Frames and tools for your gallery wall
Product types mentioned above. We have not tested these hands-on. See our disclosure.
For a renter-friendly gallery wall
- Start here
Matching black frames with mats, set of 6
Typically $40 to $90
Matching frames make the grid and the hallway row easy.
Check price on Amazon for Matching black frames with mats, set of 6 -
Picture hanging strips, damage-free
Typically $8 to $15
Hang light and medium frames without holes. Check the weight limit on the pack.
Check price on Amazon for Picture hanging strips, damage-free -
Kraft paper roll
Typically $8 to $18
Cut one paper template per frame and move them around.
Check price on Amazon for Kraft paper roll -
Blue painter's tape
Typically $5 to $12
Tapes templates to the wall without lifting paint.
Check price on Amazon for Blue painter's tape -
Small spirit level
Typically $8 to $20
Checks the middle frame, then every frame after it.
Check price on Amazon for Small spirit level -
Tape measure with a locking blade
Typically $8 to $18
Measures gaps and the 57 inch center line.
Check price on Amazon for Tape measure with a locking blade
Moving a sofa to fit the wall is the hard way to find out. The Small-Space Room Layout Kit lets you try the room on paper first.
Frequently asked questions
How much space should you leave between frames on a gallery wall?
A common range is 2 to 3 inches for a tight look, and up to about 6 inches for a looser one. Pick one gap, such as 2 inches, and keep it the same on every side.
How high should you hang a gallery wall?
On a bare wall, put the center of the whole group about 57 inches from the floor. Above a sofa or console, set the bottom edge 6 to 8 inches above the furniture.
How do you plan a gallery wall without nails?
Trace each frame on kraft paper, tape the paper to the wall with painter's tape, move it until it looks right and then hang each frame in place with adhesive strips that are rated for its weight and size.
What size frames work for a gallery wall above a couch?
A mix of 11 x 14 frames with one larger frame such as a 16 x 20 or a 20 x 30 works in our layouts. The whole group should be about two thirds as wide as the sofa.
How wide should a gallery wall be above a sofa?
About two thirds of the sofa's width. A 46 inch group suits a sofa about 69 inches wide, and a 42 inch group suits one about 63 inches wide.

Save it for later
Pin this to your Living Room board so it's there when you need it.
Save to Pinterest