This post contains affiliate links. As an Amazon Associate we earn from qualifying purchases, at no extra cost to you. Read our disclosure.
Key takeaways
- Clear the counter by giving the knife block, paper towels and sponge a home that is not the counter.
- Drawers get dividers before anything else; a divided junk drawer stays a drawer, not a bin.
- Cabinets gain a second level with expandable risers, under-shelf baskets and a pull-out basket.
- Under the sink wants a two-tier organizer around the pipe and bins sorted by task.
- Adhesive and magnetic holders work in a rental when you respect the maker's weight rating and warm the strip before removing it.
In this post33 sections
- Clear the counter first
- 1. Move the knives into an in-drawer knife organizer
- 2. Hang the paper towels under the cabinet with an adhesive holder
- 3. Give the sponge a sink caddy instead of the counter
- Drawer organization: dividers, utensils and the one junk drawer
- 4. Fit an expandable bamboo utensil tray to the drawer
- 5. Put spring-loaded dividers in the junk drawer
- 6. Lay the spices on their side in a drawer insert
- 7. Keep foil and wrap in a wrap organizer, not loose boxes
- Cabinet space savers: risers, baskets and pull-outs
- 8. Add expandable shelf risers for plates and bowls
- 9. Hook under-shelf baskets onto the shelf edge
- 10. Stack cans in a can rack that fits a 12-inch cabinet
- 11. Set a sliding pull-out basket on the lower cabinet floor
- Under the sink without a plumber
- 12. Fit a two-tier organizer around the pipe
- 13. Sort the bottles into clear bins by task
- 14. Roll a caddy into the back of the cabinet
- Cabinet doors, the fridge side and the gap beside it
- 15. Stick a cutting board holder inside a lower cabinet door
- 16. Put the spices in magnetic tins on the fridge side
- 17. Hang towels on an over-the-cabinet-door bar
- Spices and pantry with no pantry
- 18. Hang an over-the-door rack on the back of the kitchen door
- 19. Step the spice jars on a tiered shelf in the cabinet
- 20. Group the top shelf into clear bins with handles
- Pots, pans and lids in a 10-inch cabinet
- 21. Stand the pans in an adjustable rack
- 22. Use tension rods as vertical dividers for sheet pans and lids
- The rolling cart and other renter-friendly moves
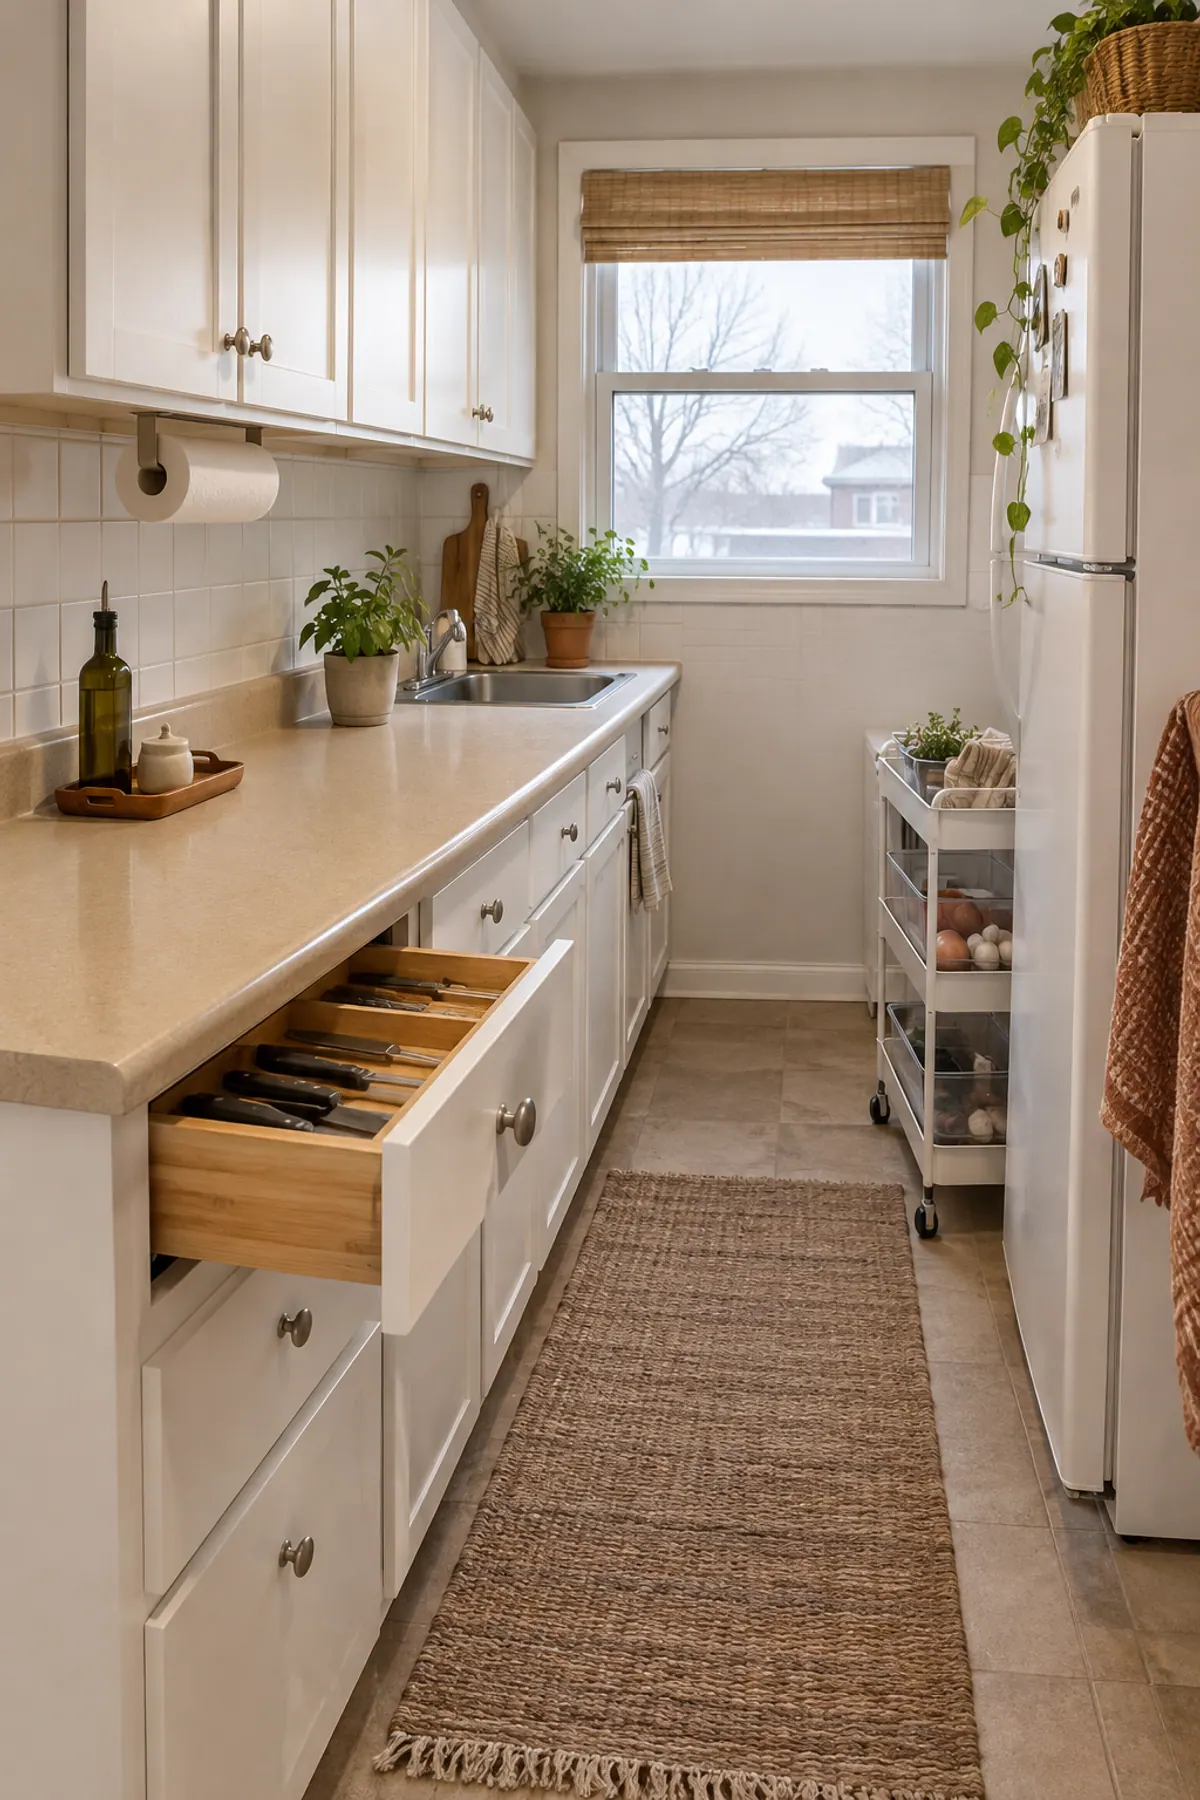
- 23. Make the rolling cart the pantry you do not have
- Shop the kitchen organization list
- FAQ
Do the zones in order. A clear counter makes the drawers feel worth doing, and a divided drawer makes the cabinets feel worth doing. Skipping to the fridge side first is how a kitchen ends up with six organizers and no more space.
Clear the counter first
Small kitchen organization on the countertops comes down to three things that live there by habit: the knife block, the paper towel roll and the sponge. Move those and most rental counters gain a full foot of working space.
1Move the knives into an in-drawer knife organizer
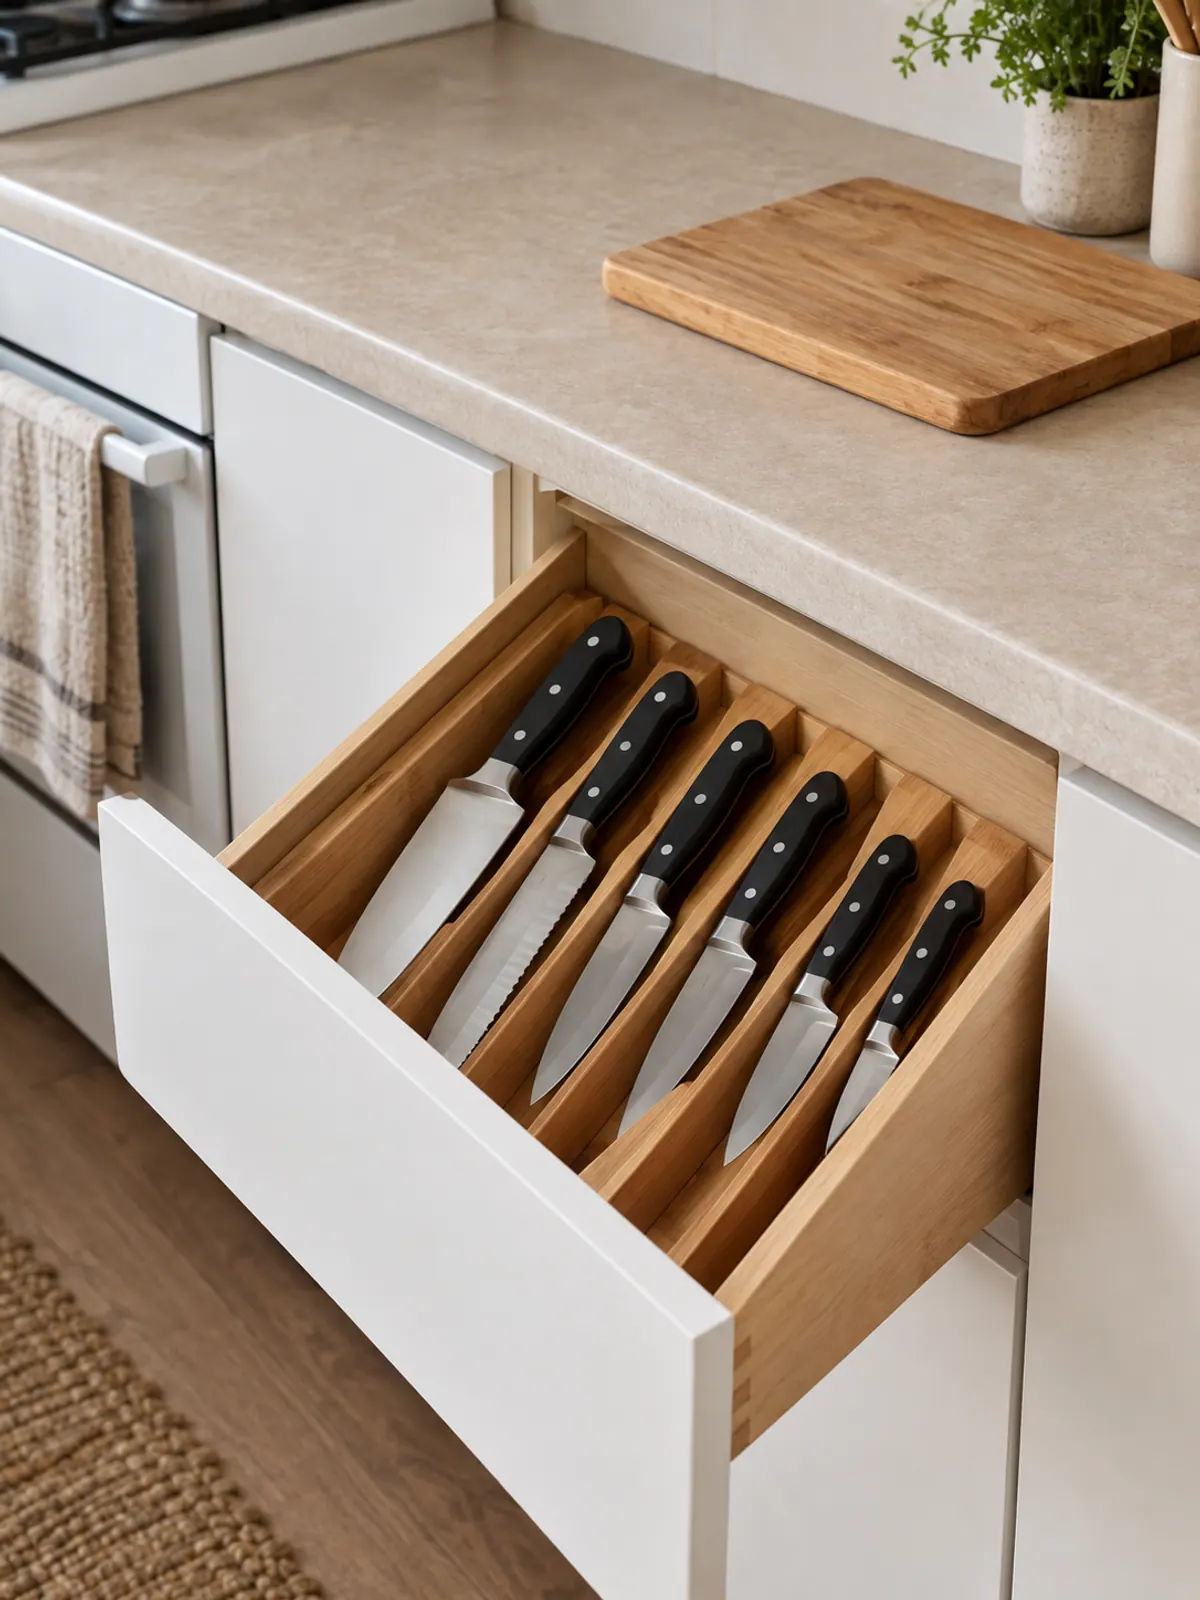
A knife block takes about 6 by 9 inches of counter, which in a galley kitchen is the whole chopping zone. A slanted bamboo in-drawer organizer holds six to twelve knives in a drawer as shallow as 2.5 inches, and keeps the blades from touching.
Measure the drawer depth before buying. Some organizers need 3 inches and will stop the drawer from closing in a shallow rental drawer.
- Put it in the drawer closest to the cutting board, not the one with the most room.
Frees the chopping zone on a small counter.
2Hang the paper towels under the cabinet with an adhesive holder
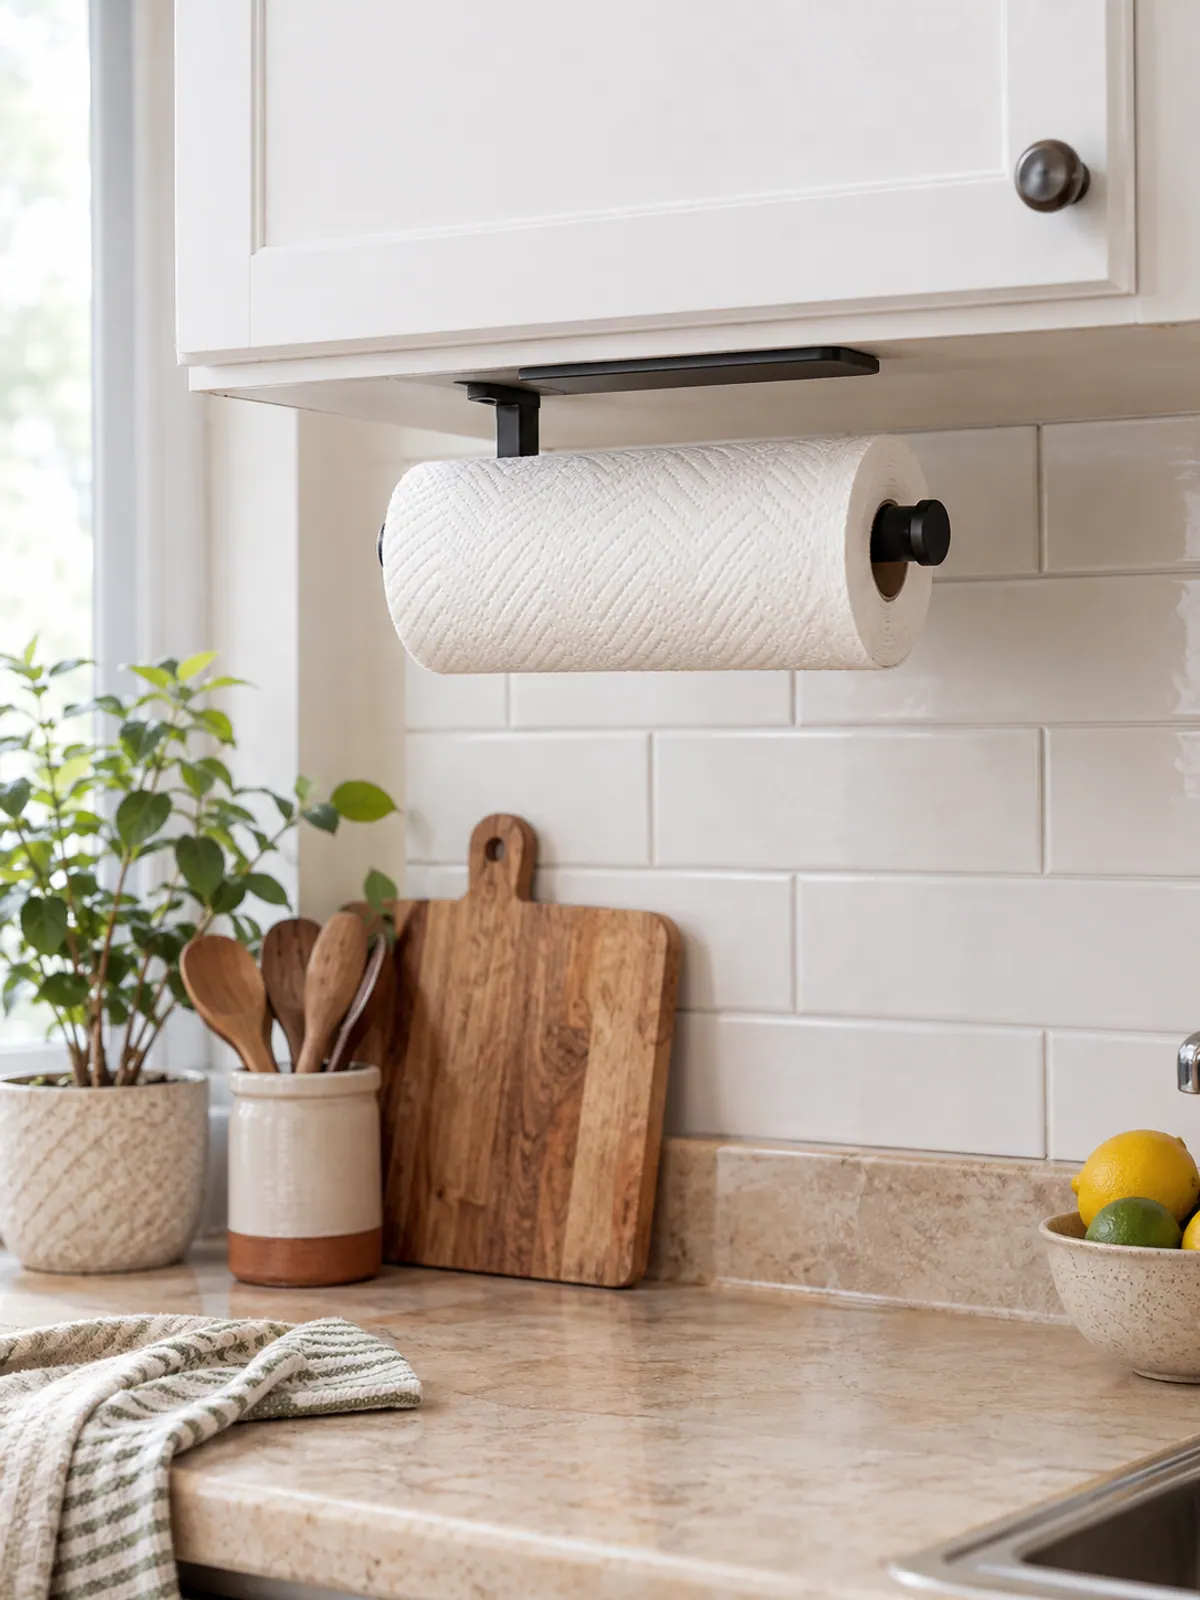
An under-cabinet paper towel holder with adhesive strips mounts to the underside of an upper cabinet in two minutes and takes nothing from the counter. A full roll weighs under a pound, well inside what the strips are rated for.
Clean the cabinet underside with rubbing alcohol first and press for 30 seconds. Skip this if the cabinet underside is textured or painted with a chalky finish, where the strip holds poorly and can lift paint on removal.
No screws, nothing on the counter.
3Give the sponge a sink caddy instead of the counter
A sponge on the counter leaves a wet ring and takes the corner by the faucet. A small caddy that clips over the sink edge or sticks to the sink wall holds the sponge, the brush and a bottle of dish soap in the sink's footprint.
Suction and adhesive both work on a smooth stainless or ceramic sink. The over-the-edge clip version is the one with no removal risk at all.
Takes the sponge off the counter for good.
Drawer organization: dividers, utensils and the one junk drawer
Rental kitchens tend to have three drawers, so each one has to do a job. One for utensils, one for tools and wraps, and one junk drawer with walls in it.
4Fit an expandable bamboo utensil tray to the drawer
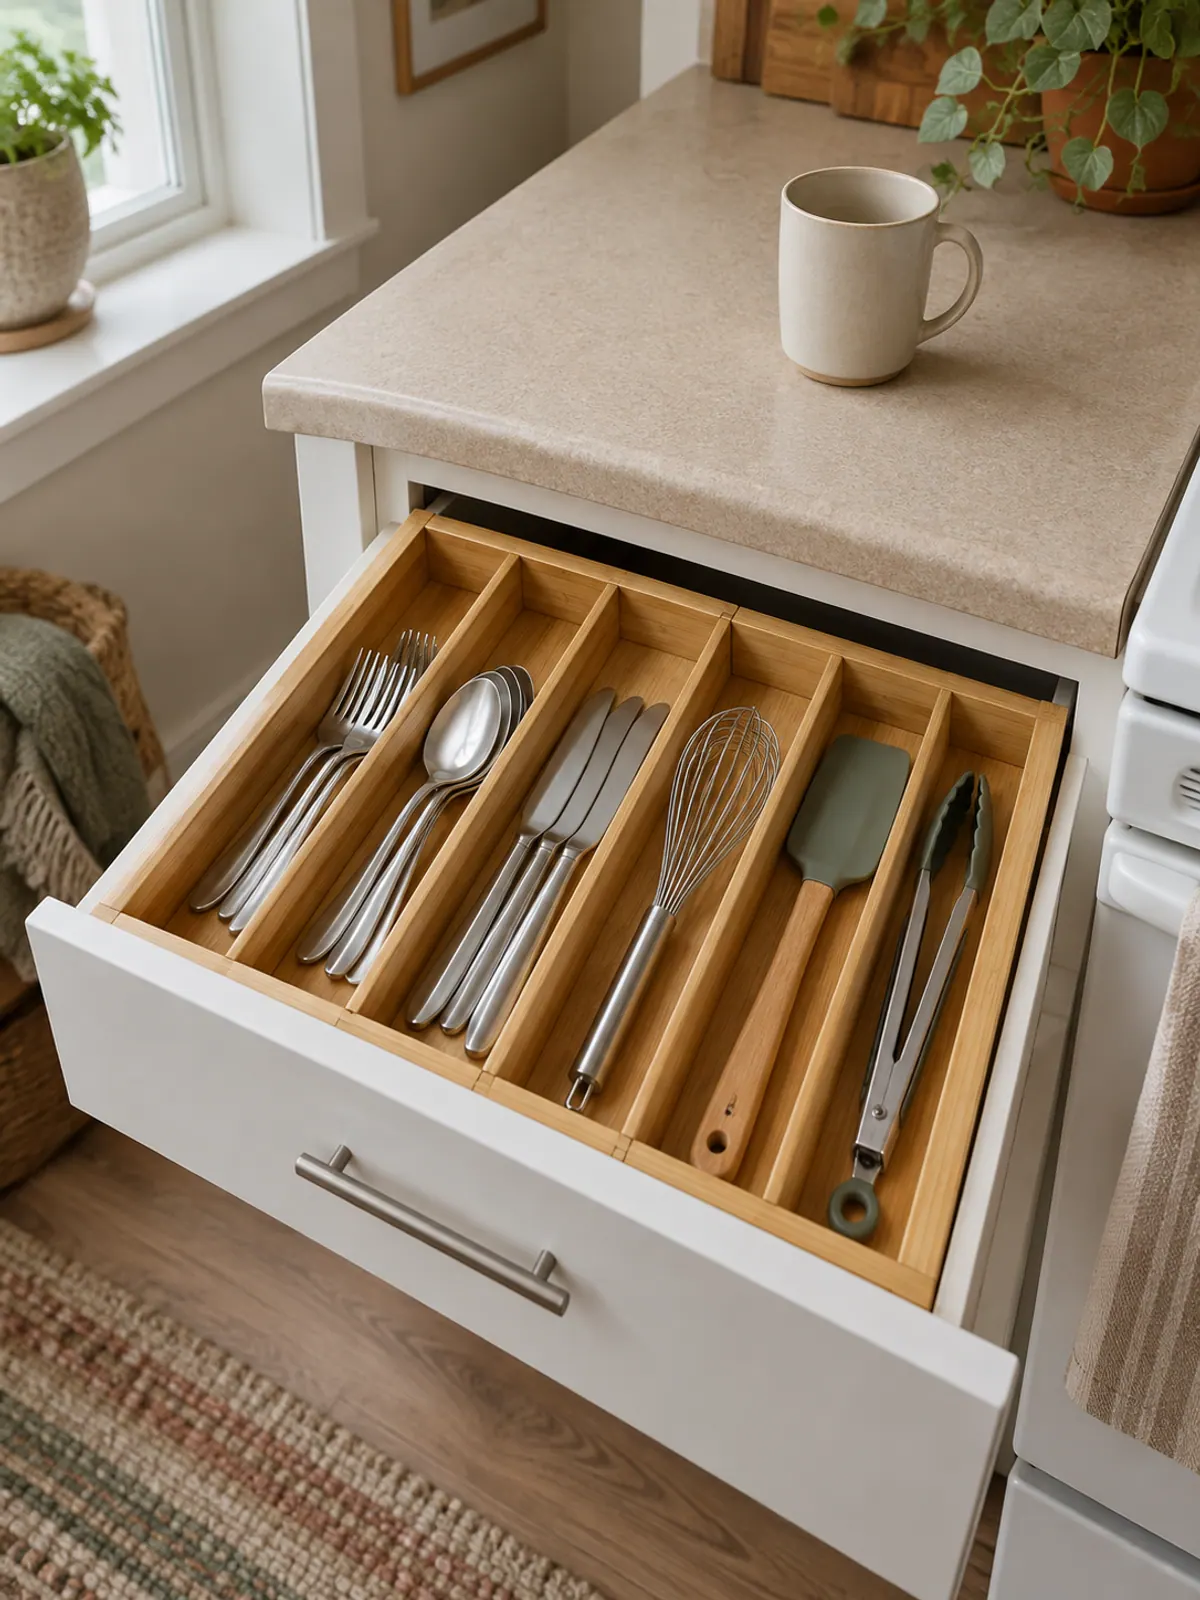
A fixed tray leaves a loose gap at one side that fills with twist ties. An expandable bamboo tray slides out to fill the drawer width, usually from about 13 to 22 inches, so the whole drawer is slots.
Use the two long outside slots for the big tools that normally stand in a crock on the counter. That crock can then go, which is another 5 inches of counter.
Fills the drawer edge to edge, no gaps.
5Put spring-loaded dividers in the junk drawer
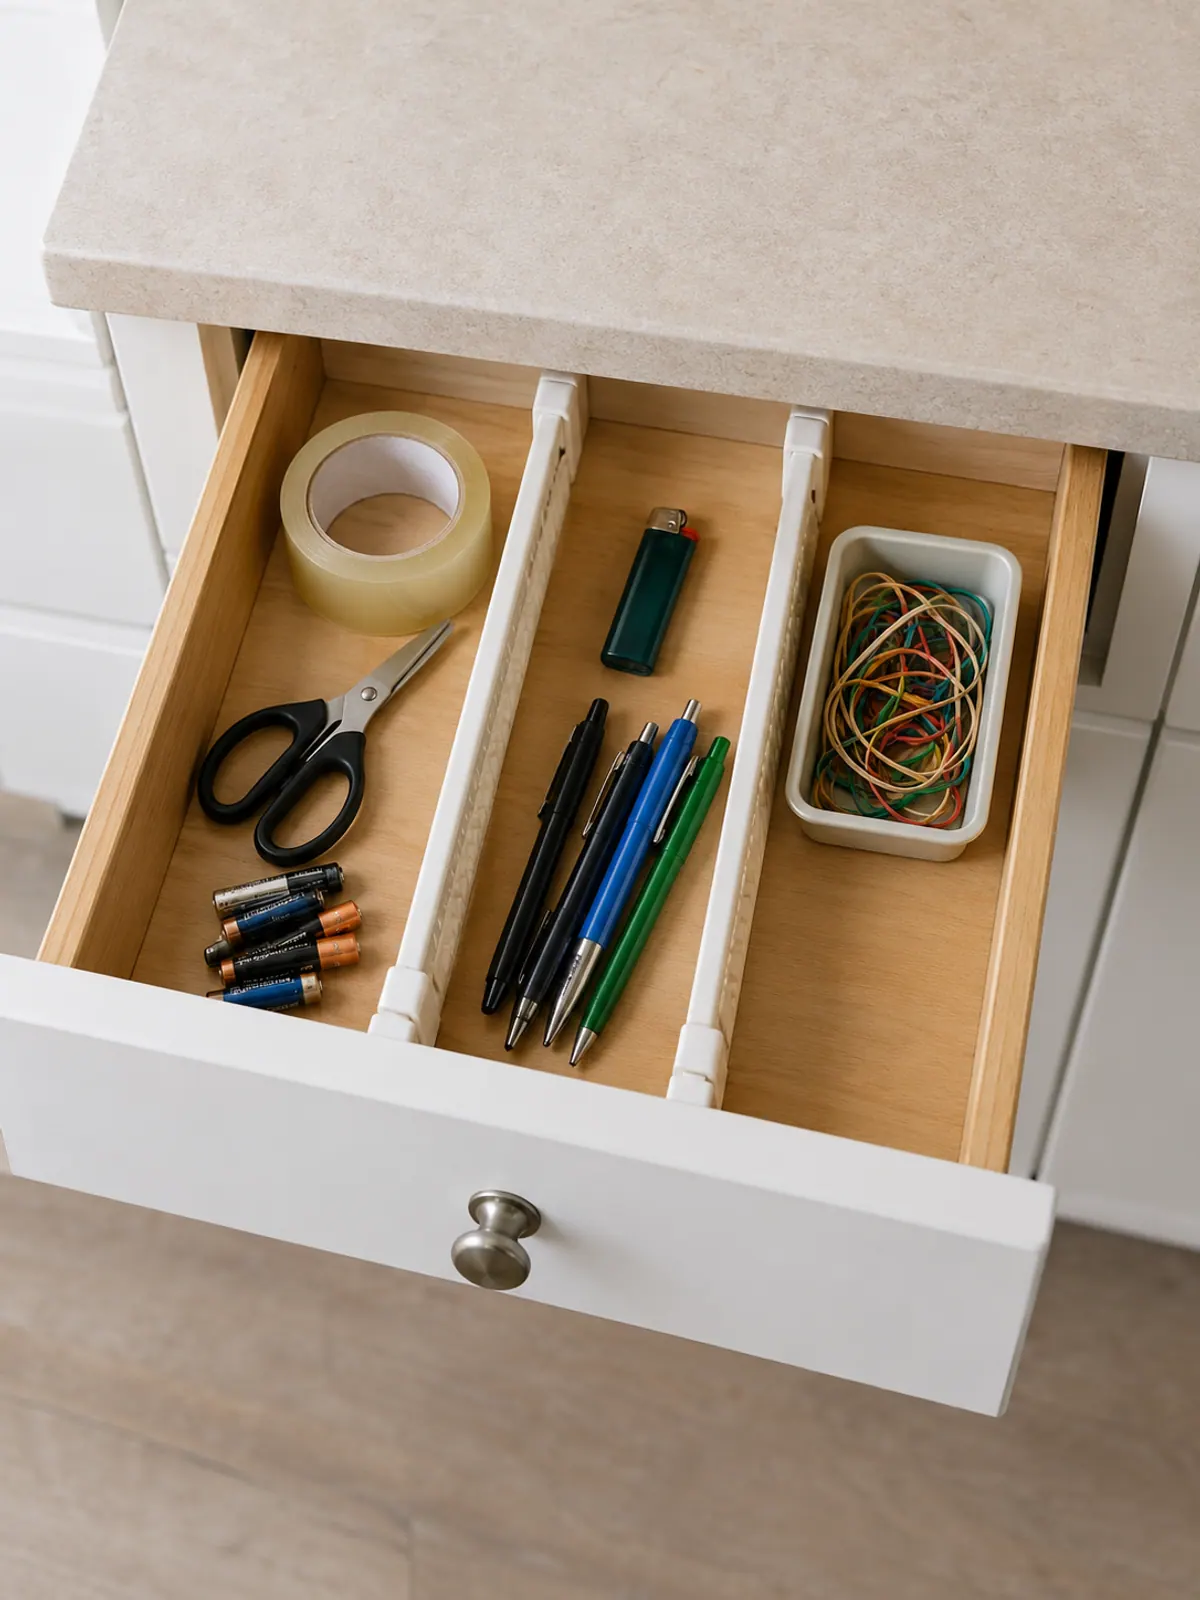
Spring-loaded dividers press against the drawer walls and hold without screws or adhesive, and they move when the contents change. Two dividers make three sections: tape and batteries, pens and scissors, and the everything-else zone.
A junk drawer is fine. A junk drawer with no walls is what spreads to the counter.
- Pair the dividers with two small trays for the tiny things, like rubber bands and twist ties.
Walls for the junk drawer, no tools.
6Lay the spices on their side in a drawer insert
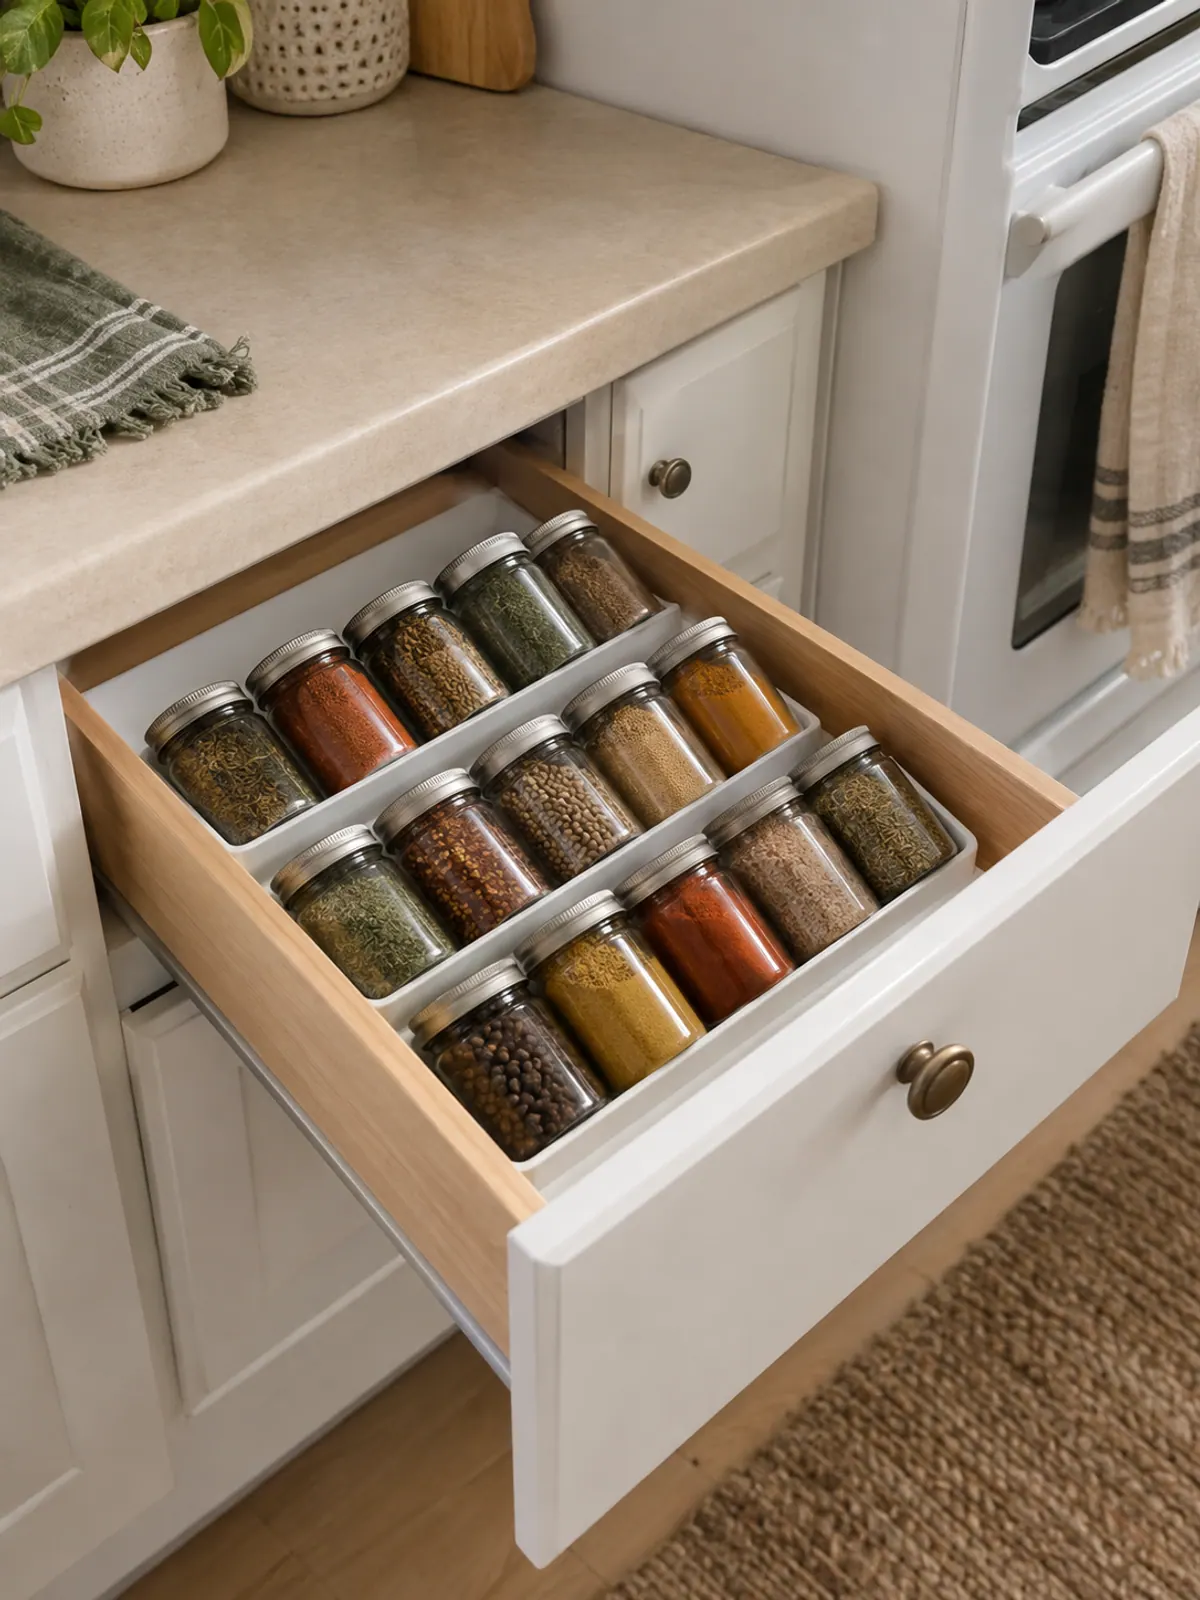
If the kitchen has a spare drawer and no cabinet space, a tiered spice insert lays jars on their sides so every label faces up when the drawer opens. It holds about 16 to 24 standard jars in a 12-inch-wide drawer.
This beats a cabinet rack in a rental where the upper cabinets are too high to see the back row.
Every label faces up.
7Keep foil and wrap in a wrap organizer, not loose boxes
Foil, plastic wrap and parchment boxes are different sizes and jam a drawer. A wrap organizer holds all three in a stack in the drawer, or on the inside of a lower cabinet door with its adhesive strips.
In the drawer version there is no residue risk at all. On a door, keep it to the three boxes it was designed for; the strips are rated for the organizer's own weight plus the rolls, not for a fourth box jammed on top.
Cabinet space savers: risers, baskets and pull-outs
A rental cabinet is about 12 inches deep and 14 to 30 inches tall with one shelf, which wastes the top half of every section. Everything in this group adds a level without a screw.
8Add expandable shelf risers for plates and bowls
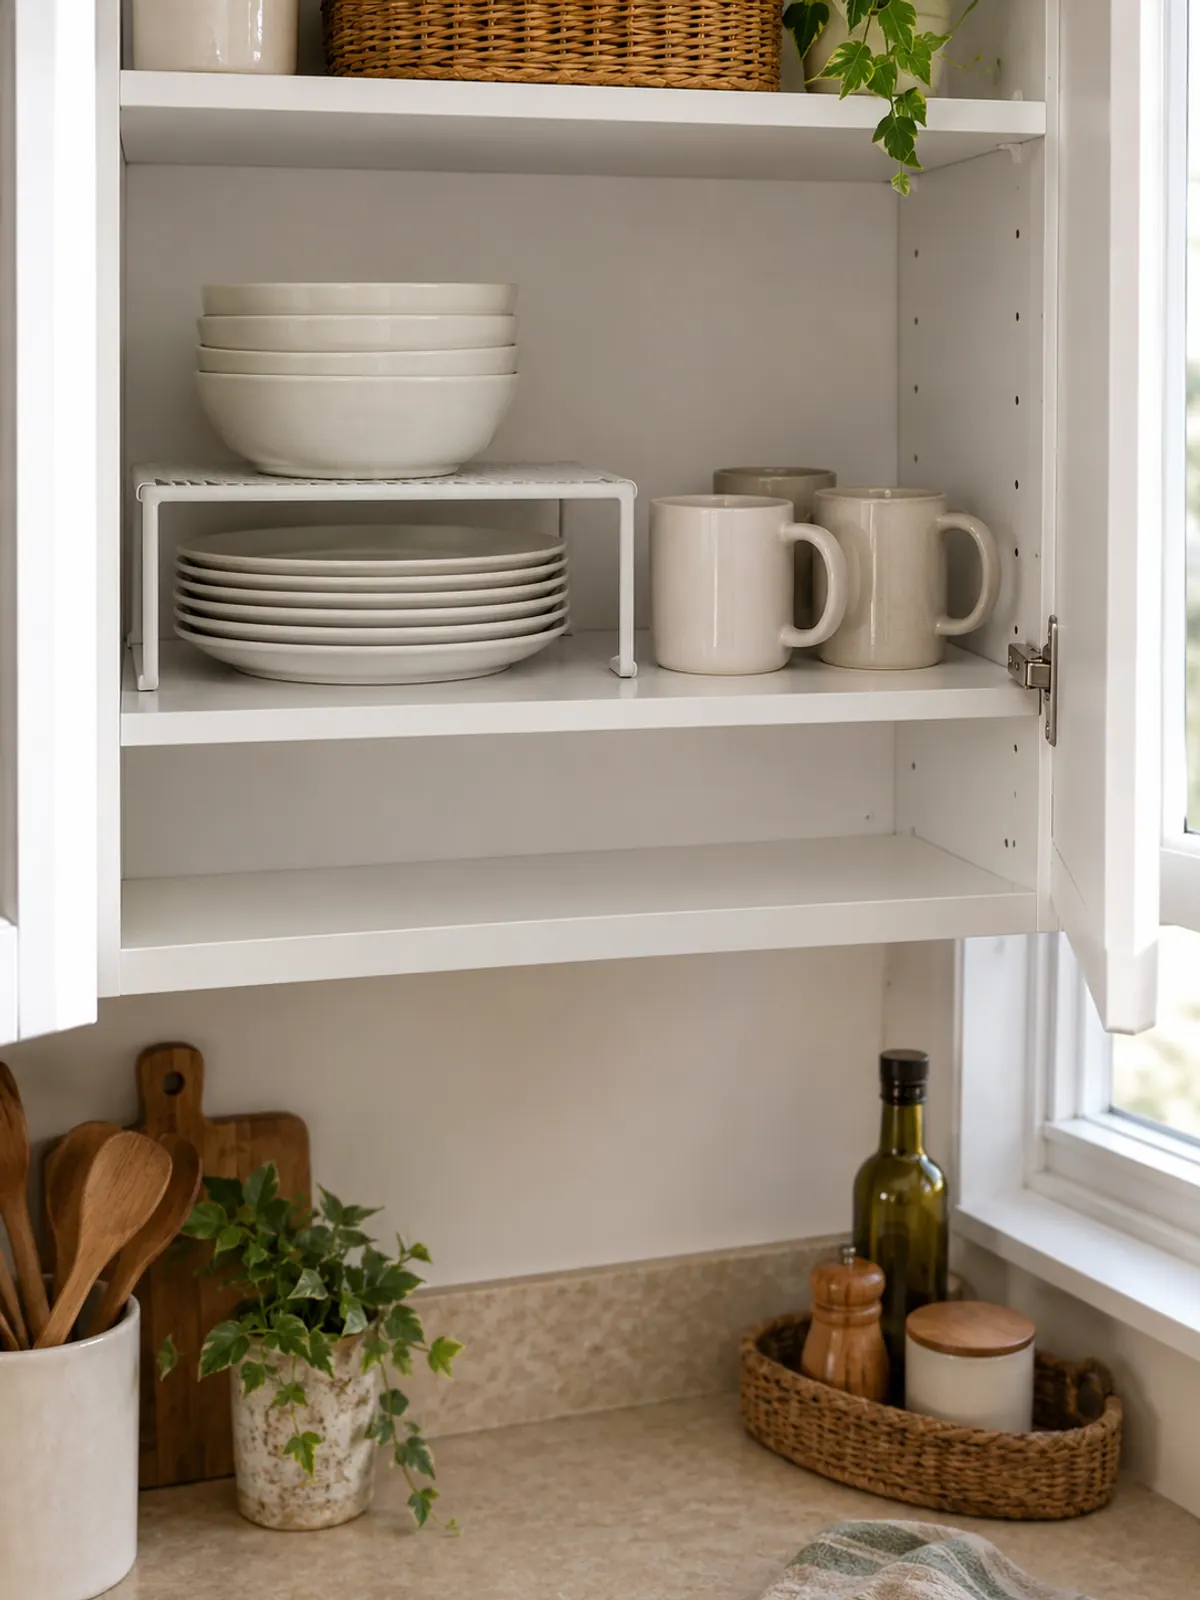
An expandable riser sits on the shelf and stretches from about 16 to 30 inches wide, so it fits any rental cabinet without cutting. Plates go under, bowls go on top, and a second riser in the next section does the same for mugs and glasses.
Choose the version with legs that fold in. It packs flat when you move.
A second shelf in any width cabinet.
9Hook under-shelf baskets onto the shelf edge
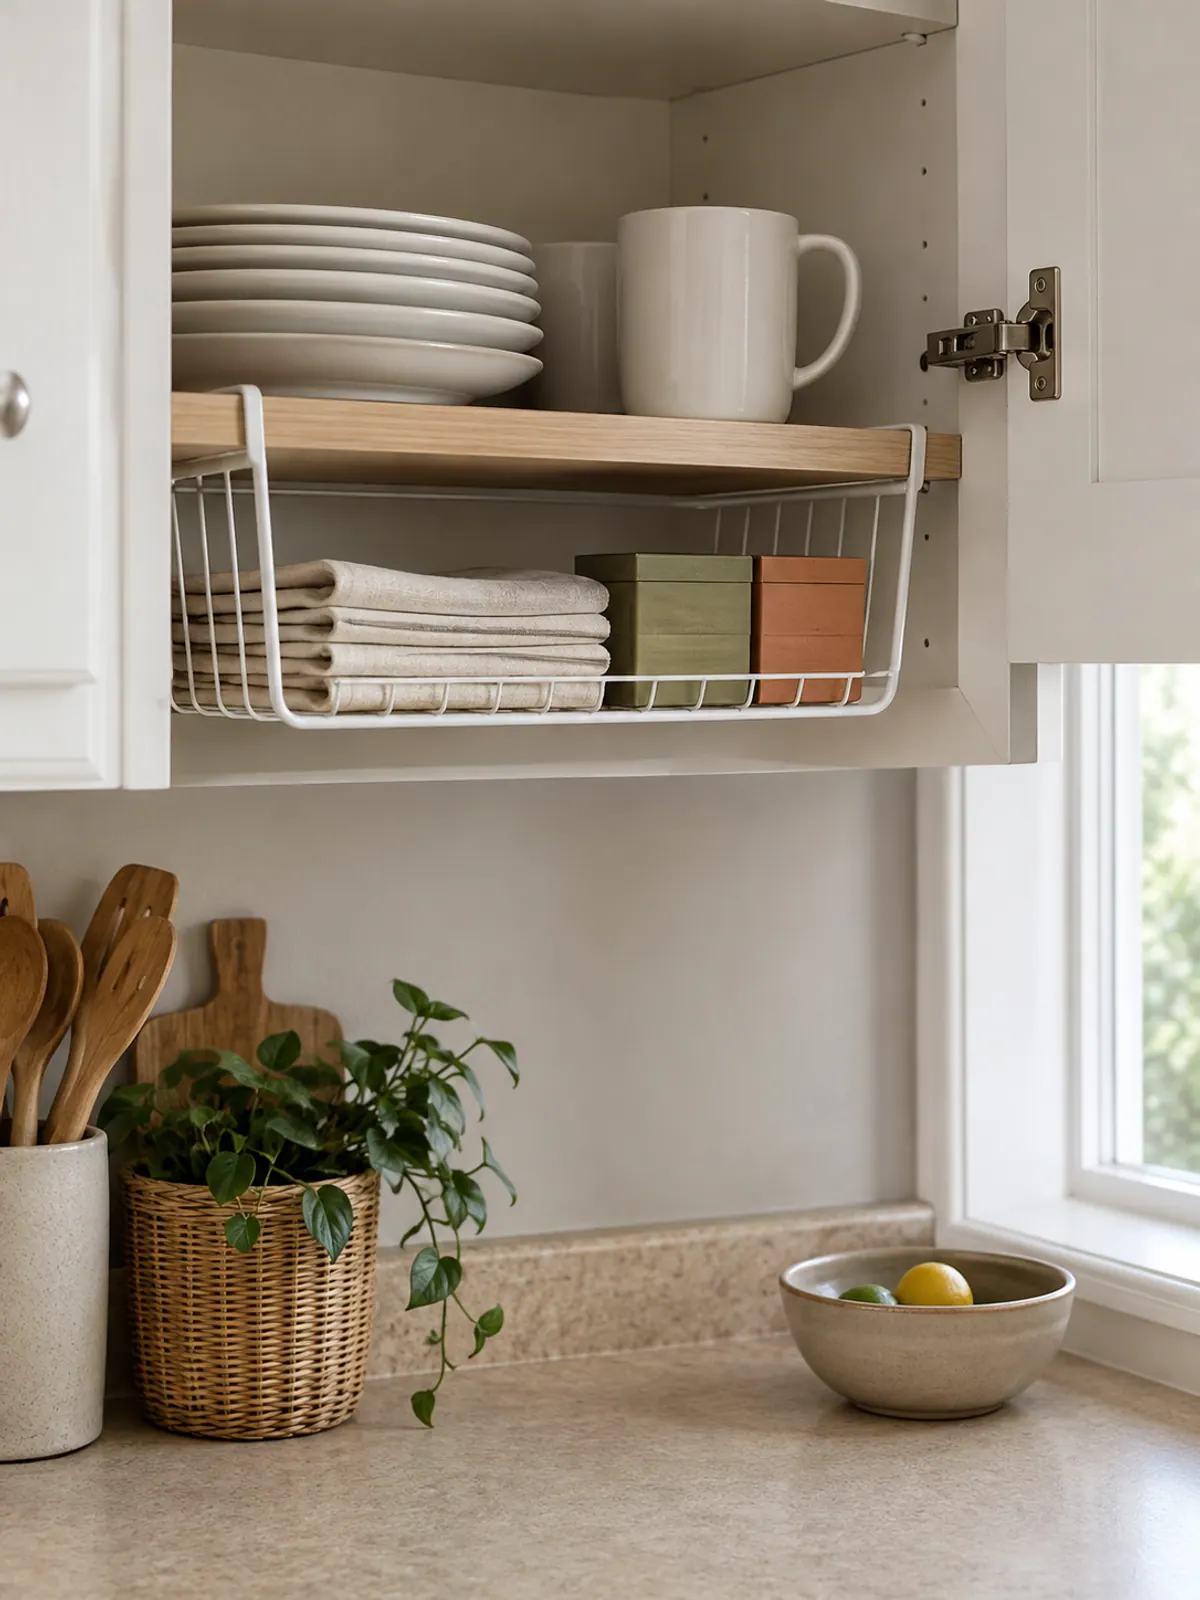
An under-shelf basket slides onto the shelf and hangs below it, using the air gap above the cups. It holds light things: tea, napkins, snack bags, the lids that never match.
The shelf has to be a solid board about three quarters of an inch thick for the basket to grip. Wire shelves and the thin particleboard in some rental cabinets do not hold it well.
Uses the dead air above the mugs.
10Stack cans in a can rack that fits a 12-inch cabinet
A can rack holds about 36 standard cans in three sloped rows in a 12-inch-deep cabinet, and new cans go in the back so the old ones roll forward. Cans stacked in loose towers take twice the space and fall when you pull one from the bottom.
Measure the cabinet height first; most racks need 14 inches clear.
36 cans in one cabinet section.
11Set a sliding pull-out basket on the lower cabinet floor
A deep lower cabinet is where things go to be forgotten. A two-tier sliding basket organizer sits on the cabinet floor, needs no screws, and pulls out so the back row is as easy to reach as the front.
Check the opening width. A 10-inch-wide organizer fits most rental cabinets once the door hinge is accounted for, and a 14-inch one often does not.
Brings the back row forward.
Under the sink without a plumber
The under-sink cabinet is the one place every renter has the same problem: a pipe in the middle, a garbage disposal on one side and twelve bottles on the floor. Three ideas cover it.
12Fit a two-tier organizer around the pipe
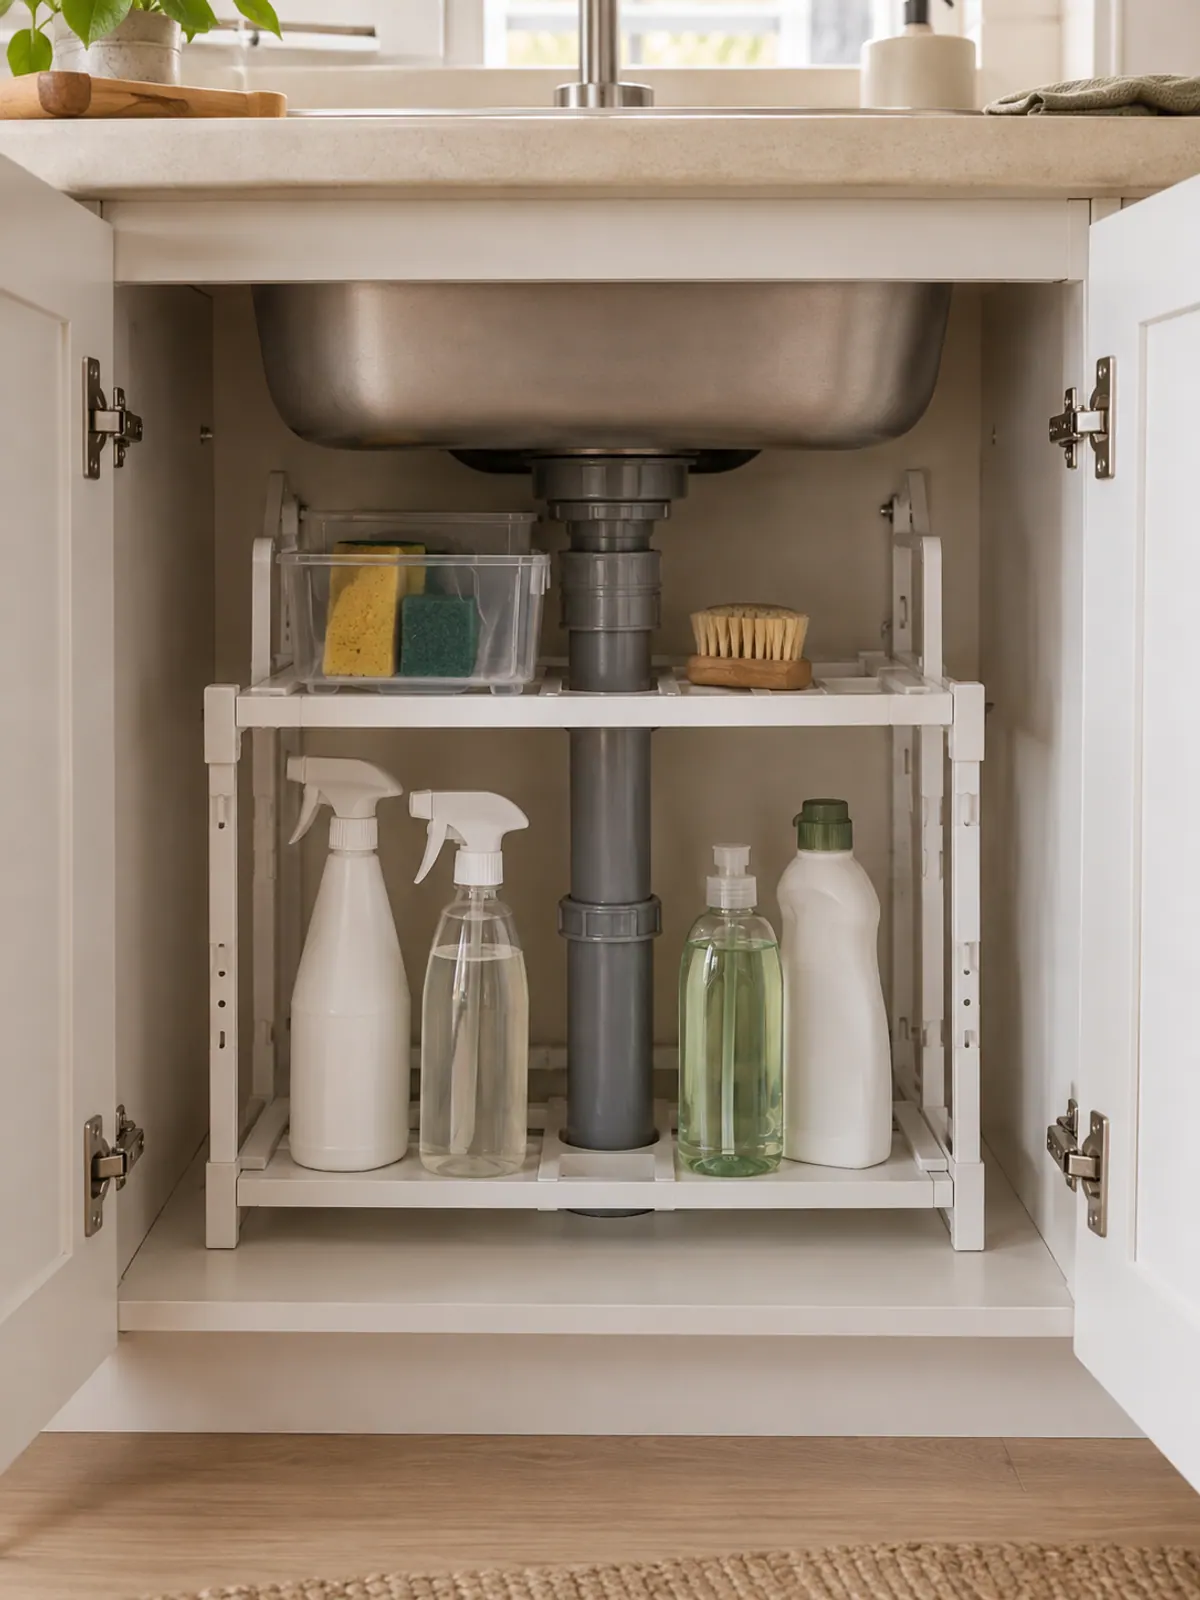
An expandable two-tier under-sink organizer has a top shelf that slides in width and removable panels that go around the pipe and the disposal. Tall bottles stand on the floor level, small things sit on the upper shelf.
It stands on its own feet, so nothing touches the cabinet walls. If the cabinet floor has a water stain, put a cheap tray under the organizer first.
Built to go around the pipe.
13Sort the bottles into clear bins by task
Three clear bins labeled dishes, surfaces and trash bags hold what the organizer shelf does not. Grab the bin, not the bottle, and the cabinet stays sorted because nothing goes back loose.
Clear bins with handles are the right choice here, since you will pull them out on your knees in a dark cabinet.
One bin per task.
14Roll a caddy into the back of the cabinet
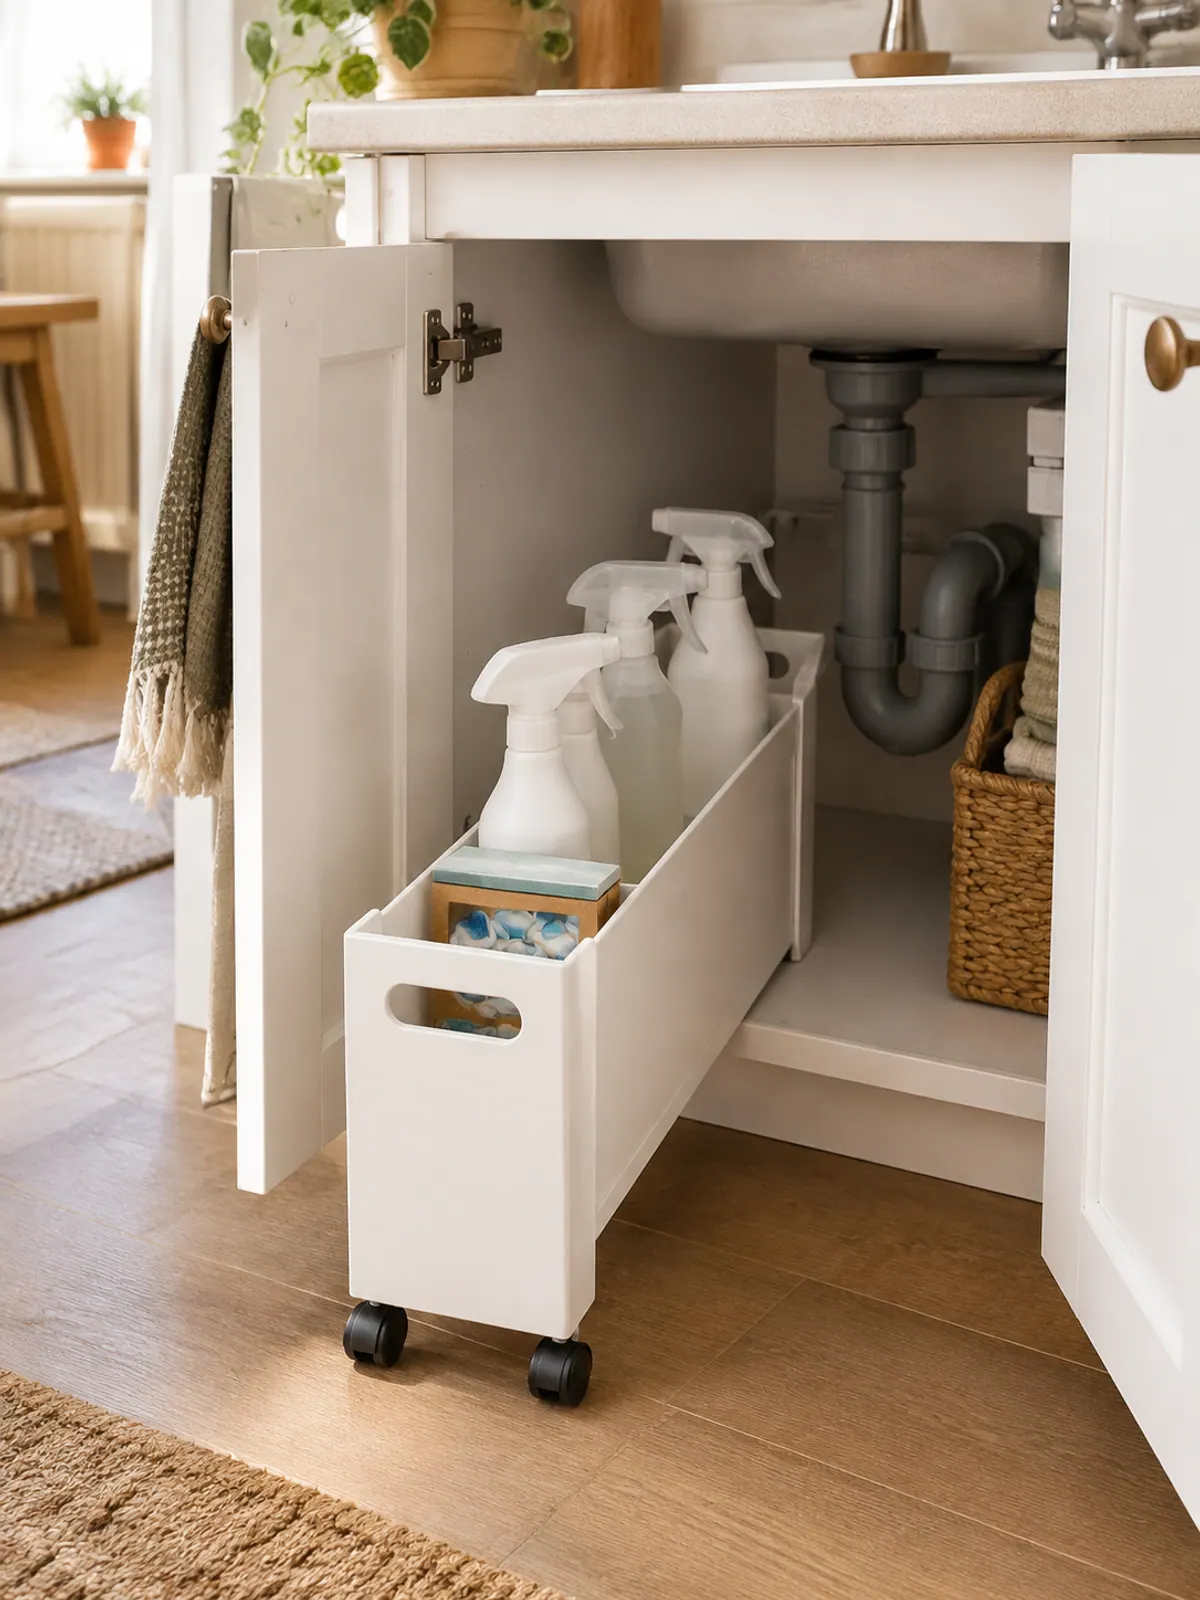
The deepest part of the under-sink cabinet, behind the pipe, is unreachable without taking everything out. A slim caddy on wheels with a handle lives there and rolls forward in one pull.
Use it for the things you reach for weekly, not daily: the backup dish soap, the oven cleaner, the dishwasher pods.
The back of the cabinet, in one pull.
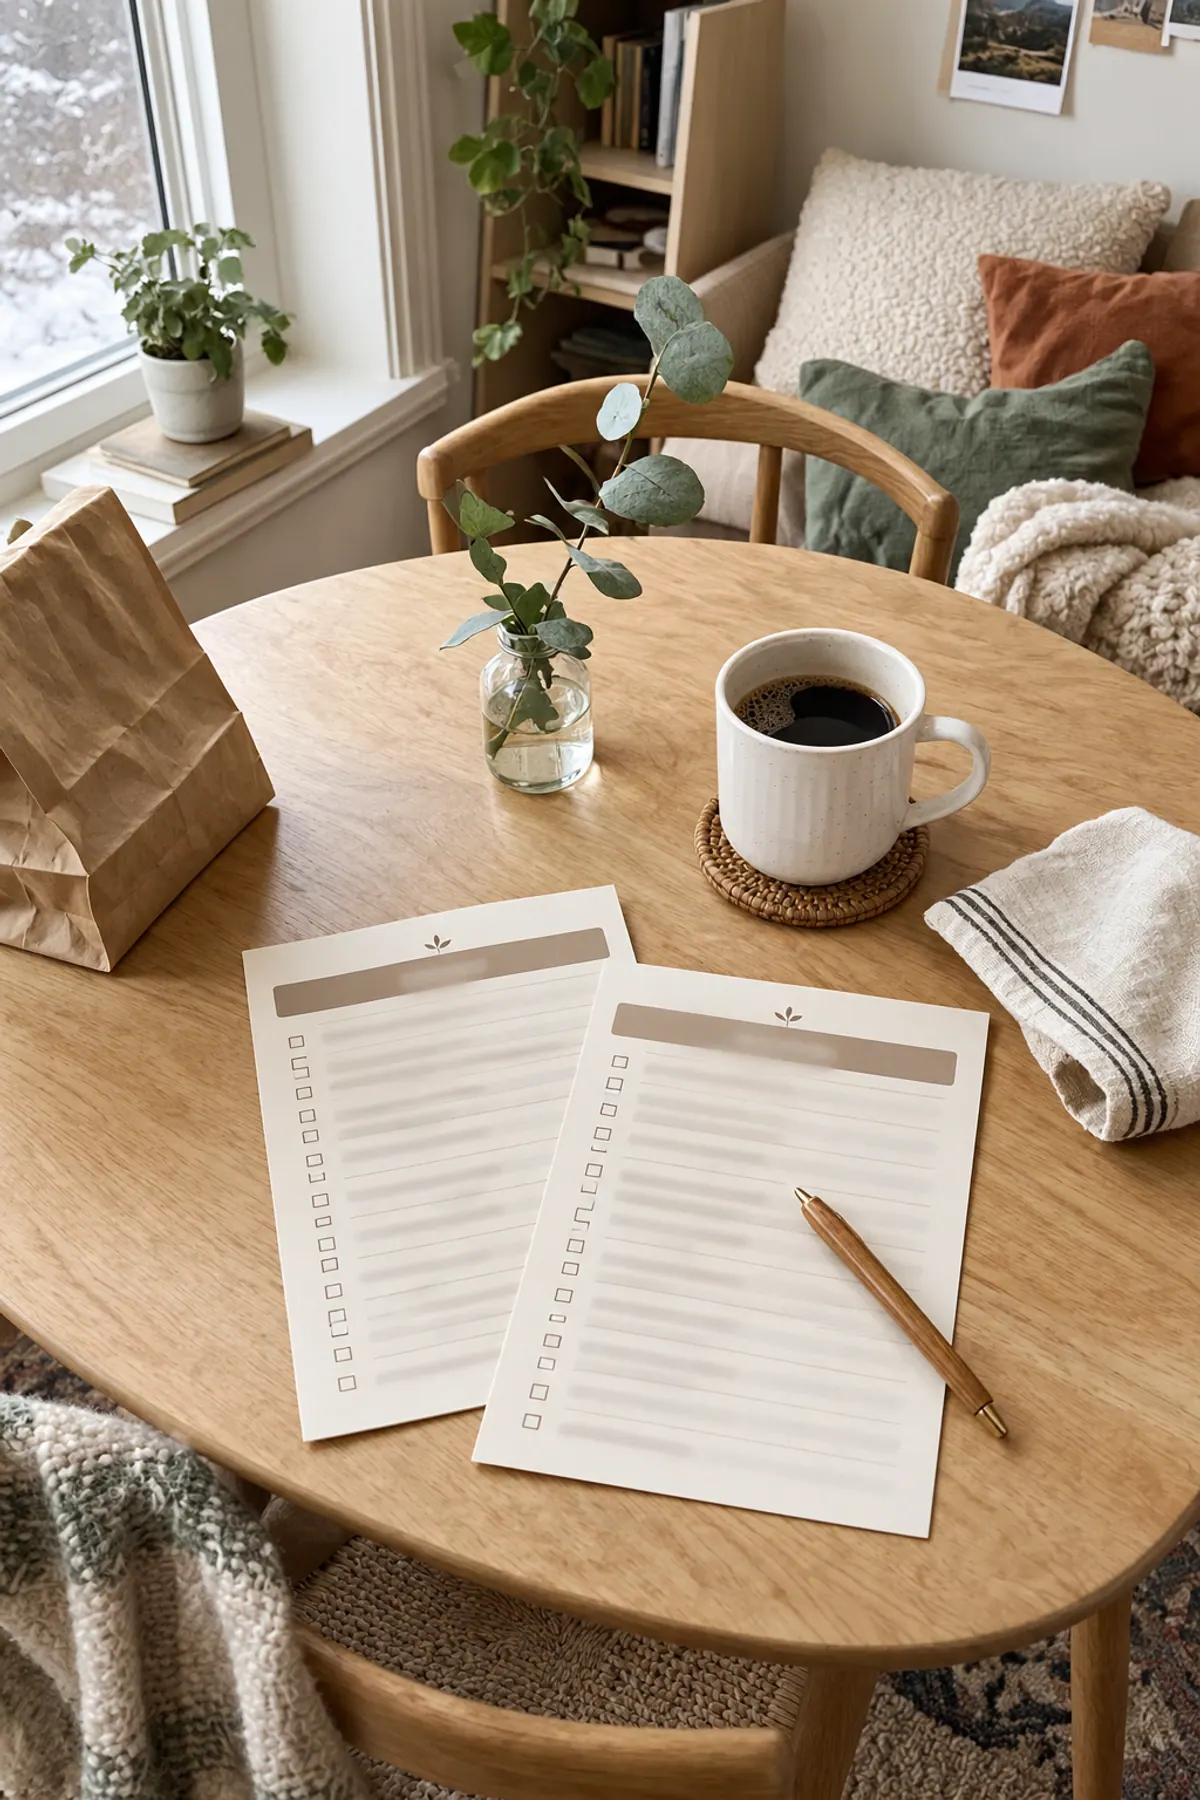
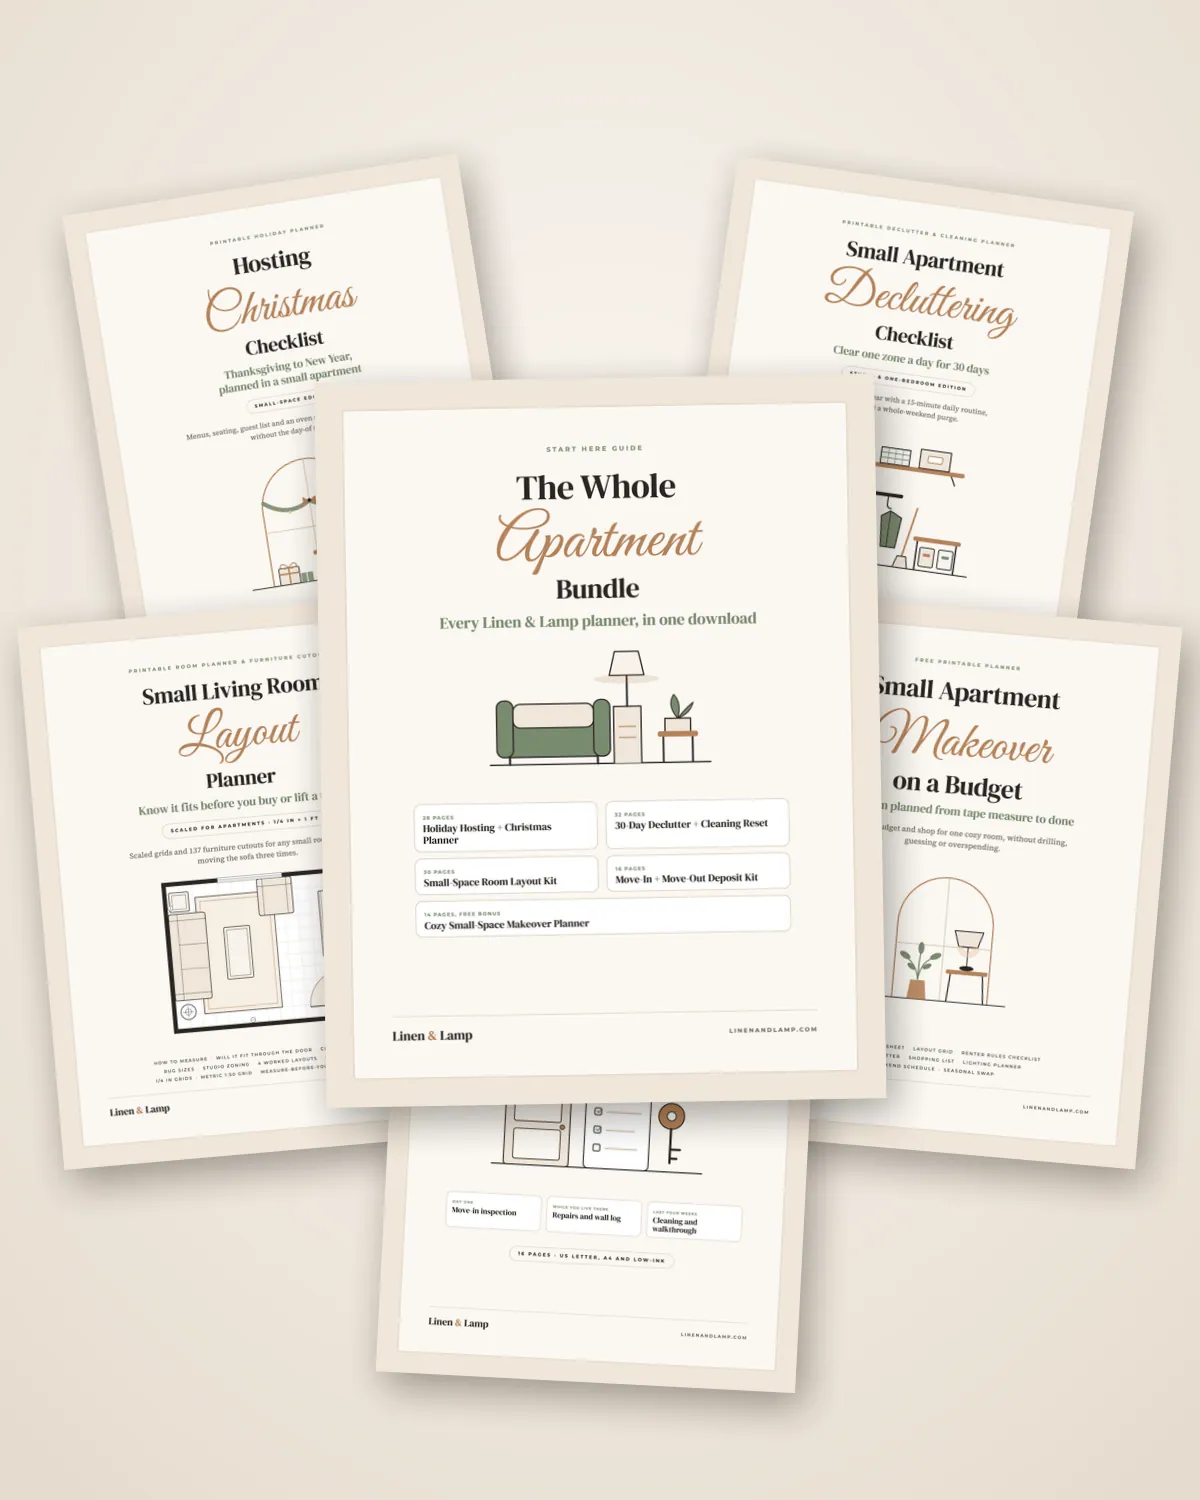
The kitchen takes four of the 30 zones in the 30-Day Small-Apartment Declutter + Cleaning Reset: the counters, one drawer, under the sink and the fridge. It is a $9 printable that walks one zone a day with a 15-minute timer, so the organizers above go into an emptied cabinet rather than a full one.
Cabinet doors, the fridge side and the gap beside it
The vertical surfaces are the last free space in a rental kitchen, and the only ones where a bad adhesive choice costs part of a deposit. Every idea here notes the weight it is built for.
15Stick a cutting board holder inside a lower cabinet door
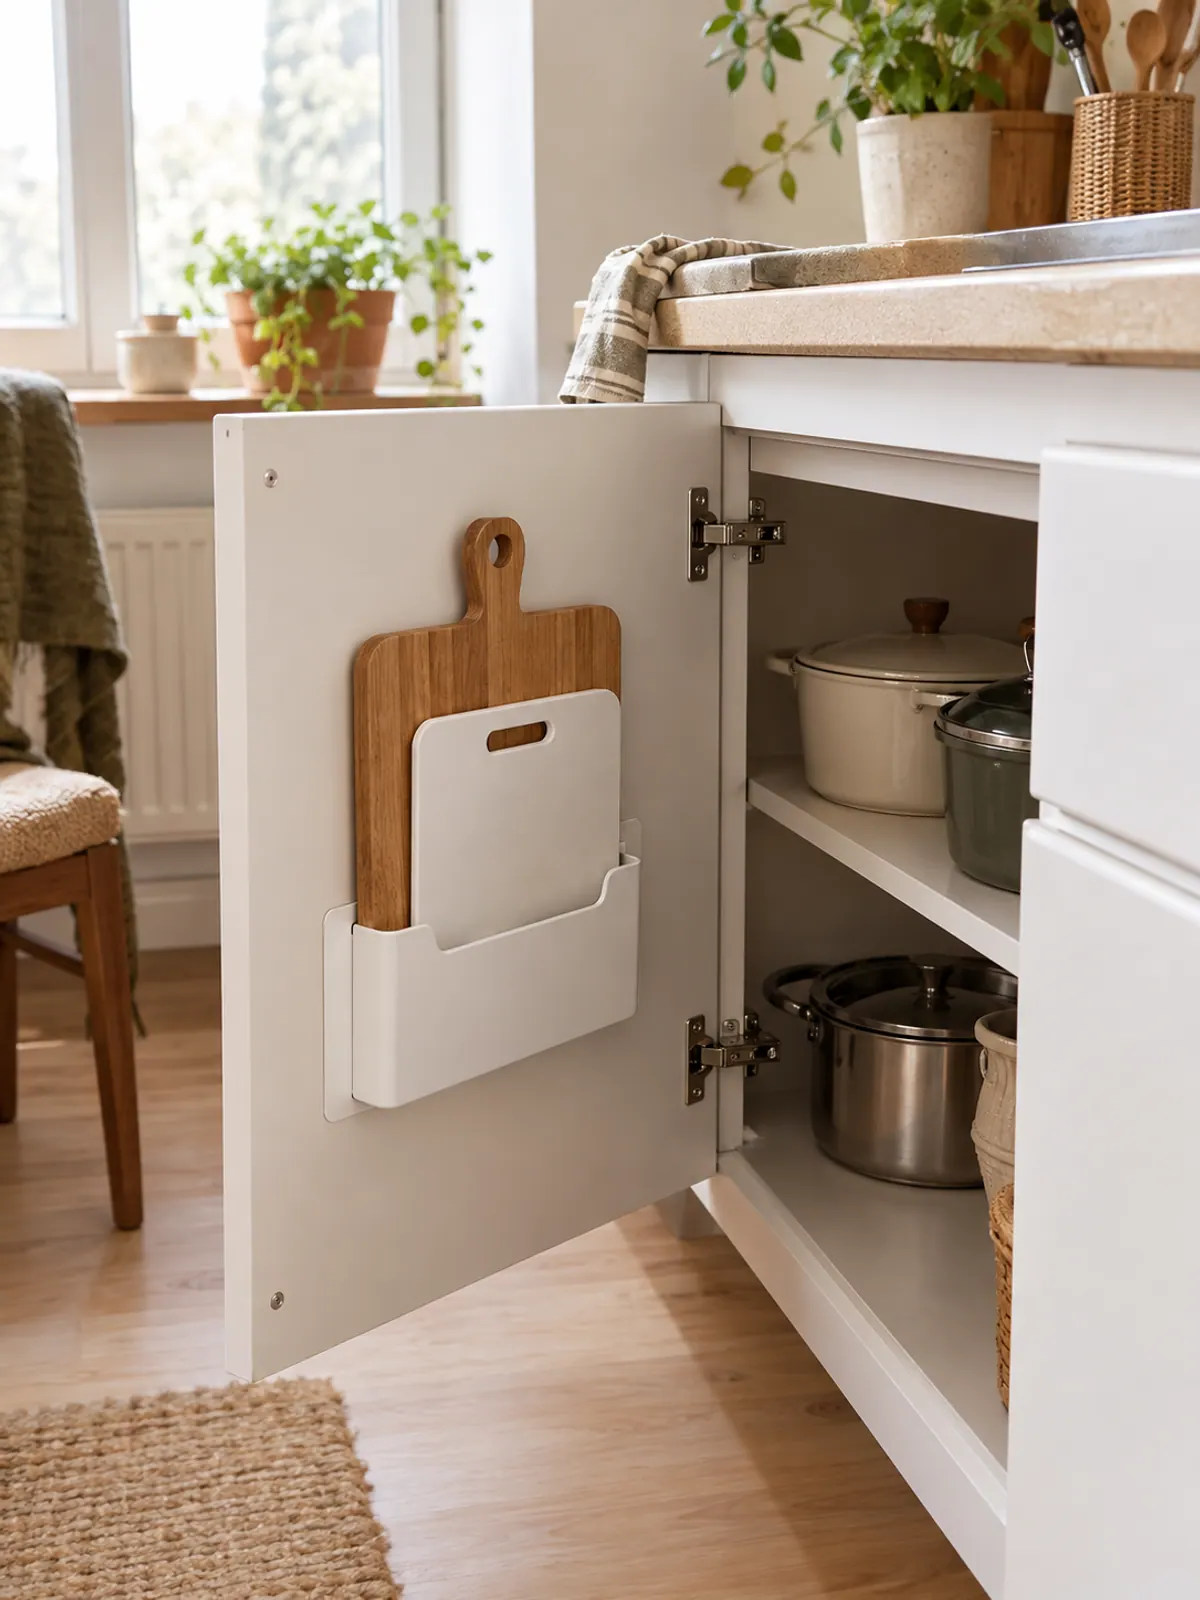
A flat cutting board holder with adhesive backing keeps two boards upright on the inside of a cabinet door, freeing the slot they took in the cabinet. Boards weigh one to two pounds each; check the holder's own rating before loading a heavy wood board.
On a laminate door the strip comes off clean with a hair dryer and a slow pull. On a painted wood door, test one strip in a hidden corner for a week first.
Two boards off the shelf, no screws.
16Put the spices in magnetic tins on the fridge side
Magnetic spice tins with clear lids stick to the side of the fridge in a grid, which is the one wall in a rental you can cover without any strip at all. A dozen tins take a 12 by 16 inch patch.
They hold on a steel fridge side. Many stainless fronts and some newer fridge sides are not magnetic, so test with a fridge magnet before ordering.
Spices on the only free wall.
17Hang towels on an over-the-cabinet-door bar
An over-the-door towel bar hooks over the top of a cabinet door under the sink and holds two dish towels where they can dry. No adhesive, no magnet, and the door still closes.
Pick the slim version with padded hooks so it does not scratch the door edge, which is the one mark a landlord does notice.
Towels dry, nothing on the oven handle.
Spices and pantry with no pantry
18Hang an over-the-door rack on the back of the kitchen door
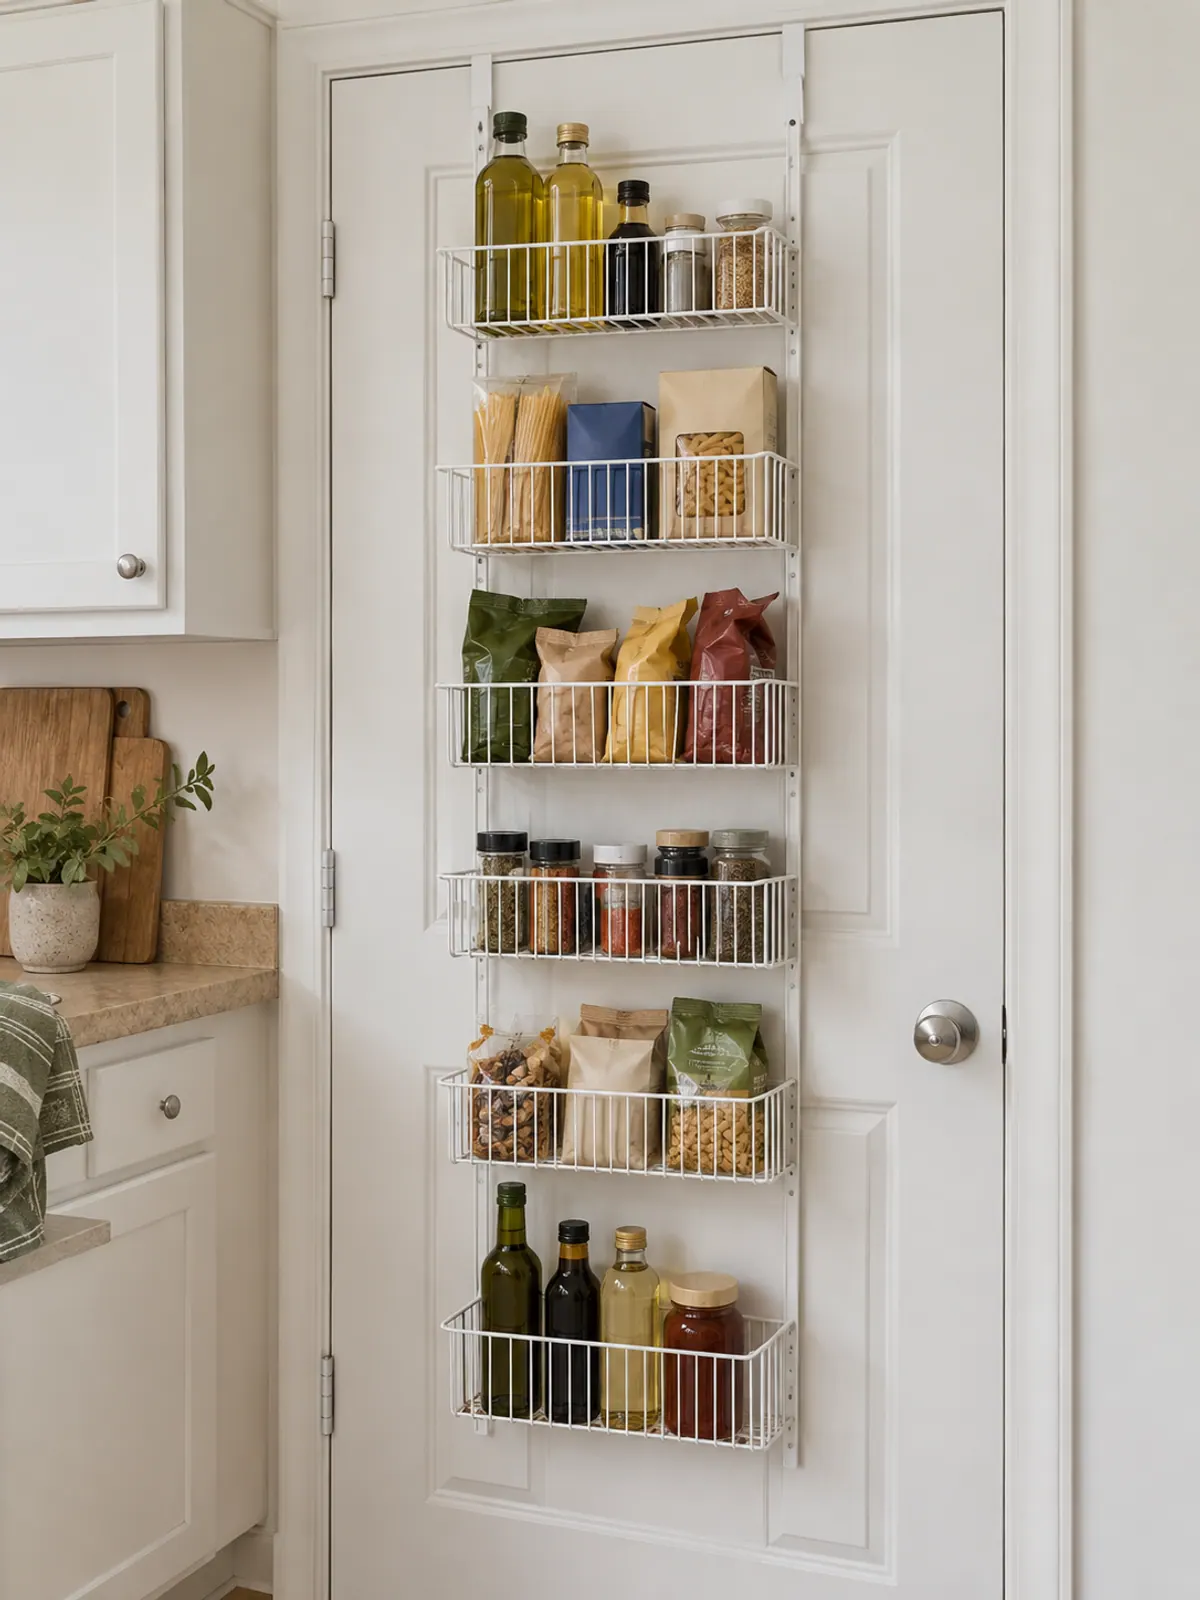
A kitchen with no pantry usually has a door: the kitchen door, the hall closet door or the back door. An over-the-door rack with six baskets holds oils, pasta, snacks and spices on about 4 inches of depth and hooks over the top with no hardware.
Load the heavy bottles in the bottom baskets so the rack does not swing when the door opens.
A pantry on the back of a door.
19Step the spice jars on a tiered shelf in the cabinet
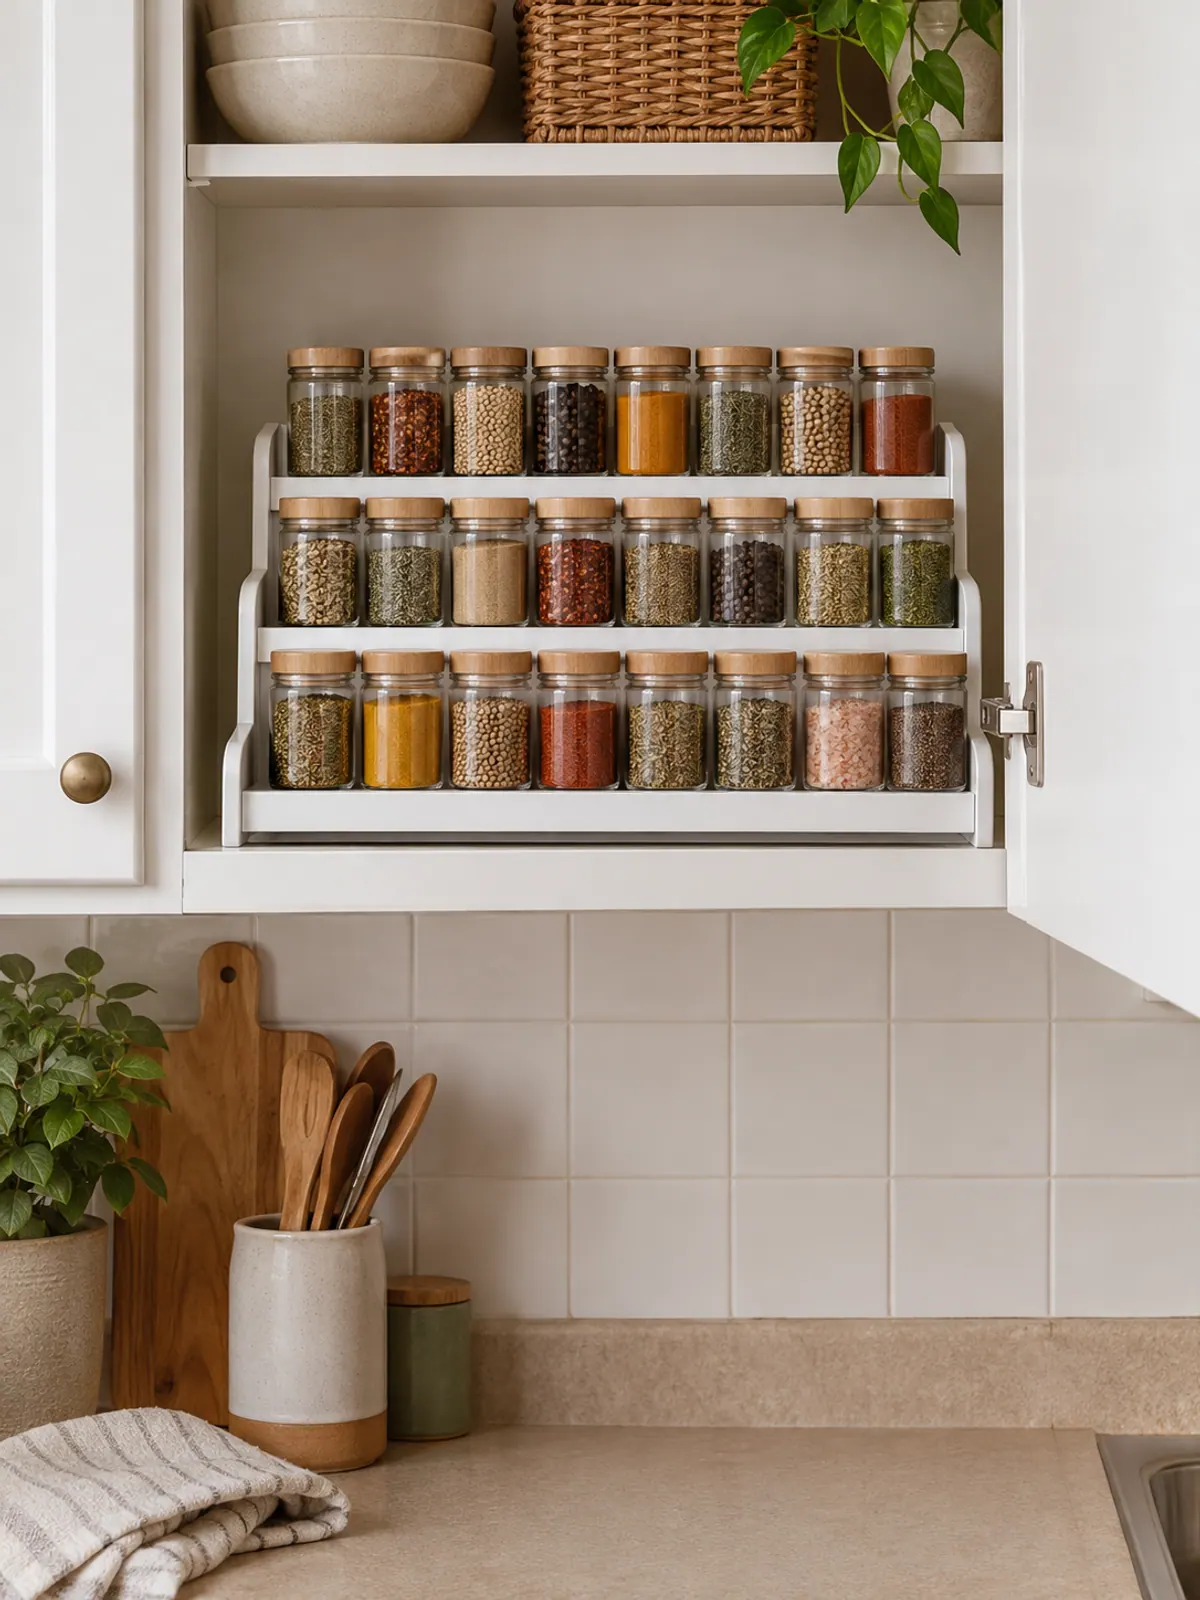
If the spices stay in a cabinet, a three-tier expandable step shelf lifts the back rows so every label shows. It stretches to fit the cabinet width and holds 24 to 30 jars.
Put the ten you use weekly on the bottom step and the rest behind.
The back row becomes visible.
20Group the top shelf into clear bins with handles
The top shelf of a rental cabinet is too high to see into, so it becomes a graveyard of half bags. Clear bins with front handles turn it into four categories you pull down as a unit: baking, breakfast, snacks, backups.
No decanting needed. The bag goes in the bin with its own label still on it.
The top shelf, four bins, reachable.
Pots, pans and lids in a 10-inch cabinet
21Stand the pans in an adjustable rack
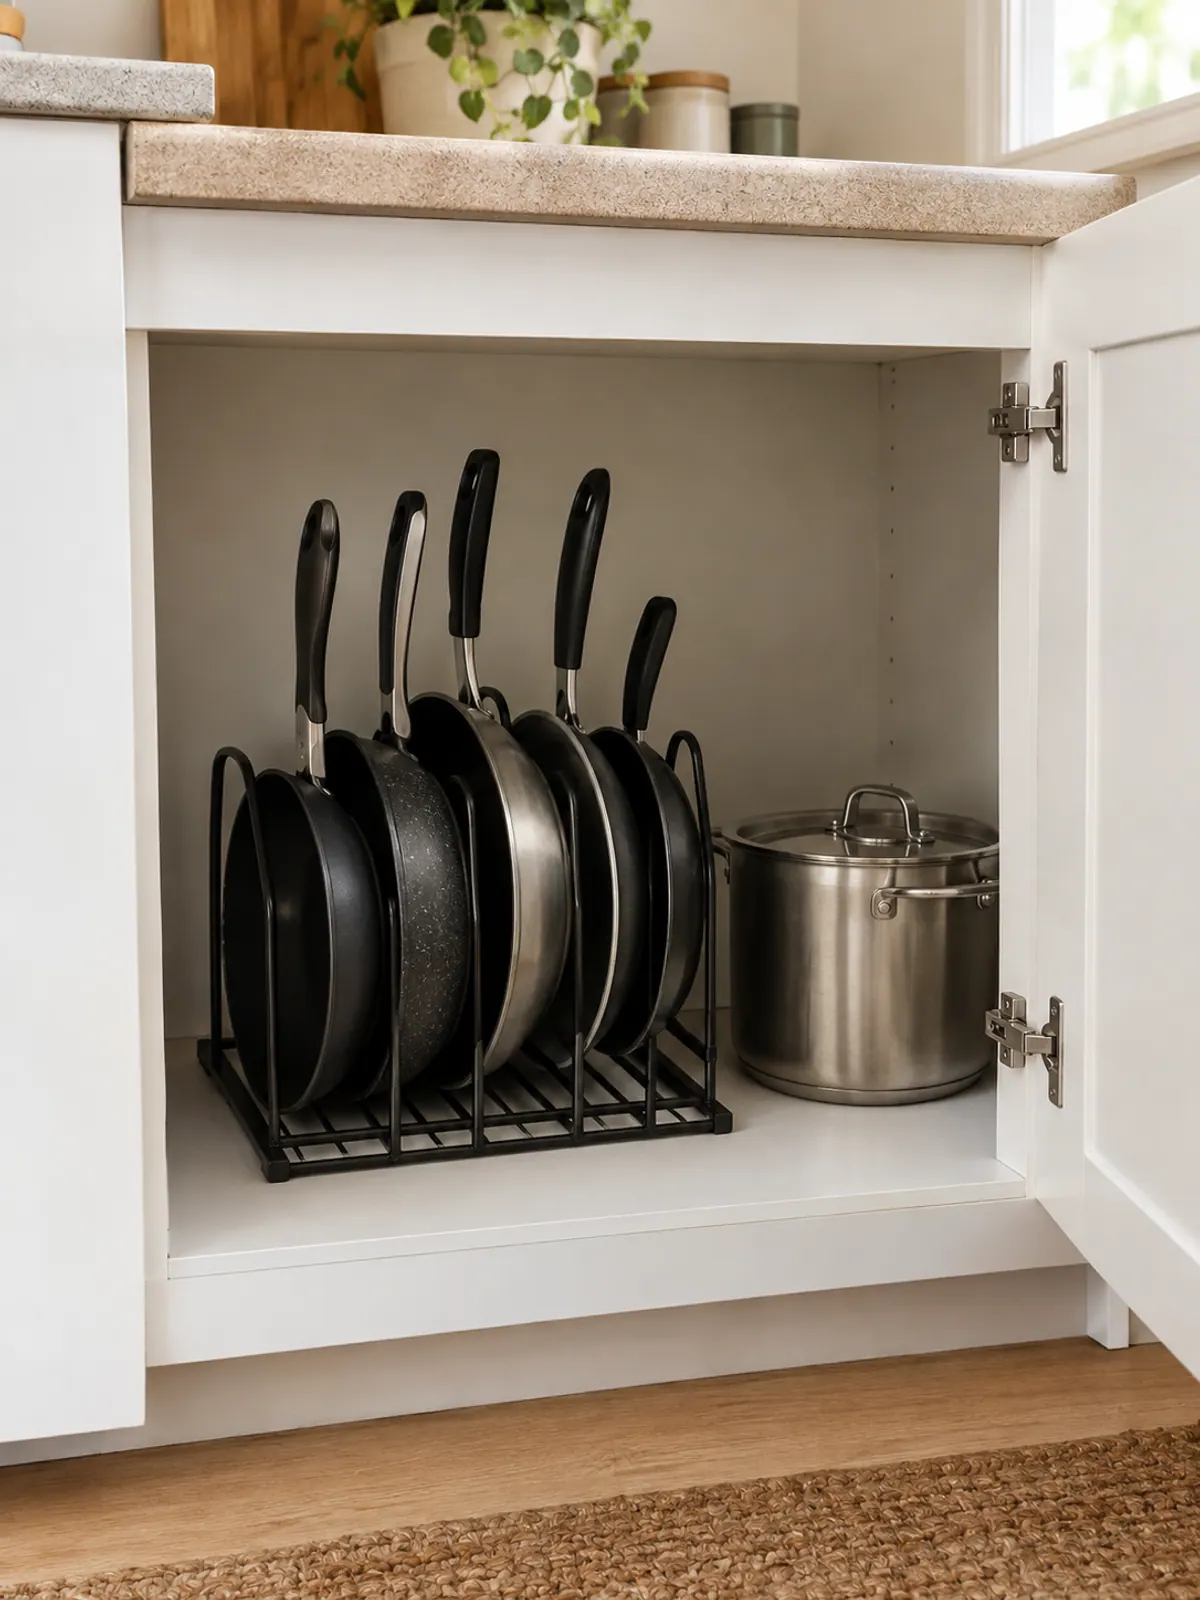
Nested pans scratch each other and need the whole stack lifted to reach the bottom one. An adjustable rack stands four to six pans upright on their sides, with dividers that move to fit the pan widths, in a cabinet as narrow as 10 inches.
It also works on the counter or a cart shelf for the two pans you use daily.
Every pan reachable without lifting a stack.
22Use tension rods as vertical dividers for sheet pans and lids
Two or three short tension rods set vertically in a lower cabinet make slots that hold sheet pans, lids, cooling racks and cutting boards upright. They press between the cabinet floor and the shelf above, so there is no screw and no strip.
A 7 to 11 inch rod fits most lower cabinet sections. Give each slot about 2 inches and the lids stop sliding.
Dividers you can remove in a second.
The rolling cart and other renter-friendly moves
23Make the rolling cart the pantry you do not have
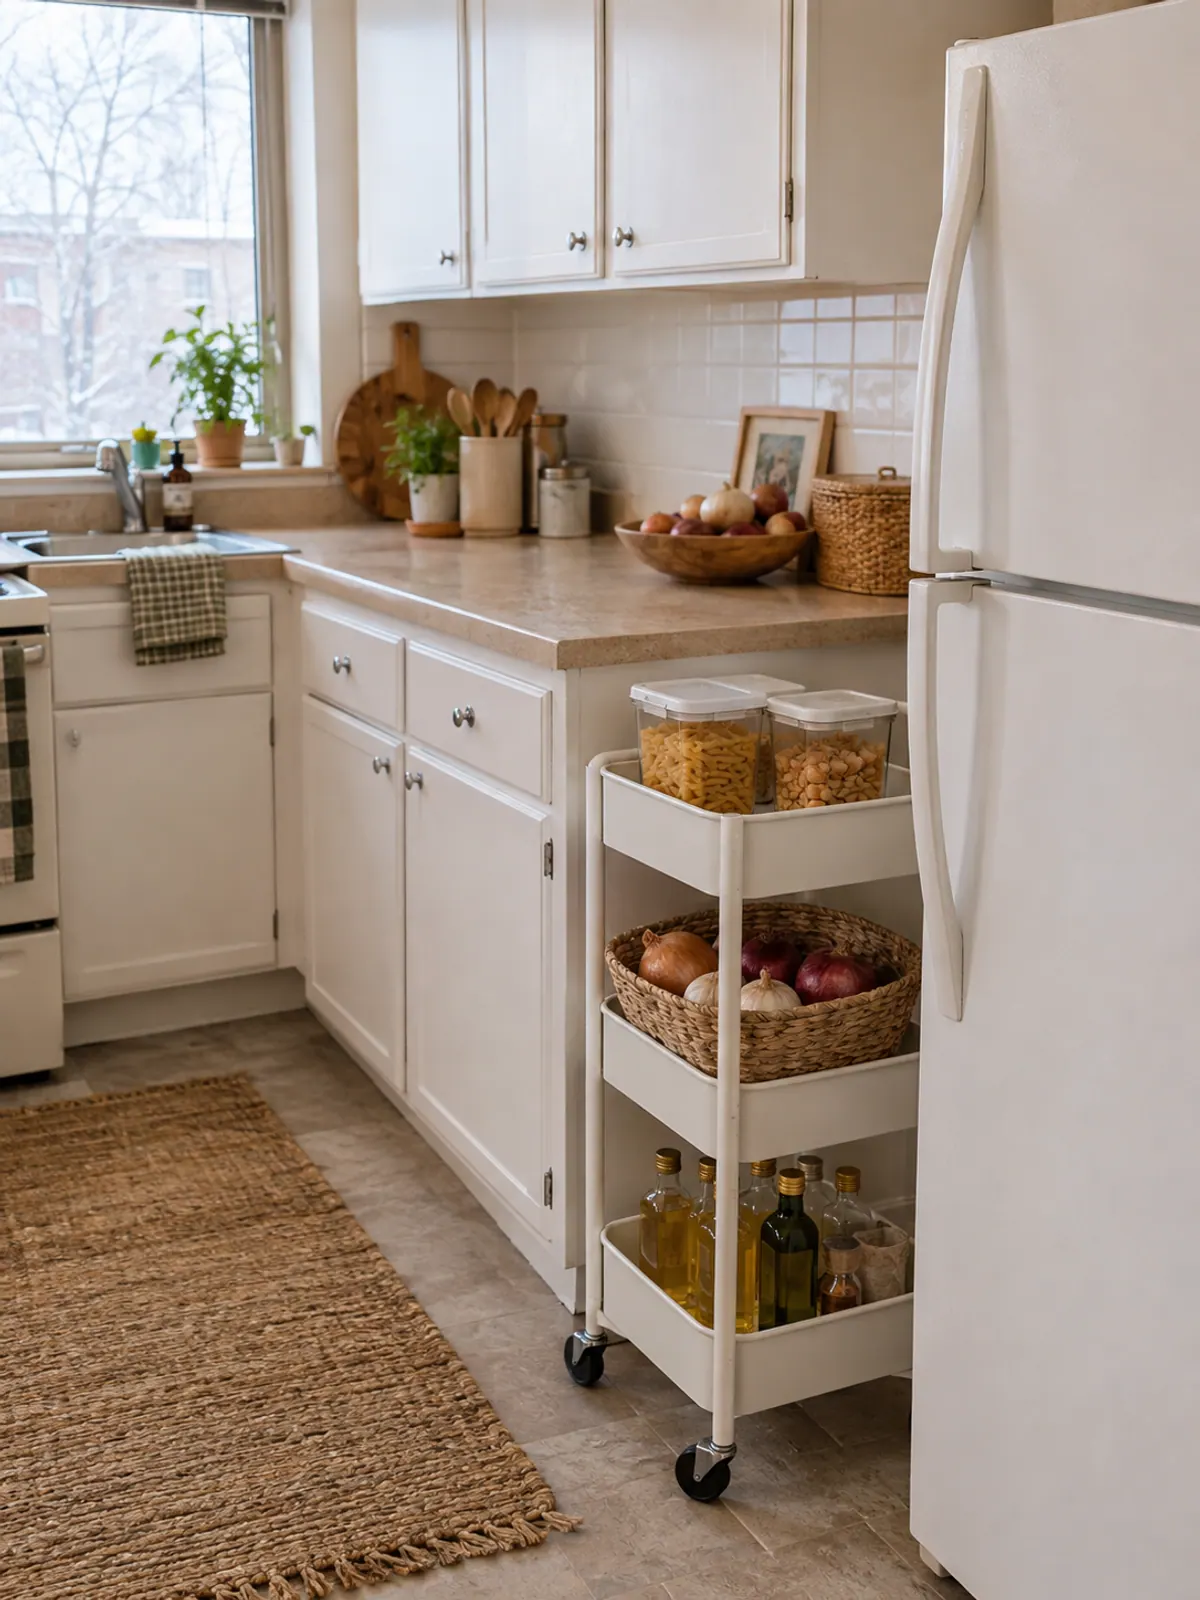
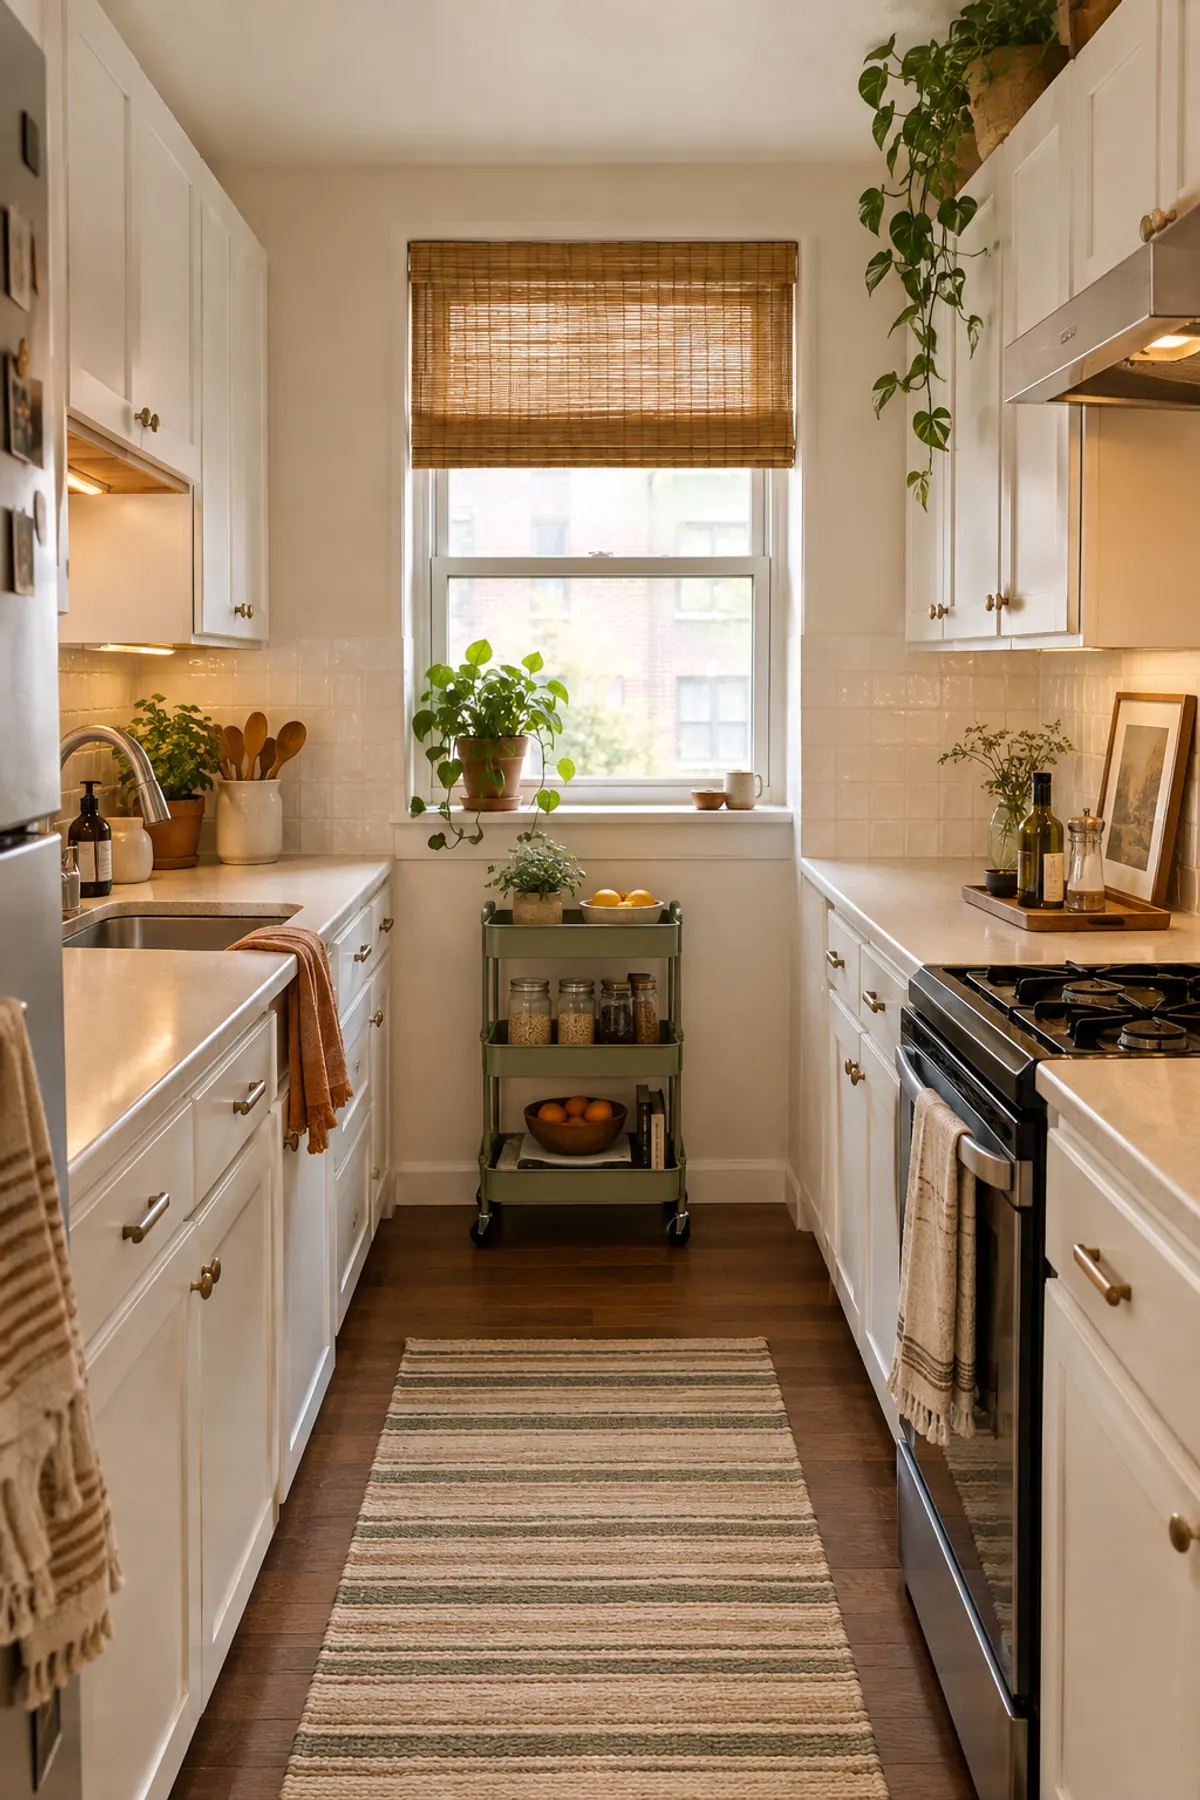
If the cabinets are full after all of the above, the cart is the last move. A three-tier cart at the end of the counter holds what the pantry would: baskets of produce, bins of dry goods and the oils. It rolls into the hall when you need the floor.
Use bins on each tier instead of loose items so the cart looks like storage, not a pile.
The pantry that moves with you.
Two moves that cost nothing. Pull everything out of one cabinet before adding any organizer to it, because an organizer on top of clutter is just taller clutter. And keep the counter to one tray, so the clear-counter habit has a finish line. The same one-zone-a-day method runs through the rest of the apartment in 30 small apartment organization ideas, and the closet version is in small closet organization ideas.
| Method | Best surface | Holds | Deposit risk |
|---|---|---|---|
| Adhesive strips | Smooth laminate, glass, tile | Light items, by the maker's rating | Low on laminate, higher on painted wood; warm before pulling |
| Magnetic | Steel fridge side | Tins, a light shelf | None, if the surface is magnetic |
| Tension rod | Inside cabinets, under sink | Pans, lids, light bottles | None |
| Over the door | Any door or cabinet door | Pantry rack, towel bar | Possible rub mark on the door top; use padded hooks |
One-hour rental kitchen organization order
Shop the kitchen organization list
Kitchen organization picks under $50
-
In-drawer bamboo knife organizer
Typically $15 to $30
Counter space back.
Check price on Amazon for In-drawer bamboo knife organizer -
Adhesive under-cabinet paper towel holder
Typically $10 to $20
No screws.
Check price on Amazon for Adhesive under-cabinet paper towel holder -
Sink caddy for sponge and dish soap
Typically $8 to $18
Sponge off the counter.
Check price on Amazon for Sink caddy for sponge and dish soap -
Expandable bamboo utensil drawer tray
Typically $18 to $35
Edge-to-edge slots.
Check price on Amazon for Expandable bamboo utensil drawer tray -
Adjustable spring-loaded drawer dividers, set of 4
Typically $12 to $25
Junk drawer walls.
Check price on Amazon for Adjustable spring-loaded drawer dividers, set of 4 -
In-drawer spice rack organizer
Typically $12 to $25
Labels face up.
Check price on Amazon for In-drawer spice rack organizer -
Expandable cabinet shelf riser
Typically $12 to $25
A second shelf.
Check price on Amazon for Expandable cabinet shelf riser -
Under-shelf hanging basket, set of 2
Typically $15 to $28
Dead air used.
Check price on Amazon for Under-shelf hanging basket, set of 2 -
Stackable can rack organizer
Typically $18 to $35
Cans roll forward.
Check price on Amazon for Stackable can rack organizer -
Pull-out cabinet organizer, two tier
Typically $25 to $50
Back row reachable.
Check price on Amazon for Pull-out cabinet organizer, two tier -
Expandable two-tier under-sink organizer
Typically $20 to $40
Goes around the pipe.
Check price on Amazon for Expandable two-tier under-sink organizer -
Clear plastic storage bins with handles, set of 4
Typically $15 to $30
Sort by task.
Check price on Amazon for Clear plastic storage bins with handles, set of 4 -
Under-sink rolling cleaning caddy
Typically $18 to $35
Back of the cabinet.
Check price on Amazon for Under-sink rolling cleaning caddy -
Adhesive cutting board holder for cabinet door
Typically $10 to $20
Boards on the door.
Check price on Amazon for Adhesive cutting board holder for cabinet door -
Magnetic spice tins with clear lids, set of 12
Typically $15 to $30
The fridge side wall.
Check price on Amazon for Magnetic spice tins with clear lids, set of 12 -
Over-the-cabinet-door towel bar
Typically $8 to $18
Towels dry.
Check price on Amazon for Over-the-cabinet-door towel bar -
Over-the-door pantry organizer rack
Typically $20 to $40
A door pantry.
Check price on Amazon for Over-the-door pantry organizer rack -
Expandable 3-tier spice step shelf
Typically $12 to $25
Back row visible.
Check price on Amazon for Expandable 3-tier spice step shelf -
Clear pantry bins with handles, set of 4
Typically $20 to $35
Top shelf by category.
Check price on Amazon for Clear pantry bins with handles, set of 4 -
Adjustable pan organizer rack
Typically $15 to $30
Pans upright.
Check price on Amazon for Adjustable pan organizer rack -
Short tension rods, set of 4
Typically $8 to $15
Lid dividers.
Check price on Amazon for Short tension rods, set of 4 -
Three-tier rolling kitchen cart
Typically $25 to $45
The moving pantry.
Check price on Amazon for Three-tier rolling kitchen cart
Prices change often, so treat these as typical ranges. Measure the drawer, the cabinet opening and the fridge side before ordering anything on this list.
Frequently asked questions
How do I organize a small kitchen with no cabinet space?
Add a level inside the cabinets you have with expandable risers, under-shelf baskets and a pull-out basket, move spices and wraps into drawers or onto a door, and put the overflow on a rolling cart with bins. Clearing the counter first makes the kitchen feel bigger before anything is bought.
How do you organize a rental kitchen without drilling?
Use organizers that stand, hang or press: shelf risers, under-shelf baskets, tension rods, over-the-door racks and over-the-cabinet-door bars. Save adhesive for light things on smooth laminate, follow the maker's weight rating and warm the strip with a hair dryer before pulling it.
Where do you put pots and pans in a small kitchen?
Stand them upright in an adjustable pan rack in a lower cabinet so no pan has to be lifted off another, and use short vertical tension rods as slots for lids, sheet pans and cutting boards. The two daily pans can live on a cart shelf.
How do I organize a small kitchen with no pantry?
Hang an over-the-door rack on the kitchen or hall closet door for oils, pasta and snacks, group the top shelf of a cabinet into clear bins with handles, and use a three-tier rolling cart with bins as a pantry that moves.
What is the best way to organize kitchen counters?
Give the three habitual counter items a home elsewhere: knives in an in-drawer organizer, paper towels under the cabinet and the sponge in a sink caddy. Then limit the counter to one tray so there is a visible finish line.
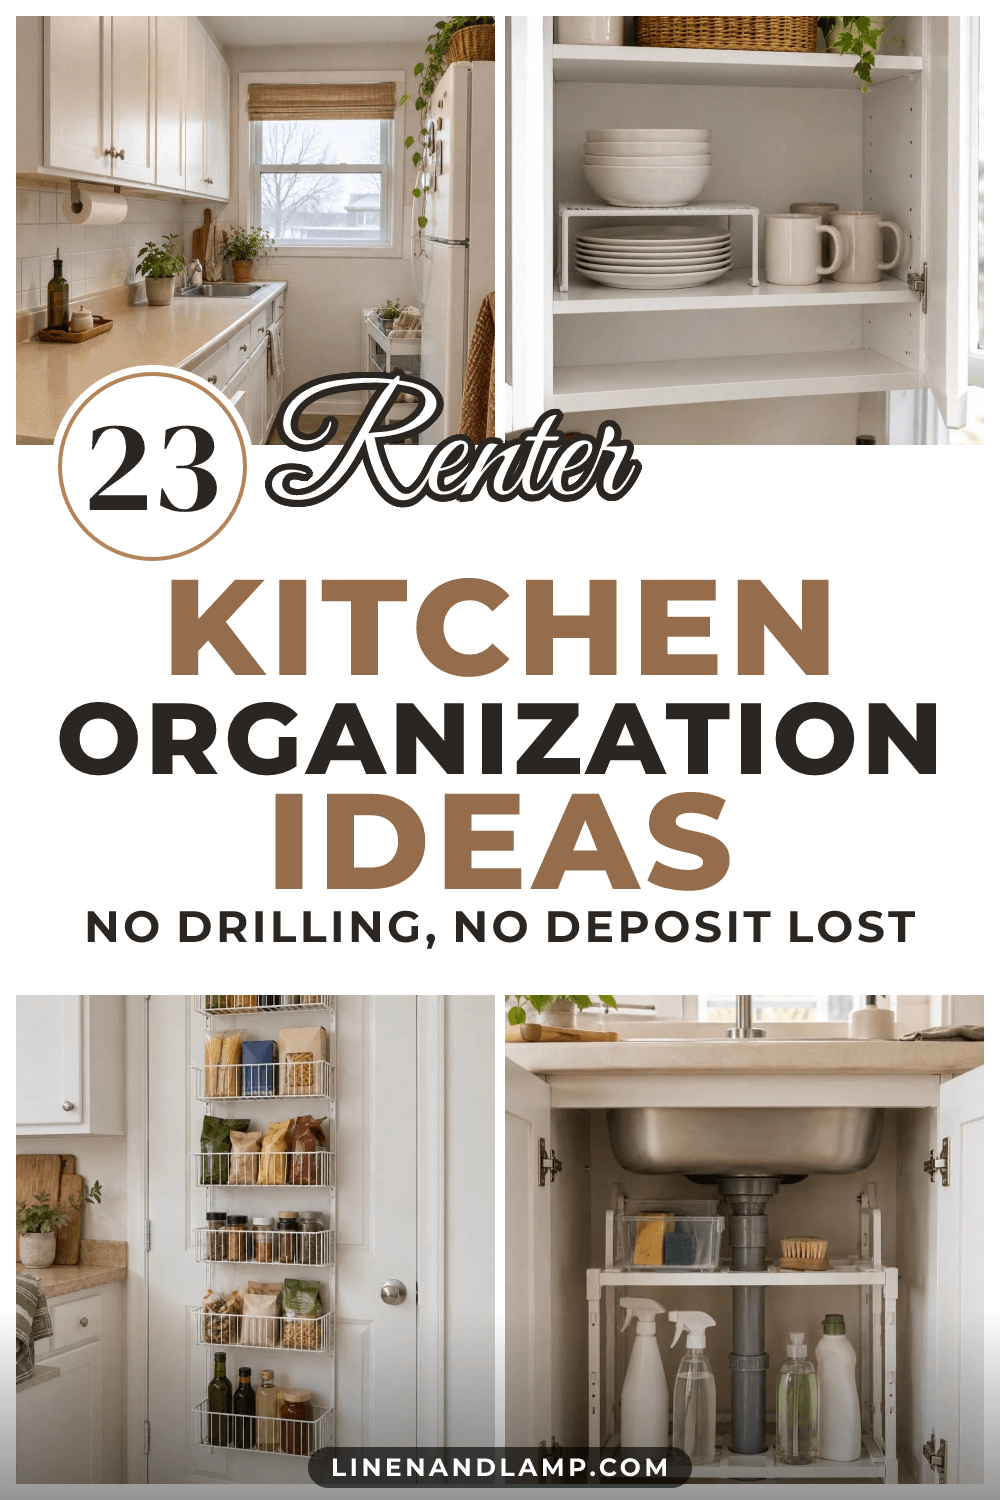
Save it for later
Pin this to your Organization board so it's there when you need it.
Save to Pinterest