This post contains affiliate links. As an Amazon Associate we earn from qualifying purchases, at no extra cost to you. Read our disclosure.
Key takeaways
- Measure the clear counter width first: 24 inches fits one machine, 36 fits a real station, 48 fits two zones.
- Leave about 30 inches clear in front of the bar to pour.
- A tray, a riser or a cart gives the bar a footprint and keeps it movable.
- Hang mugs from a rail or hooks to free the counter.
- Keep only this week's items out; the rest goes in a cupboard.
In this post18 sections
- Coffee bar ideas for a kitchen counter start with the width
- 24 inch coffee bar ideas: the smallest counter that still works
- 1. A tray that lifts off the counter
- 2. A two-tier riser with mug hooks
- 3. Adhesive mug rail under the wall cabinet
- 4. A slim cart in the gap beside the fridge
- 36 inch coffee bar ideas: room for a real station
- 5. Machine, three canisters and a mug stack
- 6. A step riser with a syrup caddy
- 7. A lazy susan for syrups, tea and honey
- 8. Two trays: one for coffee, one for tea
- 48 inch and island-end coffee bar ideas: stations that host
- 9. A full bar with a wall rail
- 10. An island-end coffee station
- 11. A cabinet-corner station behind doors
- 12. A slim sideboard in the dining nook
- Mistakes that turn a coffee bar into counter clutter
- FAQ
Coffee bar ideas for a kitchen counter start with the width
Most coffee bar ideas show a styled shelf and never say how many inches it took. The number that decides everything is the clear counter width, so measure it first: tape off the stretch you can spare, plus the wall space above it.
| Counter width | What fits | Best for |
|---|---|---|
| 24 inches | One machine, a mug stack or hooks, one canister | Studios and galley kitchens where the counter is shared with prep |
| 36 inches | Machine, three canisters, mugs, a syrup or tea corner | One or two coffee drinkers in a one-bedroom |
| 48 inches or an island end | Machine, kettle, two zones (coffee and tea), a wall rail | Couples, hosting, a station that doubles as a breakfast spot |
| Clear space in front | About 30 inches to stand and pour | Every size; shorter and you end up pouring over the sink |
| Wall or shelf above | About 12 to 18 inches of height | Mugs, a small shelf or hooks; check the machine lid opens under it |
Those figures follow the range most home-design guides give (about 24 inches for a compact bar and 36 for a comfortable one, per this small-kitchen coffee bar guide). They come from design blogs, not a standards body, so use them to plan and then measure your own machine, because an espresso maker takes more room than a drip brewer.
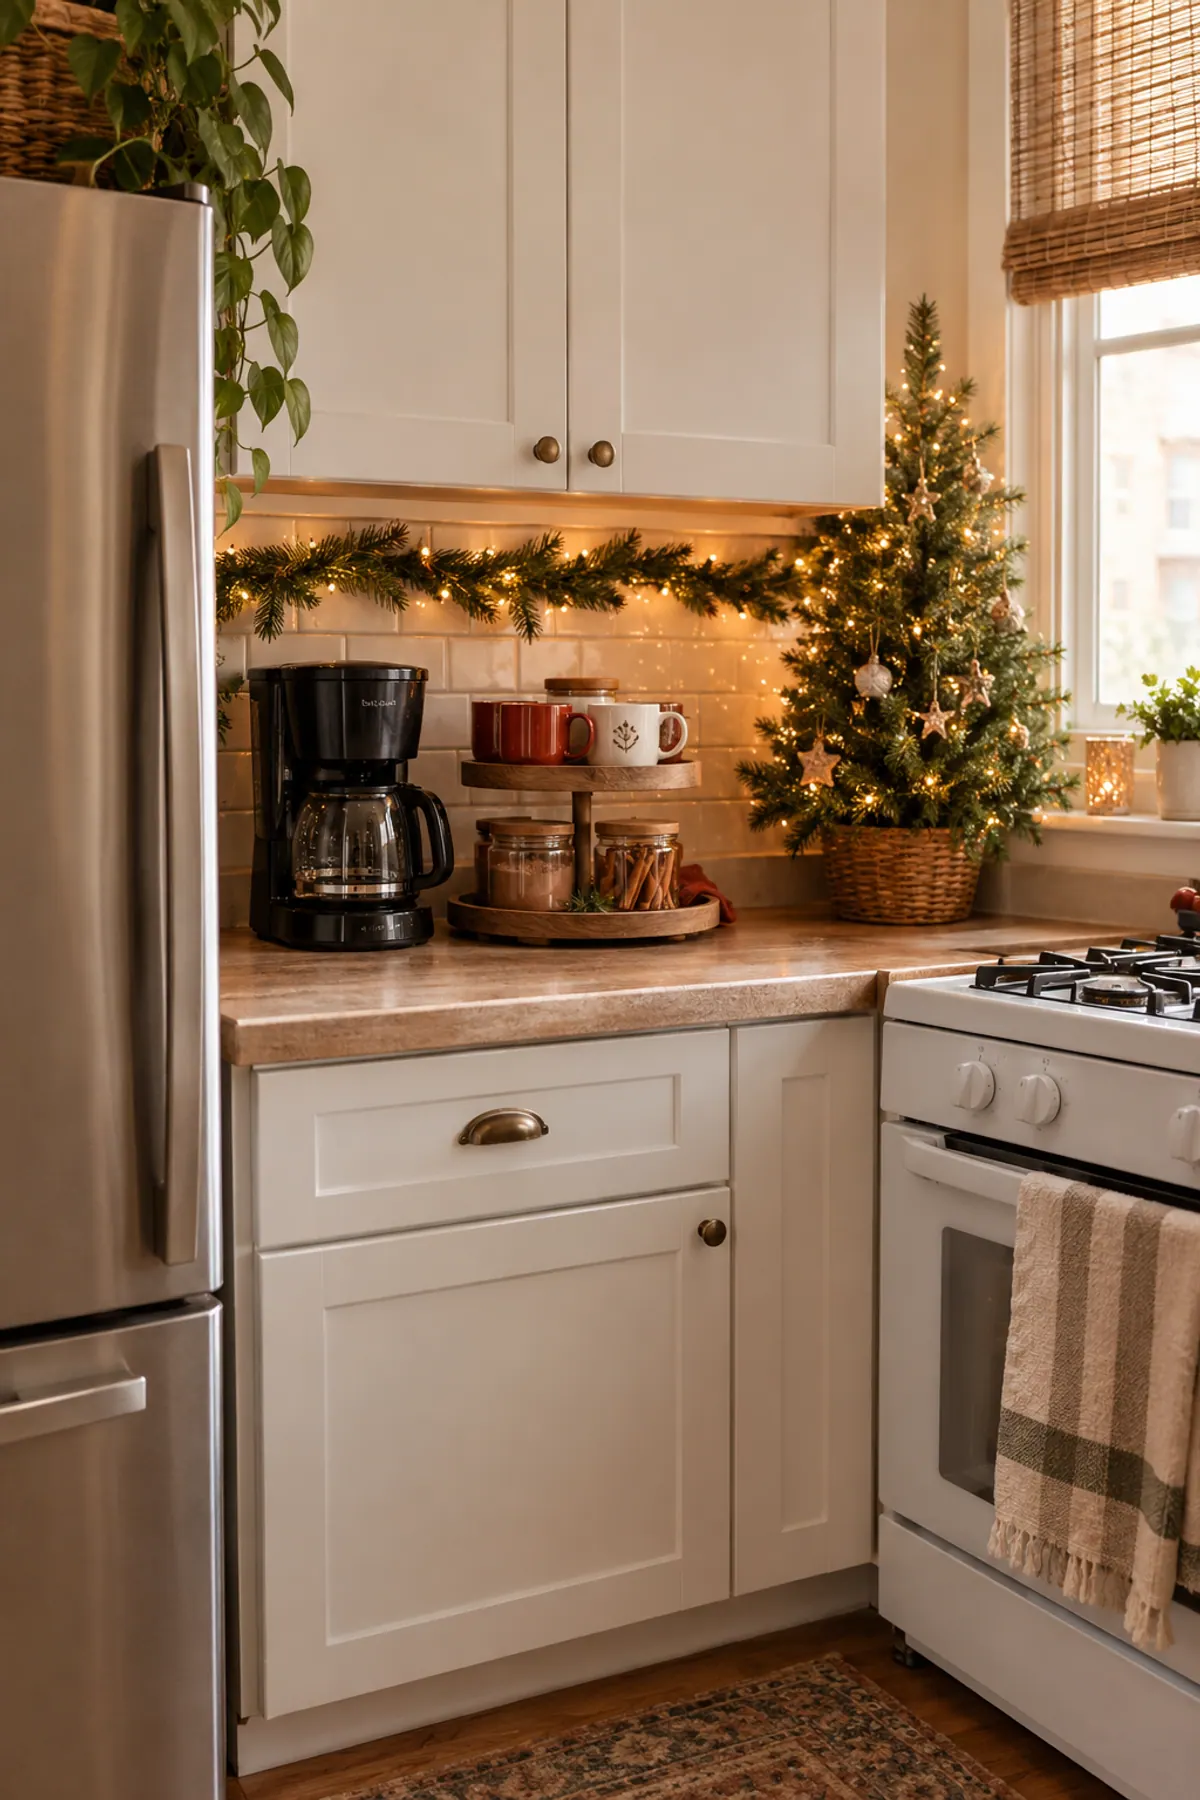
If you want a holiday version, our Christmas coffee bar ideas use the same footprints with seasonal styling, and the vintage coffee corner how-to covers a thrifted look step by step.
24 inch coffee bar ideas: the smallest counter that still works
1A tray that lifts off the counter
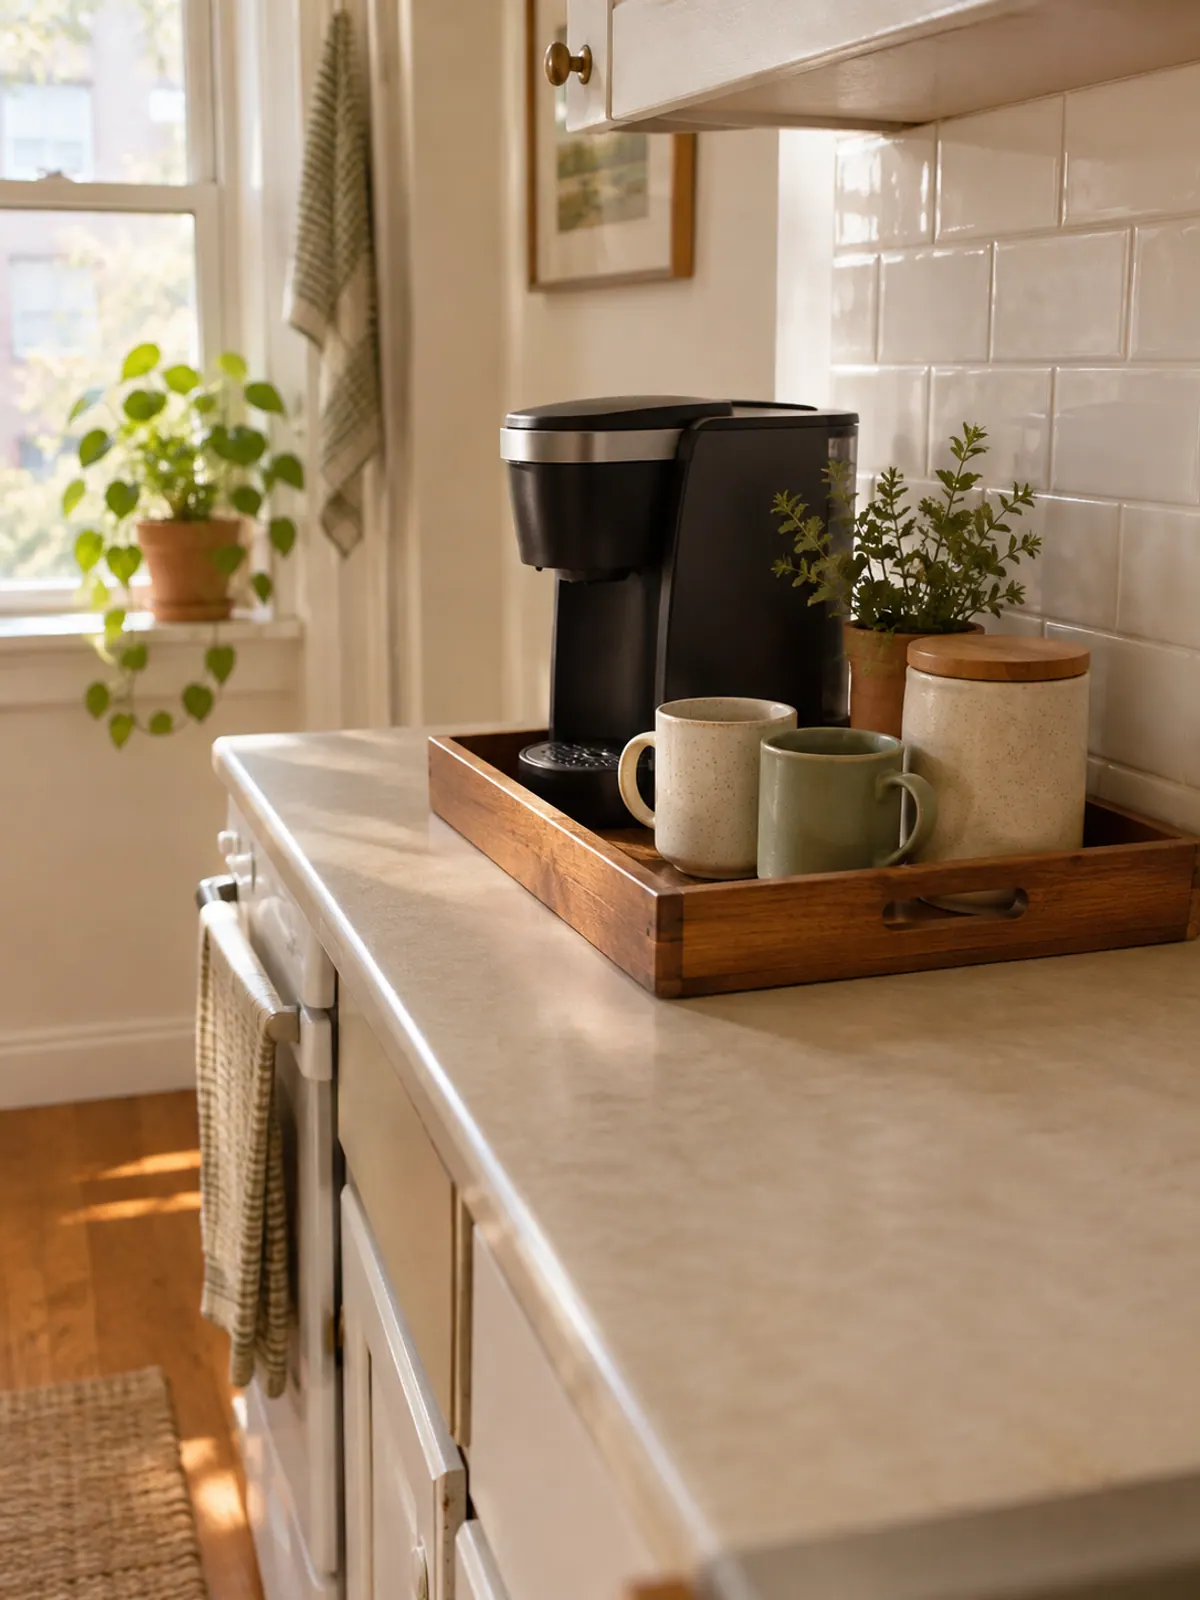
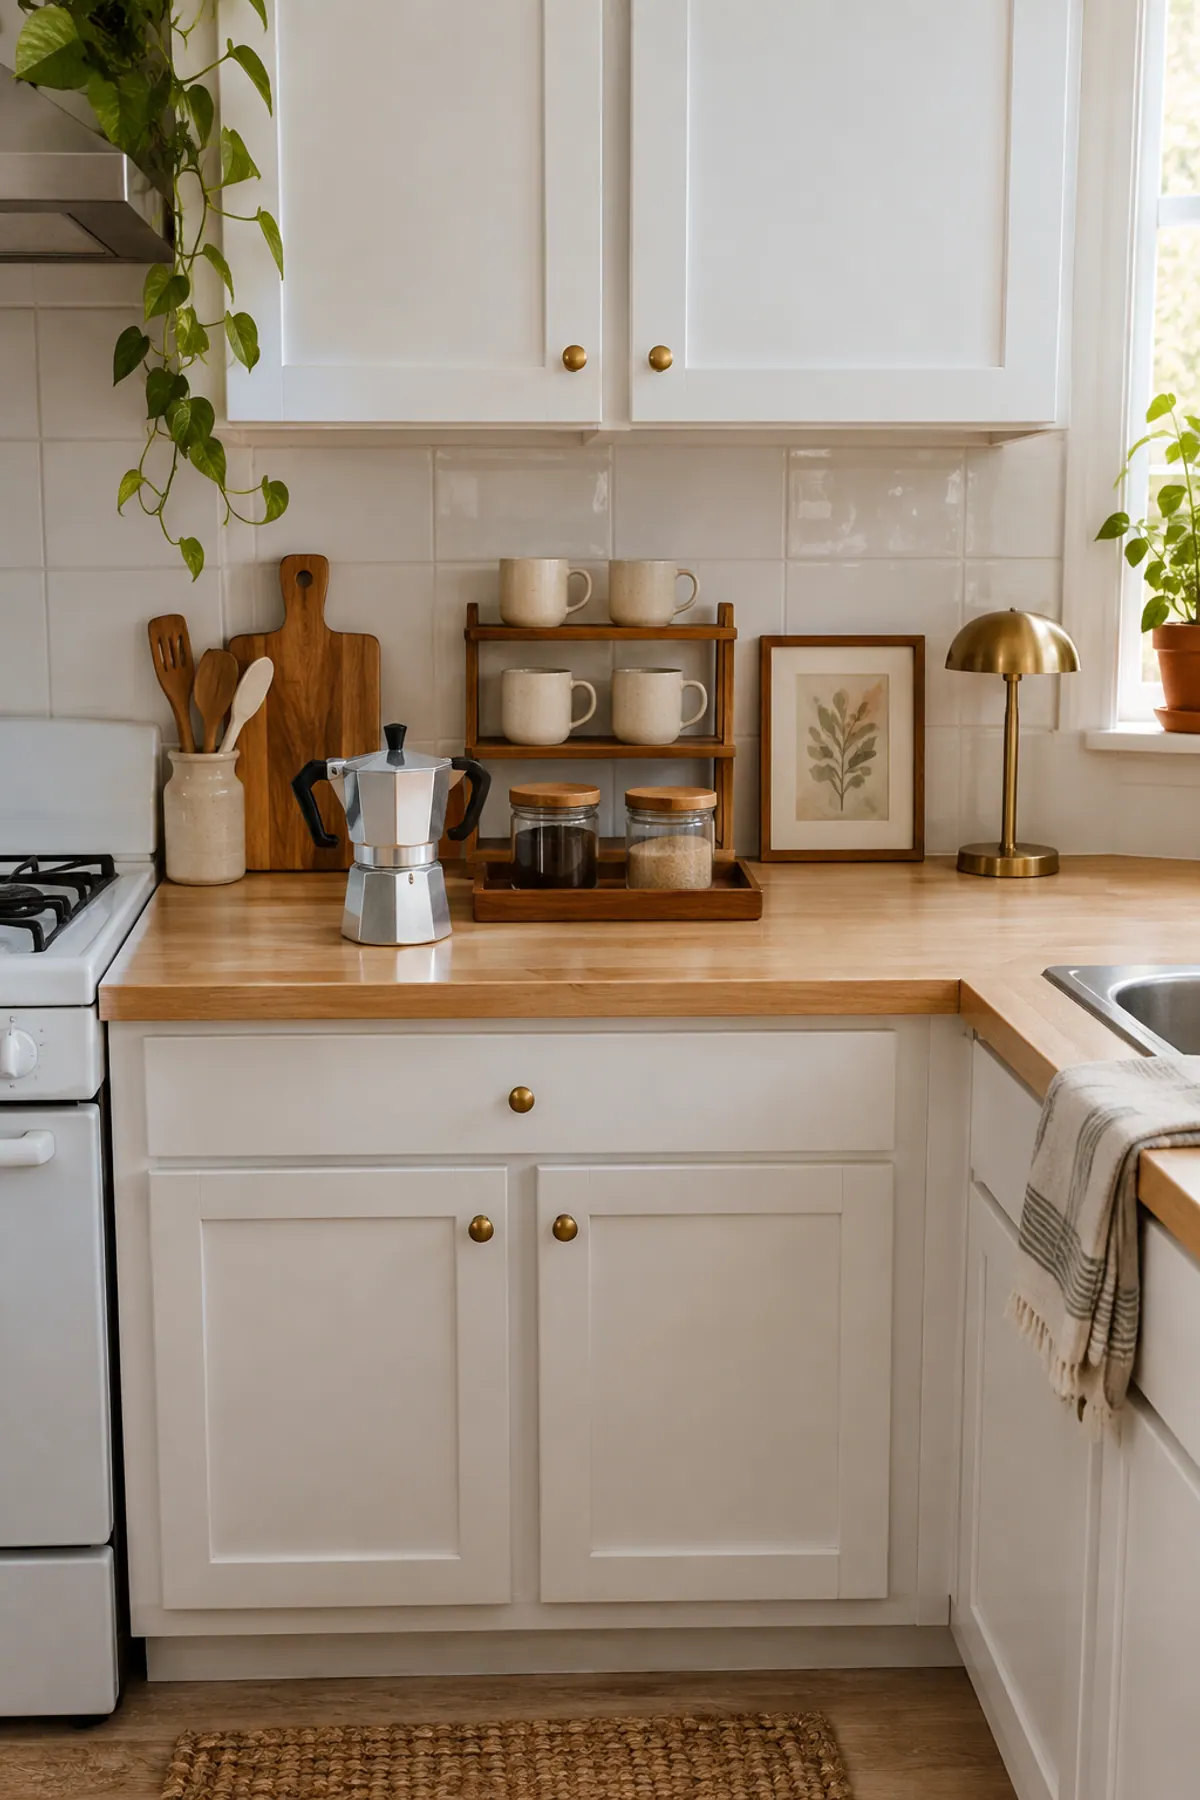
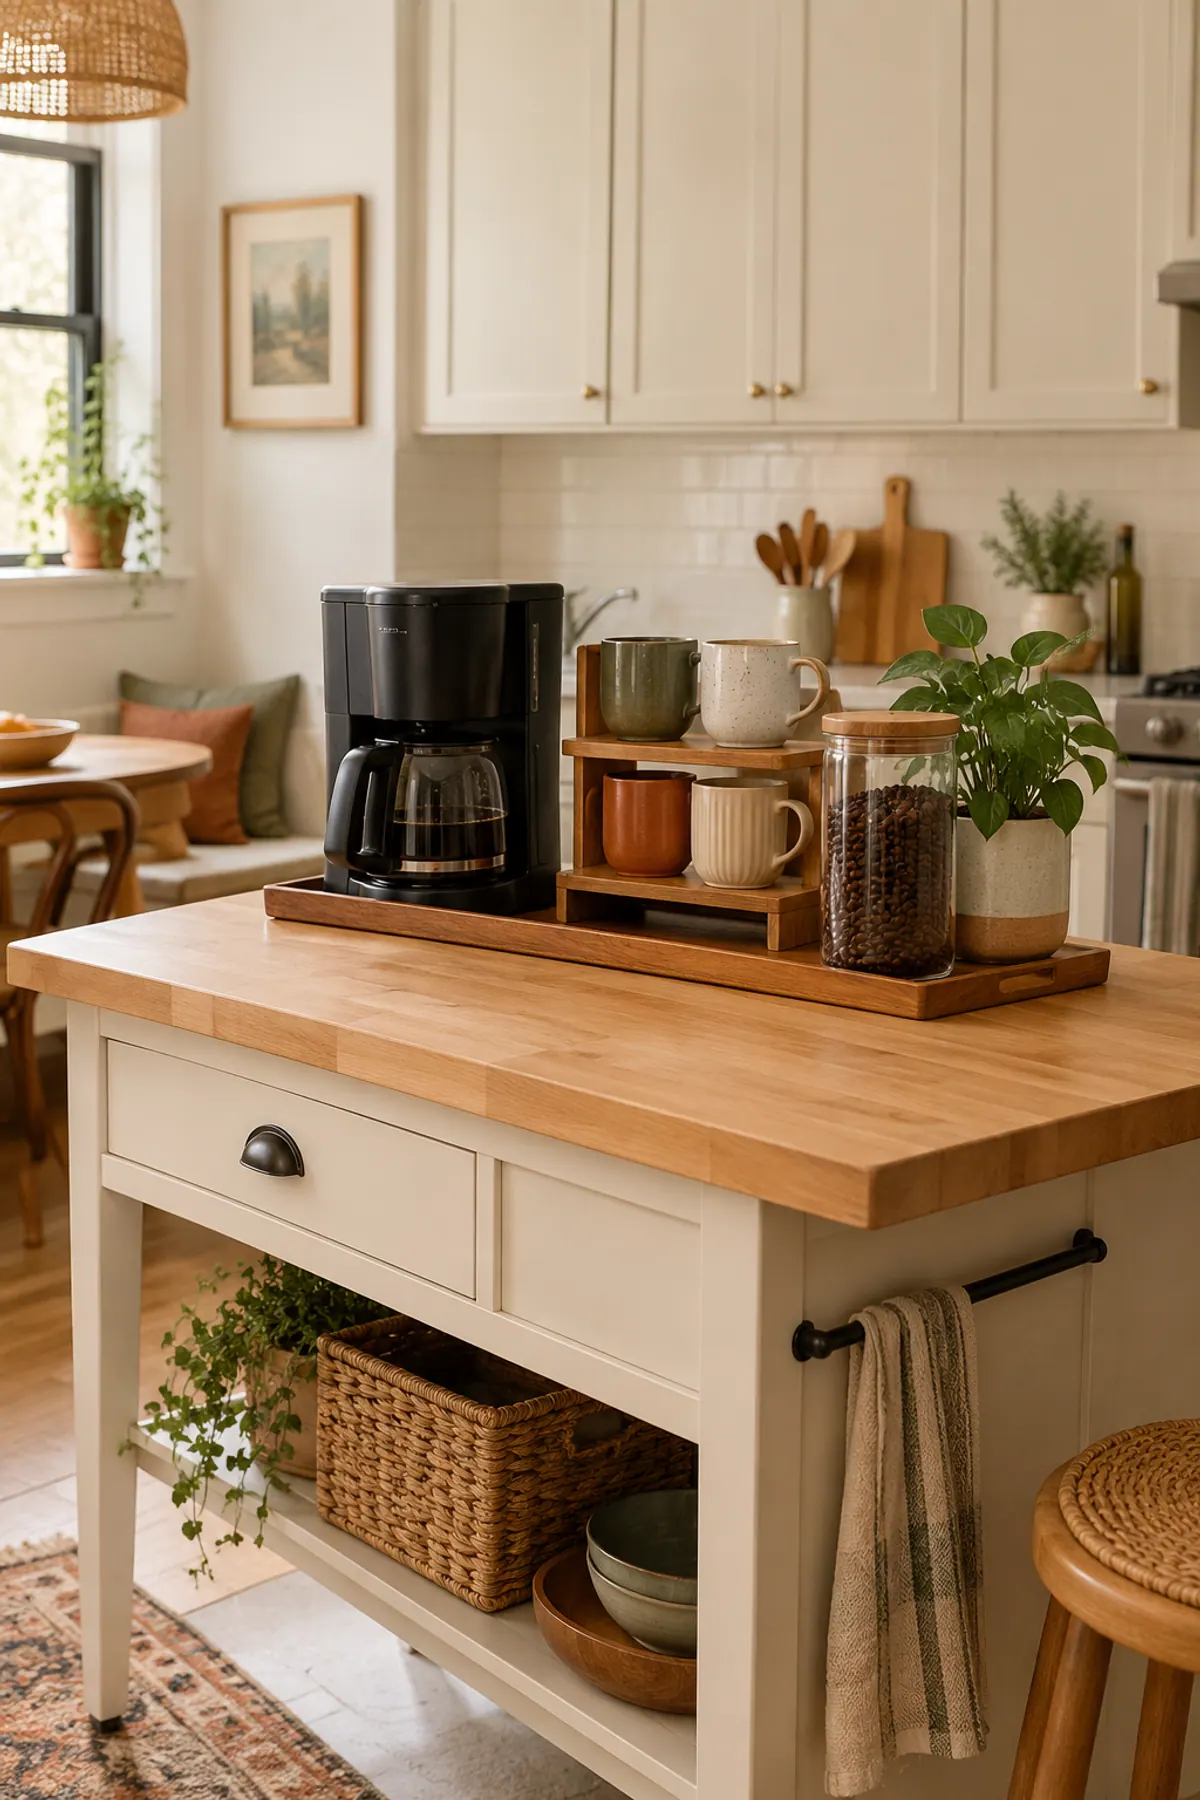
The easiest coffee bar idea for a tiny counter is a tray. Here one wooden tray holds a single-cup brewer, two mugs and a small canister, and the whole thing slides aside when you need the counter to chop onions. It claims 24 inches on paper but gives them back in ten seconds.
Pick a tray with a lip so a spilled cup stays contained, and keep everything on it in one color family so it reads as a station and not a pile.
- If the tray is heavier than a full dinner plate stack, you will stop moving it. Keep it light.
Defines the station and lifts off the counter in one move.
2A two-tier riser with mug hooks
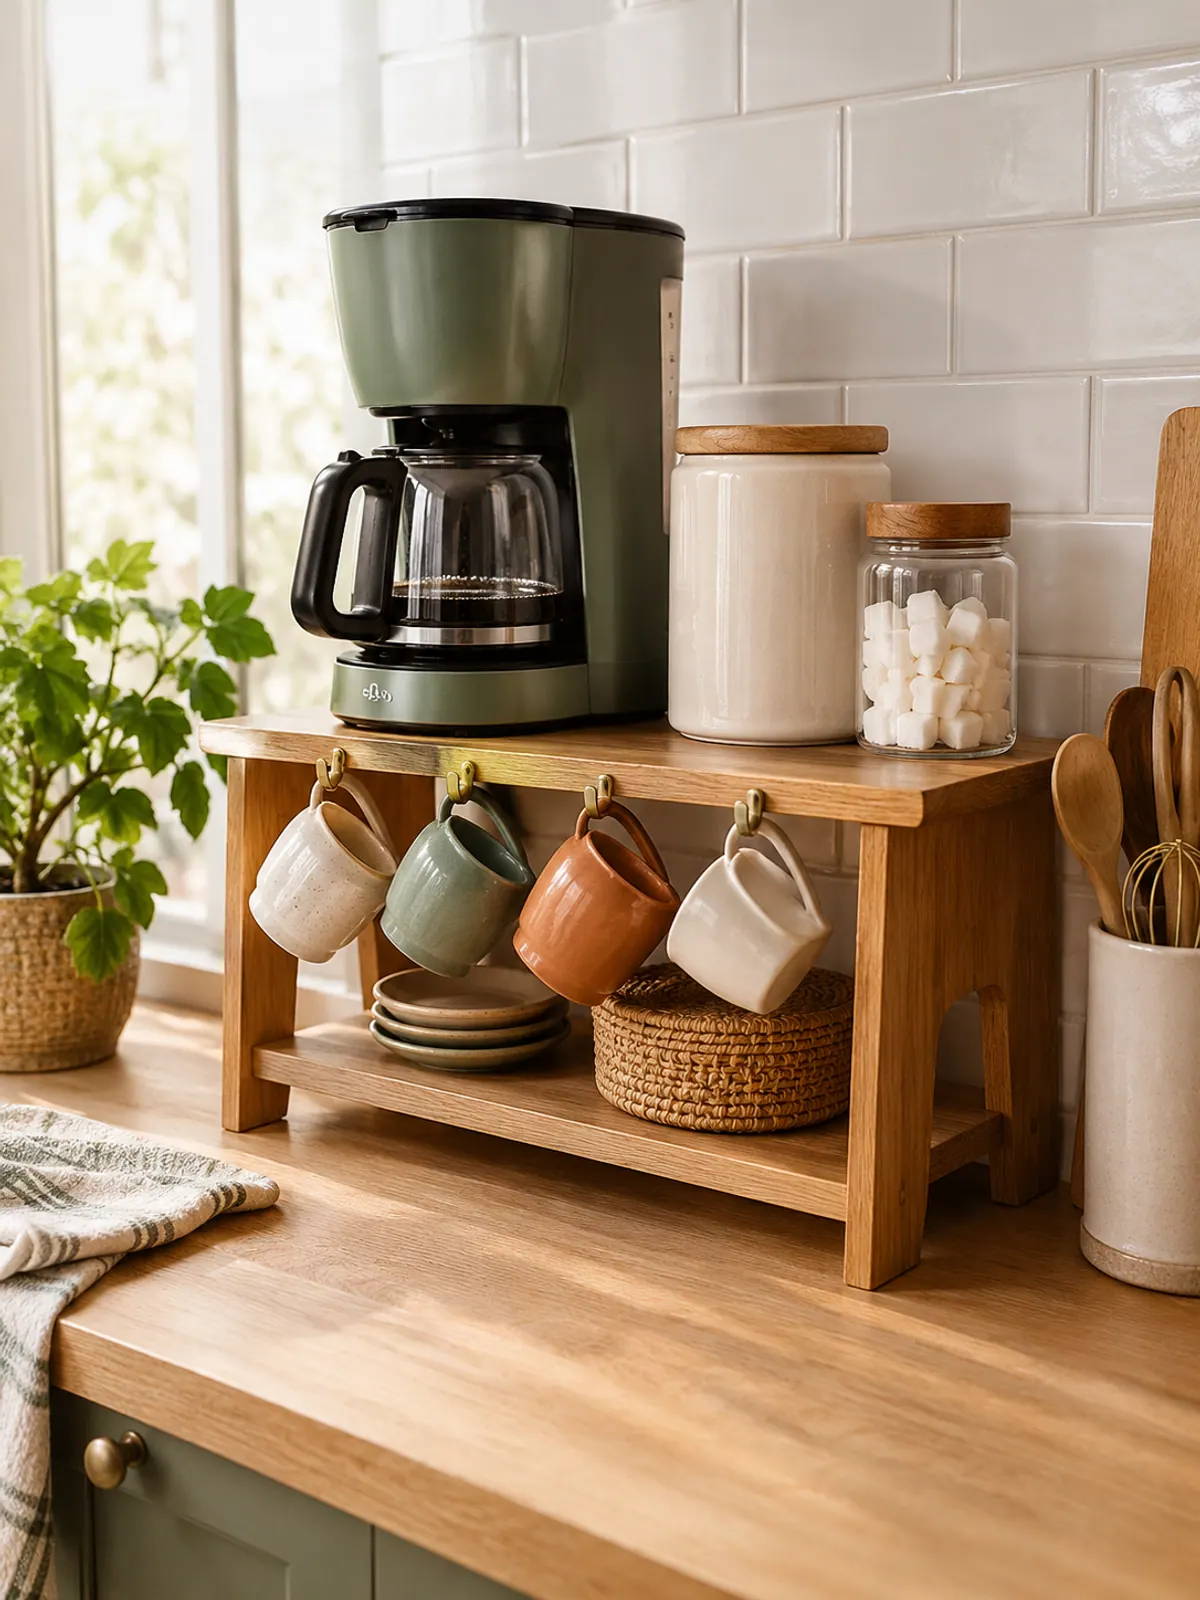
A riser builds upward, which is the only direction a 24 inch counter has left. The machine sits on top, mugs hang from hooks on the front edge and a canister fits underneath, so four things share one 12 by 20 inch footprint.
Check the shelf height against your machine before you buy. The lid has to open and the water tank has to slide out without hitting the next tier.
- Hang the mugs you use every day and shelve the rest, or the hooks become a second clutter zone.
Four things on a 12 by 20 inch footprint.
3Adhesive mug rail under the wall cabinet
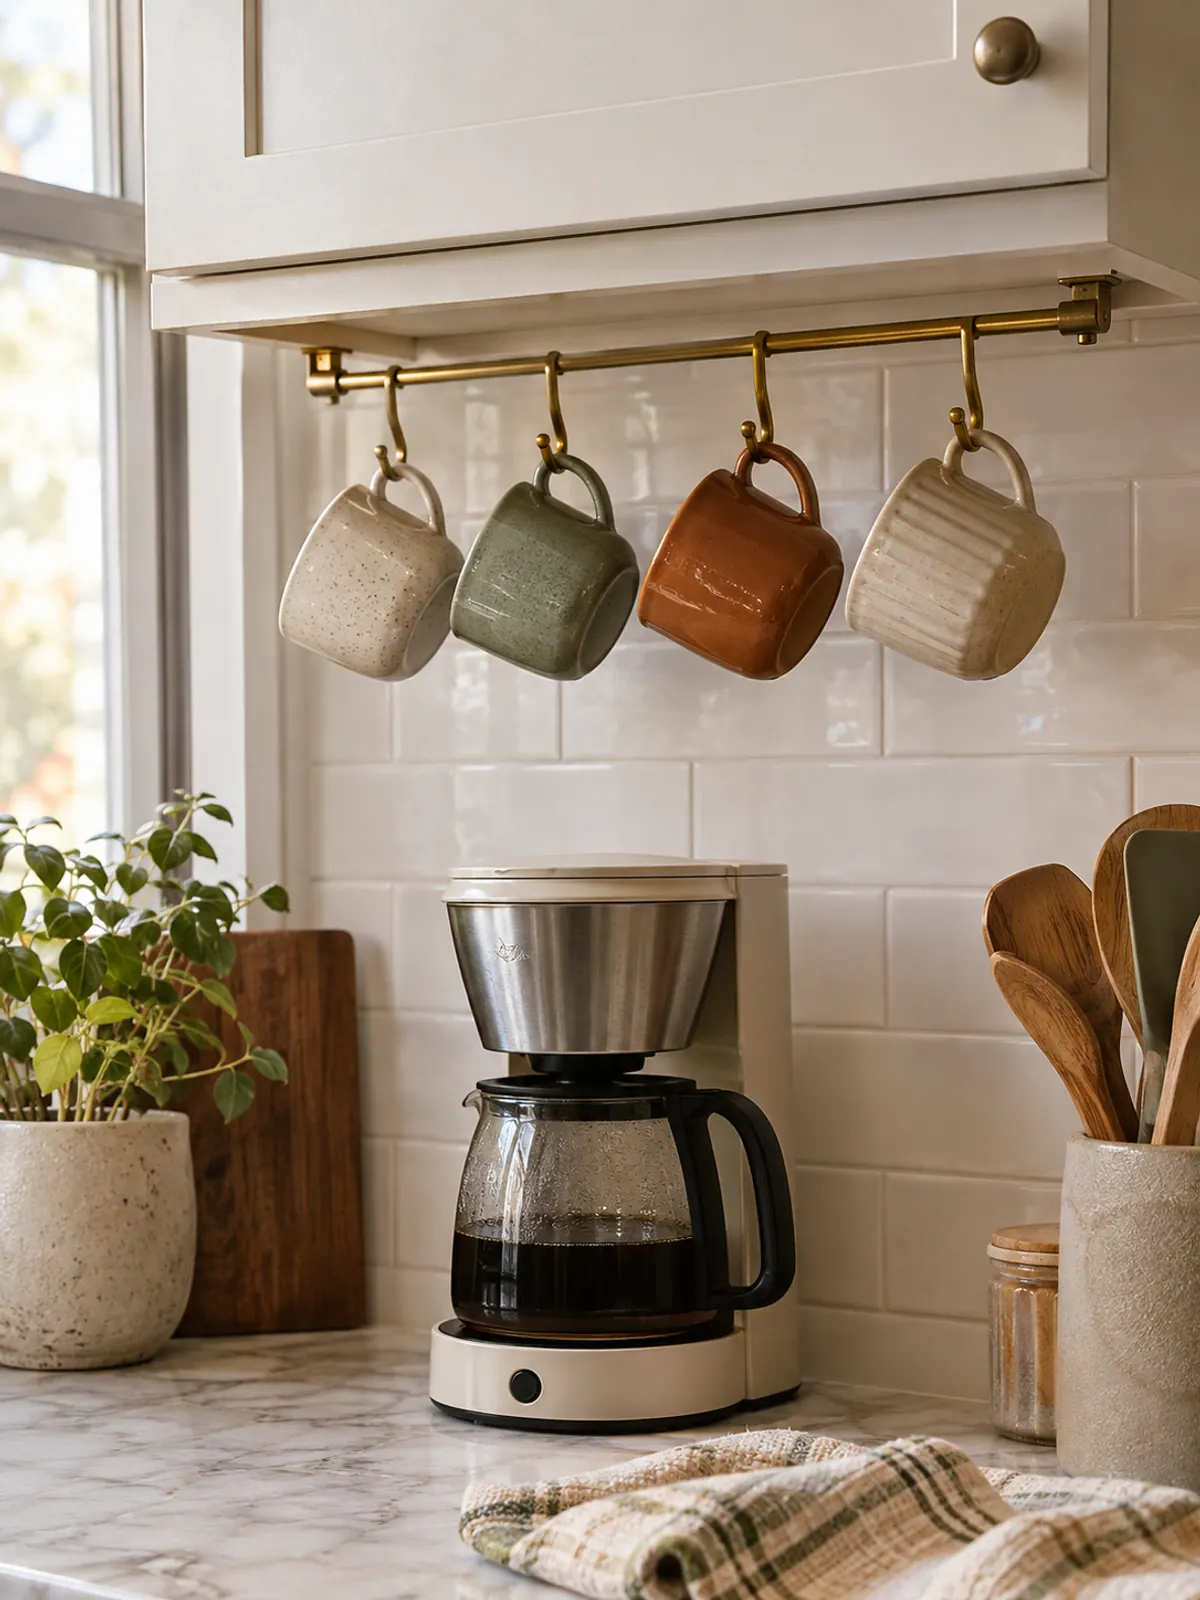
Under a wall cabinet is dead space, and a slim rail there takes the mugs off the counter altogether. This one holds four mugs about 15 inches above the counter, which leaves room for a machine below.
In a rental, choose a rail that mounts with strong adhesive strips and follow the weight rating on the box. Keep the mugs light, and test the strips on a hidden spot first.
- Check that the rail sits at least 3 inches back from the cabinet front so mug handles clear the door.
Frees the counter without a single hole.
4A slim cart in the gap beside the fridge
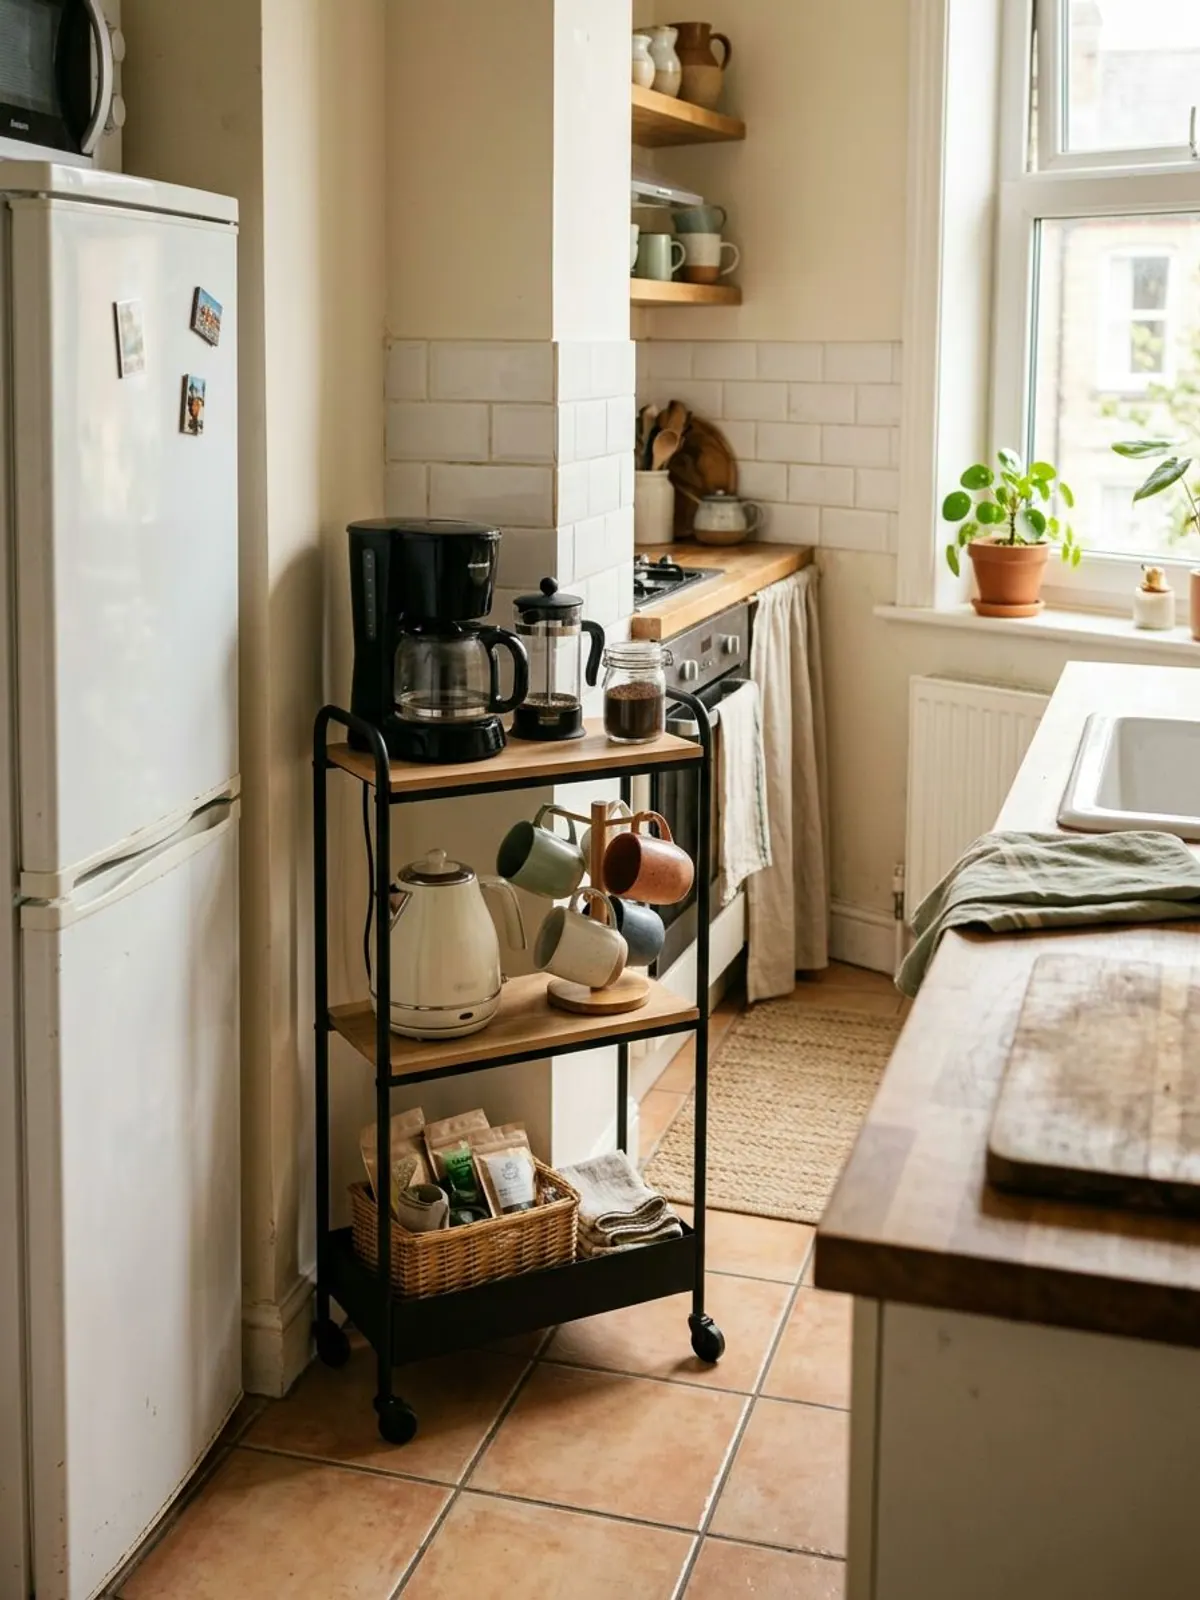
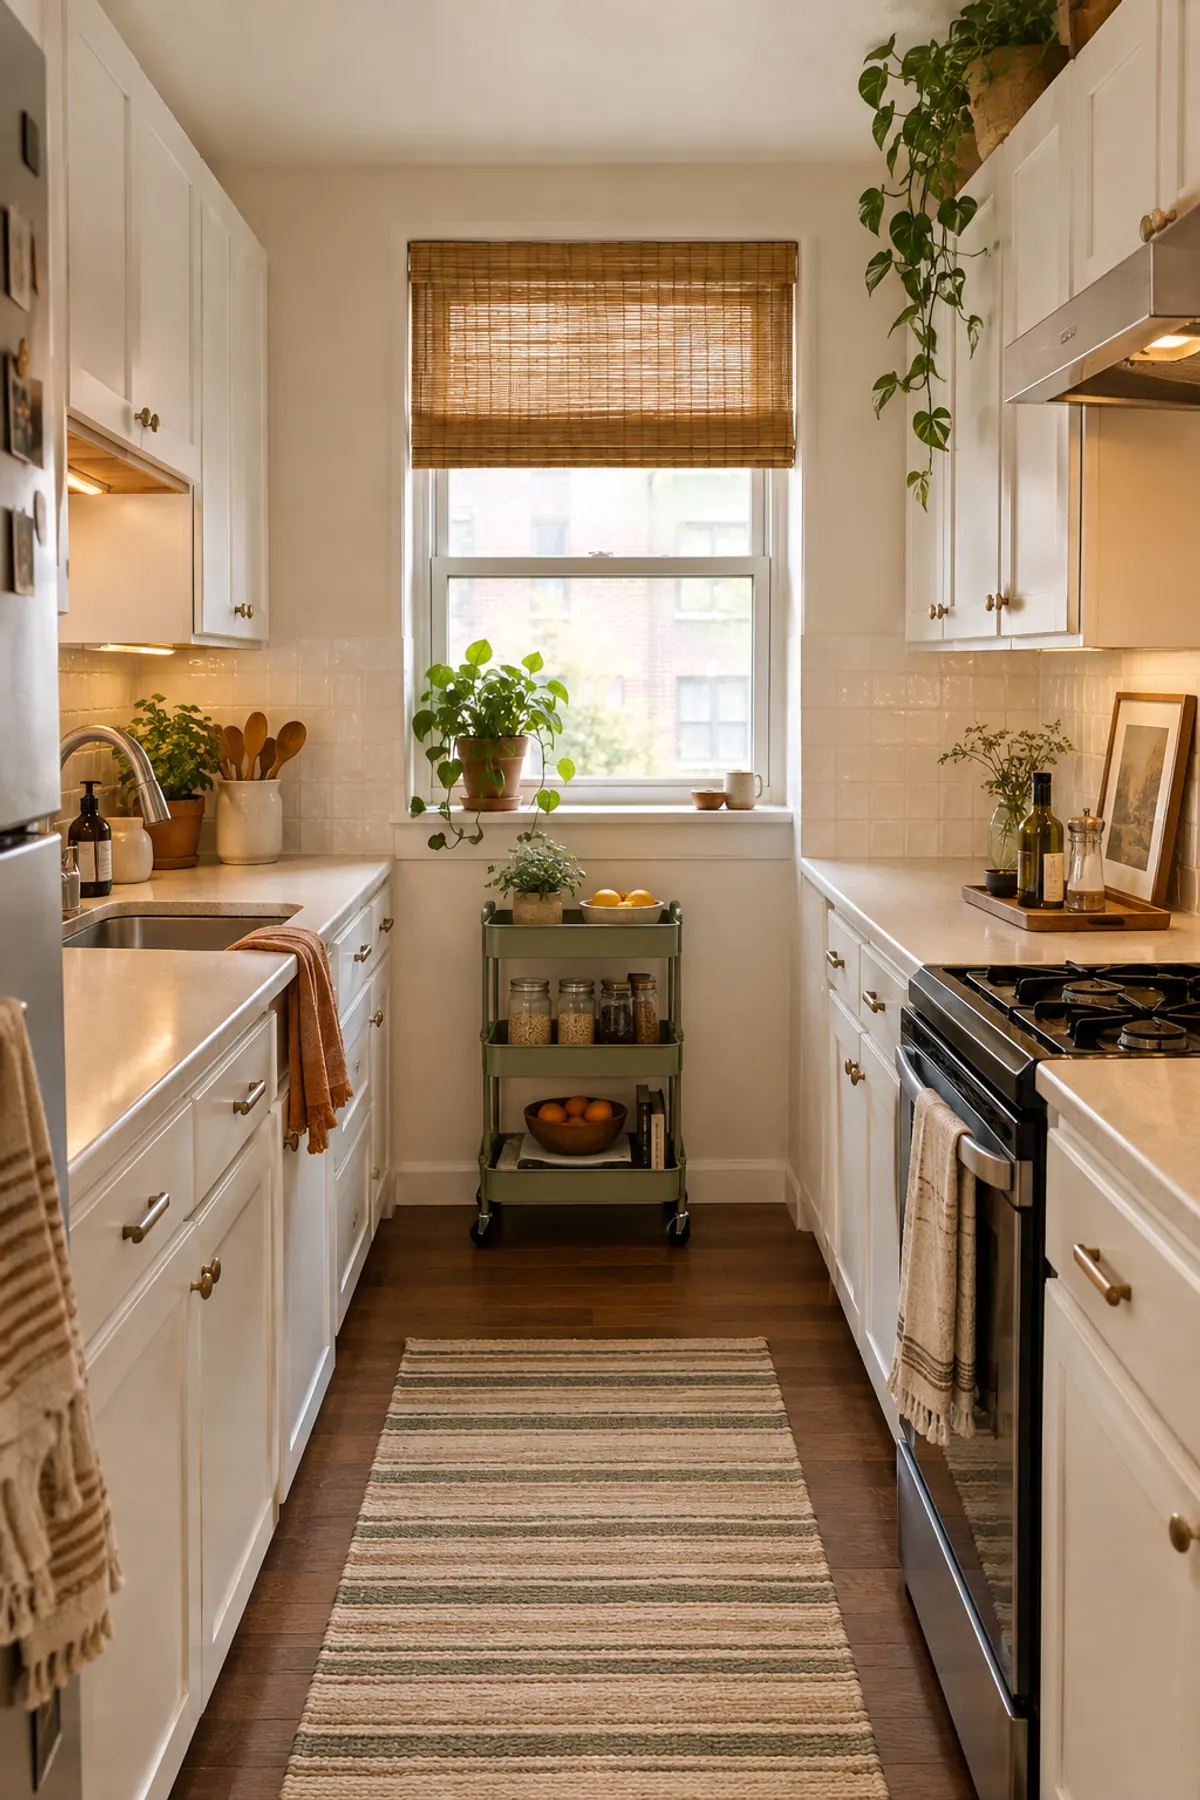
When the counter is spoken for, move the station to the floor. A cart about 12 to 14 inches wide slides into the gap beside a fridge or a dishwasher and holds the machine at counter height, a kettle on the shelf below and tea in a basket underneath.
Make sure there is an outlet within reach and that the cart rolls out far enough to open the machine. The cord needs to reach without stretching across a walkway.
- Put the heaviest item, usually the kettle, on the bottom shelf so the cart stays steady when you pull it out.
Turns a 12 inch gap into a coffee station.
36 inch coffee bar ideas: room for a real station
5Machine, three canisters and a mug stack
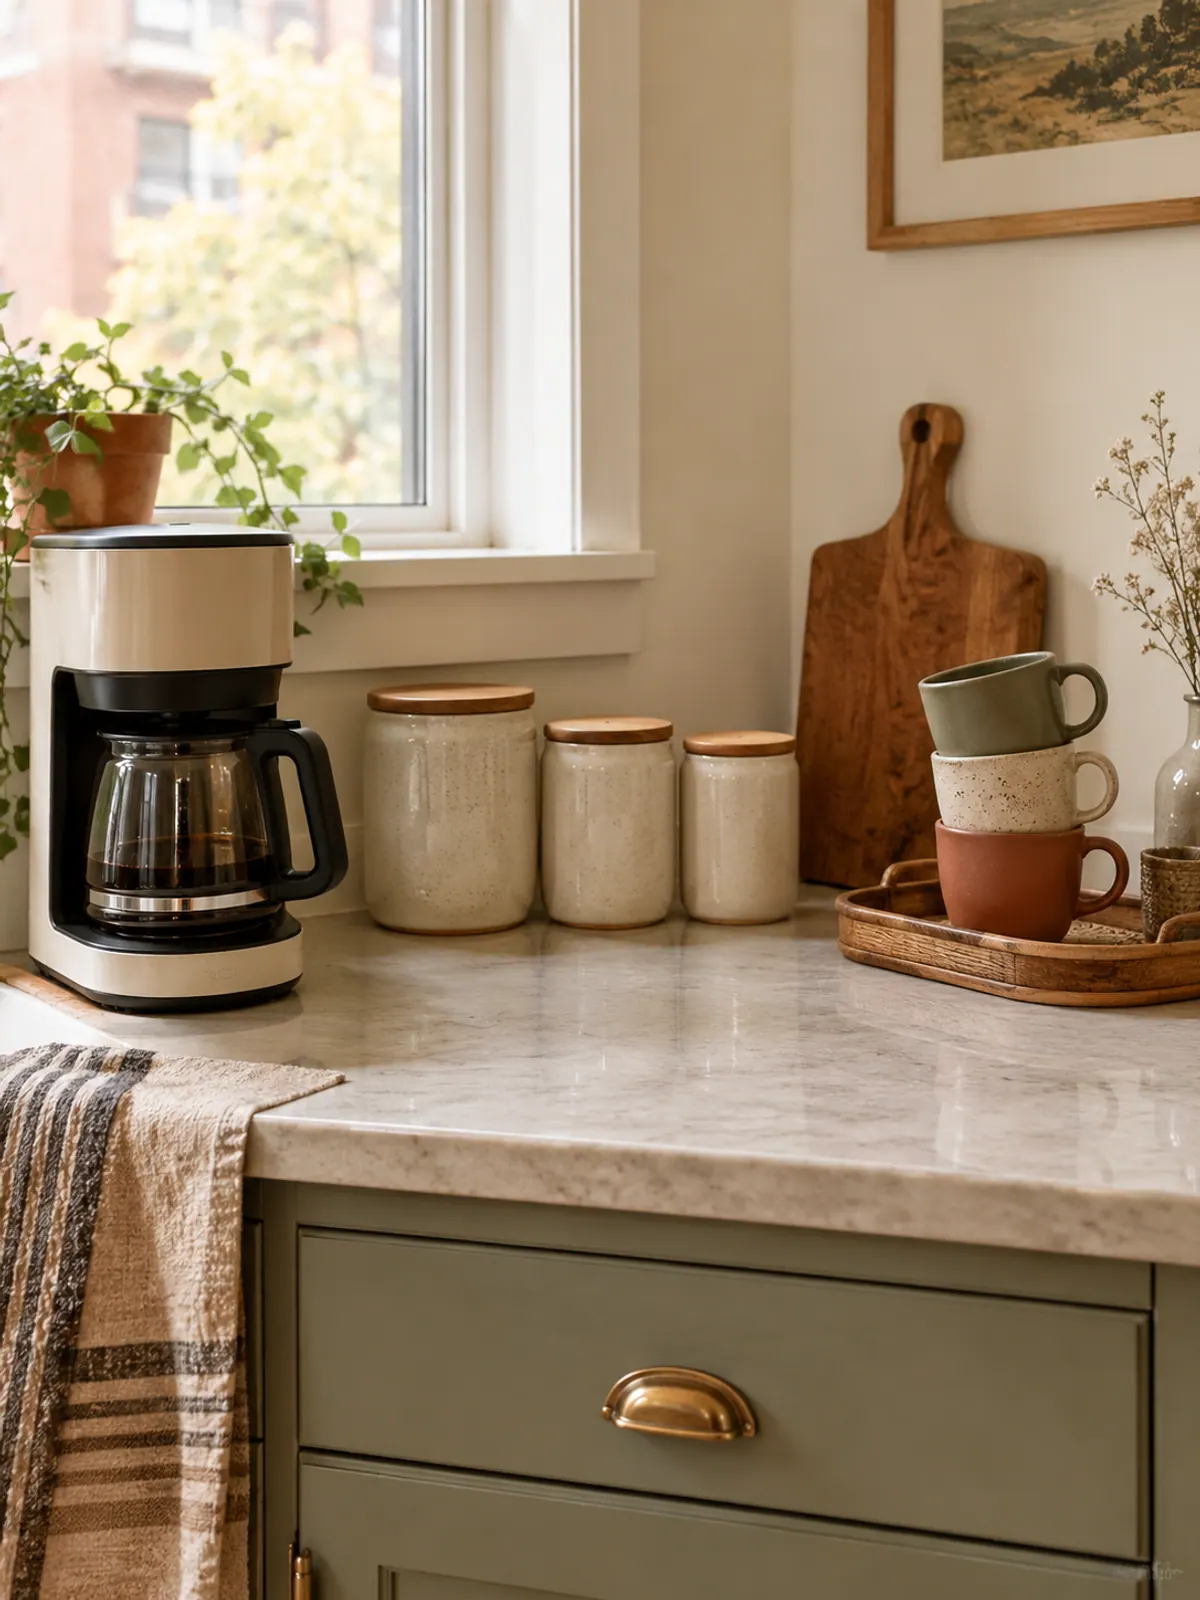
At 36 inches the layout is simple: machine on one end, three canisters in the middle for beans, sugar and filters, and a tray of mugs on the other end. The three zones read as a single station because the canisters match.
Put the machine near the outlet and the water source, then work outward. You pour, add and stir moving in one direction, which keeps your hands from crossing.
- Choose canisters with a wide mouth. A scoop has to fit inside, or you will leave the scoop out on the counter.
Keeps beans, sugar and filters in one matching row.
6A step riser with a syrup caddy
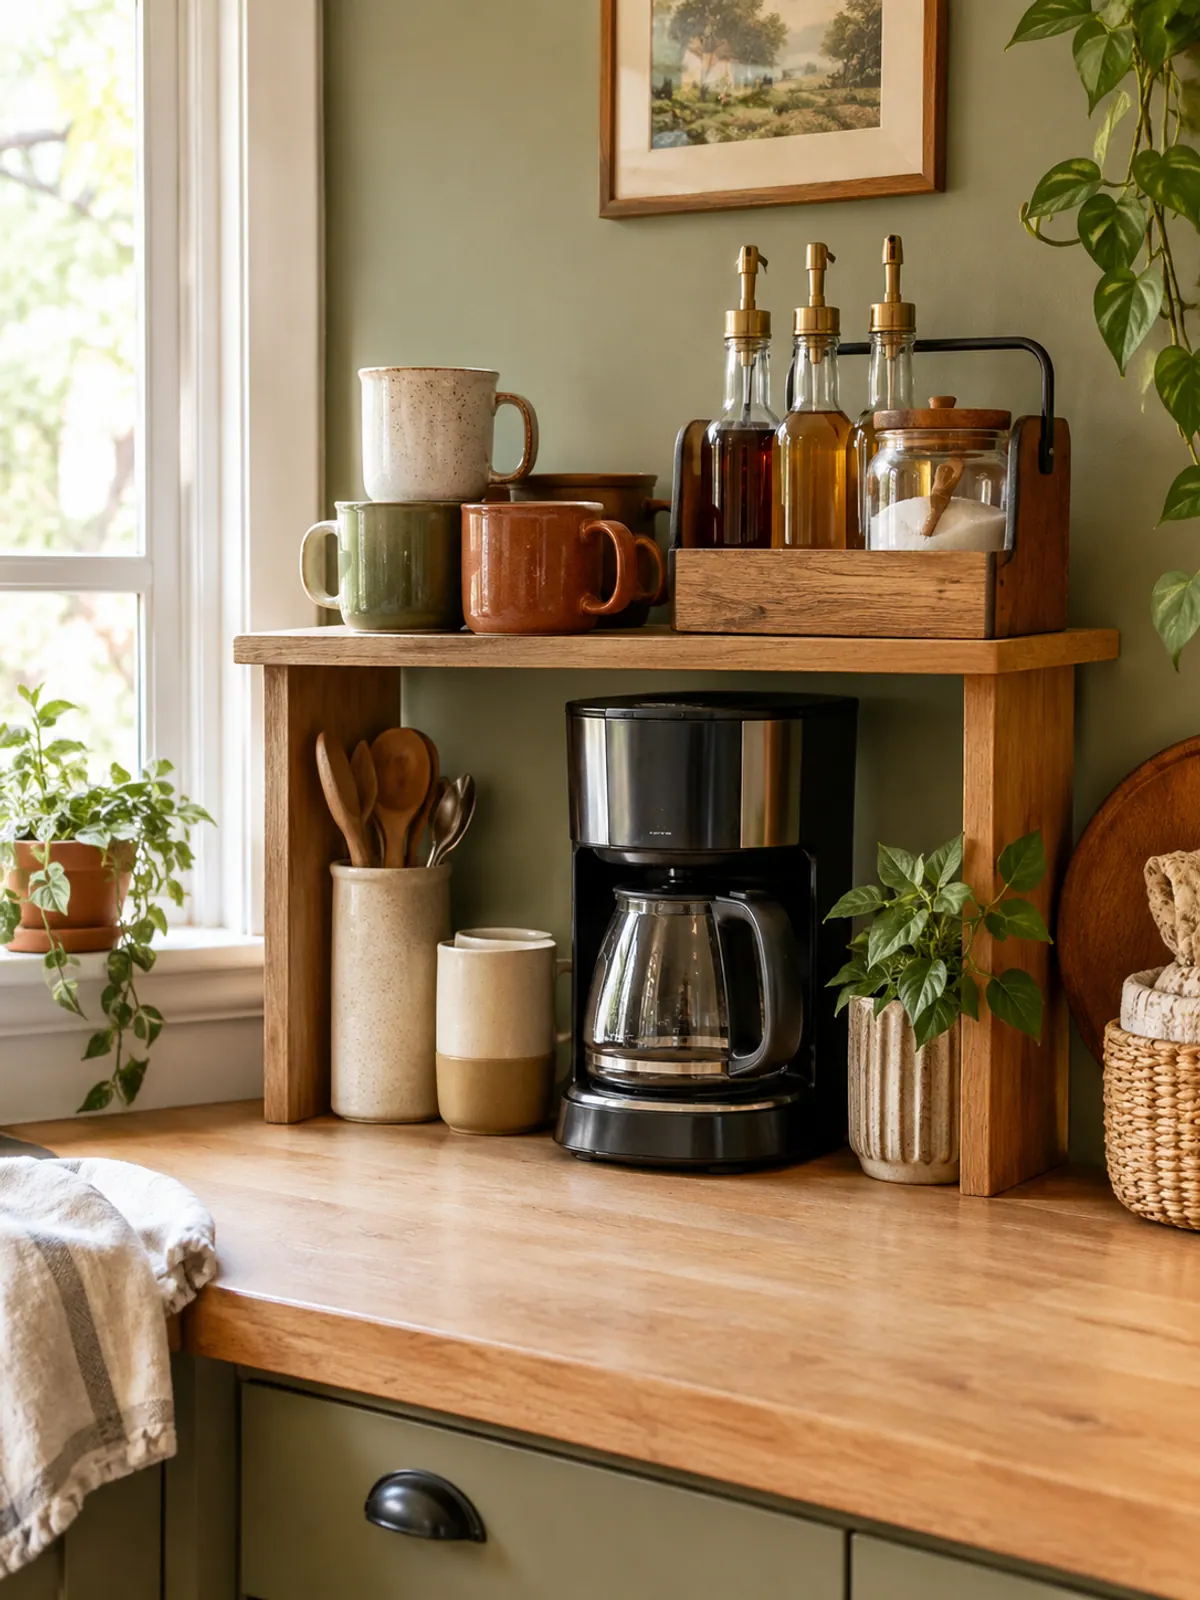
A step riser is the cheapest way to add a second level. Mugs go on the top step, and a small caddy holds syrup bottles and a sugar jar, so nothing stands behind anything else.
Keep the syrups in one caddy and the caddy on one step. If you can pick up everything with one hand, you will put it back.
- Wipe the caddy base when you refill. Syrup rings on a rental counter are the first thing a move-out inspection notices.
Adds a level without touching the wall.
7A lazy susan for syrups, tea and honey
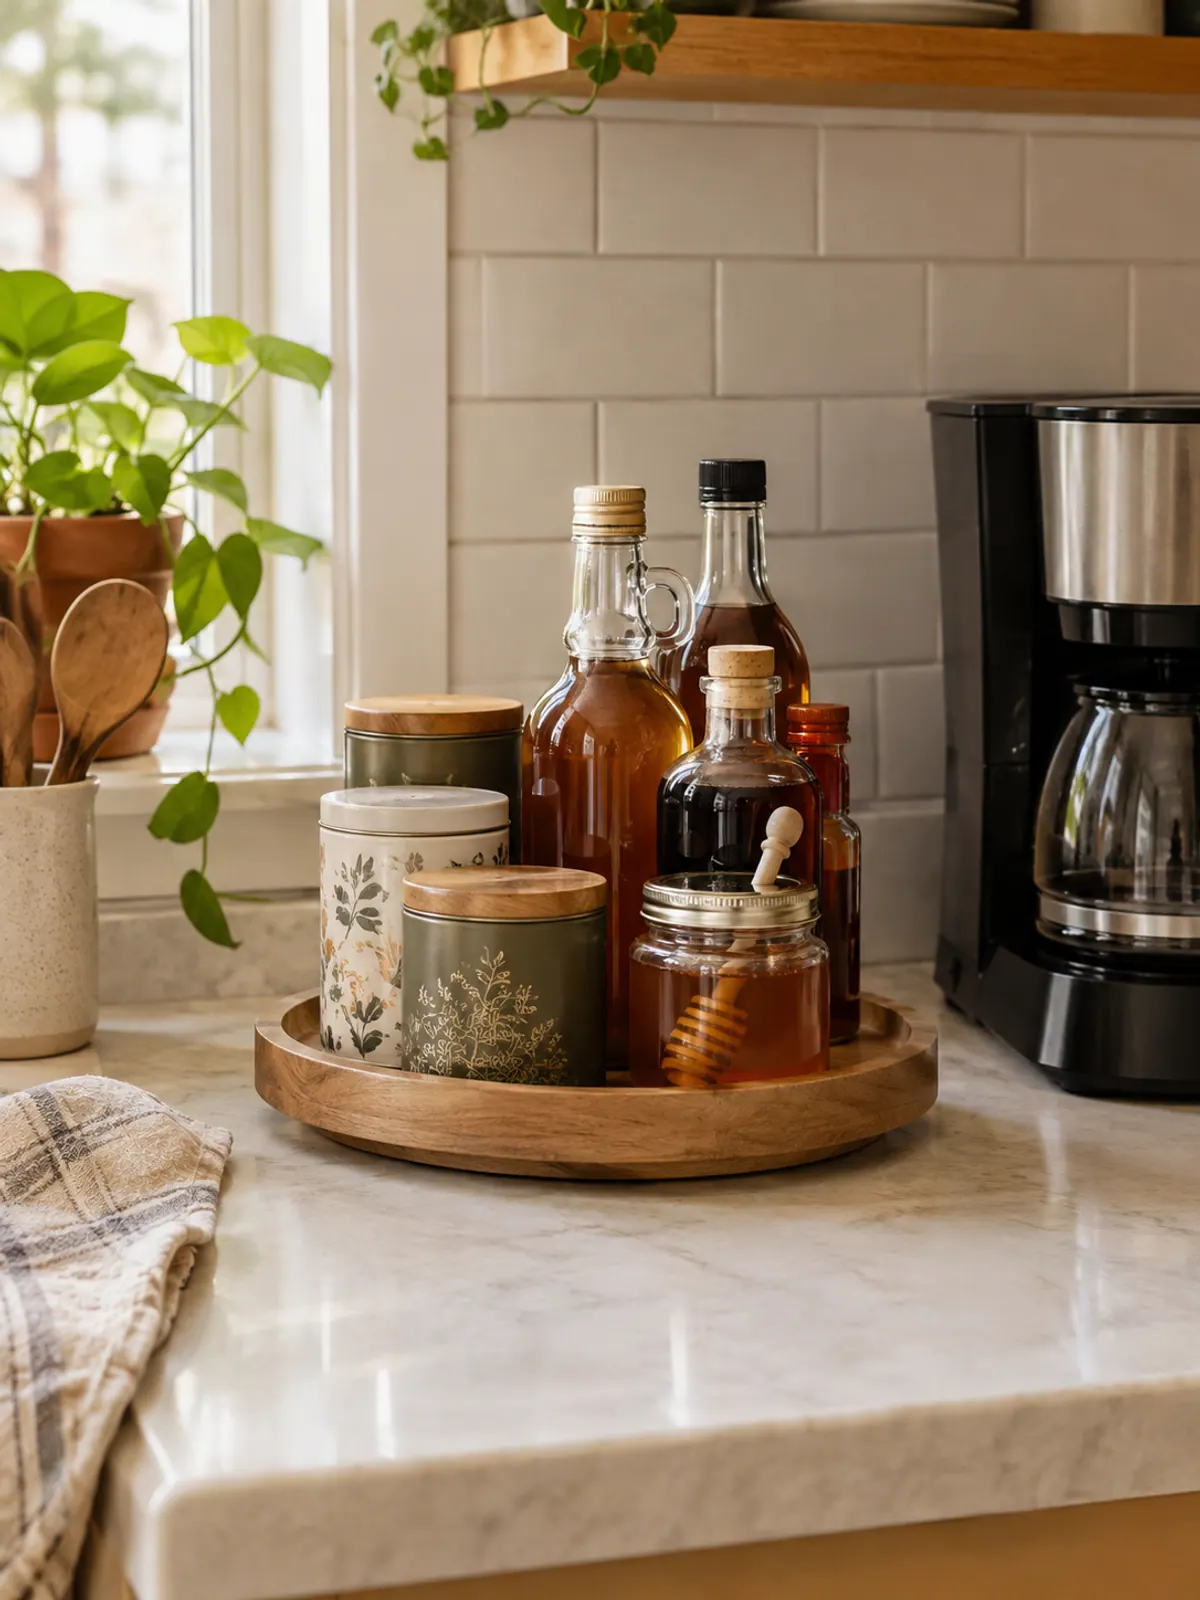
A turntable fixes the corner where bottles hide behind each other. Syrups, tea tins and honey live on a 10 to 12 inch round, and a quarter turn brings the back row to the front.
It works best at the end of the bar, where you reach for it from one side, and not in the middle where it blocks the machine.
- Keep the tallest bottle in the middle. A tall one on the rim can tip when you spin it.
Brings the back row forward with one turn.
8Two trays: one for coffee, one for tea
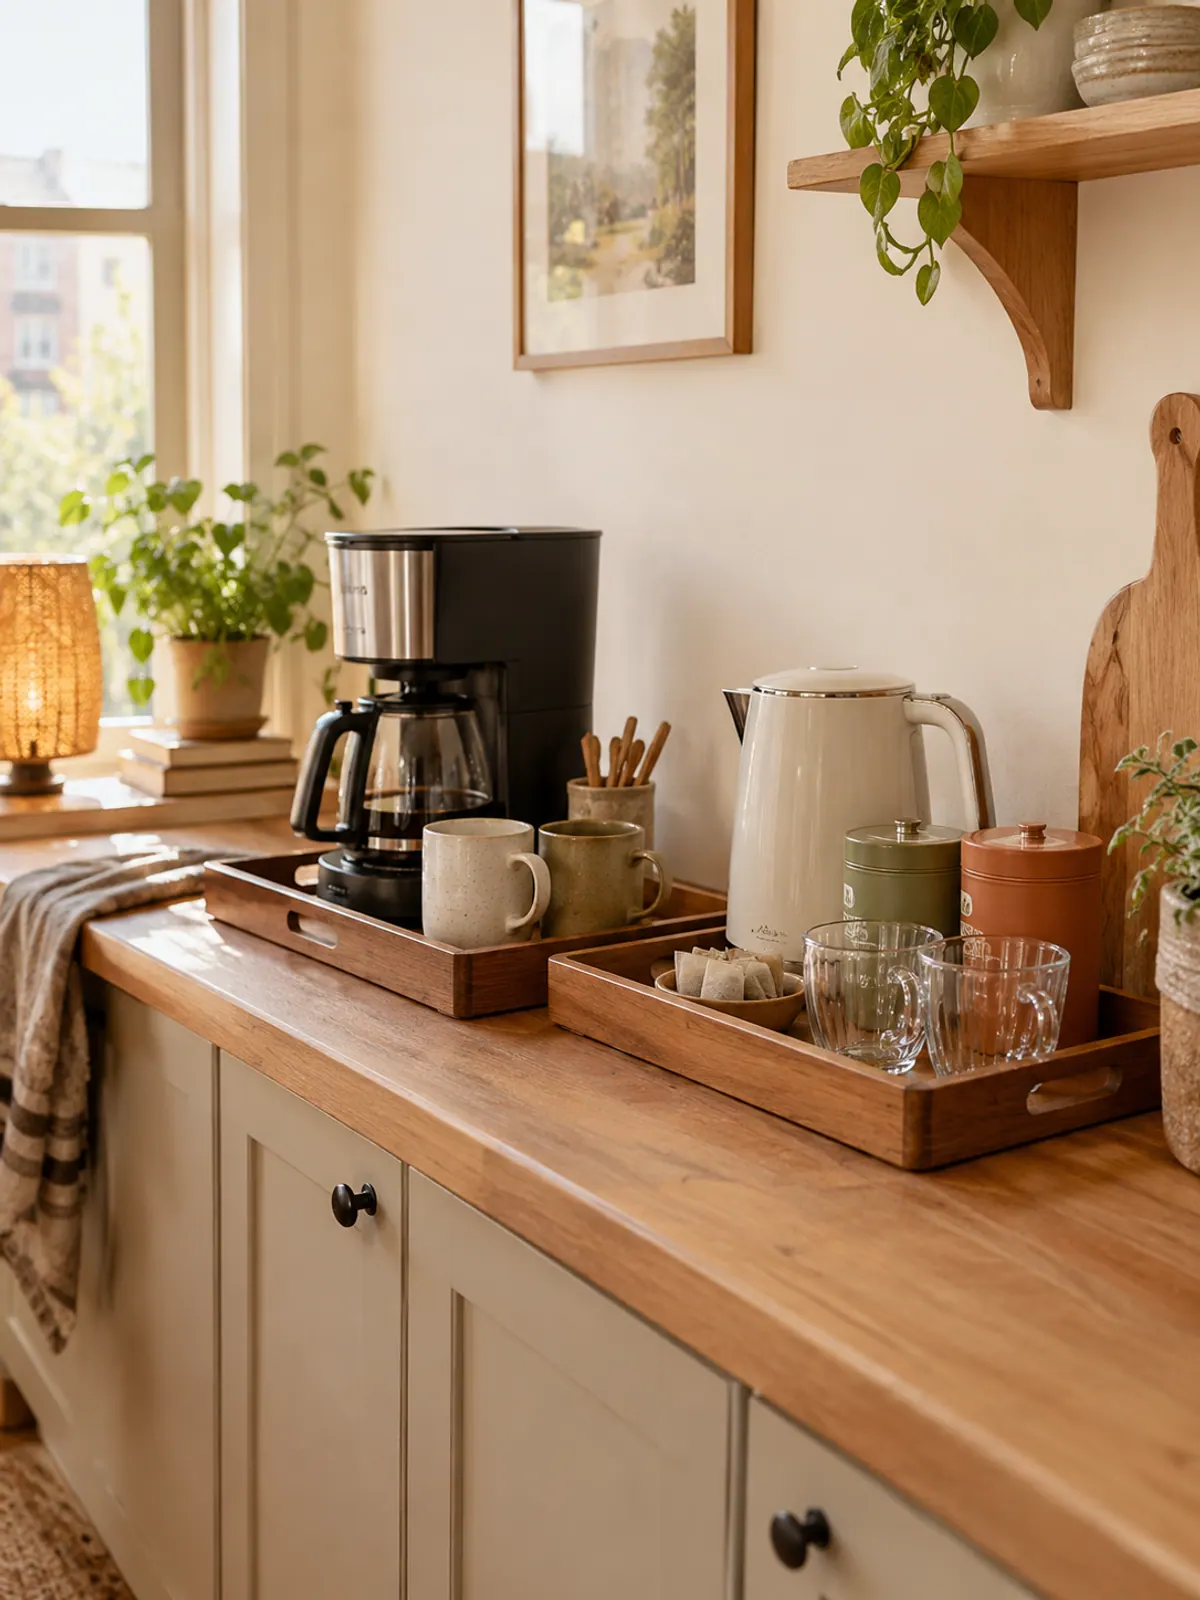
If one of you drinks coffee and the other drinks tea, split the 36 inches into two trays. Each tray holds its own tools and cups, so nobody digs through the other's setup at 7 a.m.
Two small trays also look calmer than one crowded one. Leave a few inches of bare counter between them to separate the zones.
- Match the trays but not the contents. Matching trays tie the bar together; different contents tell you whose is whose.
Two drinkers, two zones, one bar.
48 inch and island-end coffee bar ideas: stations that host
9A full bar with a wall rail
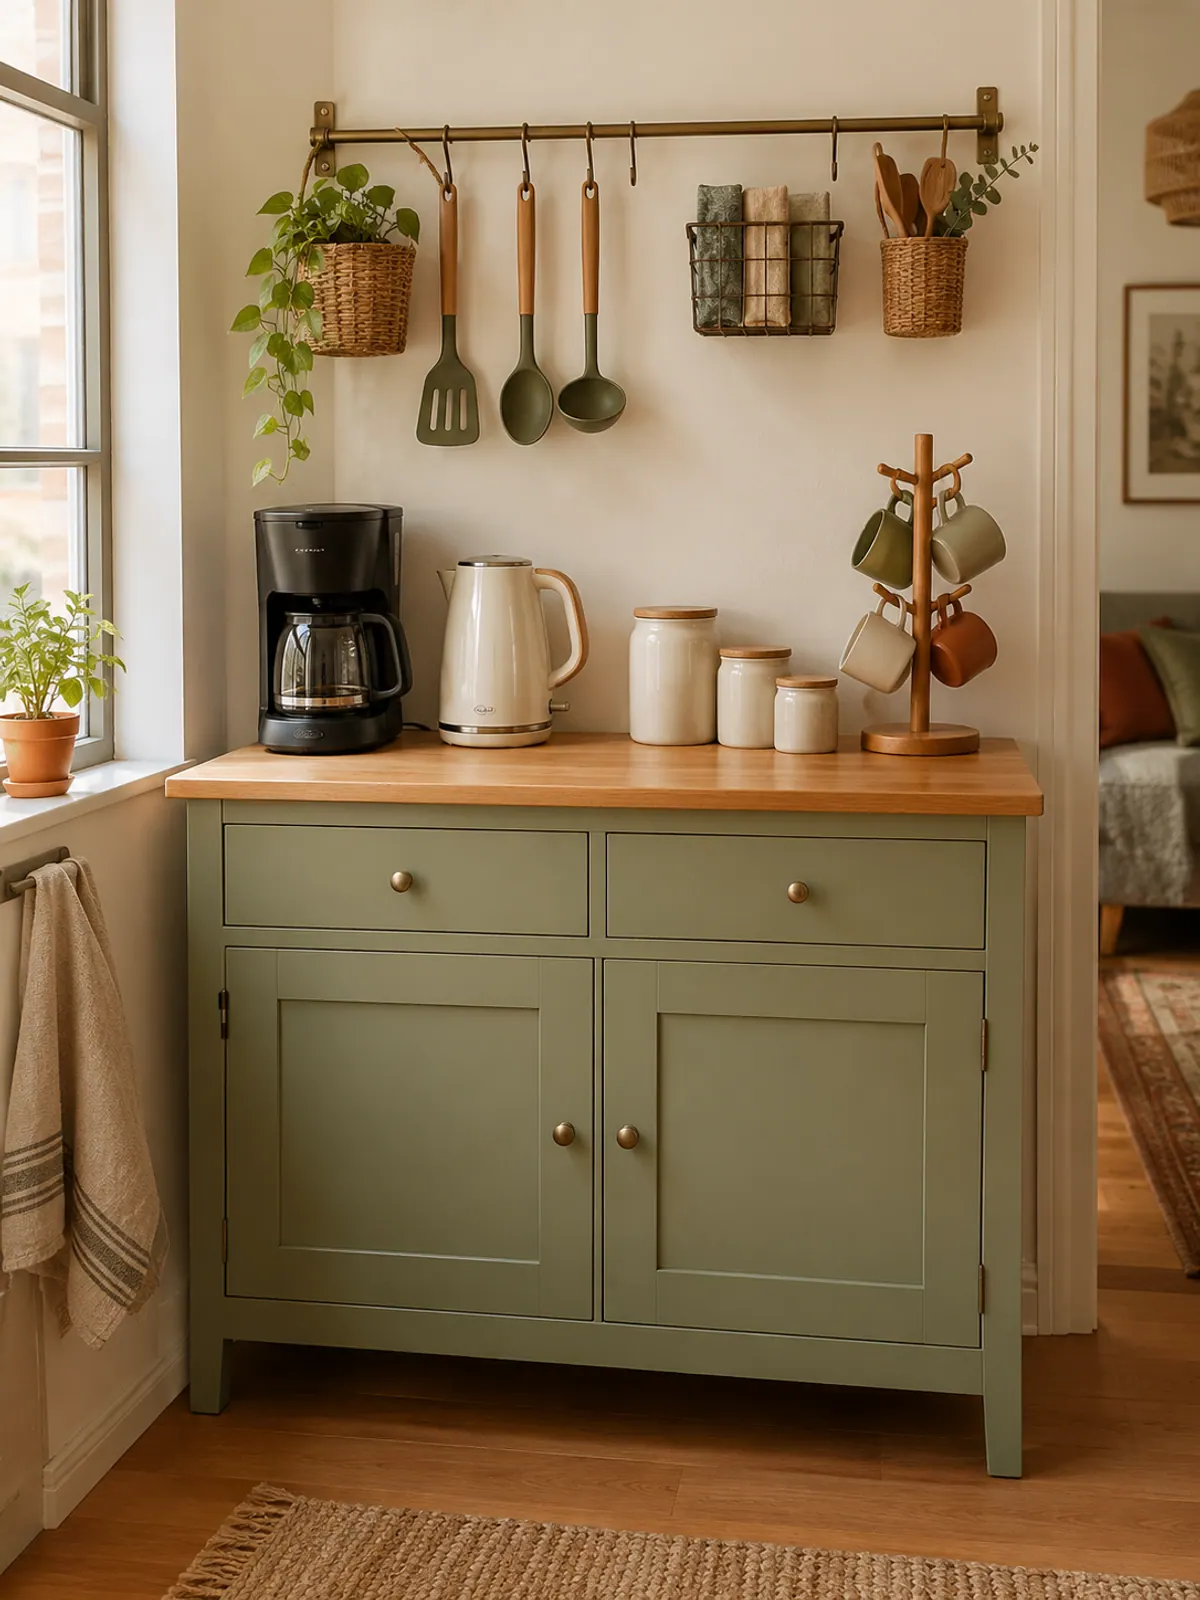
With 48 inches you can run machine, kettle and mugs along the counter and still hold the vertical space on the wall. A slim rail with a few S-hooks and small baskets takes the filters, spoons and the sugar bowl up off the counter.
Mount only what your lease allows. A rail that uses adhesive strips is fine for light baskets; skip it for anything heavy.
- Keep the center 12 inches of the counter empty. It is the pouring zone, and it stops the bar from reading as clutter.
Lifts spoons and filters off the counter.
10An island-end coffee station
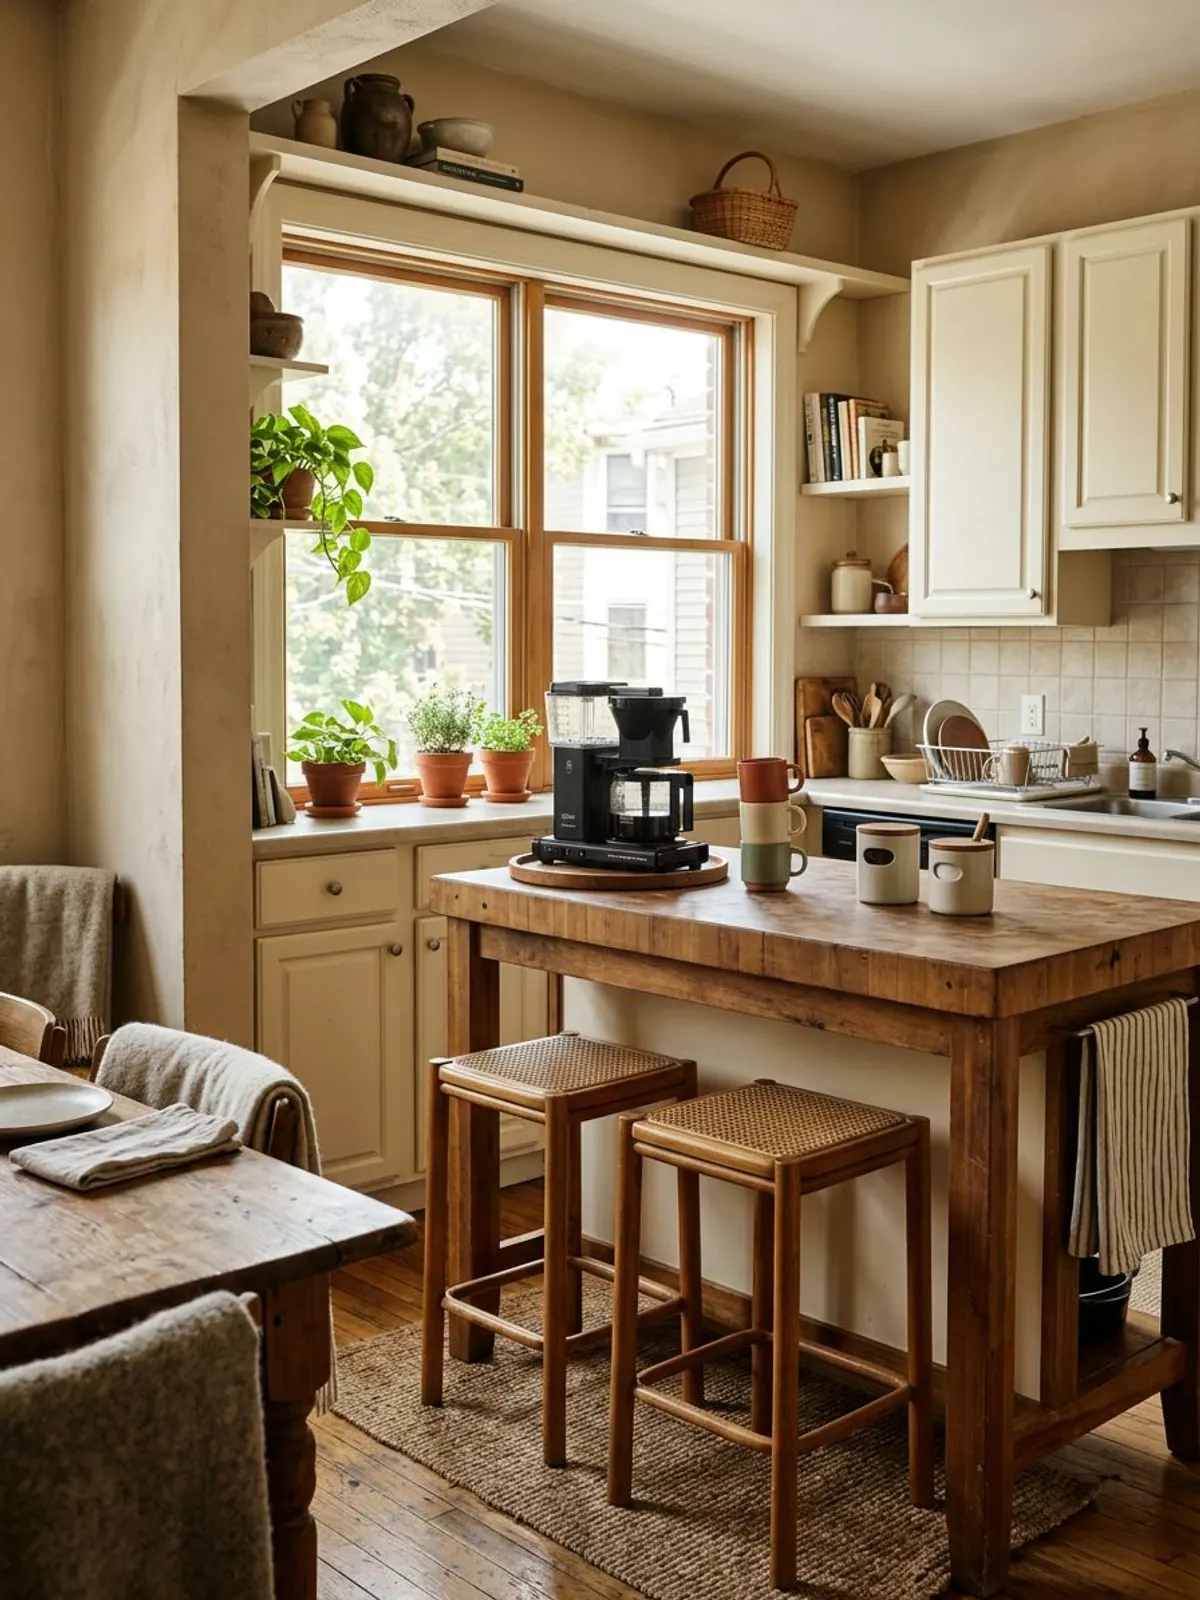
The end of an island is a natural bar. The station faces into the kitchen while stools on the far side turn it into a breakfast spot for guests.
Keep the cord tidy. A short extension cord with a cord cover keeps a trailing wire from catching a guest's sleeve.
- Put the mugs on the guest side and the machine on the cook side, so people serve themselves without crossing your work area.
Turns an island end into a breakfast bar.
11A cabinet-corner station behind doors
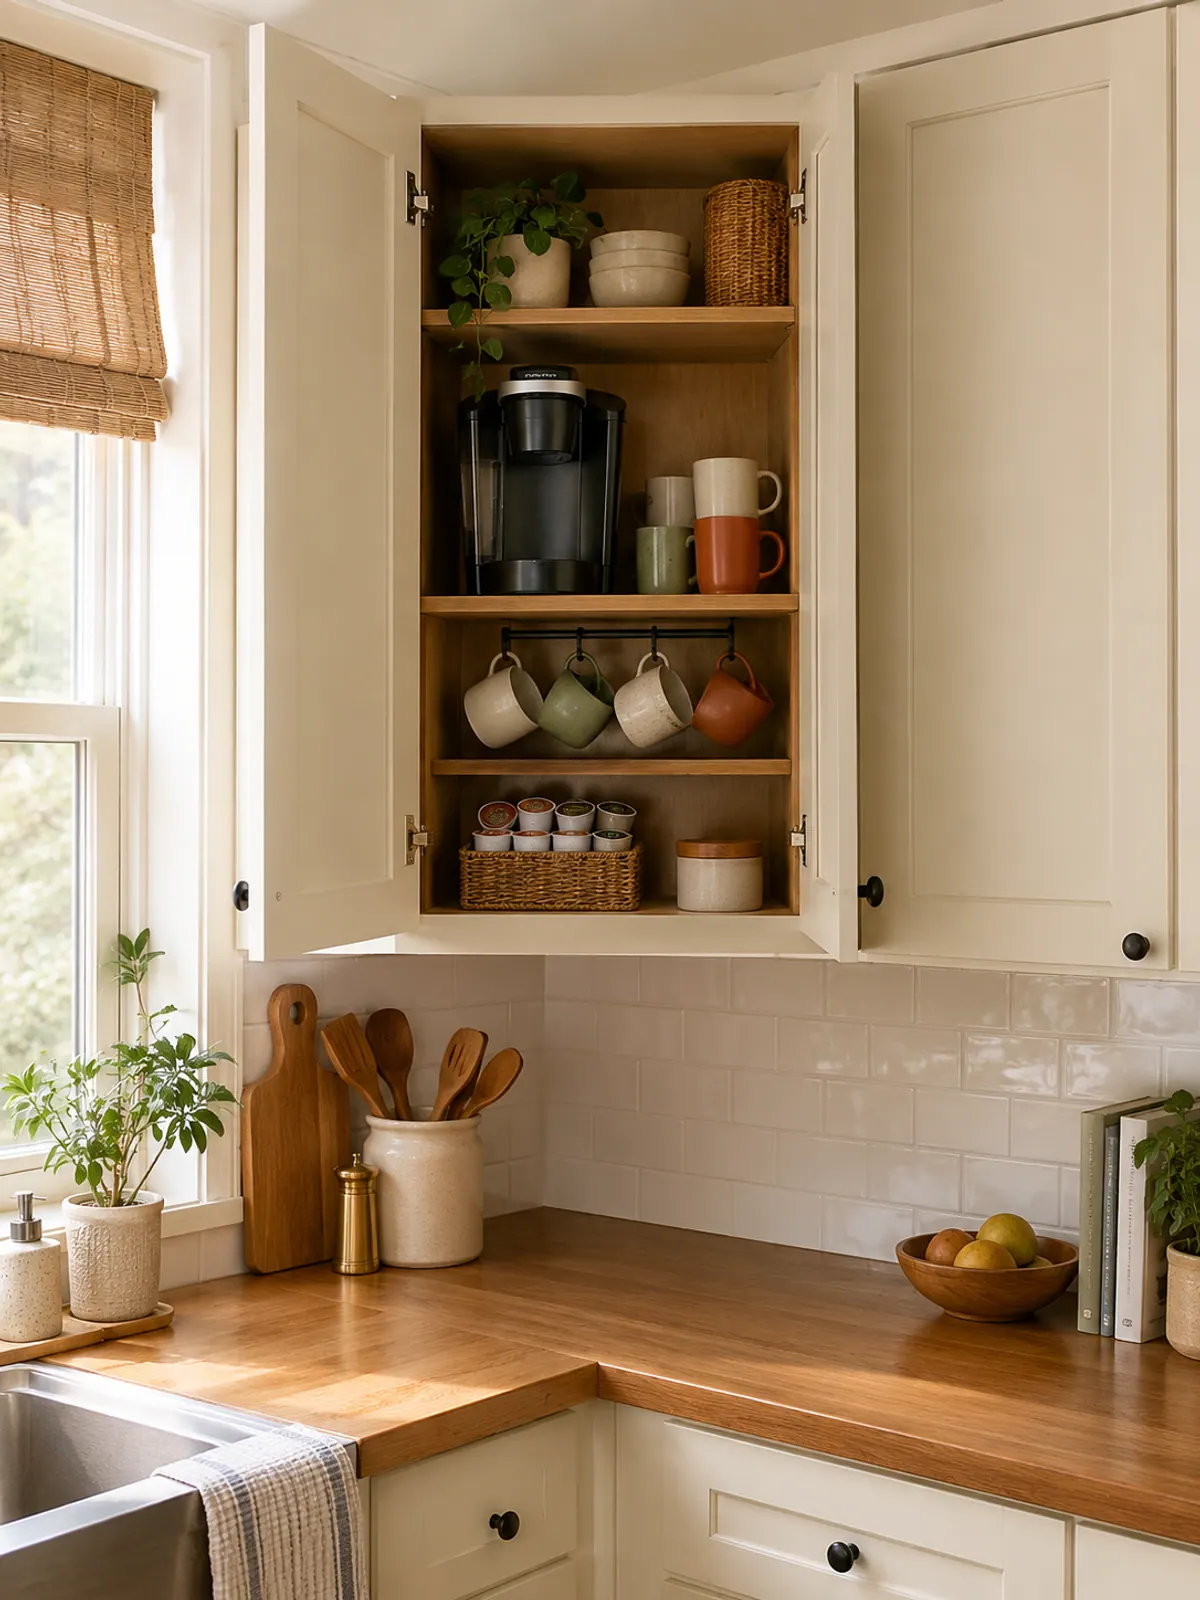
If you want the counter completely empty, give the machine a cabinet. A corner or an appliance cabinet holds the machine on a shelf, with mugs hung below and pods in a small bin. Close the doors and the station disappears.
Only do this if the machine can be used with the doors open, and let it cool before you close them, since steam and heat do not belong in a closed cabinet.
- Keep a small towel in the cabinet to wipe drips before you close the doors.
Keeps pods in one place inside the cabinet.
12A slim sideboard in the dining nook
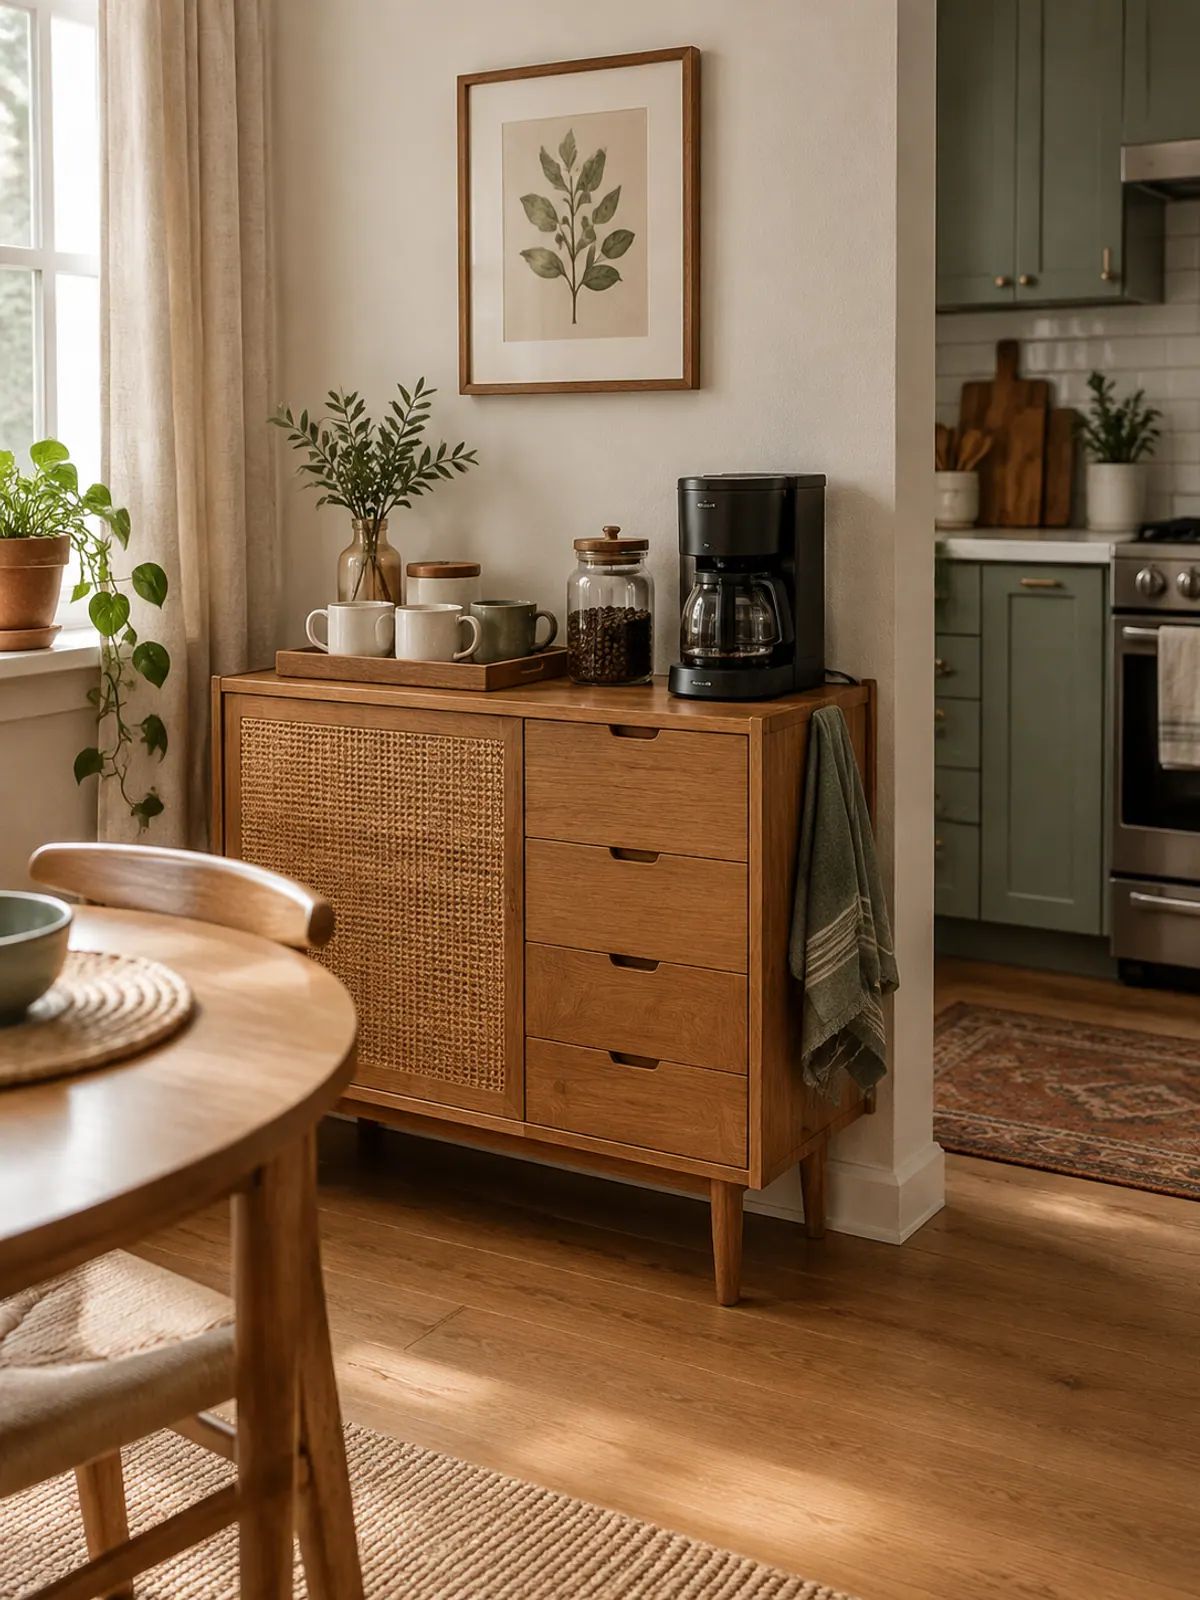
When the kitchen is too tight, move the bar to the dining nook. A 12 to 16 inch deep sideboard holds the machine, a tray of mugs and a jar of beans, and a small print above makes it look like part of the room.
This also keeps morning traffic out of the kitchen. Use a heat-safe tray under the machine and check that the outlet is not on an extension cord that runs across the floor.
- A slim console works too. Check the depth first; many are only 10 to 12 inches, which fits a drip brewer but not an espresso machine.
A coffee bar for a kitchen with no spare counter.
Mistakes that turn a coffee bar into counter clutter
What we like
- Measure the clear width and the 30 inches in front before you buy trays
- Group by task: brew, add, drink, with a bare strip between zones
- Keep a daily-use rule: only what you use this week stays out
- One color family for canisters, trays and mugs
- Wipe and reset the bar once a week
Keep in mind
- Buying a bar cart before measuring the gap it needs to roll out of
- Putting the machine on the only outlet circuit that also runs the microwave
- Hanging a heavy mug rail on adhesive strips
- Leaving syrup bottles with sticky tops in the middle of the tray
- Letting the bar grow into a second pantry
Before you set up the bar
If your counter is already crowded, a reset comes first. The kitchen organization ideas walk through clearing a counter before you add a station, and the small rental kitchen ideas cover storage for the rest of the room.
Shop the kitchen counter coffee bar
- Start here
Wooden serving tray with handles and a raised lip
Typically $15 to $35
The base of a 24 inch bar and easy to lift away.
Check price on Amazon for Wooden serving tray with handles and a raised lip -
Two-tier wood counter riser with mug hooks
Typically $20 to $45
Doubles the storage in the same footprint.
Check price on Amazon for Two-tier wood counter riser with mug hooks -
Set of 3 ceramic canisters with airtight lids
Typically $25 to $55
Keeps beans, sugar and filters in one row.
Check price on Amazon for Set of 3 ceramic canisters with airtight lids -
Slim rolling kitchen cart, 3 tier
Typically $30 to $70
For the gap beside the fridge.
Check price on Amazon for Slim rolling kitchen cart, 3 tier -
Wooden lazy susan turntable, 12 inch
Typically $12 to $30
Syrups and tea in a quarter turn.
Check price on Amazon for Wooden lazy susan turntable, 12 inch -
Adhesive under-cabinet mug rail
Typically $10 to $25
Frees counter space without drilling.
Check price on Amazon for Adhesive under-cabinet mug rail
Frequently asked questions
How much counter space do you need for a coffee bar?
About 24 inches is the smallest that works for one machine and a few mugs, and 36 inches is more comfortable for a station with canisters. Leave about 30 inches clear in front to stand and pour. These are common design-guide figures, so measure your own machine.
How do I make a coffee bar on a small kitchen counter?
Start with a tray or a riser so the bar has a clear footprint, then group the machine, the beans and the mugs. Hang mugs from a rail or hooks to free the counter. Keep one strip of bare counter beside the bar so it stays usable.
What do you put on a coffee bar?
A machine, a canister or two, a mug stack or hooks, and one small tray for sugar, syrups or tea. Anything you use less than weekly belongs in a cupboard, not on the bar.
Can I set up a coffee bar in a rental without drilling?
Yes. Trays, risers, carts and sideboards need no tools, and light rails or hooks can mount with adhesive strips. Check the weight rating and your lease, and keep heavy mugs off adhesive.
Where should a coffee bar go in a small apartment?
Next to an outlet and the sink, on the counter, in the gap beside the fridge or on a slim sideboard in the dining nook. Keep it out of the main walkway and away from the stove.
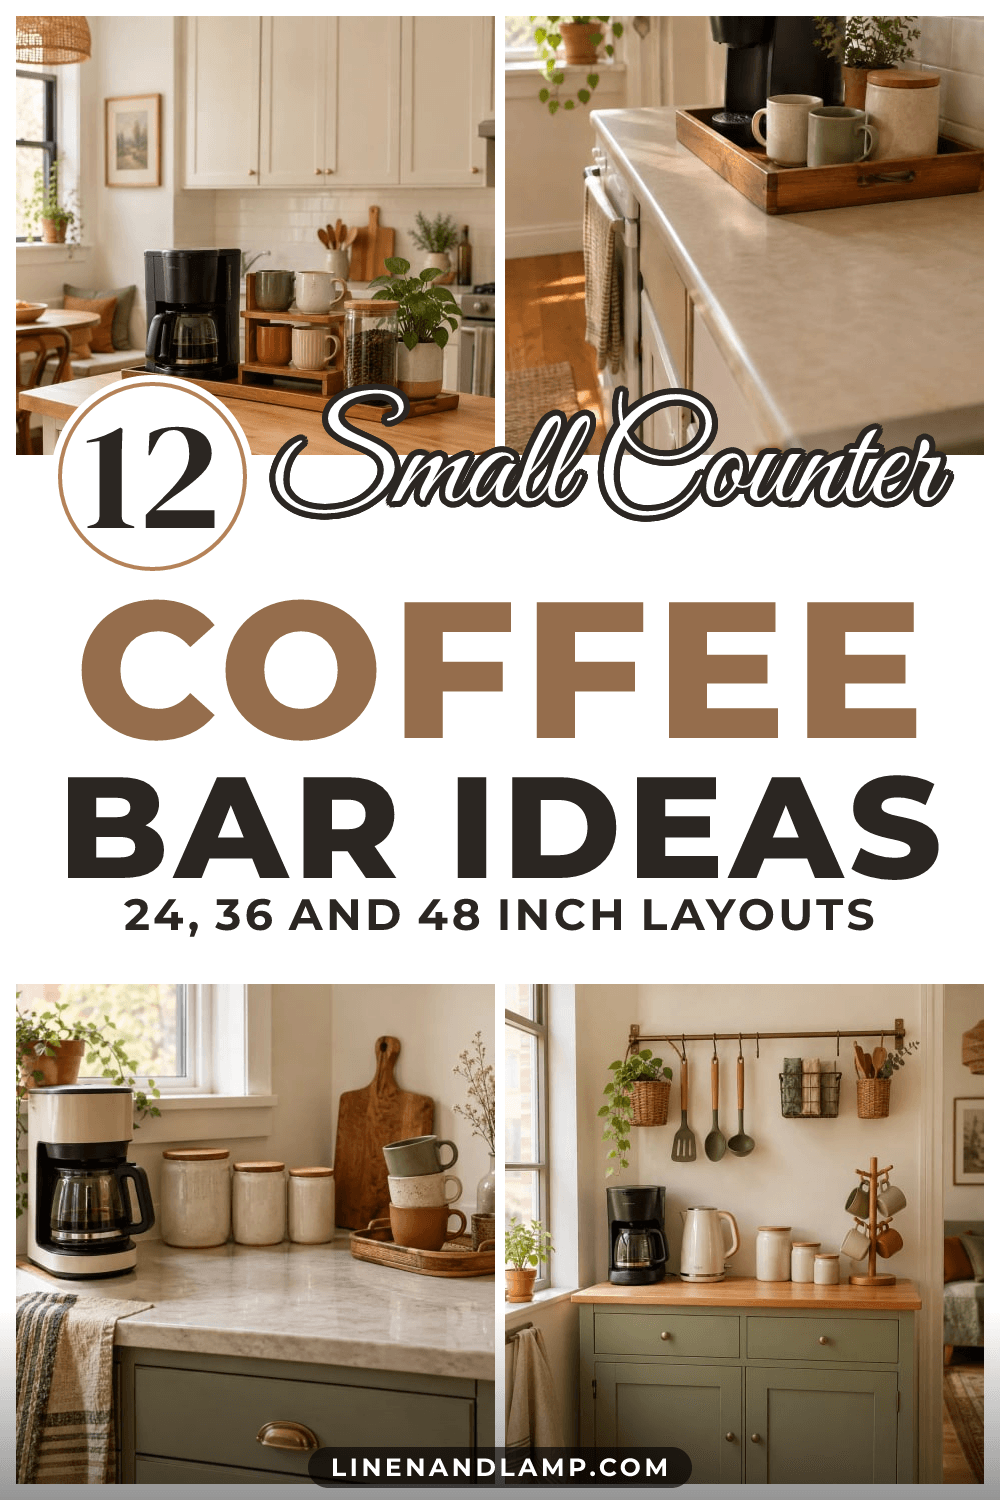
Save it for later
Pin this to your Kitchen & Dining board so it's there when you need it.
Save to Pinterest