This post contains affiliate links. As an Amazon Associate we earn from qualifying purchases, at no extra cost to you. Read our disclosure.
Key takeaways
- Claim one stretch of counter, 24 to 36 inches, and measure it before you buy anything.
- Five anchors make the look: a moka pot or retro maker, glass canisters, a wooden tray, mismatched cream mugs and one framed print.
- Three heights (counter, riser or shelf, wall) are what make a corner read as styled rather than lined up.
- Thrift stores supply most of it for under $75; the same list new runs roughly $115 to $235.
- A 15-minute weekly reset keeps the corner a corner; without it the counter wins within a month.
In this post8 sections
- What a vintage coffee corner is, and how much counter it needs
- Supplies: the 5 anchors and 3 optional extras
- How to make a vintage coffee corner, step by step
- Thrift vs new: what a vintage coffee corner costs
- Mistakes that turn a coffee corner into counter clutter
- Variations: a cart, a shelf or a windowsill
- Shop the vintage coffee corner list
- FAQ
What a vintage coffee corner is, and how much counter it needs
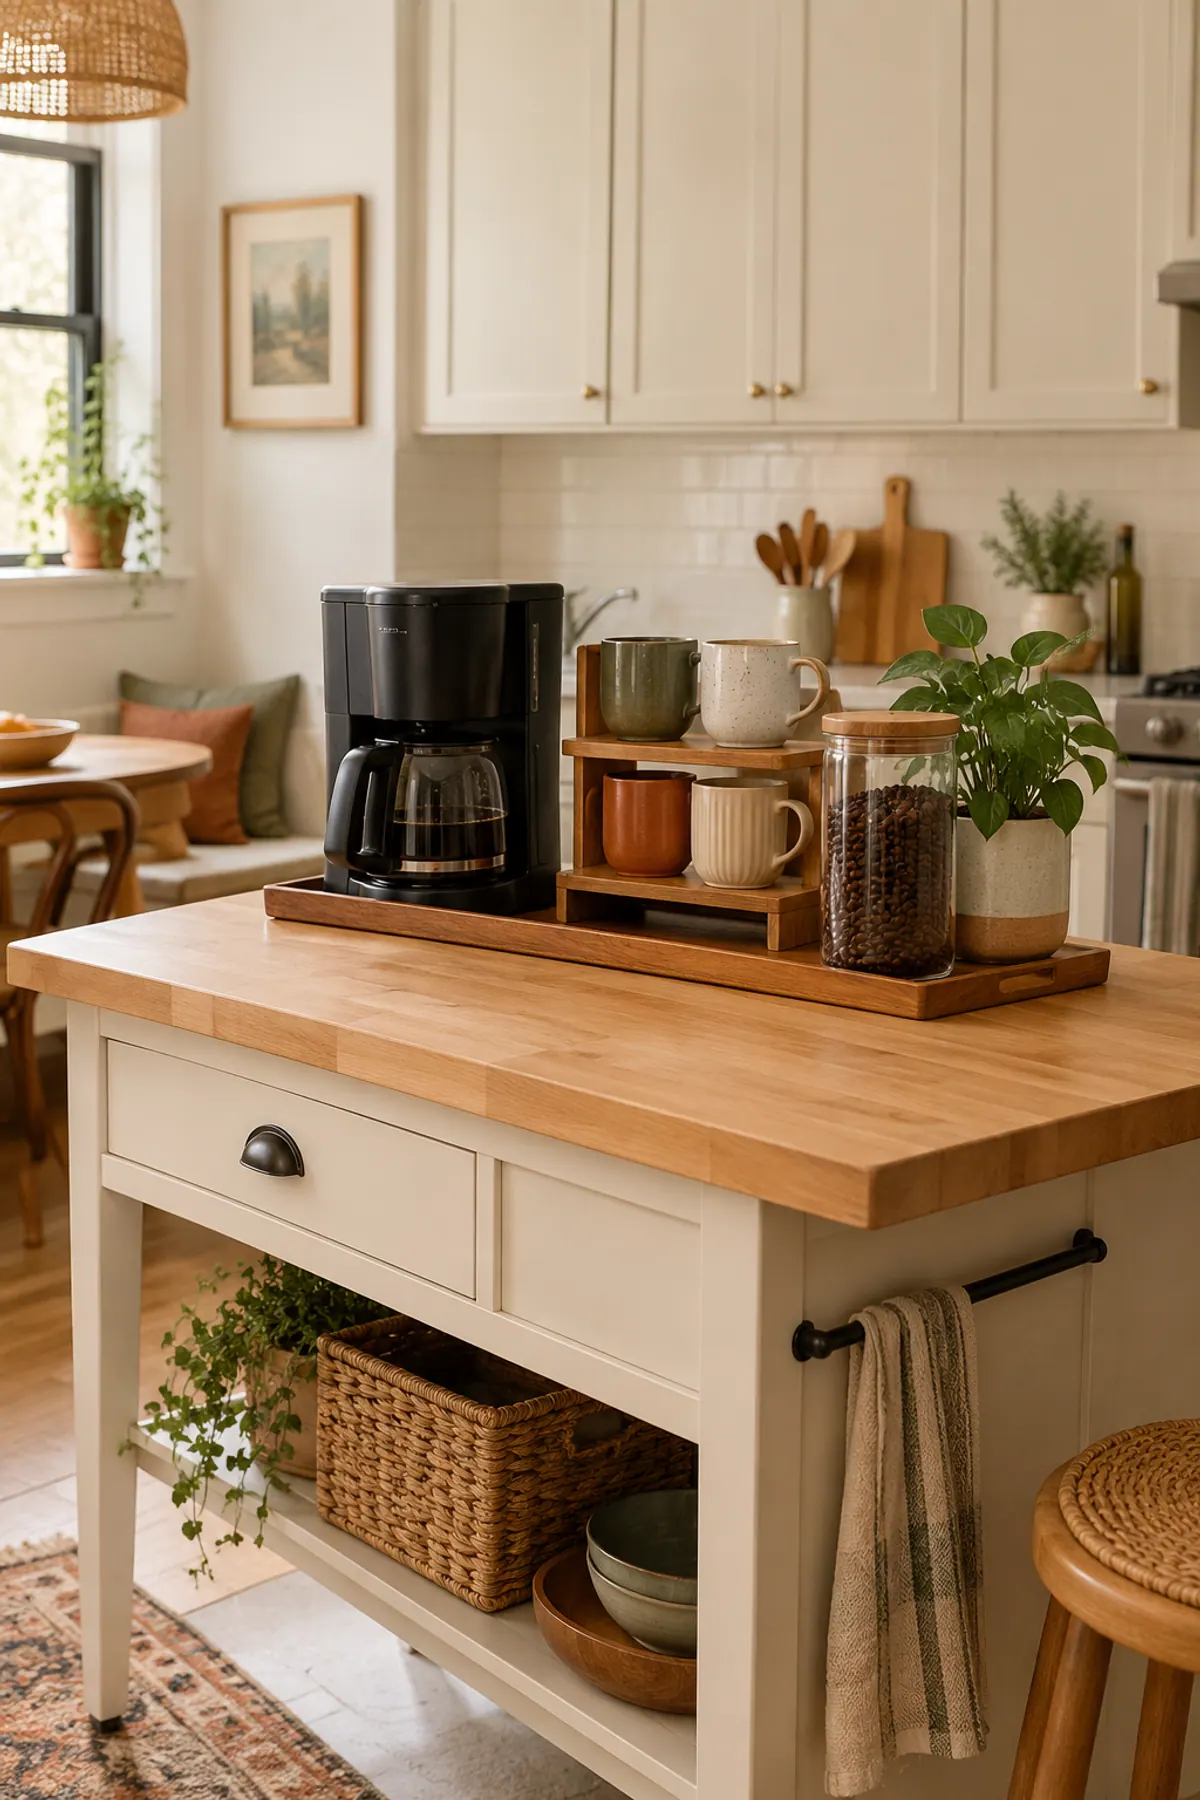
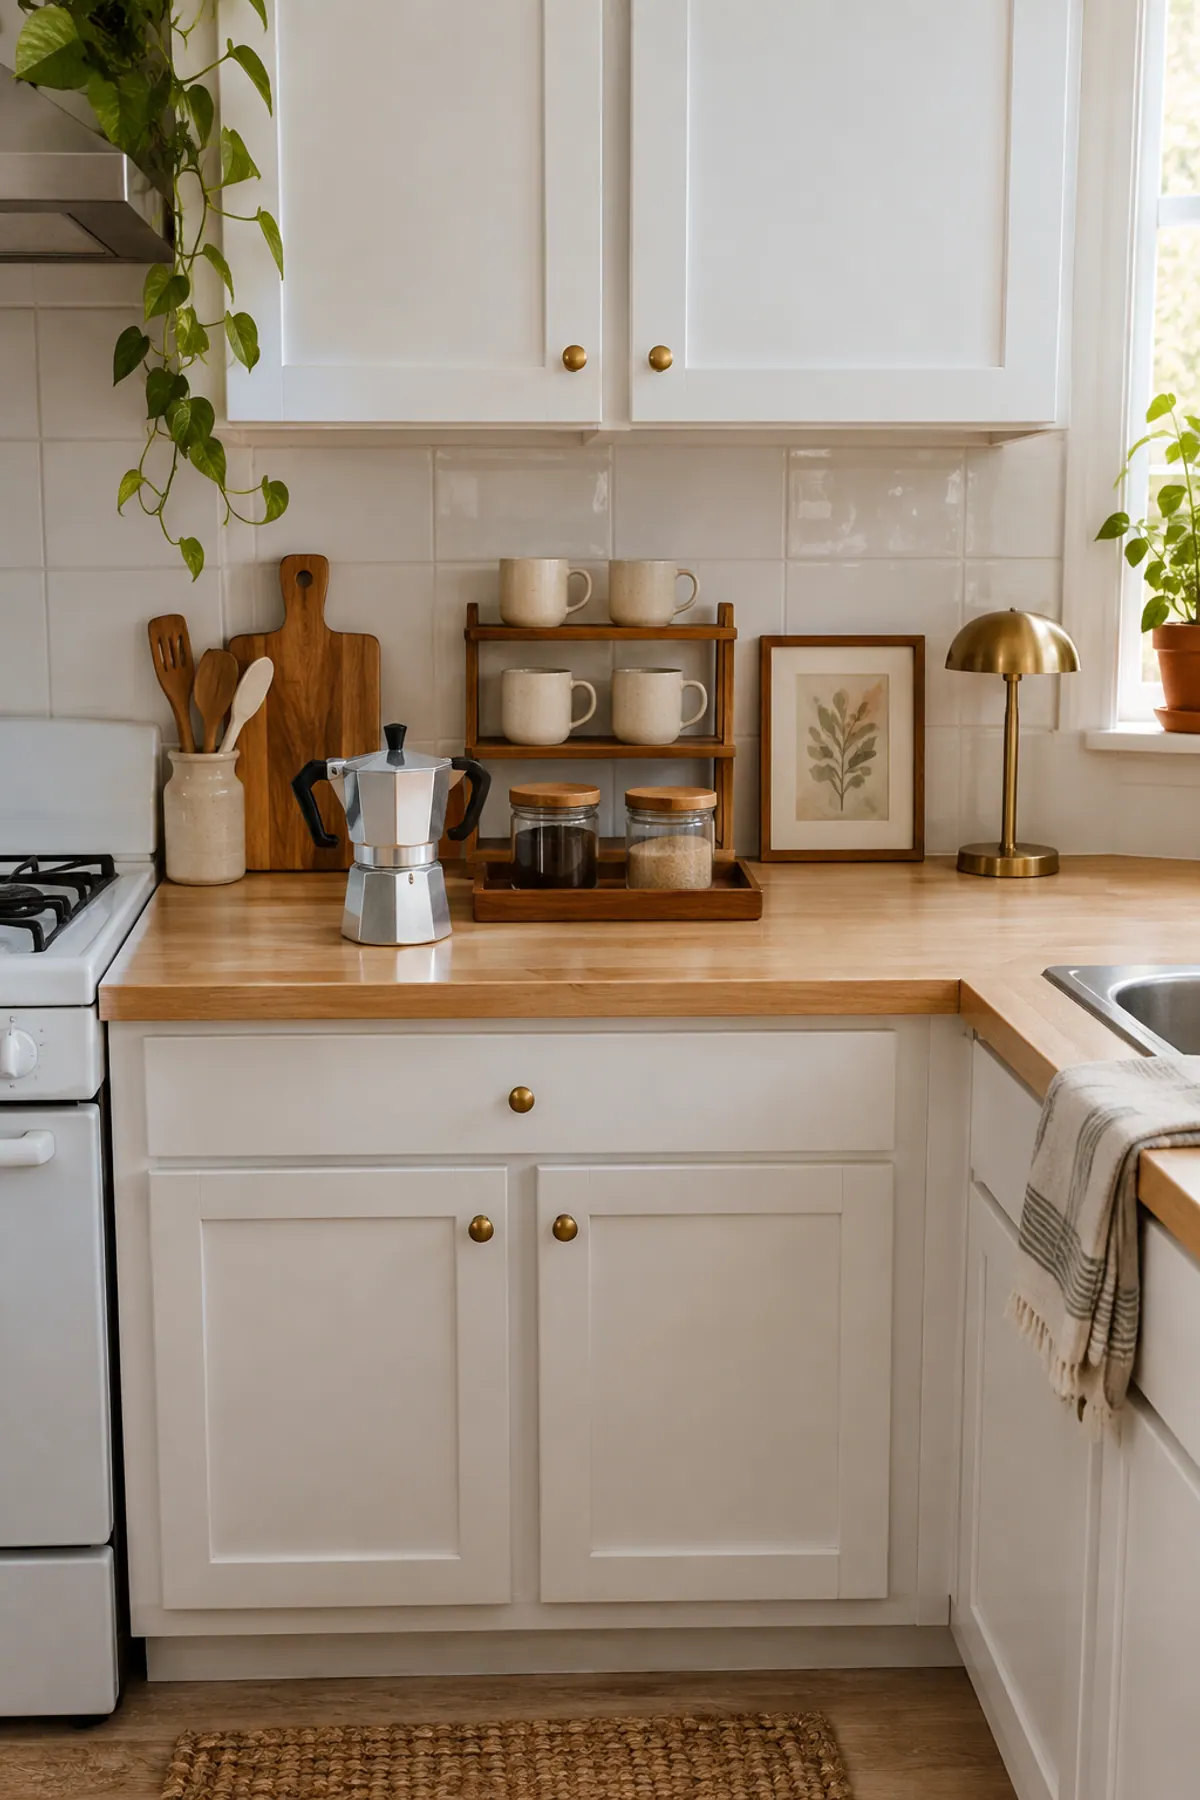
The look is warm and a little mismatched: a stovetop moka pot or a cream retro drip maker, glass jars with wood lids, a wooden tray that corrals everything, mugs that do not match, and one framed print or small sign. Colors stay in the cream, wood, brass and one muted accent (sage, terracotta, deep green) range. Nothing is shiny and nothing is branded.
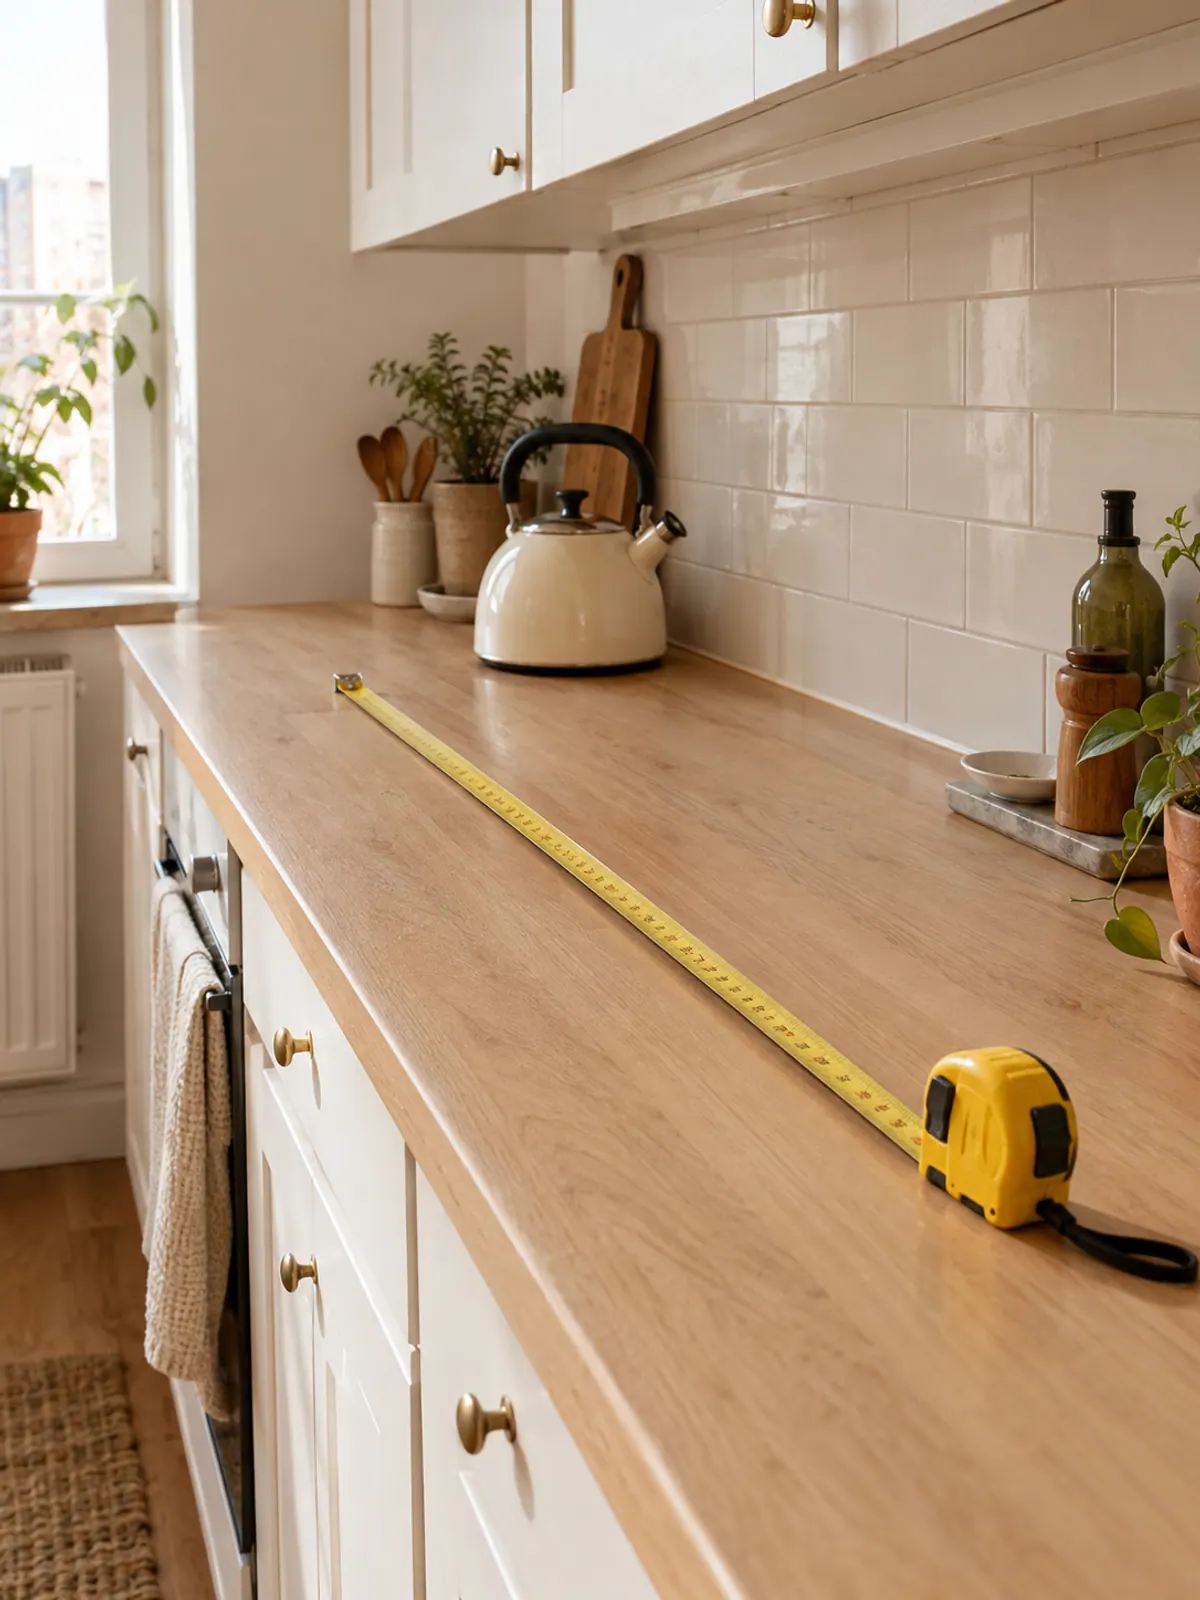
In a small kitchen the footprint decides everything. Pick the stretch of counter farthest from the sink splash zone, with an outlet if your maker needs one, and measure it. Then use the table below to see what fits.
| Counter stretch | What fits | Skip |
|---|---|---|
| 24 in | Moka pot on a 12 by 8 in tray, two 4 in canisters, mugs on under-shelf hooks or a 6 in mug tree | Drip maker and grinder together; a second tray |
| 30 in | Retro drip maker (about 8 in wide) or moka pot, a 14 by 10 in tray with canisters, a small two-tier shelf behind | Bar cart items; large jars |
| 36 in | Maker, kettle, tray with three canisters, two-tier shelf, a small lamp or plant at the end | Anything else; this is the full corner |
Supplies: the 5 anchors and 3 optional extras
You can build the whole corner from five pieces. Three extras add depth once the basics are in place. Every item is a search term in the shop list at the end, and the cost table further down gives thrift and new prices for each.
Vintage coffee corner supplies
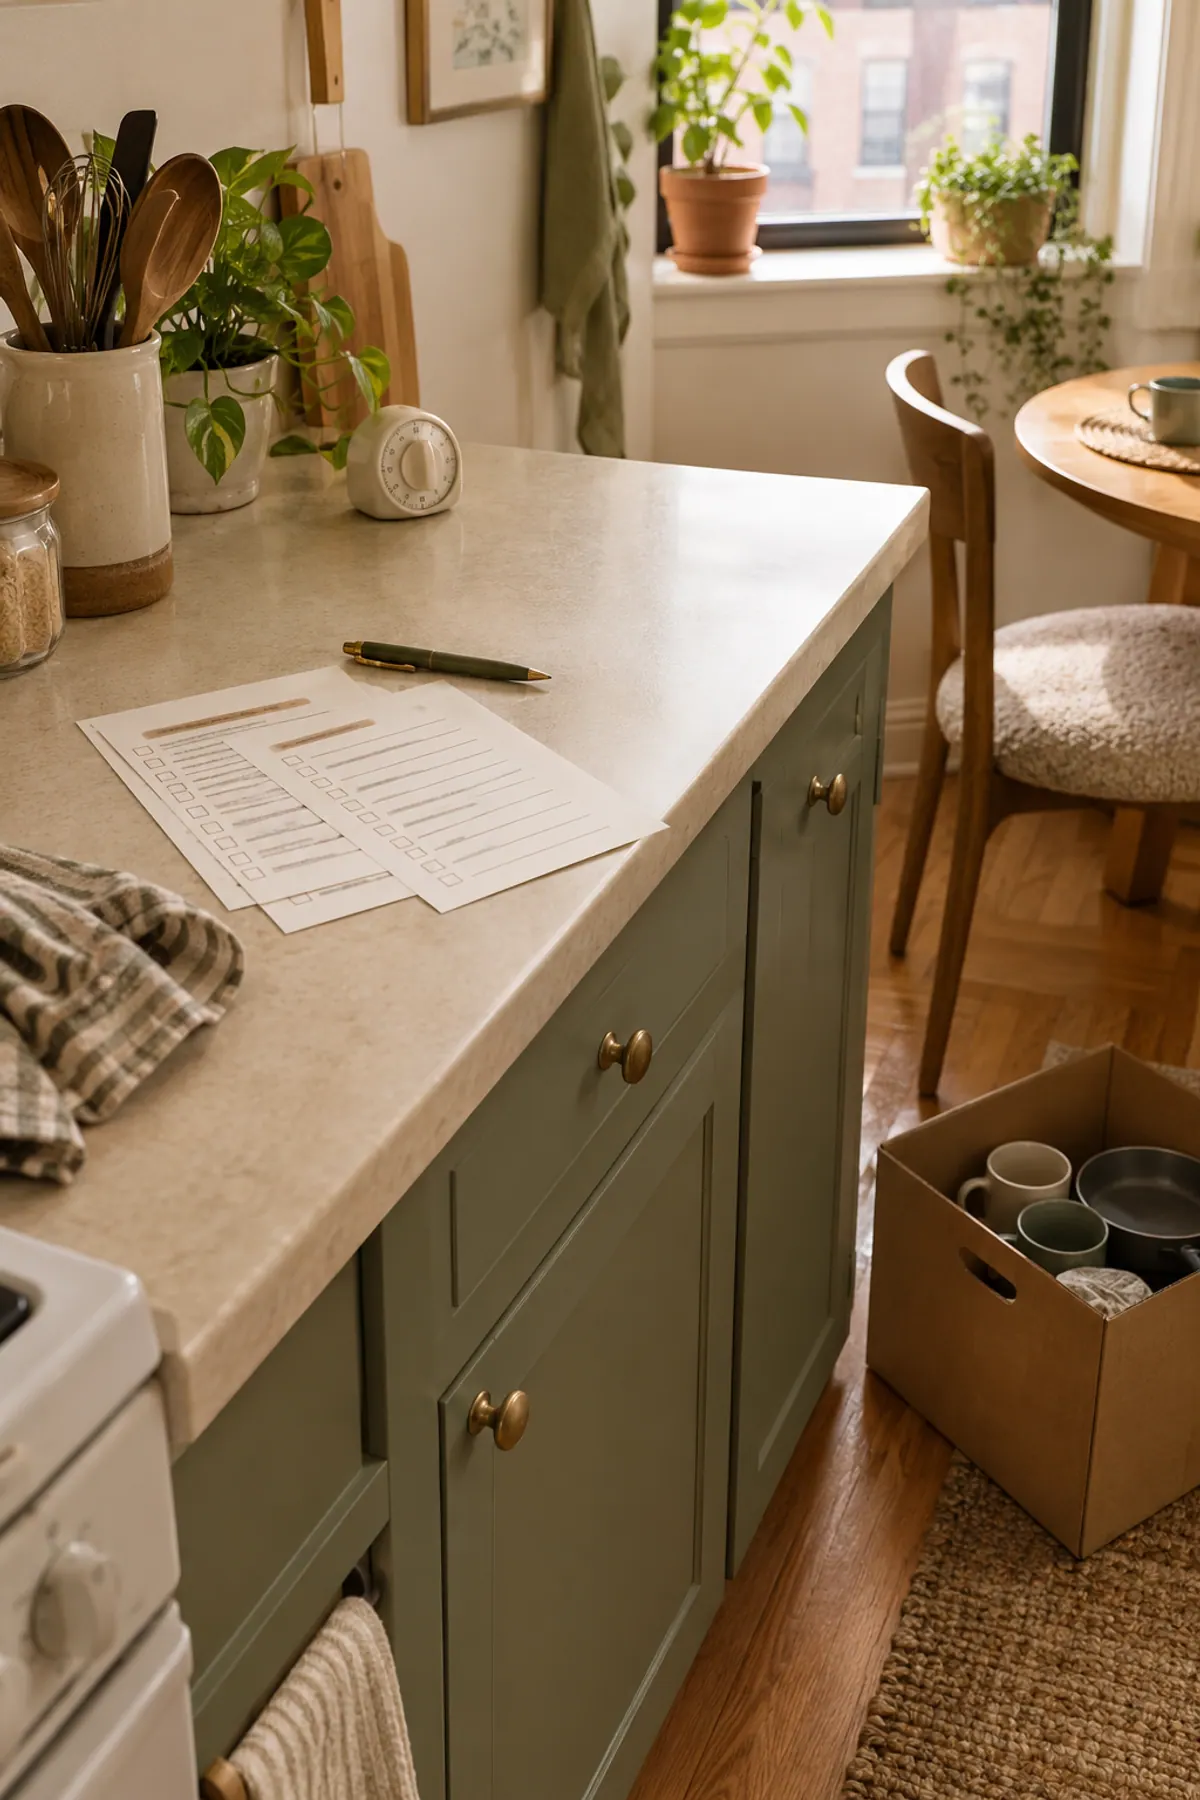
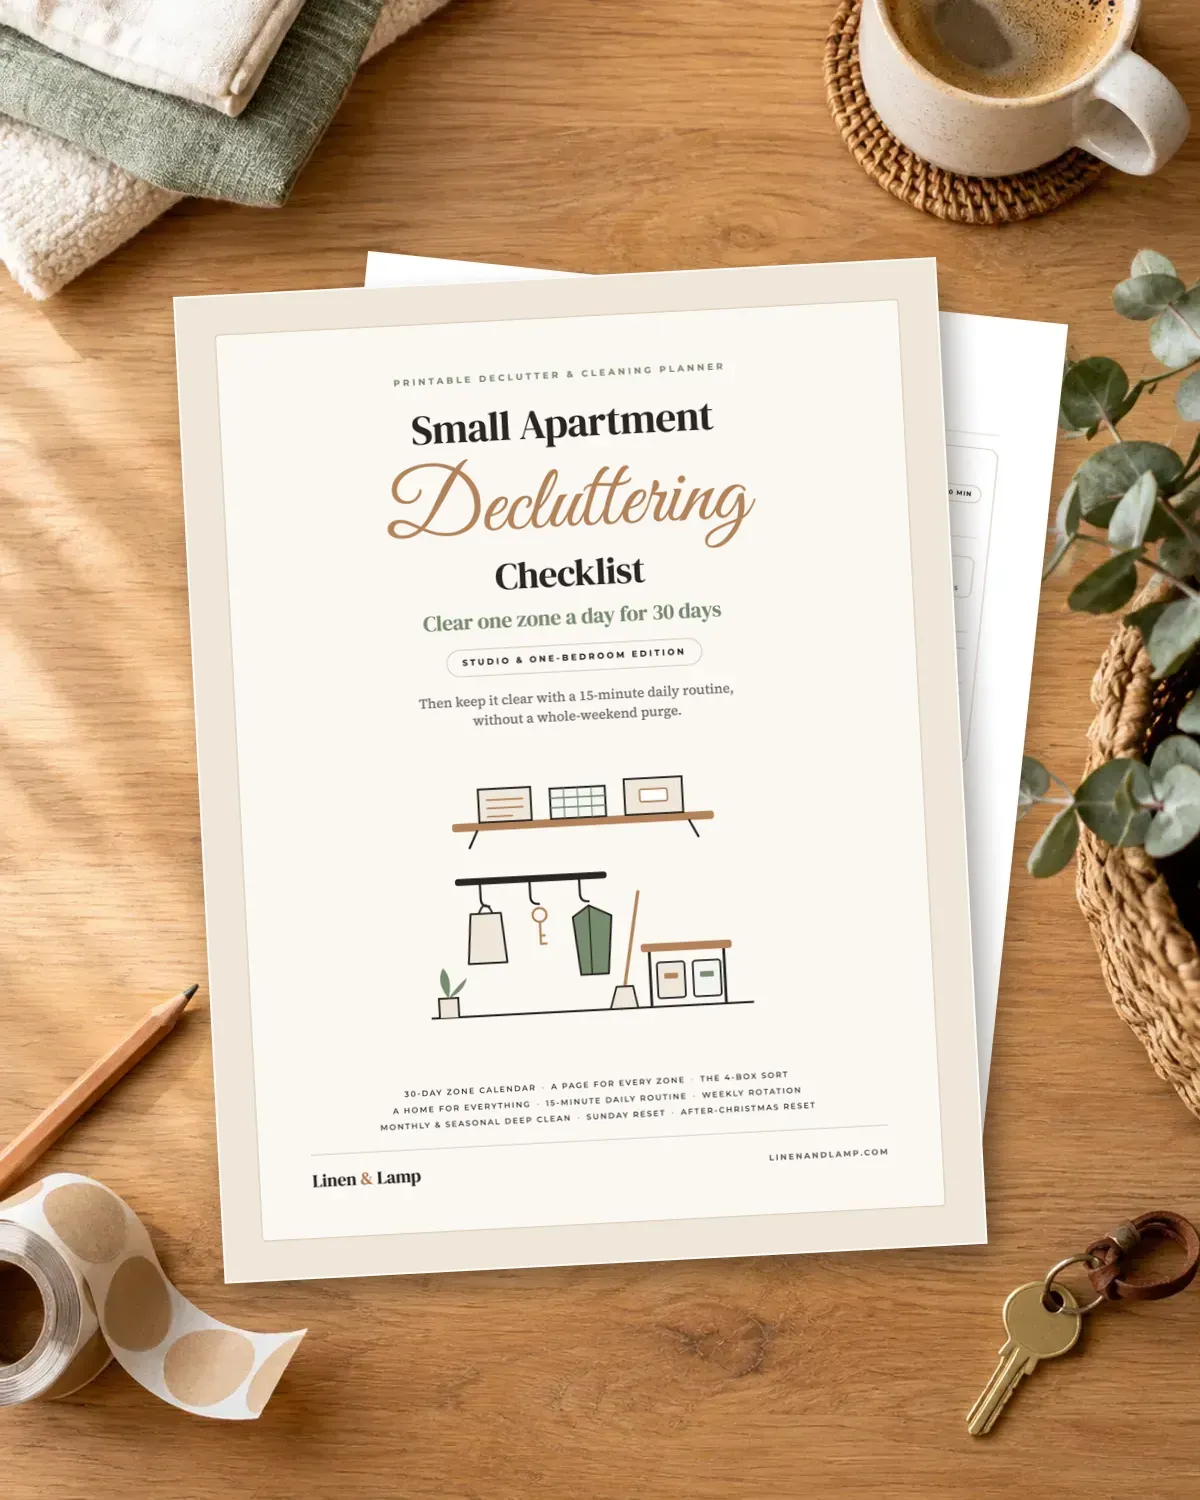
Step one is clearing the stretch, and that only sticks if the rest of the counter has somewhere to put its overflow. The Small Apartment Decluttering Checklist has a kitchen counters day, a one-drawer day and a home-for-everything map, each with a timer length, so the corner stays clear after you style it.
How to make a vintage coffee corner, step by step
Work in this order. Each step builds on the measurement from the first one, and the last step is the one most guides skip.
-
Step 1: Measure and clear the stretch
Pick a run of counter at least 24 inches long, away from the sink and ideally under an upper cabinet. Take everything off it, wipe it, and write down the length and the depth. Relocate what you removed to the drawer or shelf it should have lived in; this is the step that makes the corner possible.
-
Step 2: Choose the anchor appliance
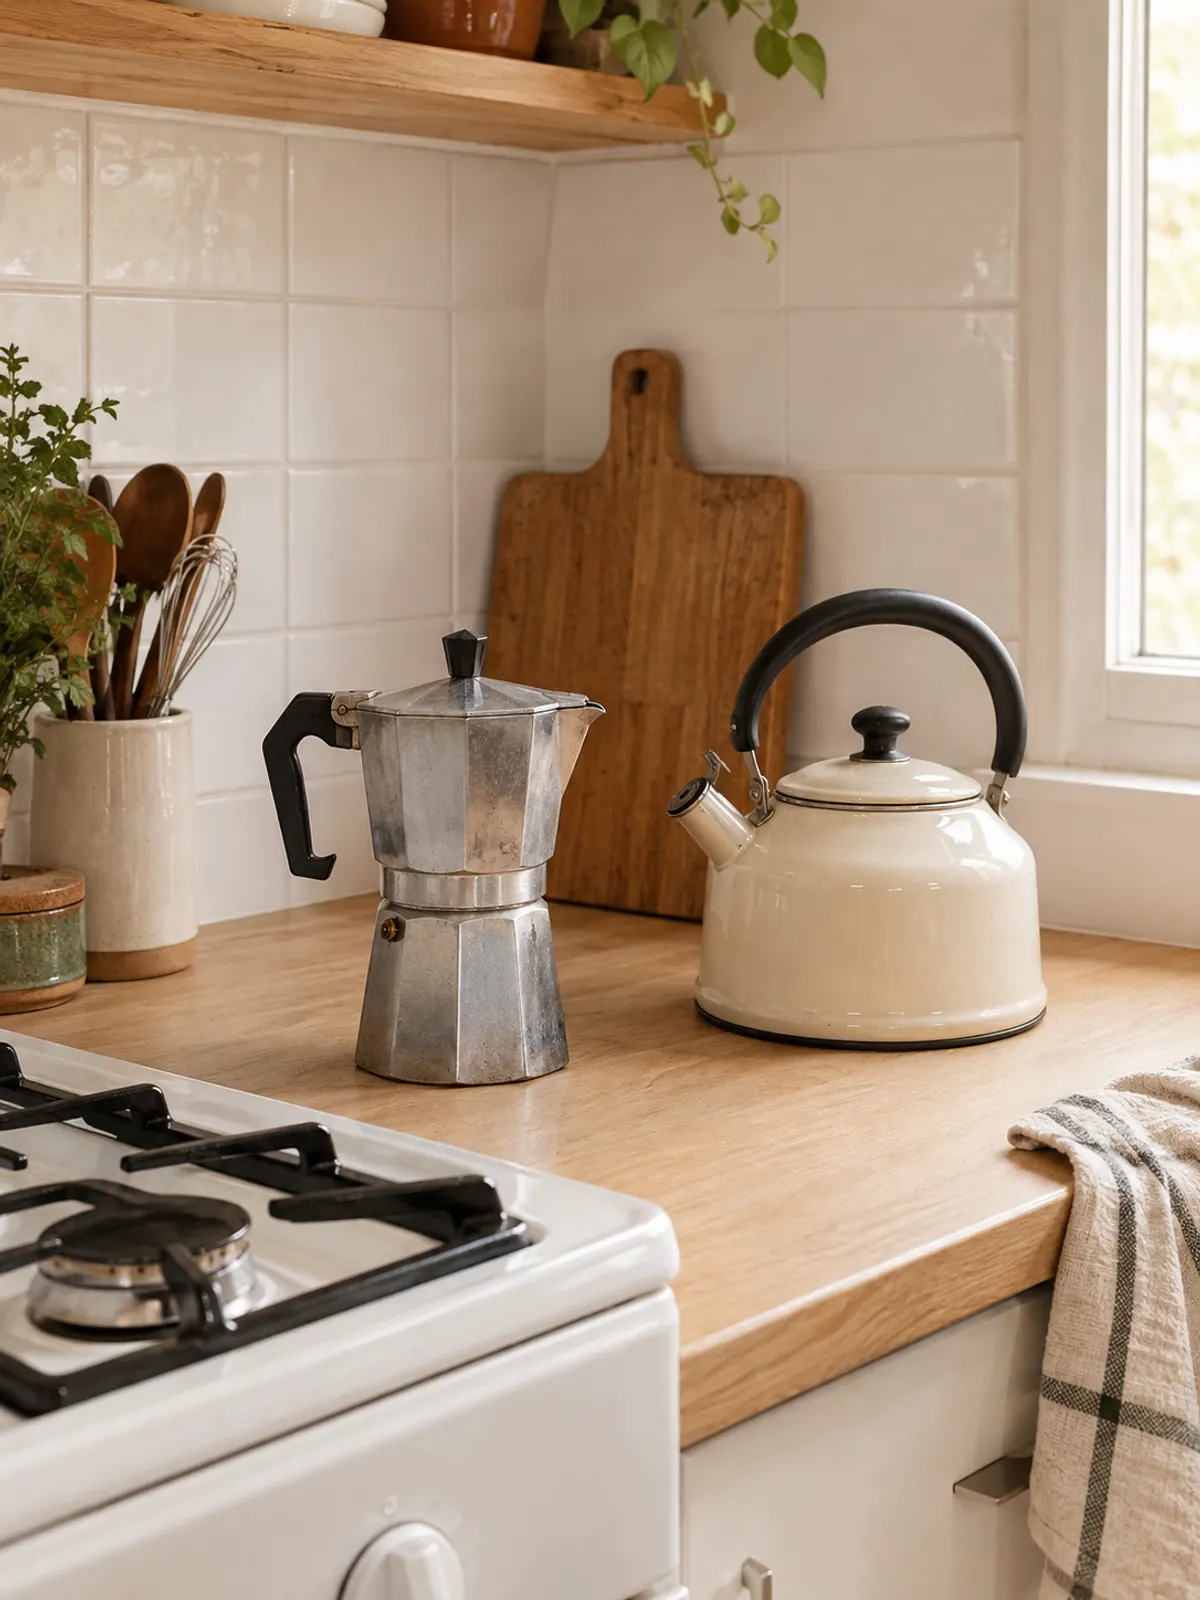
One appliance, not two. A stovetop moka pot in a 6-cup size is the most vintage option, costs the least and needs no outlet. If you want a plug-in maker, choose a cream, sage or red retro-look drip model about 8 inches wide and keep the box in the closet for move-out. Put it at the end of the run closest to the outlet or stove.
-
Step 3: Add storage that looks vintage
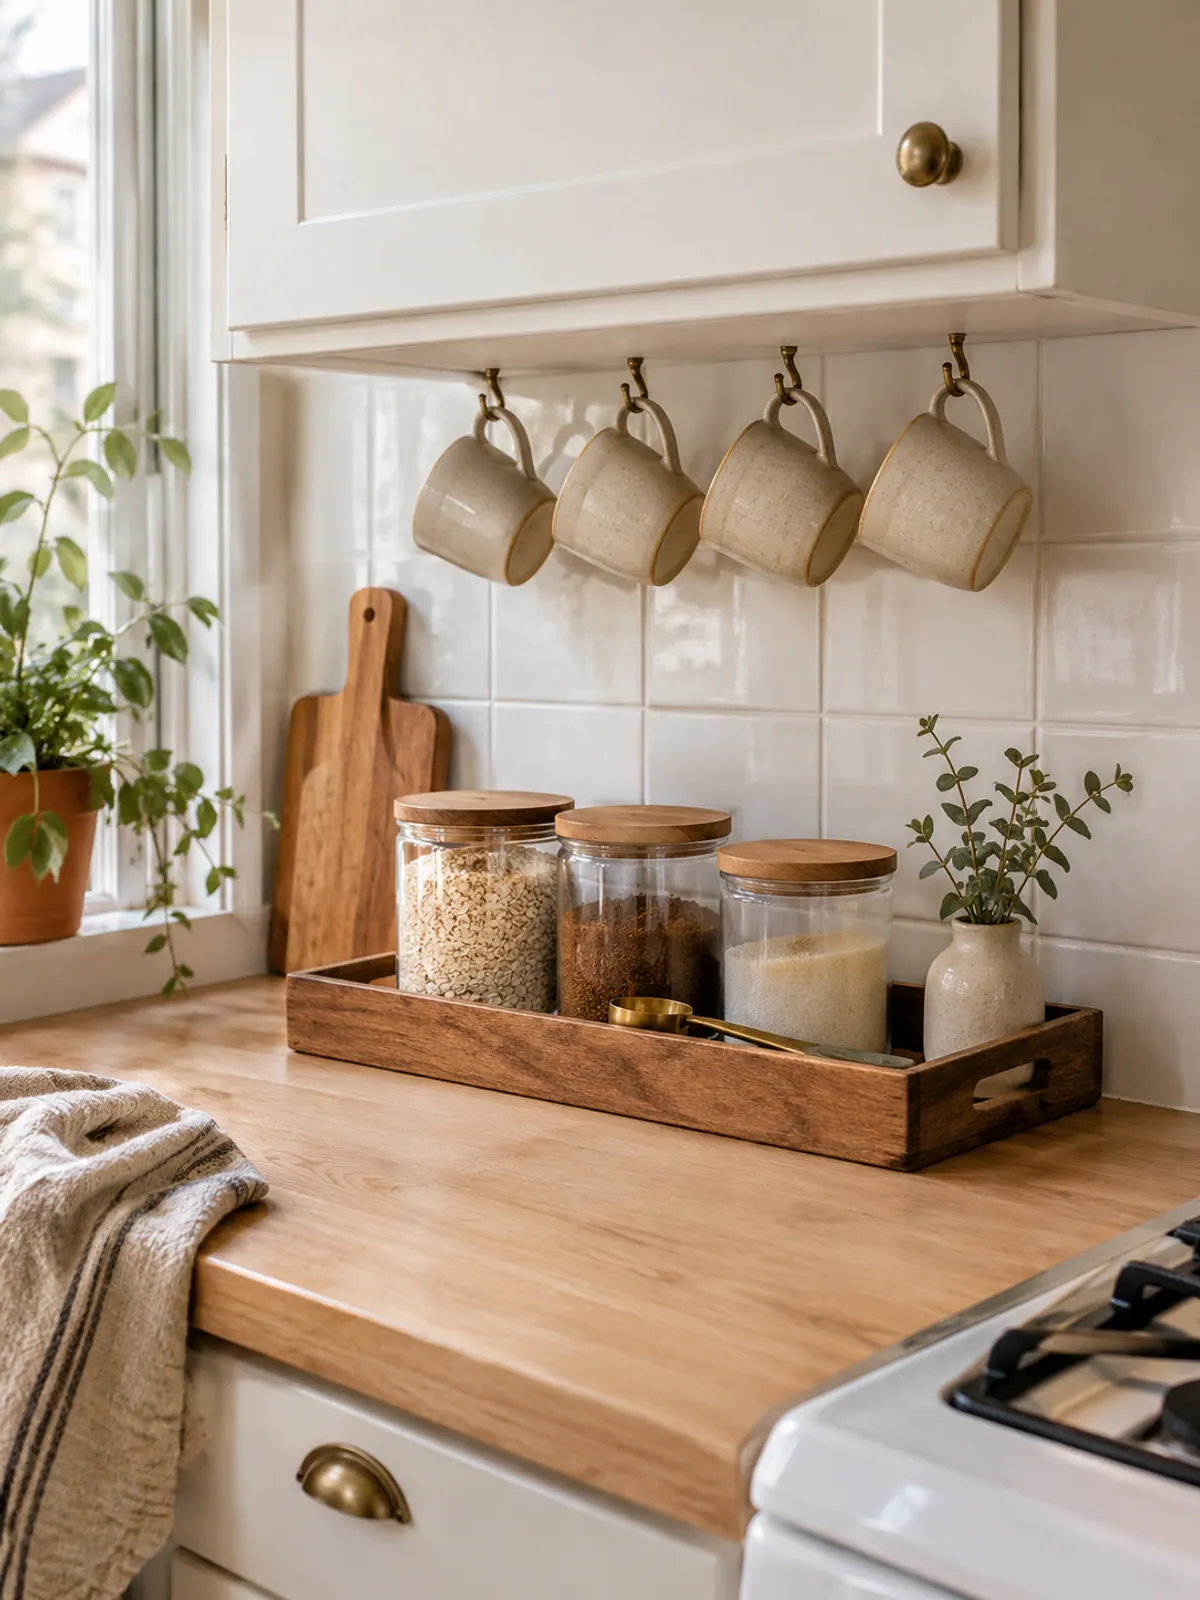
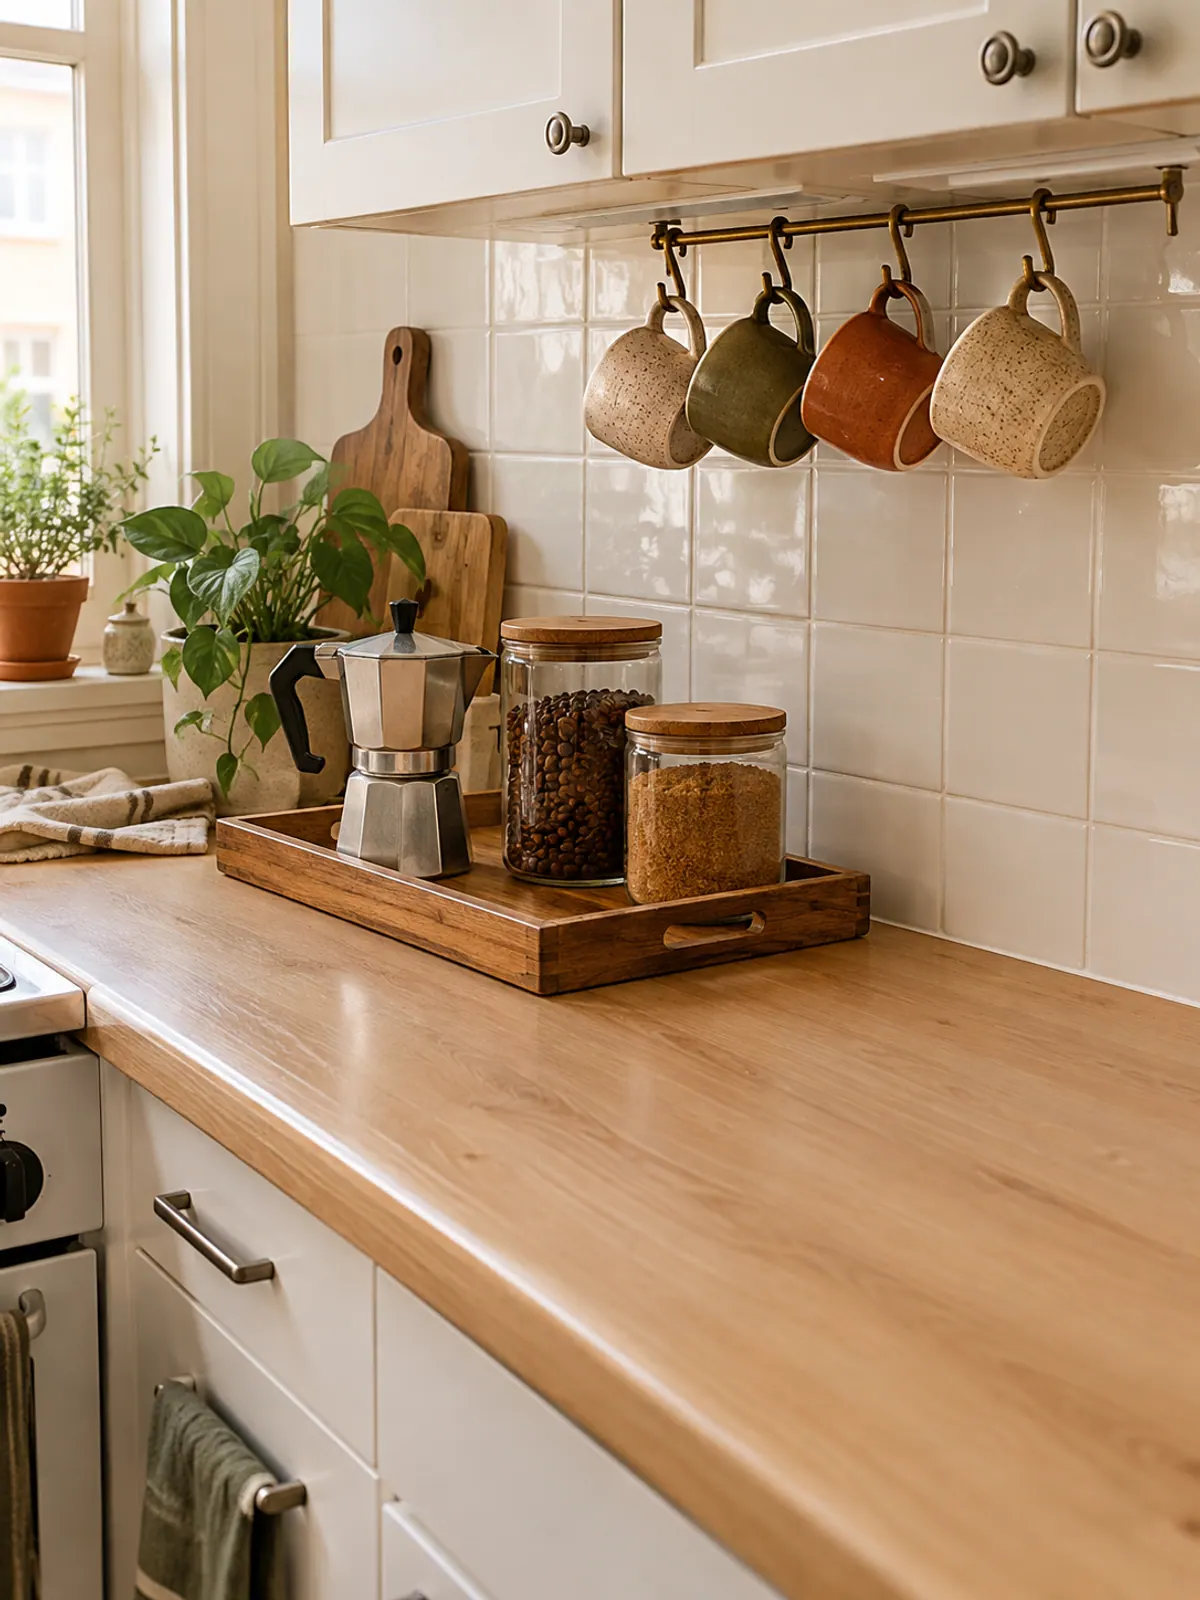
Decant beans, sugar and tea into glass canisters with wood lids and line them up on the tray with the spoon and the mugs. The tray is the trick: everything on it reads as one object, and lifting it off the counter to wipe takes five seconds. Hang four mugs on under-shelf hooks or a small mug tree so they stay off the counter.
-
Step 4: Layer in three heights
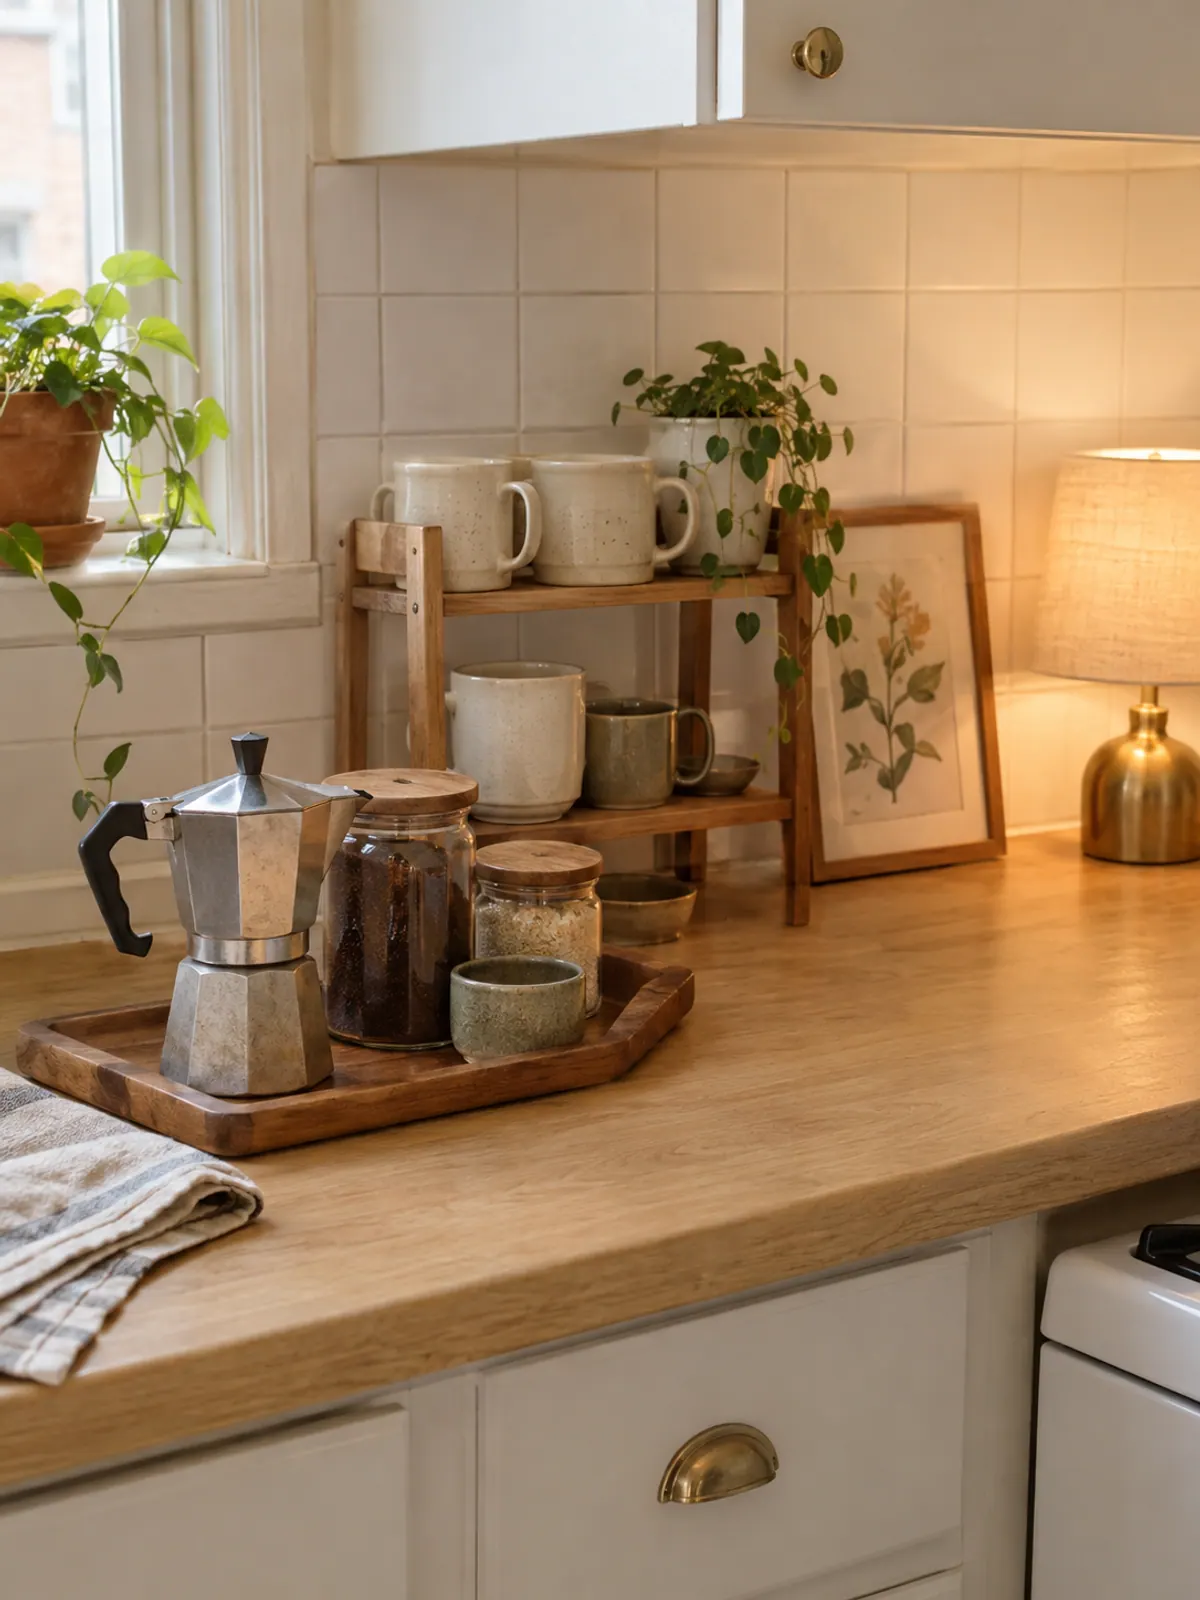
Counter level is the maker and the tray. The second level is a small two-tier shelf or a wooden riser at the back, holding the mugs or the canisters. The third level is the wall: lean a framed print or a small sign against the backsplash, or hang one with an adhesive strip. A small lamp at one end, on a timer, is what makes the corner look like a cafe at 6 a.m.
-
Step 5: Keep it a corner
Decide the edge of the corner (the end of the tray or the shelf) and nothing crosses it. Once a week, take 15 minutes: wipe the tray, refill the canisters, put the stray mugs back on their hooks and move anything that drifted in. If the corner needs more than 15 minutes, it has grown; take something away rather than adding a second tray.
Thrift vs new: what a vintage coffee corner costs
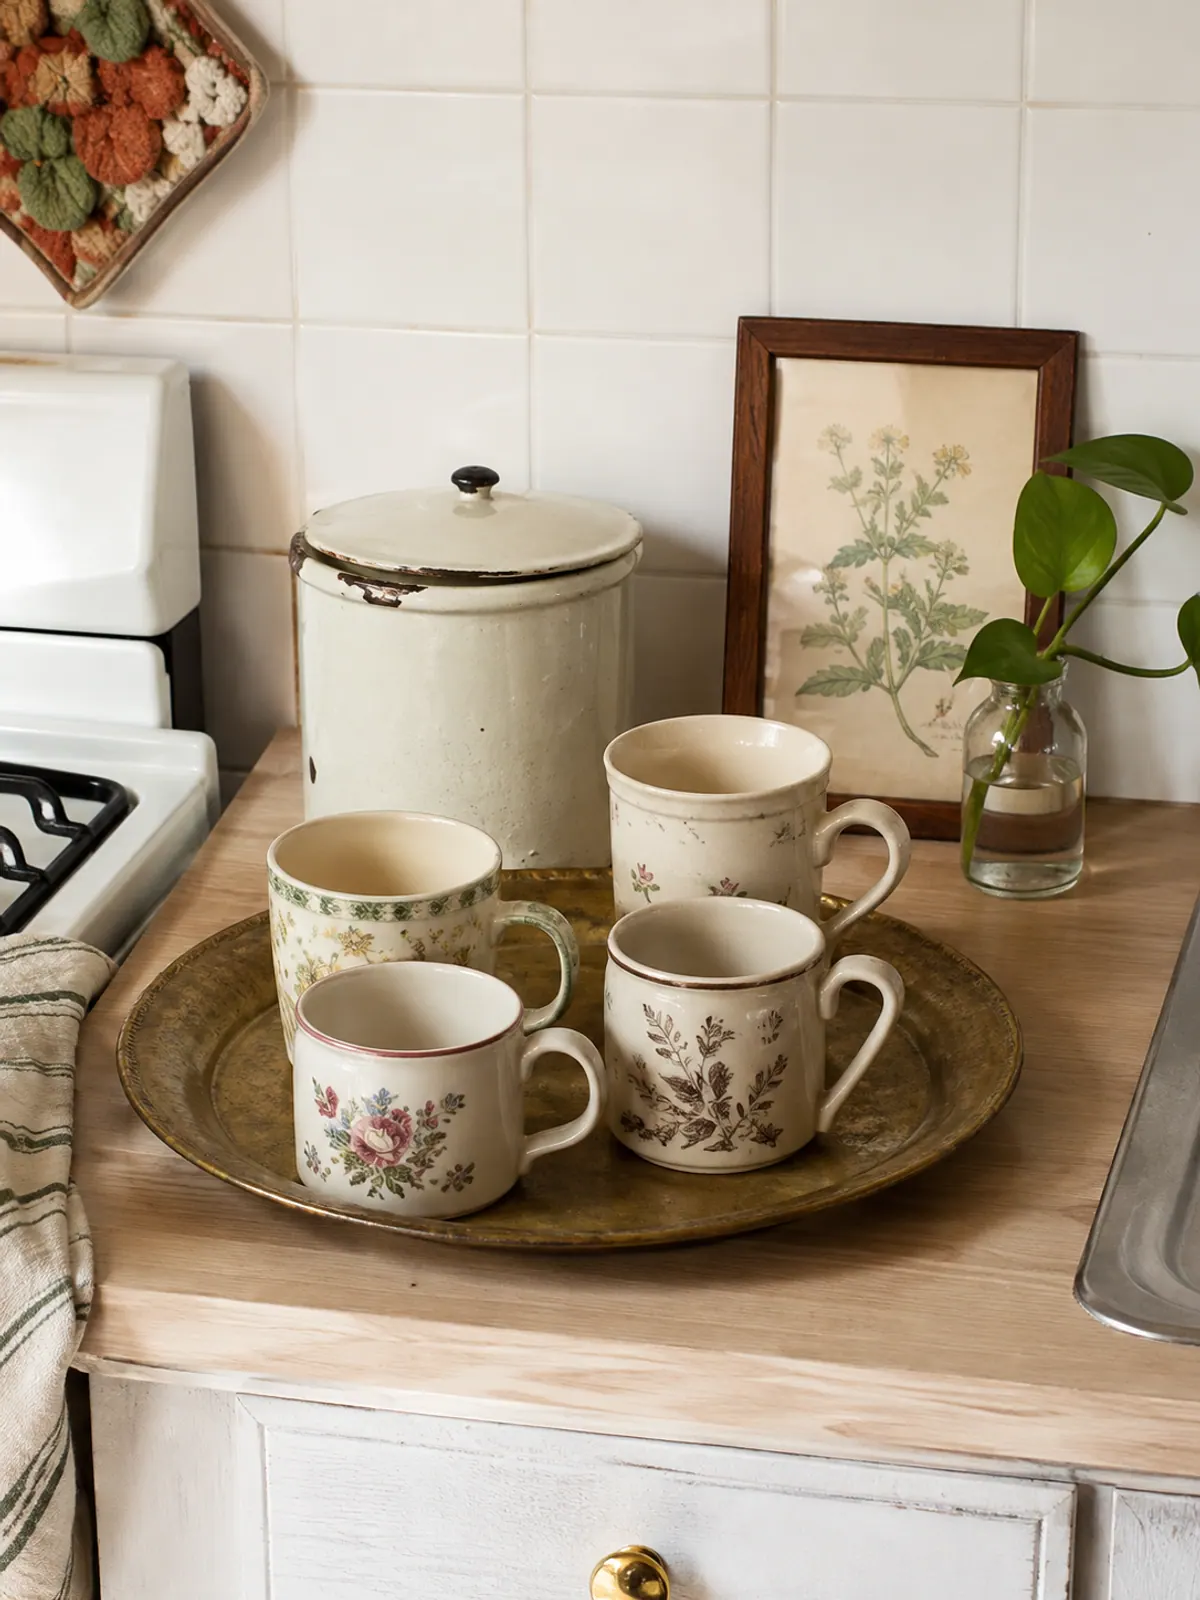
The pieces that look most vintage are the ones thrift stores have the most of: trays, mugs, canisters and small frames. The appliance is the one thing worth buying new unless you find a moka pot with its gasket intact. Prices below are typical ranges, not quotes.
| Piece | Thrifted | New |
|---|---|---|
| Moka pot, 6 cup | $5 to $15 (check the gasket and the safety valve) | $25 to $45 |
| Glass canisters, set of 3 | $3 to $8 each | $20 to $40 per set |
| Wooden or brass tray | $5 to $12 | $20 to $45 |
| Mugs, 4 to 6 | $1 to $3 each | $8 to $15 each |
| Framed print or small sign | $5 to $15 | $15 to $40 |
| Two-tier counter shelf | $10 to $20 | $25 to $50 |
| Whole corner | About $30 to $75 | About $115 to $235 |
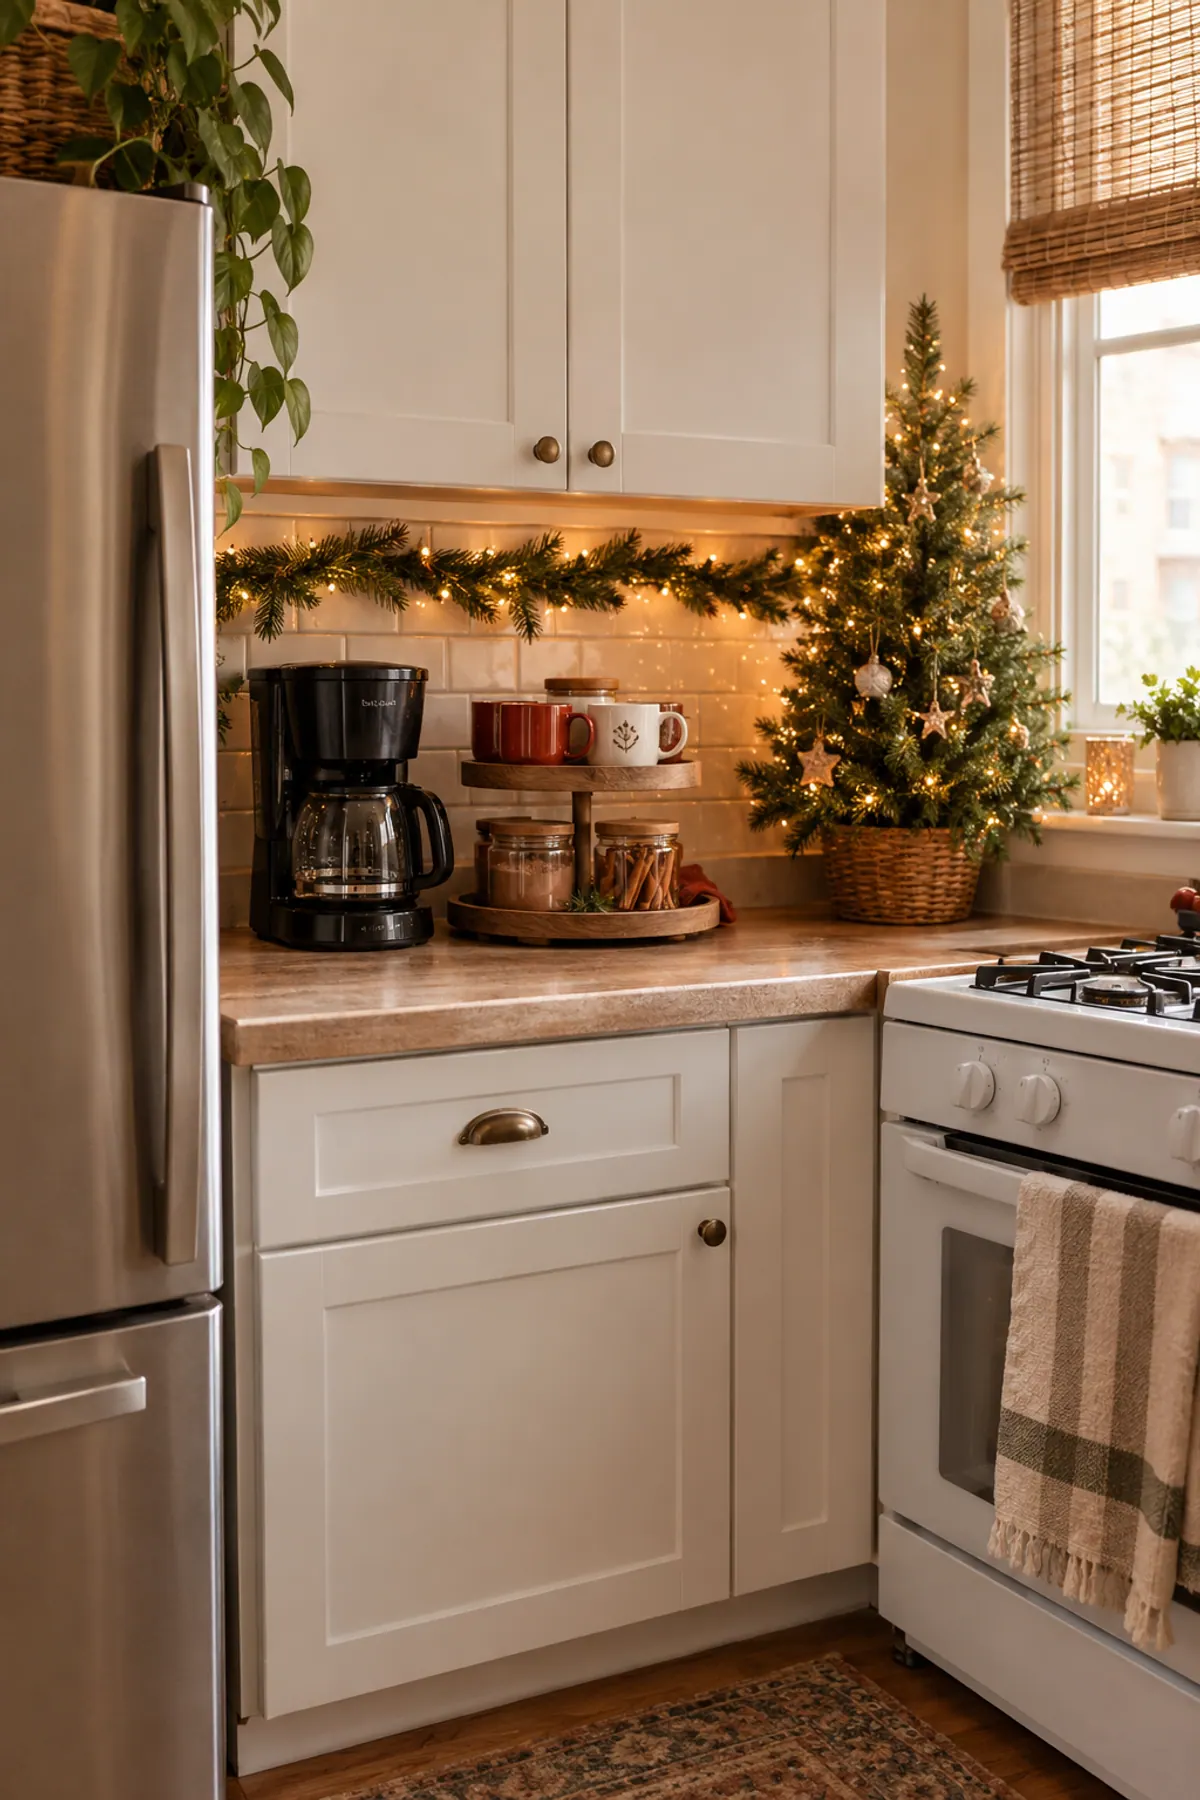
A mixed approach is the usual answer: new canisters and a new maker for the food-contact pieces, thrifted everything else. The Christmas version of this corner, with the same footprint rules, is in our Christmas coffee bar ideas.
Mistakes that turn a coffee corner into counter clutter
What we like
- One appliance, one tray, one print
- Colors held to cream, wood, brass and one muted accent
- Canisters decanted, so no bags and boxes on show
- A clear edge to the corner that nothing crosses
- Mugs hung or shelved, not stacked on the counter
Keep in mind
- A grinder, a kettle, a frother and a maker on 24 inches of counter
- Bright plastic or chrome gadgets next to the vintage pieces
- Coffee bags, sugar boxes and pods left in their packaging
- A second tray added when the first one fills up
- A sign that says COFFEE above a corner that already has coffee in it
Variations: a cart, a shelf or a windowsill
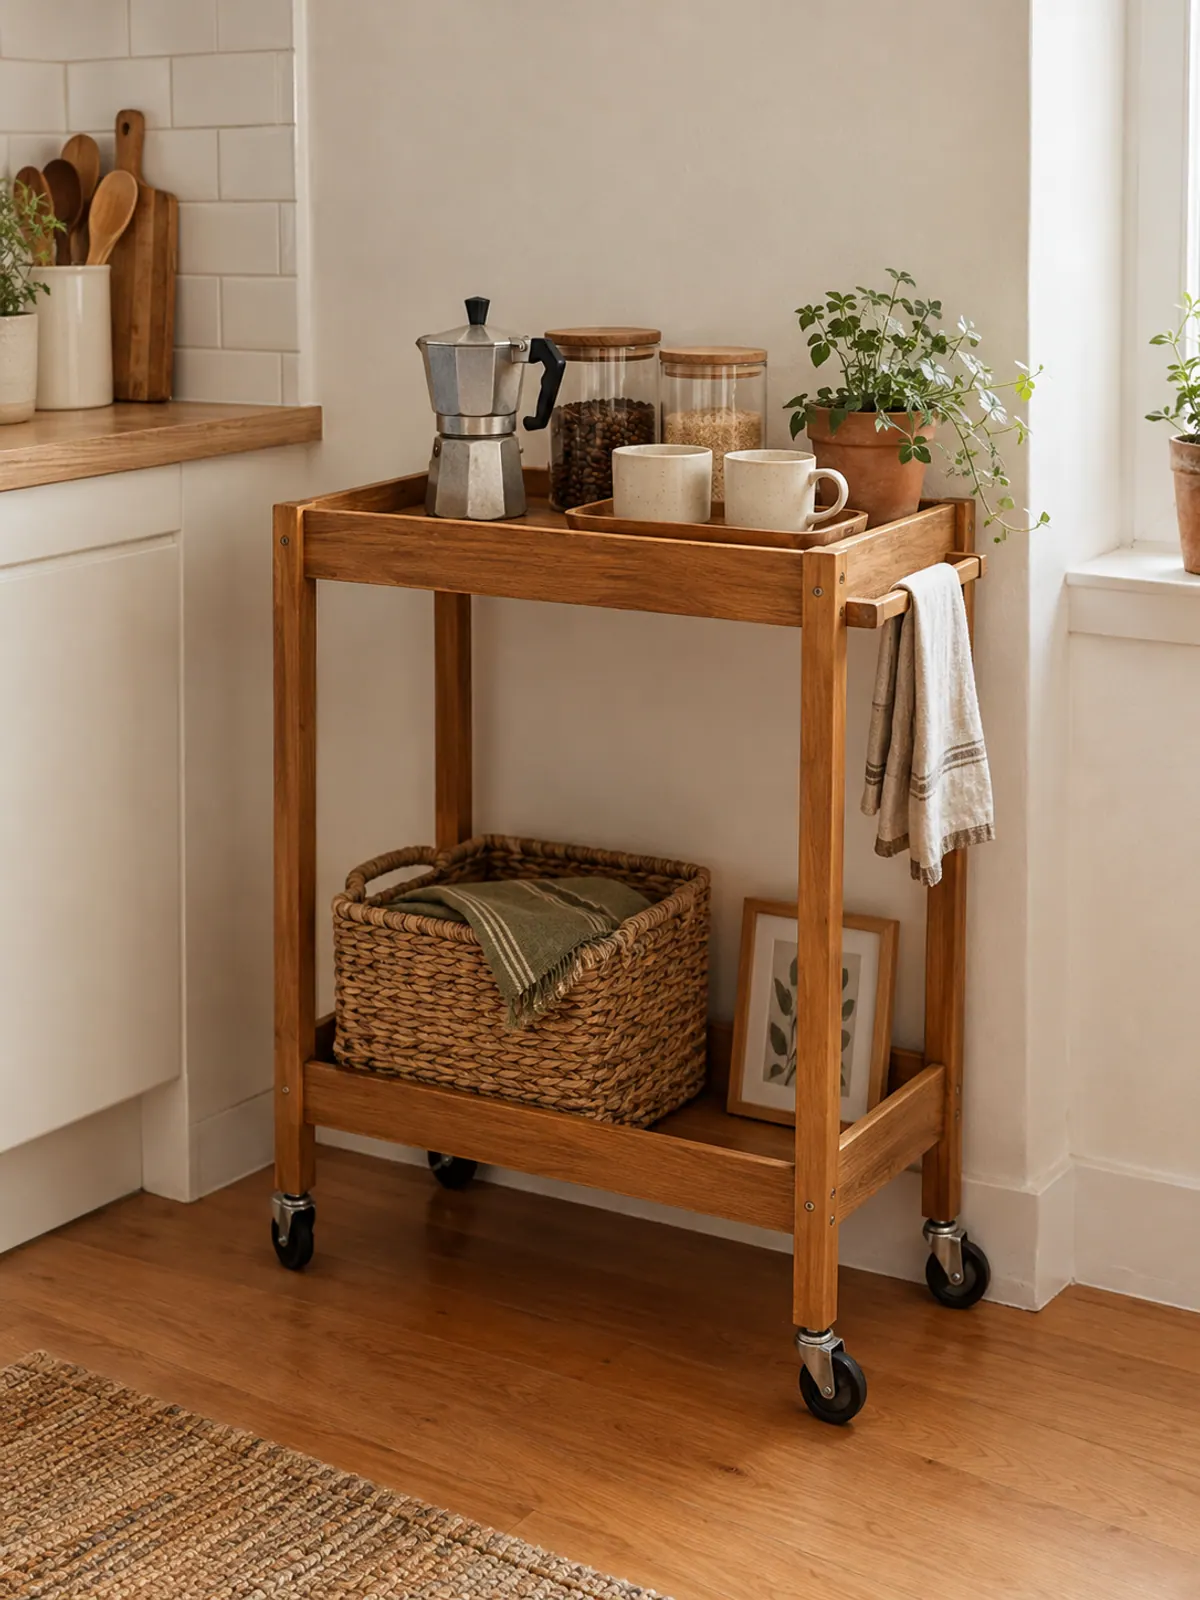
No spare counter: the cart.
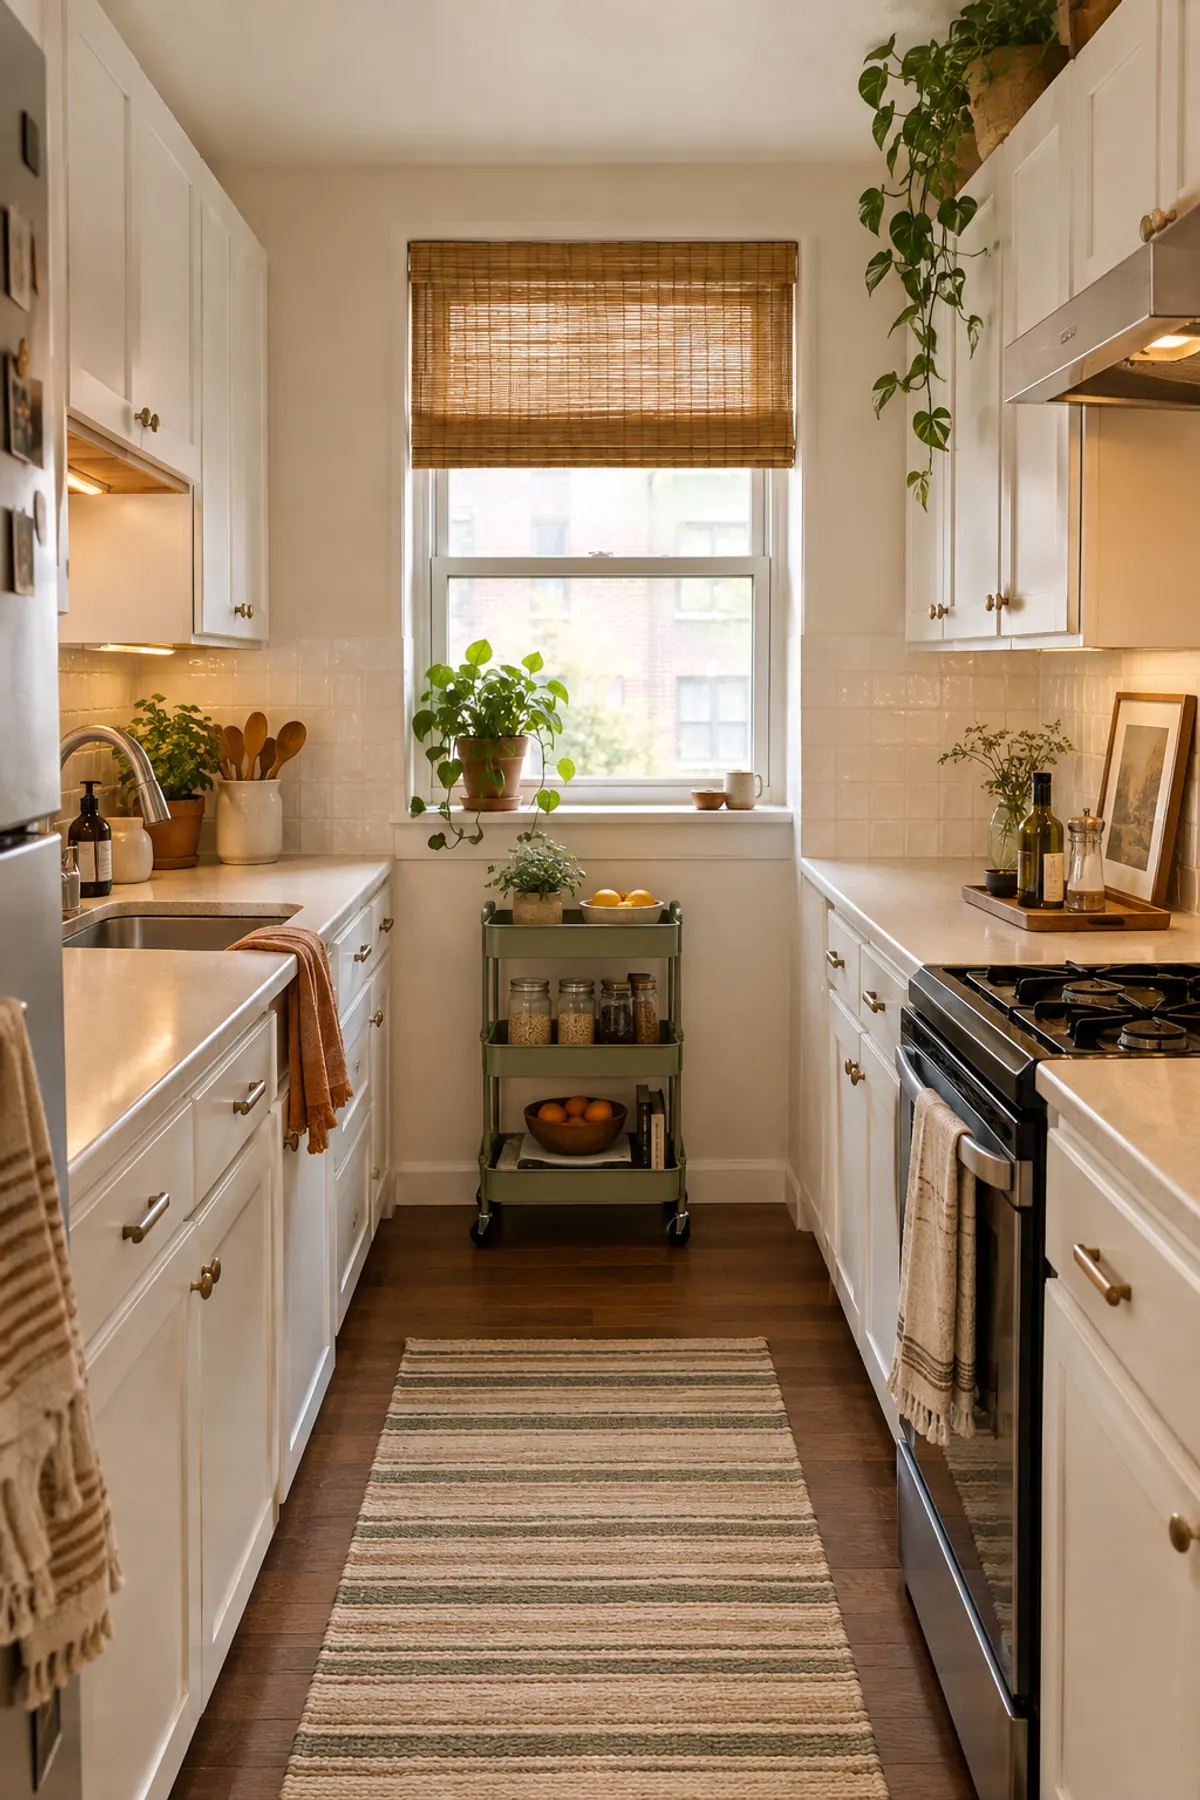
A narrow wooden cart about 24 inches wide holds the whole corner on its top shelf and the beans and filters below. It rolls out of the way for cooking and goes with you to the next apartment. The small kitchen ideas for renters article covers where a cart fits in a galley.
No counter and no floor: the shelf.
Two adhesive or tension-rod shelves on an empty wall section hold the canisters, the mugs and the print; the moka pot lives on the stove. Keep the shelves under their weight rating and put the print on the top one, where nothing heavy needs to be.
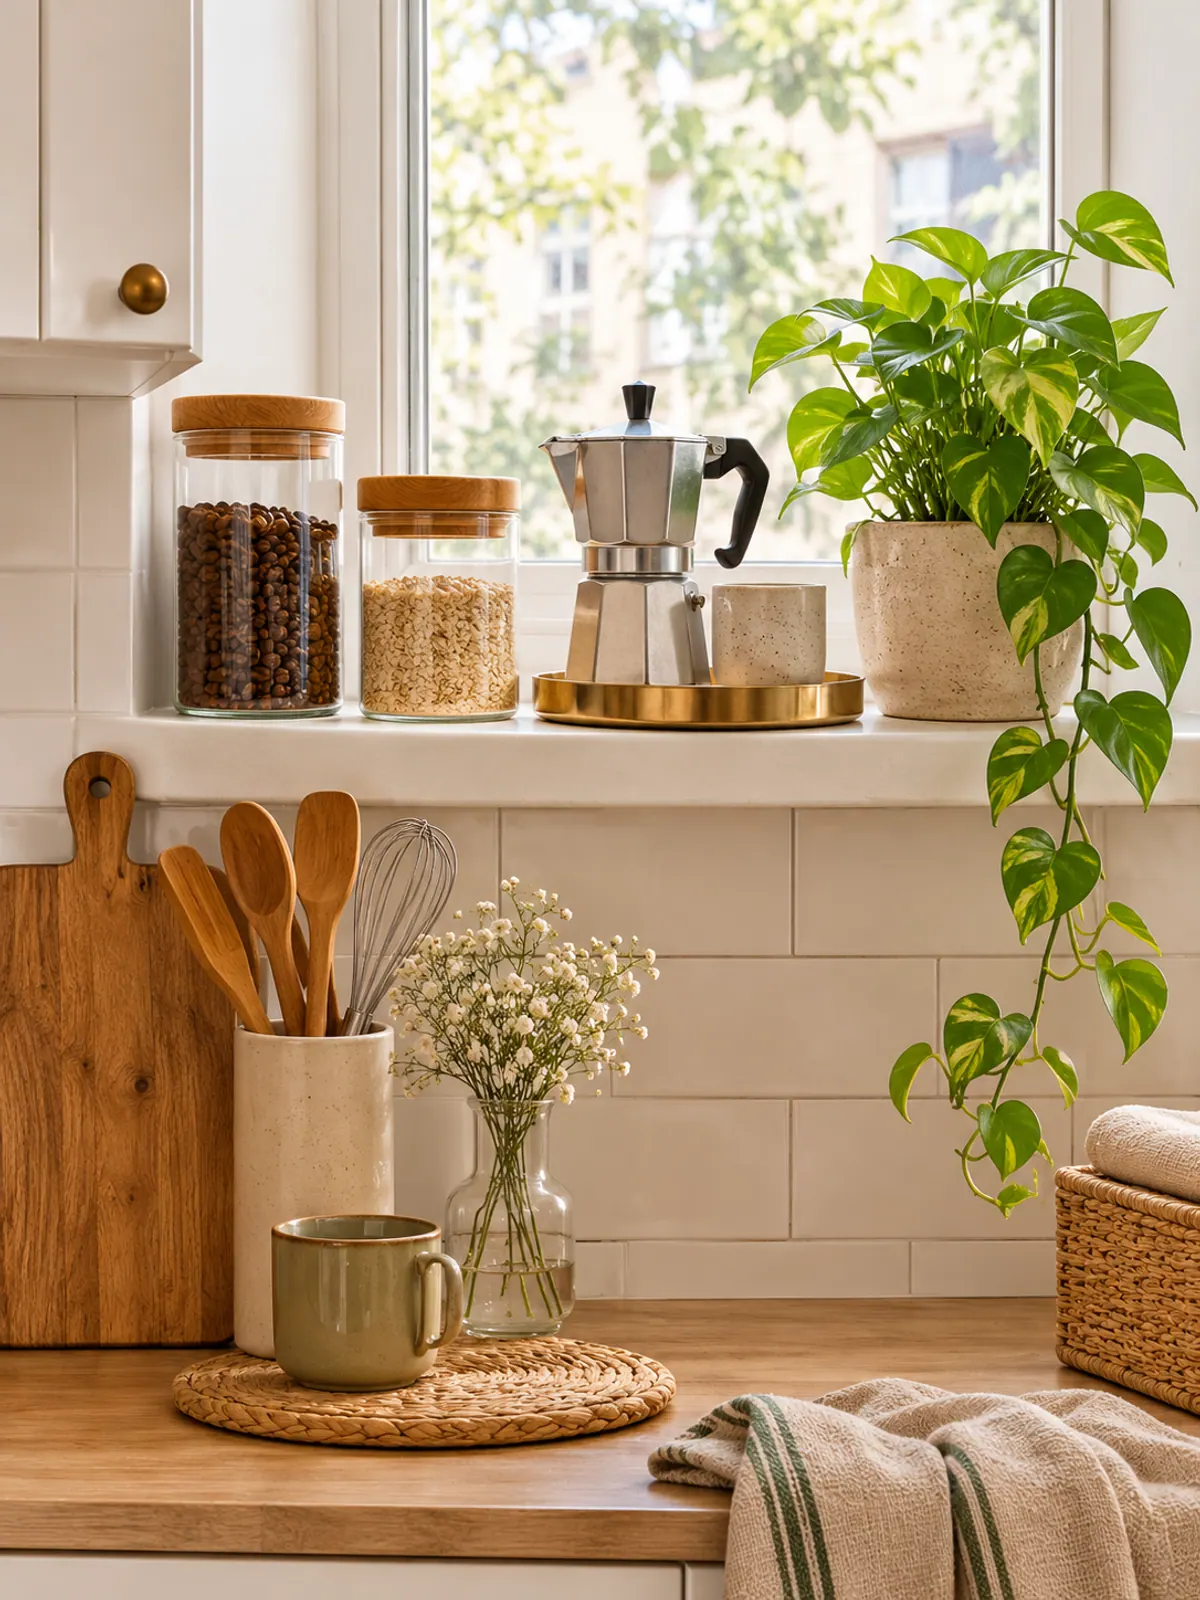
A deep windowsill.
If your kitchen window has a sill 6 inches deep or more, it takes the canisters, a small tray and a plant, and the light does the styling for you. Keep the maker on the counter below and treat the sill as the second and third height. For the lamp at the end of a counter corner, the plug-in options in our renter friendly lighting guide all work.
Shop the vintage coffee corner list
These are the product types from the supply list, as search terms so you can pick the size and finish that fits your measurement. We have not tested specific models; check dimensions against your counter stretch before ordering.
Vintage coffee corner pieces
-
Stovetop moka pot, 6 cup
Typically $25 to $45
The most vintage anchor; no outlet needed.
Check price on Amazon for Stovetop moka pot, 6 cup -
Retro drip coffee maker, cream or sage
Typically $50 to $120
The plug-in anchor, about 8 in wide.
Check price on Amazon for Retro drip coffee maker, cream or sage -
Glass canisters with wood lids, set of 3
Typically $20 to $40
Beans, sugar and tea without the packaging.
Check price on Amazon for Glass canisters with wood lids, set of 3 -
Wooden serving tray, 14 by 10 in
Typically $20 to $45
Corrals the corner into one object.
Check price on Amazon for Wooden serving tray, 14 by 10 in -
Under-shelf mug hooks or small mug tree
Typically $10 to $25
Keeps mugs off the counter.
Check price on Amazon for Under-shelf mug hooks or small mug tree -
Two-tier wooden counter shelf
Typically $25 to $50
The second height, behind the tray.
Check price on Amazon for Two-tier wooden counter shelf -
Framed vintage coffee print, 8 by 10 in
Typically $15 to $40
The wall height, leaned or stuck up.
Check price on Amazon for Framed vintage coffee print, 8 by 10 in -
Small table lamp with linen shade
Typically $25 to $60
The 6 a.m. cafe glow at the end of the run.
Check price on Amazon for Small table lamp with linen shade
Want the whole kitchen to work this way, one measured zone at a time? The free makeover planner has a measuring grid, a shopping list page and a budget splitter for every room.
Frequently asked questions
How do you make a vintage coffee corner in a small kitchen?
Measure and clear a 24 to 36 inch stretch of counter, choose one anchor appliance such as a moka pot or a retro drip maker, add glass canisters and mugs on a wooden tray, layer a small shelf and a framed print behind it, and reset the corner for 15 minutes once a week so it stays inside its edge.
What do you put in a vintage coffee corner?
The five anchors are the maker, two or three glass canisters with wood lids, a wooden or brass tray, four to six mismatched cream or floral mugs and one small framed print or sign. Extras are a two-tier shelf or riser, a small lamp and a plant.
Where should a coffee corner go in a small kitchen?
On the stretch of counter farthest from the sink, under an upper cabinet if you can, and near an outlet if your maker plugs in. If there is no spare counter, a 24 inch wide cart, two wall shelves or a deep windowsill all work.
How much does a vintage coffee corner cost?
Thrifted, the whole corner typically runs about $30 to $75. Bought new, the same list is roughly $115 to $235, with the maker as the biggest line. Most people buy the maker and canisters new and thrift the tray, mugs and frame.
Can you make a vintage coffee corner without drilling?
Yes. Everything sits on the counter or hangs under the cabinet on adhesive or screw-free hooks. Lean the print against the backsplash, or hang it with an adhesive strip rated for the frame's weight, and use a tension-rod shelf if you want wall storage.

Save it for later
Pin this to your Kitchen & Dining board so it's there when you need it.
Save to Pinterest