This post contains affiliate links. As an Amazon Associate we earn from qualifying purchases, at no extra cost to you. Read our disclosure.
Key takeaways
- Declutter before you organize; buy bins only after you know what stays.
- Set out a donate box, a recycle bag and a trash bag before you open a cabinet.
- Work the eight zones in order, counters first, with a timer for each.
- Use keep counts (for example 4 mugs for one person, 6 for two) instead of deciding item by item.
- Set a drop-off day so the donate box leaves the apartment.
In this post8 sections
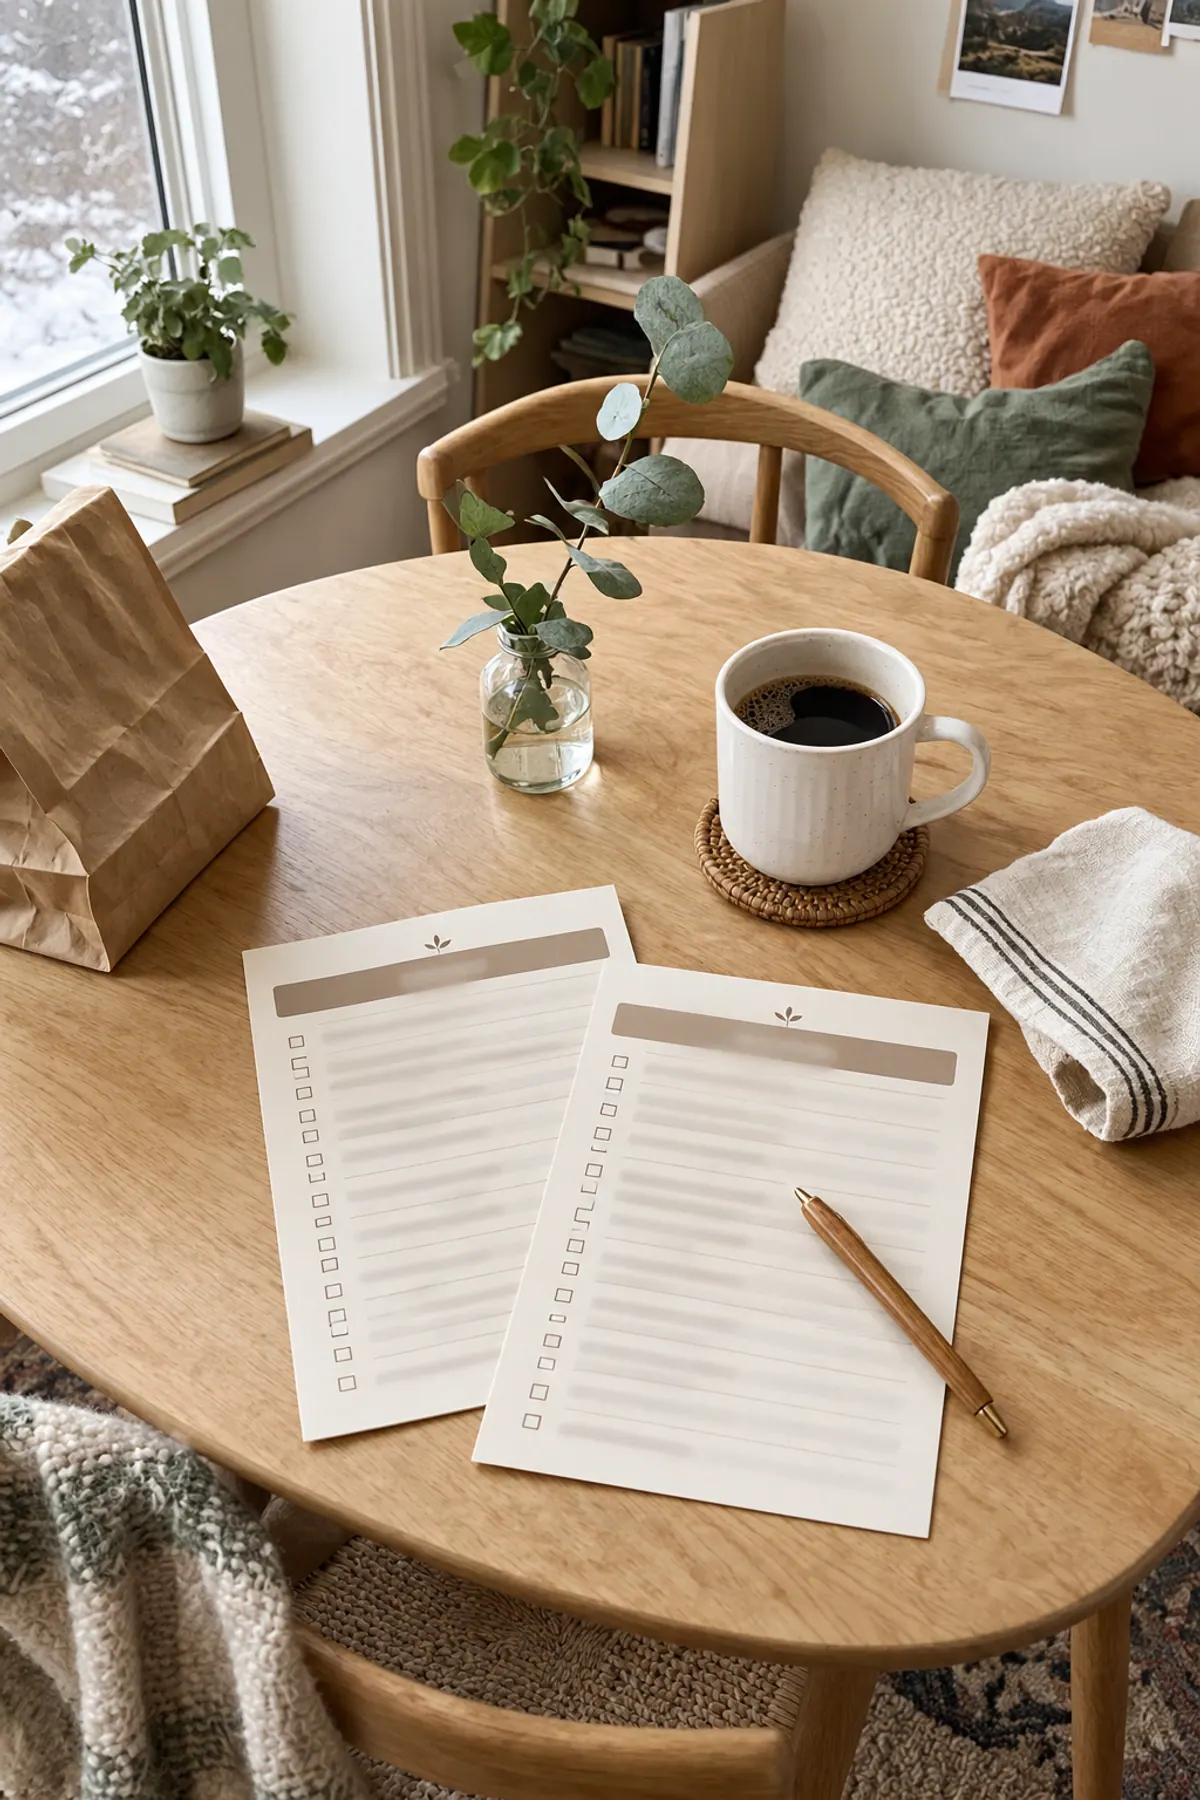
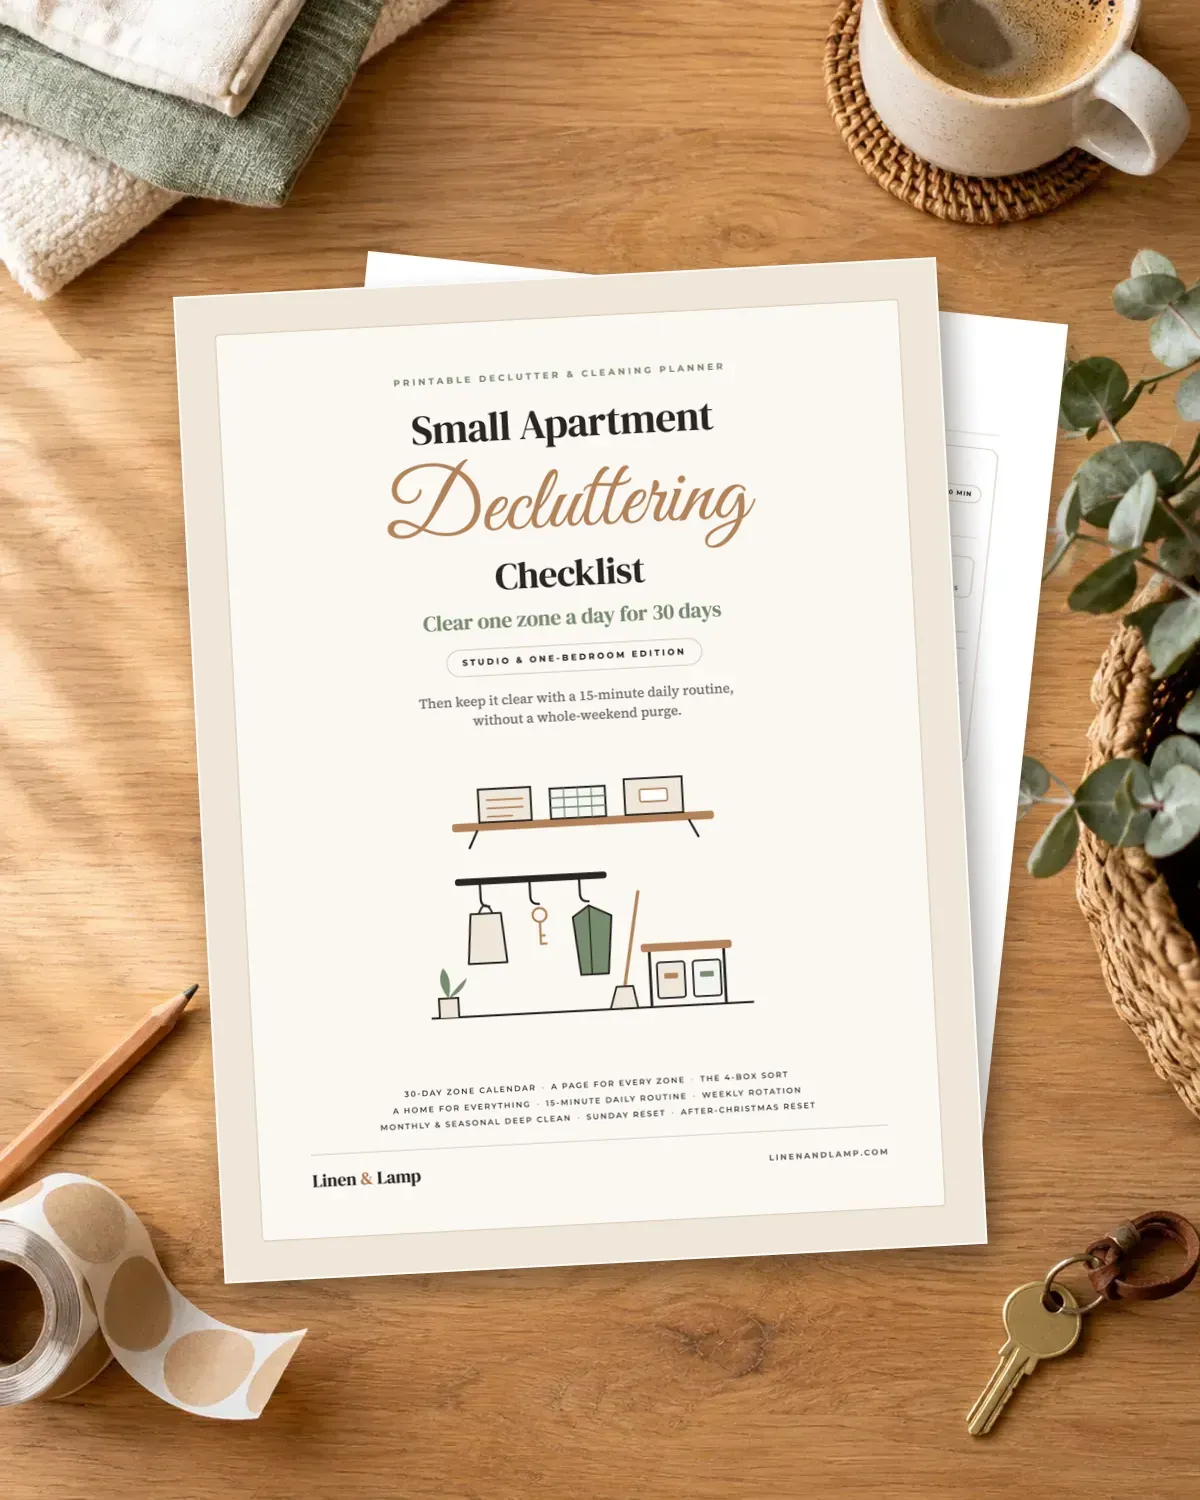
Want it on the fridge first? Download the free kitchen decluttering checklist (PDF, 3 pages). No sign-up needed. The zone notes below explain each step and the keep counts on page 3.
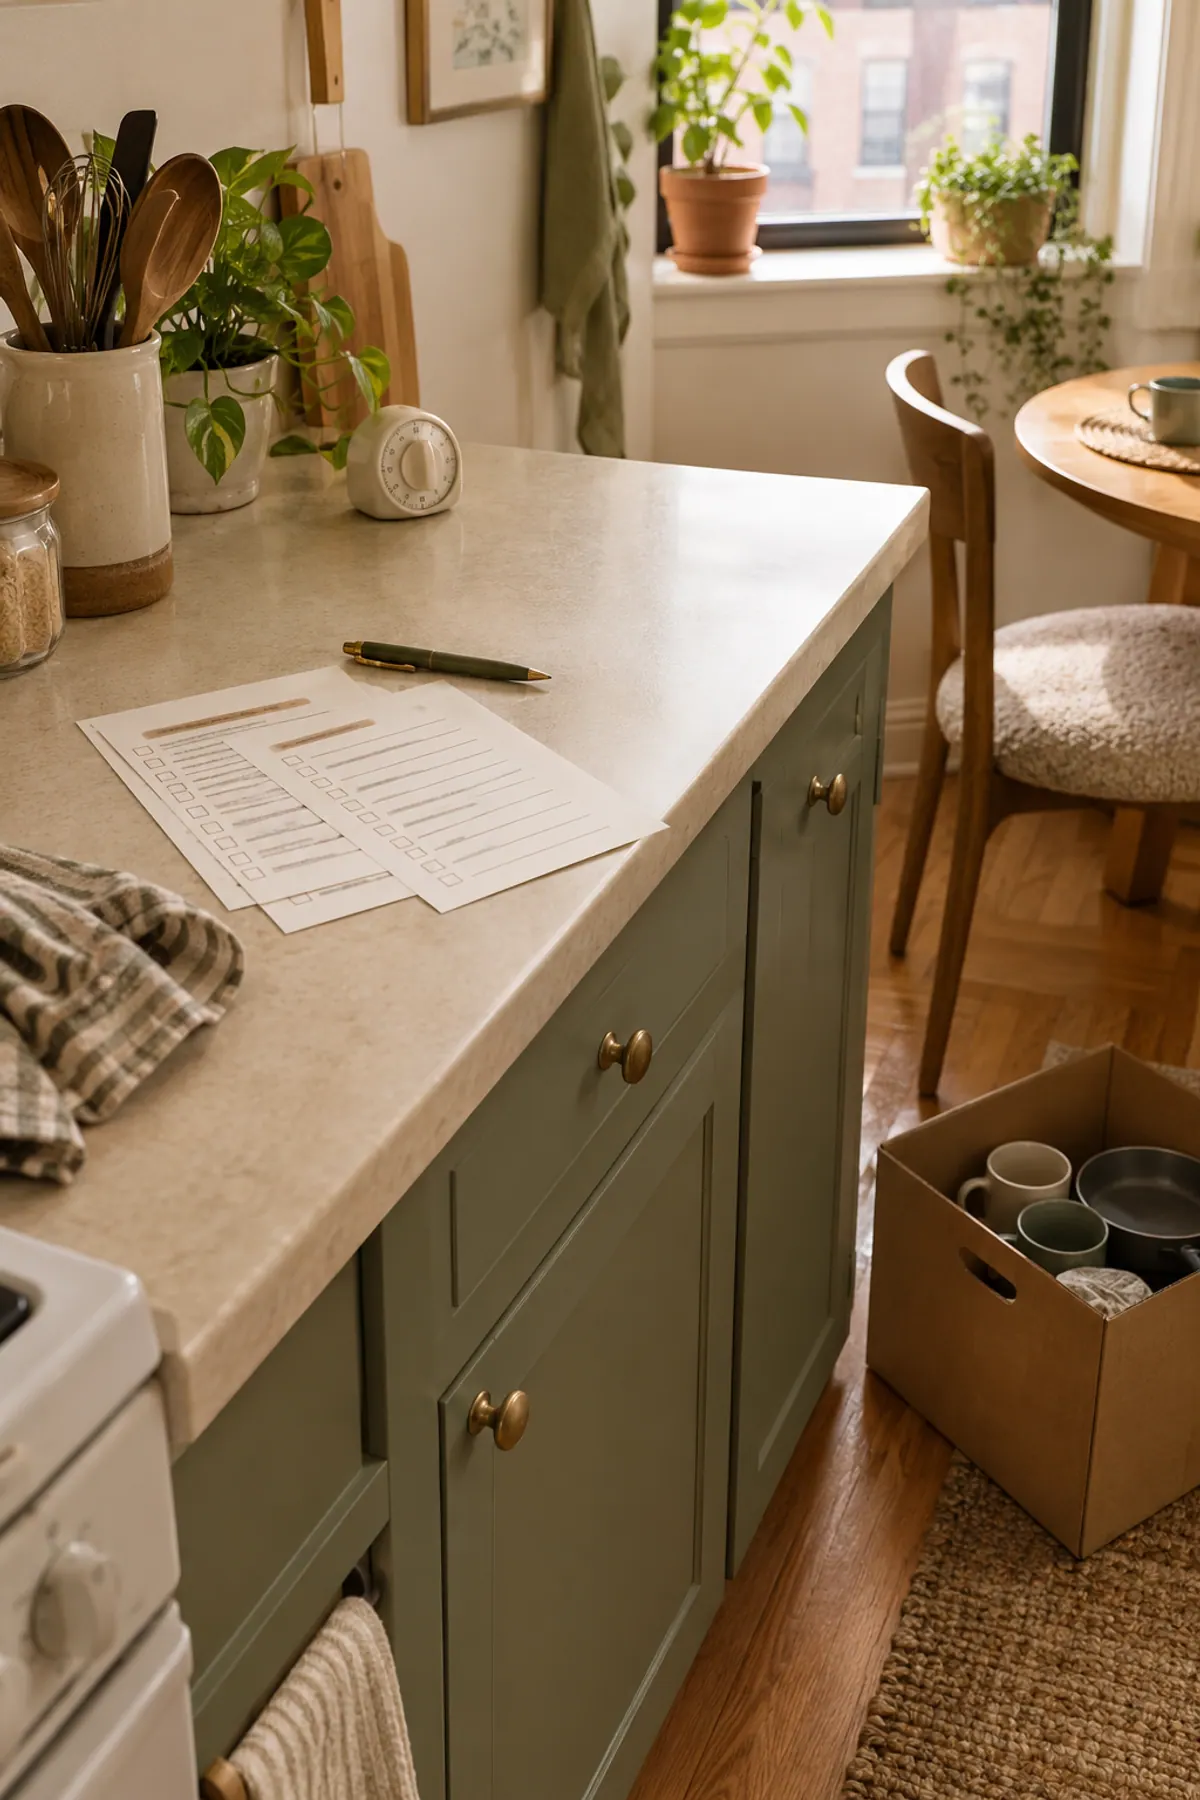
Before you start: three bags and a timer
Decluttering is deciding what stays. Organizing, the bins and labels part, comes after, and buying containers before you declutter is how kitchens end up with more stuff. So the only supplies you need today are three containers and a timer.
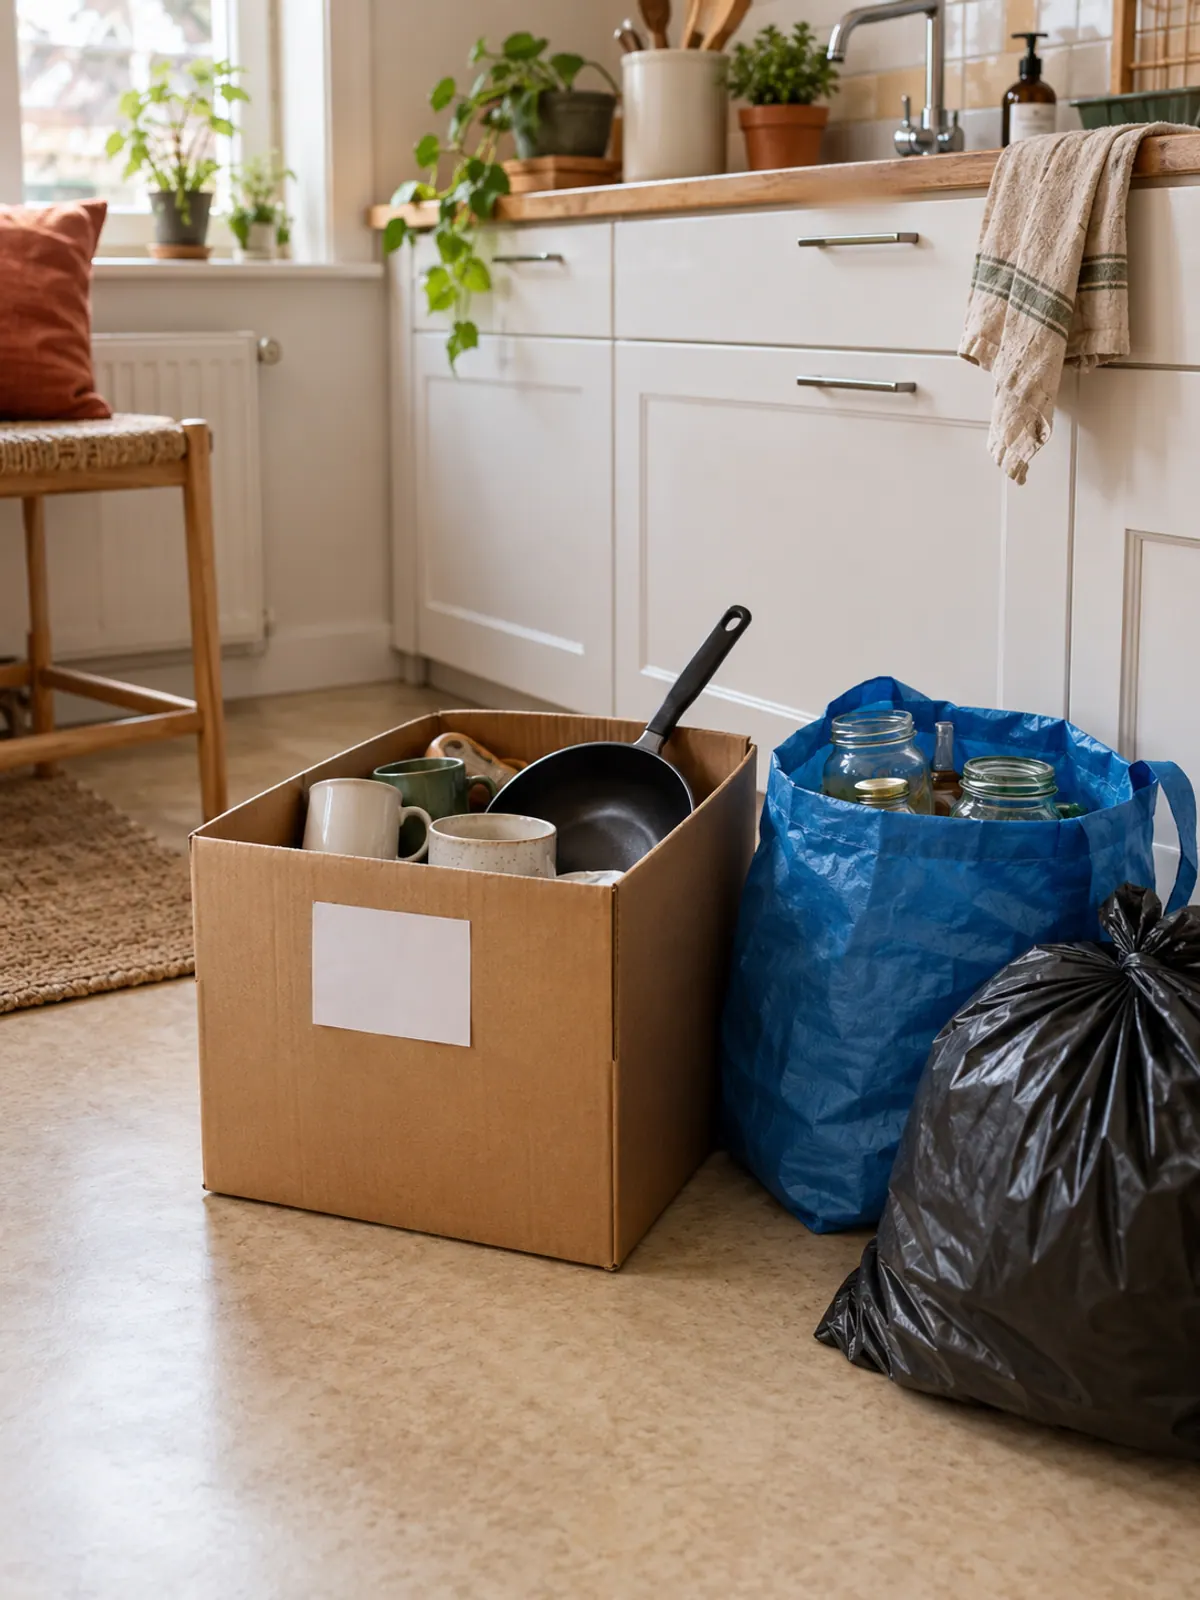
Set out a donate box, a recycle bag and a trash bag before you open a single cabinet. Every item you touch either goes back to a home that makes sense or into one of the three. Nothing goes back on the counter "for now".
The kitchen decluttering checklist, zone by zone
Work the eight zones in this order. It starts with the counters because a clear counter gives you somewhere to sort everything else, and it ends under the sink because that zone is quick and satisfying. The whole list takes about 90 minutes, or two zones a night for four nights.
| Zone | Time | Done when |
|---|---|---|
| 1. Counters | 10 min | Only daily items stand on the counter |
| 2. Fridge and freezer | 15 min | Every item is one you will eat |
| 3. Pantry and spices | 15 min | You can see every item |
| 4. Food containers | 10 min | Every container has a lid |
| 5. Dishes, mugs, glasses | 10 min | The everyday shelf has room to spare |
| 6. Pots, pans, bakeware | 10 min | Nothing falls out when you open the door |
| 7. Utensil and junk drawers | 10 min | The drawer shuts with one push |
| 8. Under the sink | 10 min | You reach the trash bags in one move |
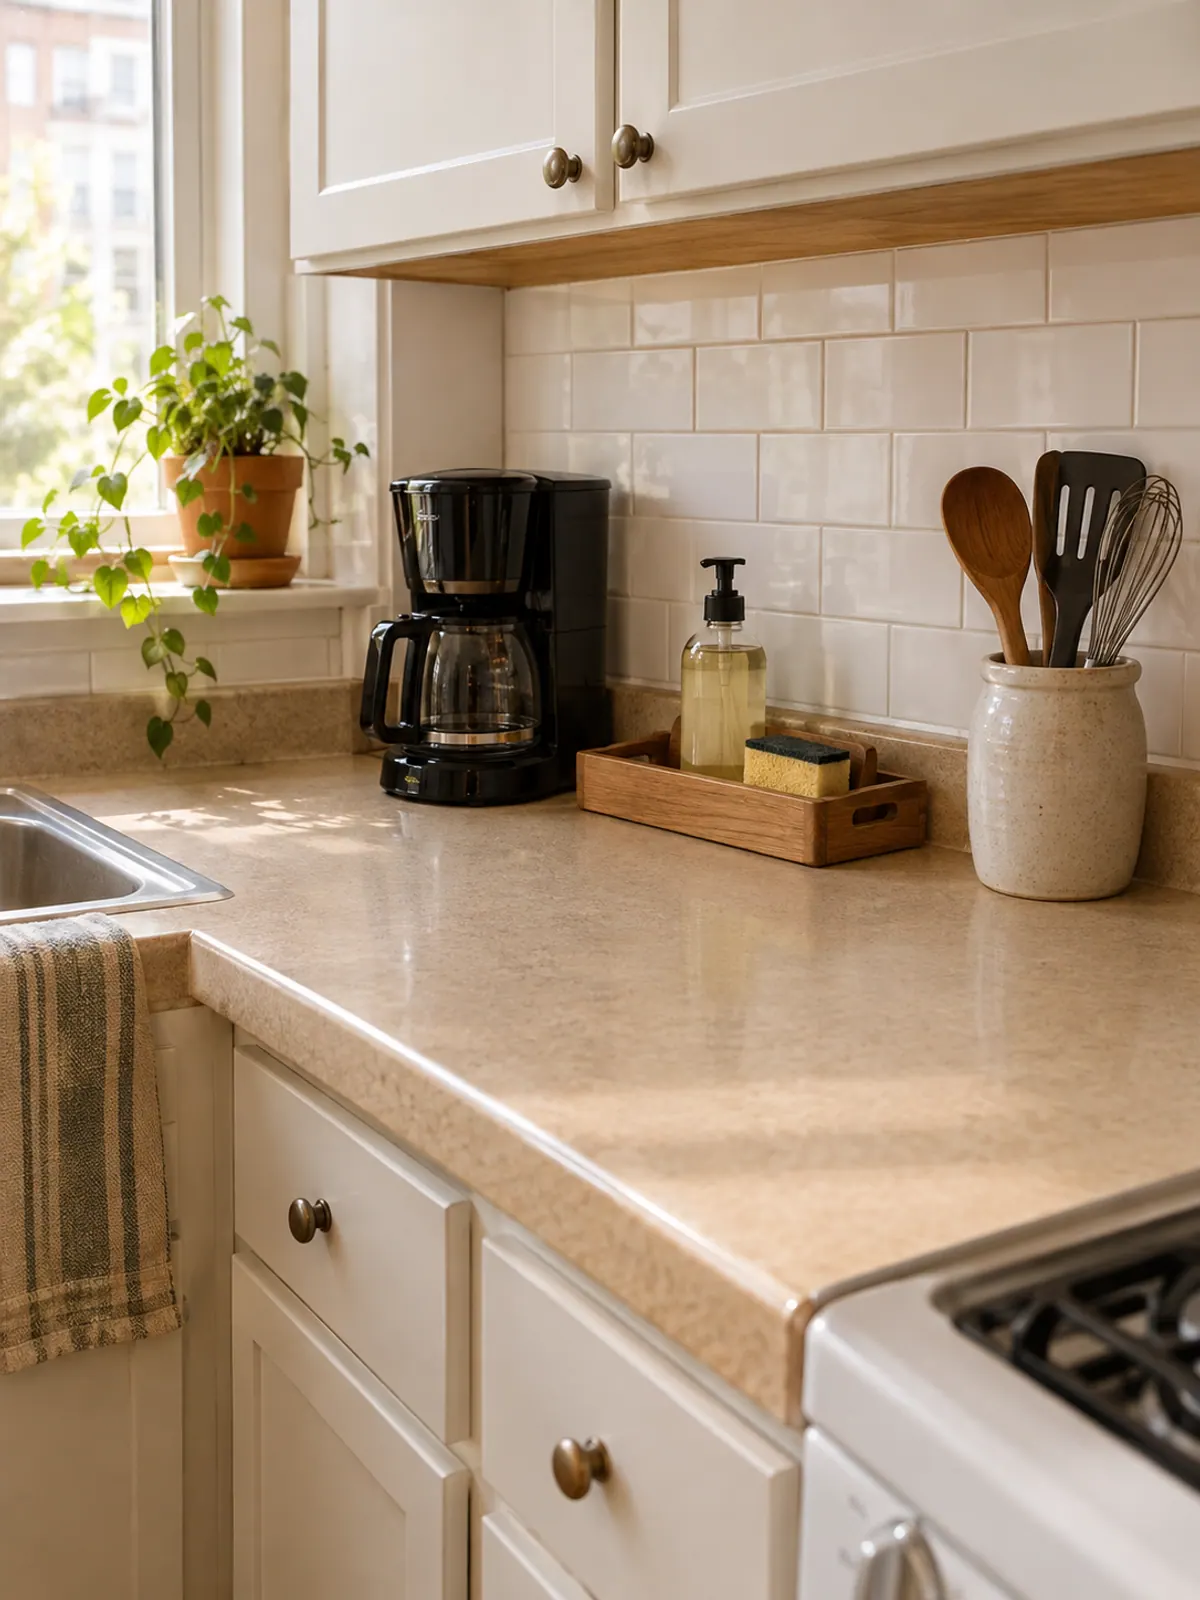
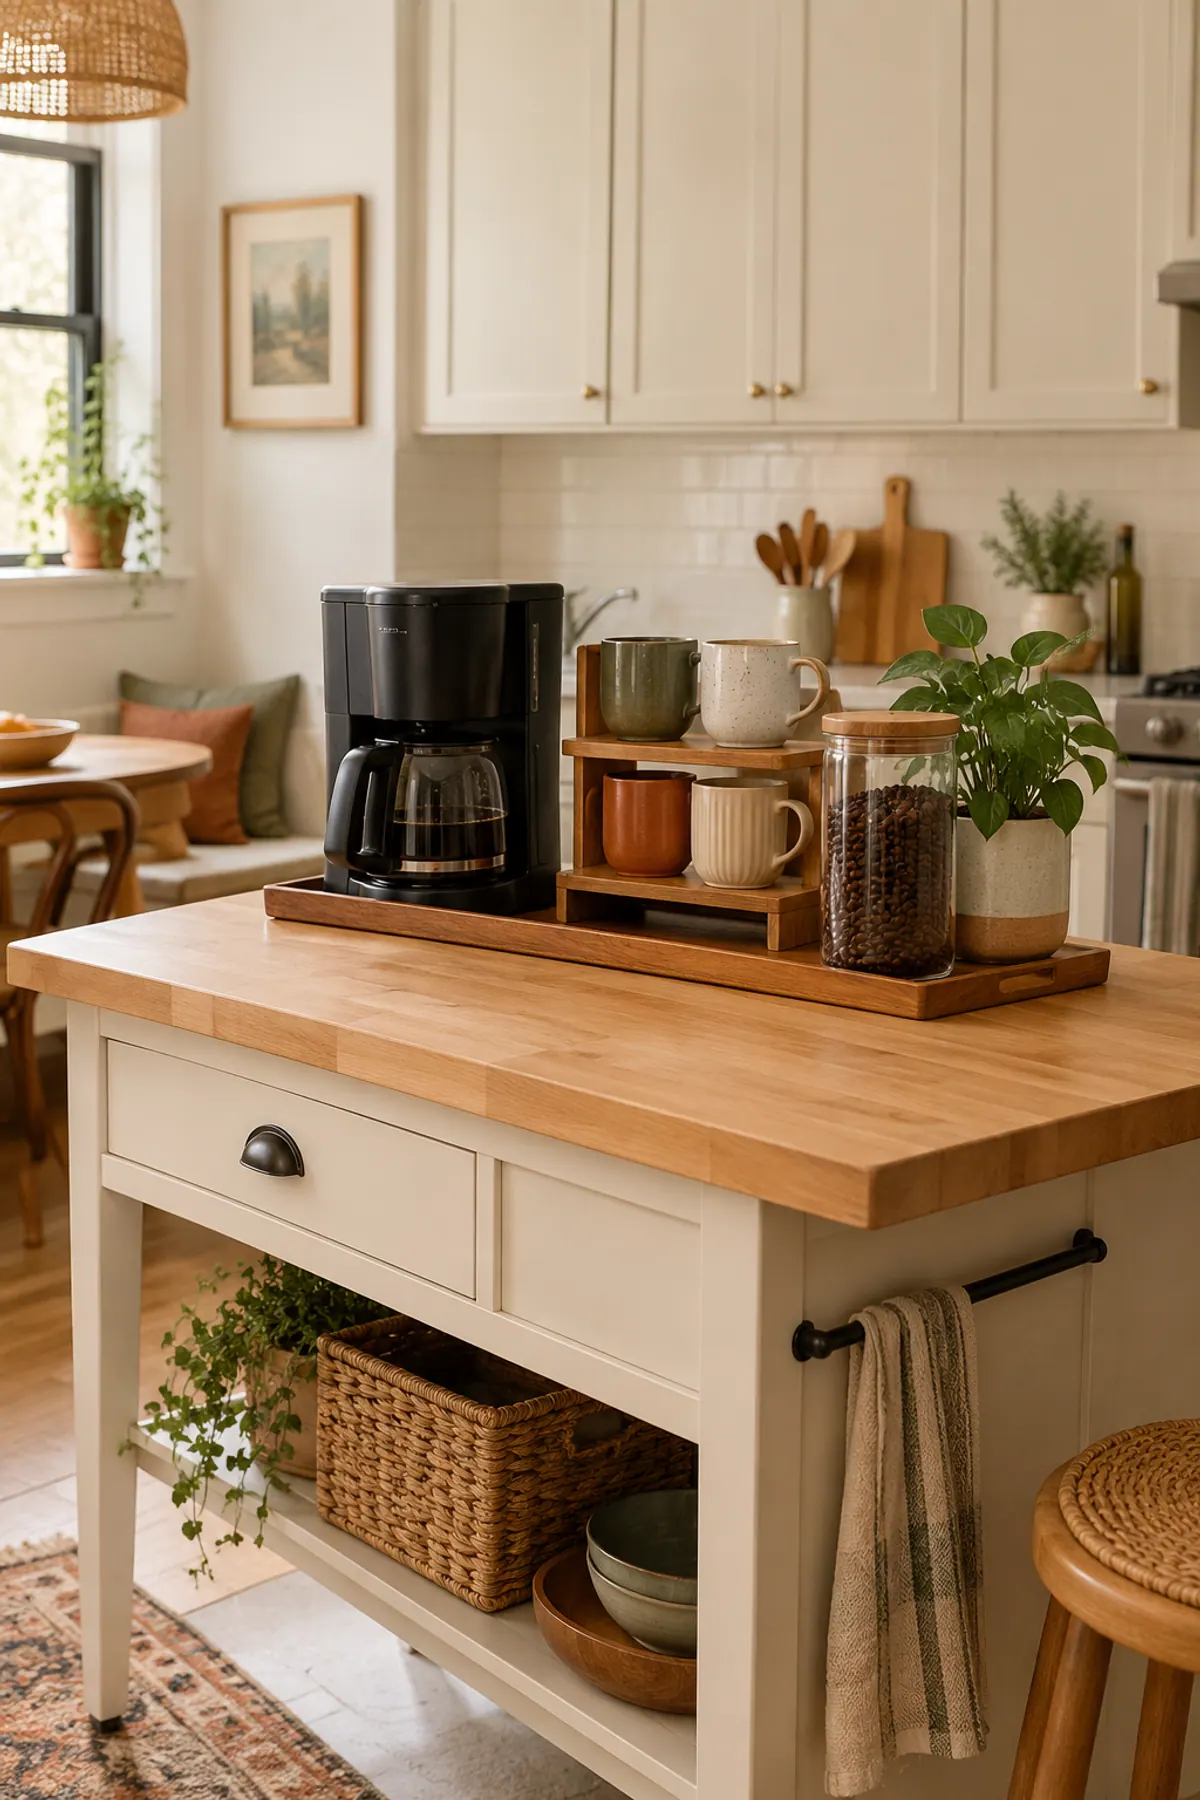
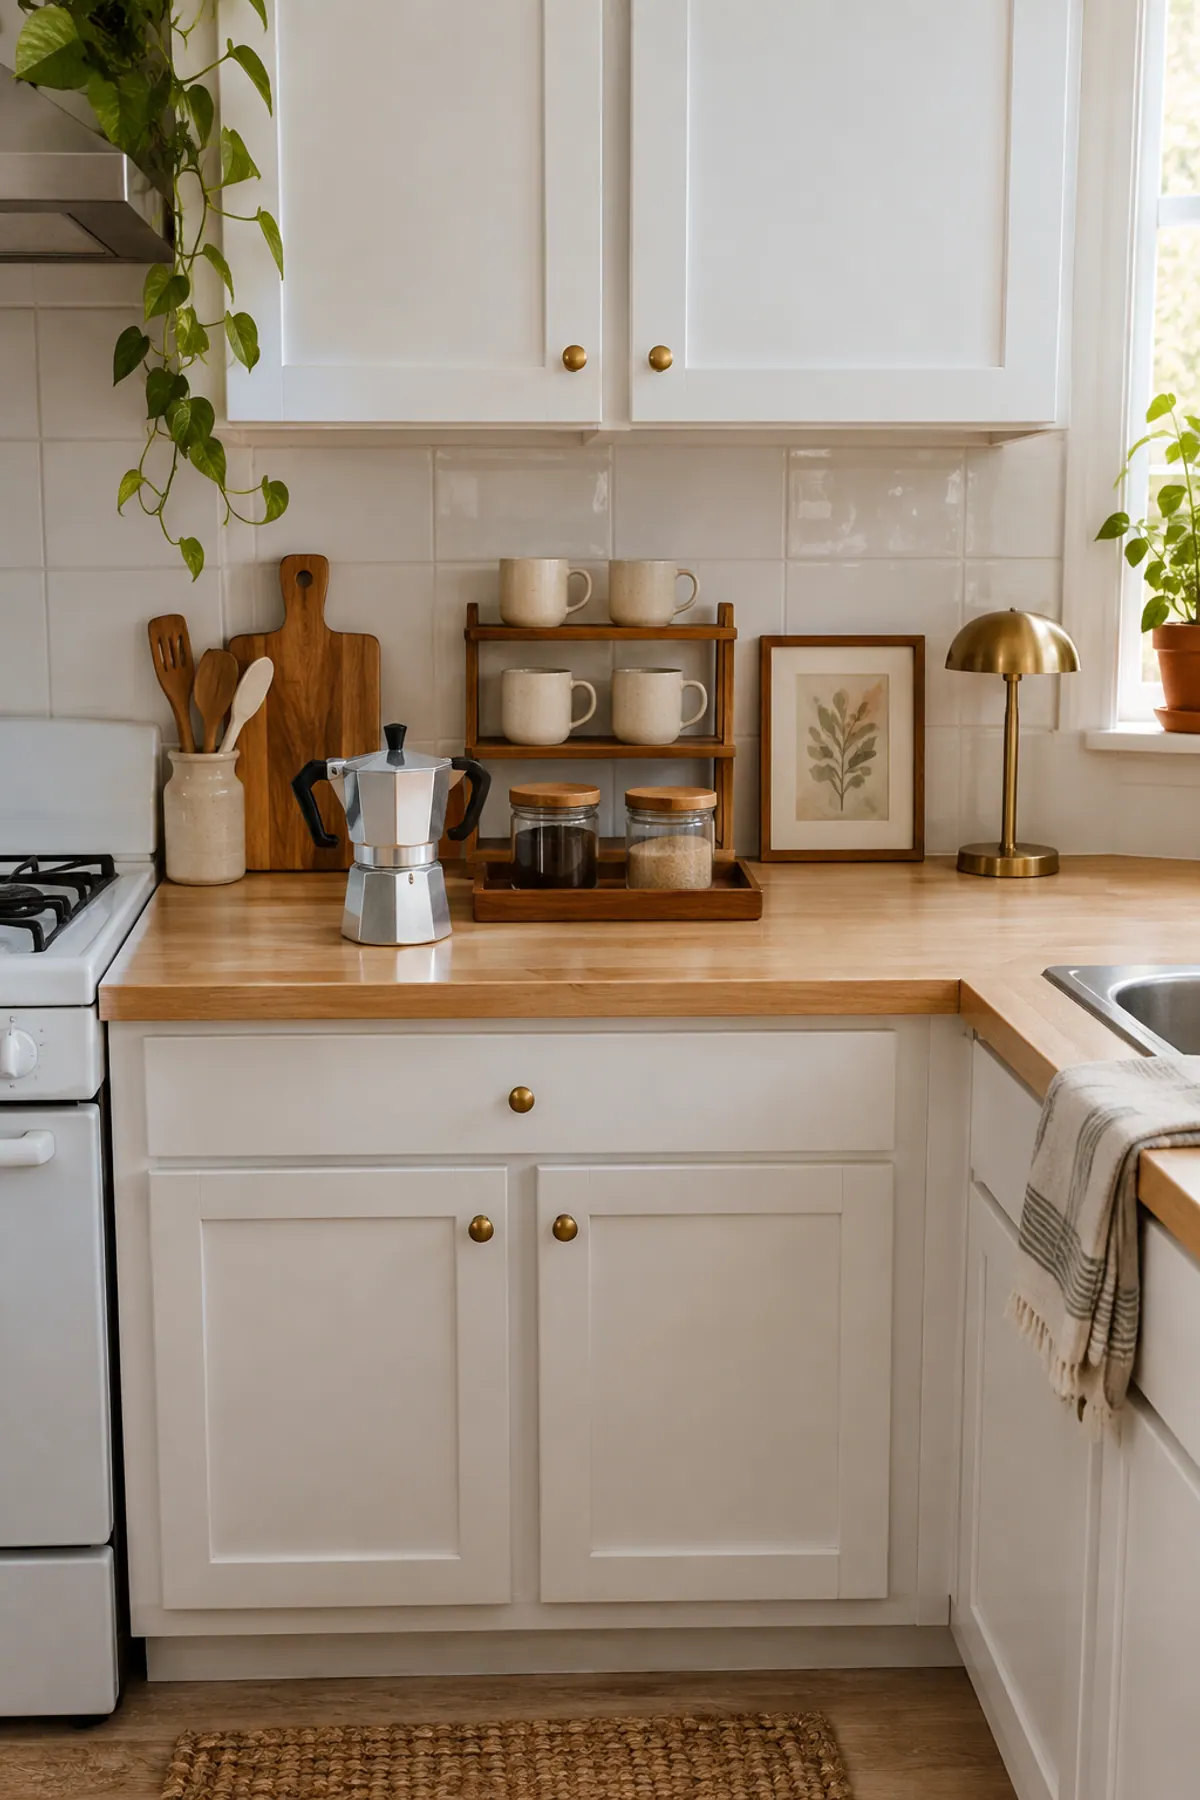
1. Counters. Clear everything off and wipe the counter down. Put back only what you use every day; in most small kitchens that is a coffee setup, one tray by the sink and a crock of the three tools you grab most. Appliances you use weekly or less go into a cabinet, and mail, keys and papers leave the kitchen entirely.
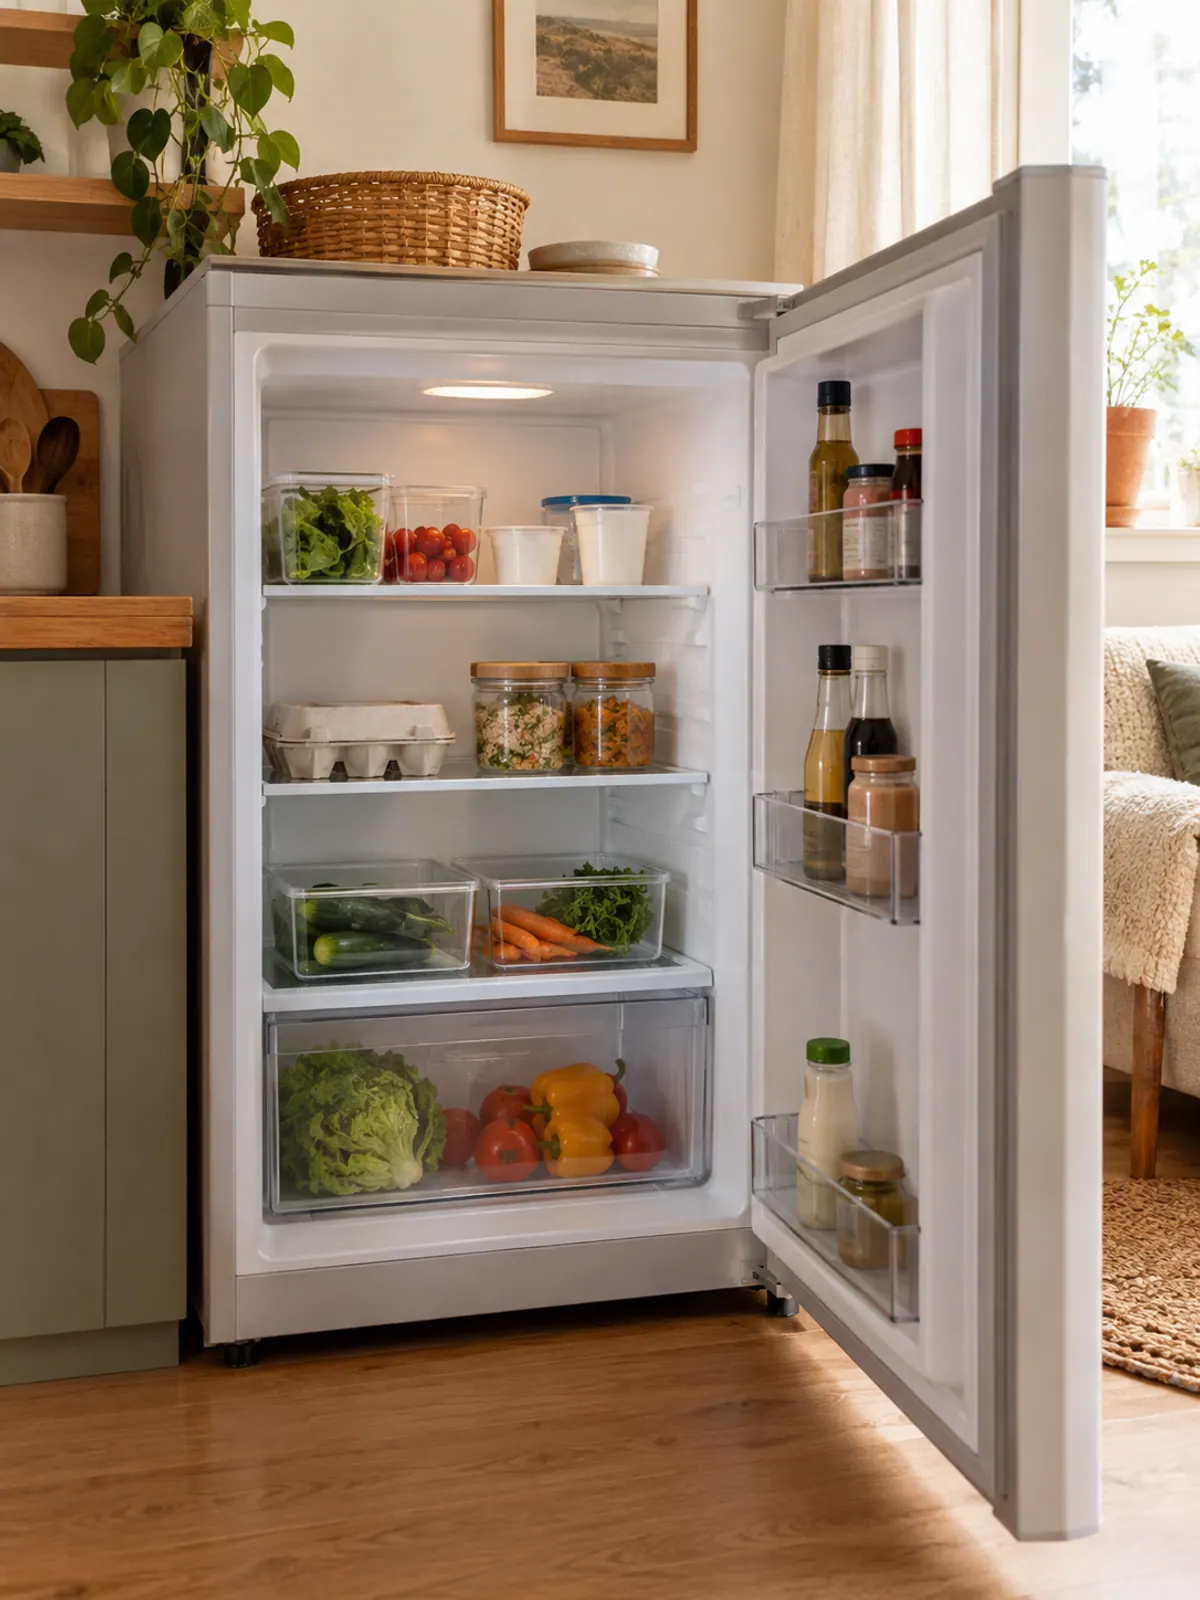
2. Fridge and freezer. Check every date and follow the old rule: when in doubt, throw it out. Sauces and condiments past their date go, and so does anything in the freezer that is frosted over or unlabeled. Wipe each shelf as it empties so you finish with a clean fridge, not just a smaller pile.
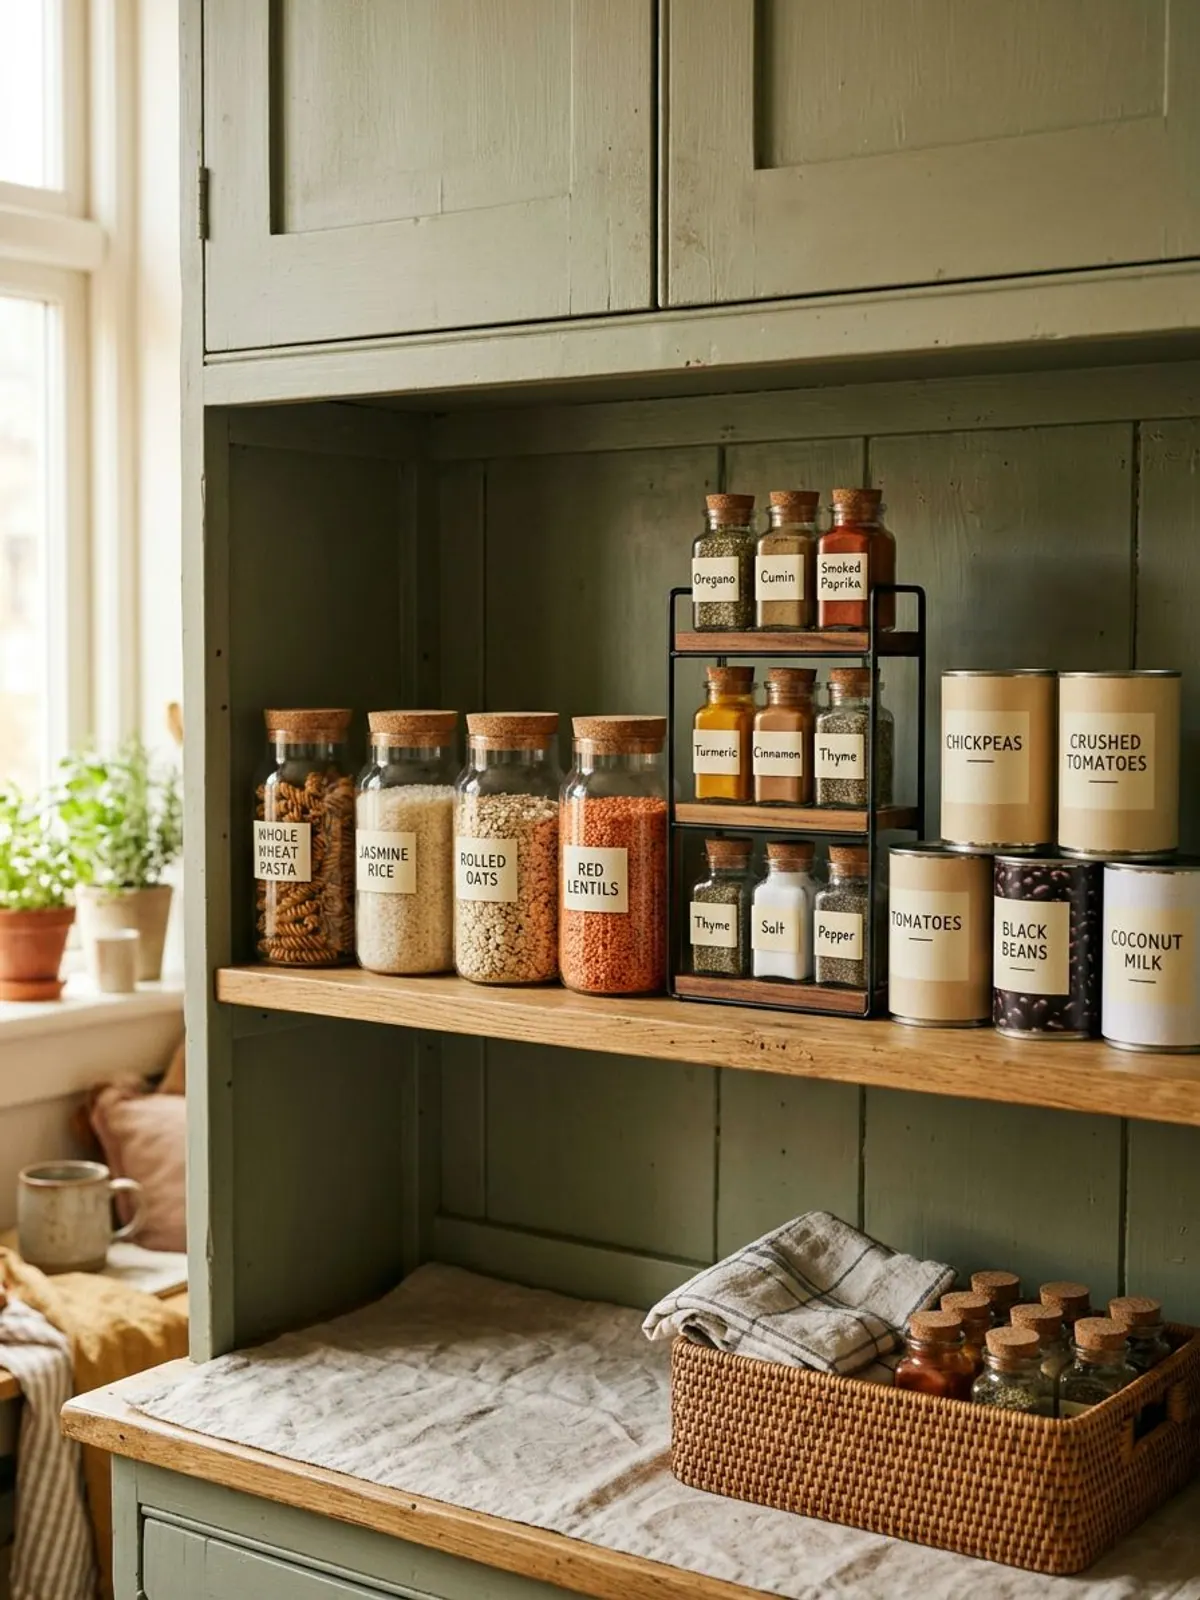
3. Pantry and spices. Toss expired food and stale open bags, and combine duplicate open packages of the same thing. For spices, the simplest test is smell: if it has no scent, it has no flavor. Unopened, in-date food you will not eat goes in a bag for a food bank.
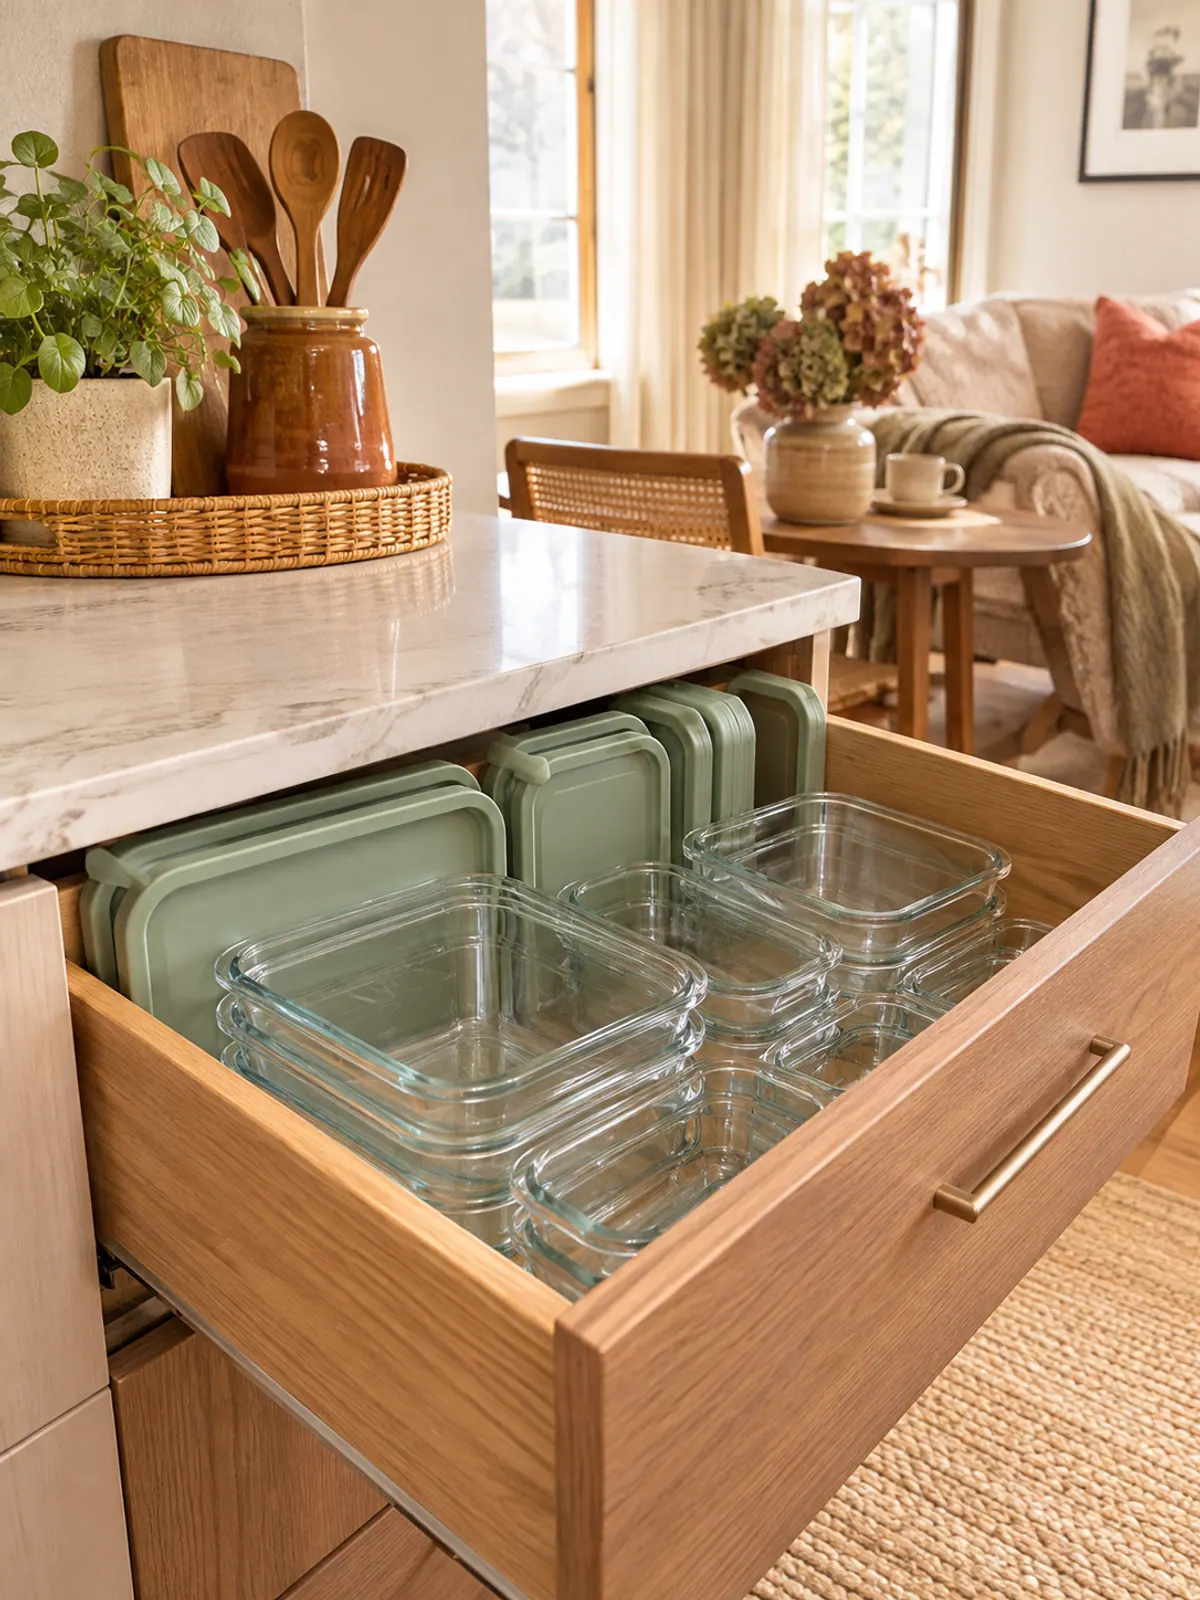
4. Food containers. Dump them all out and match every container to a lid. Lids with no base and bases with no lid go to recycling, along with anything cracked, warped or stained. Then keep up to your count from page 3 and nest the rest out of the kitchen.
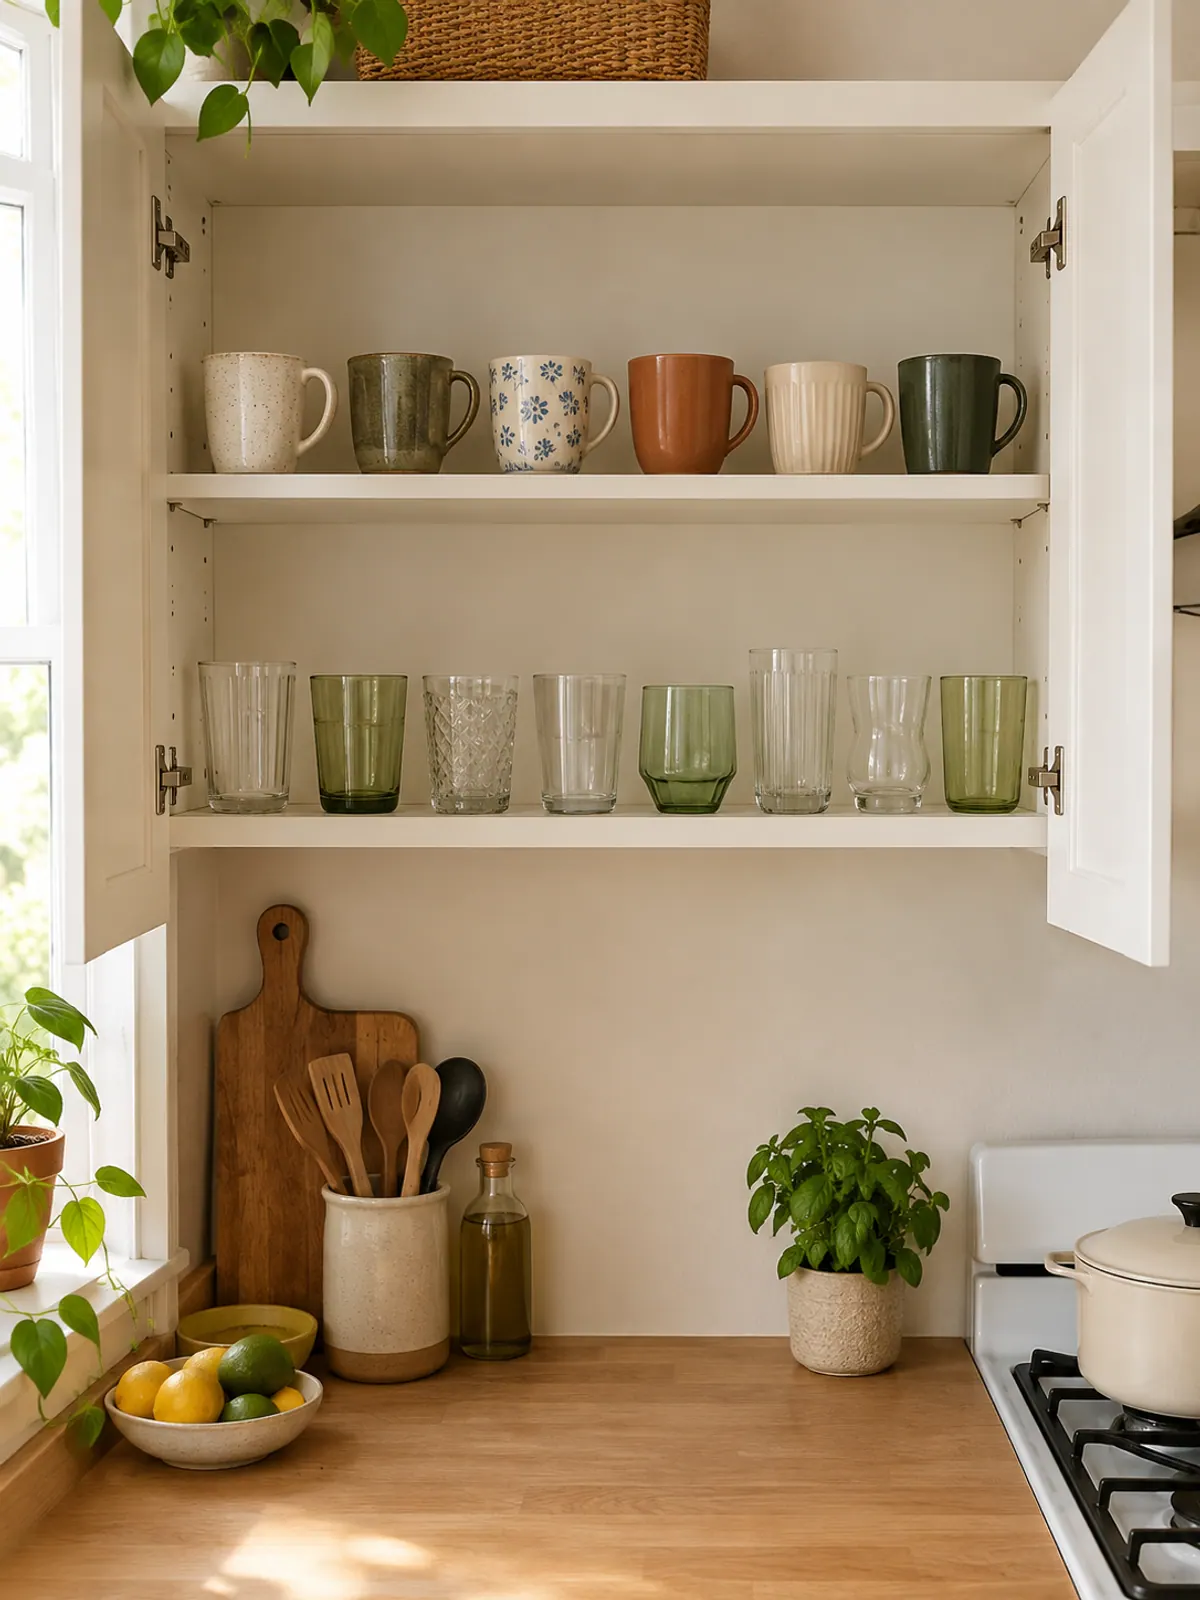
5. Dishes, mugs and glasses. Pull every chipped or cracked piece first. Then line up the mugs and keep your favorites up to your count; souvenir cups and the fifth wine glass go in the donate box. Party platters and holiday dishes move up high or out of the kitchen.
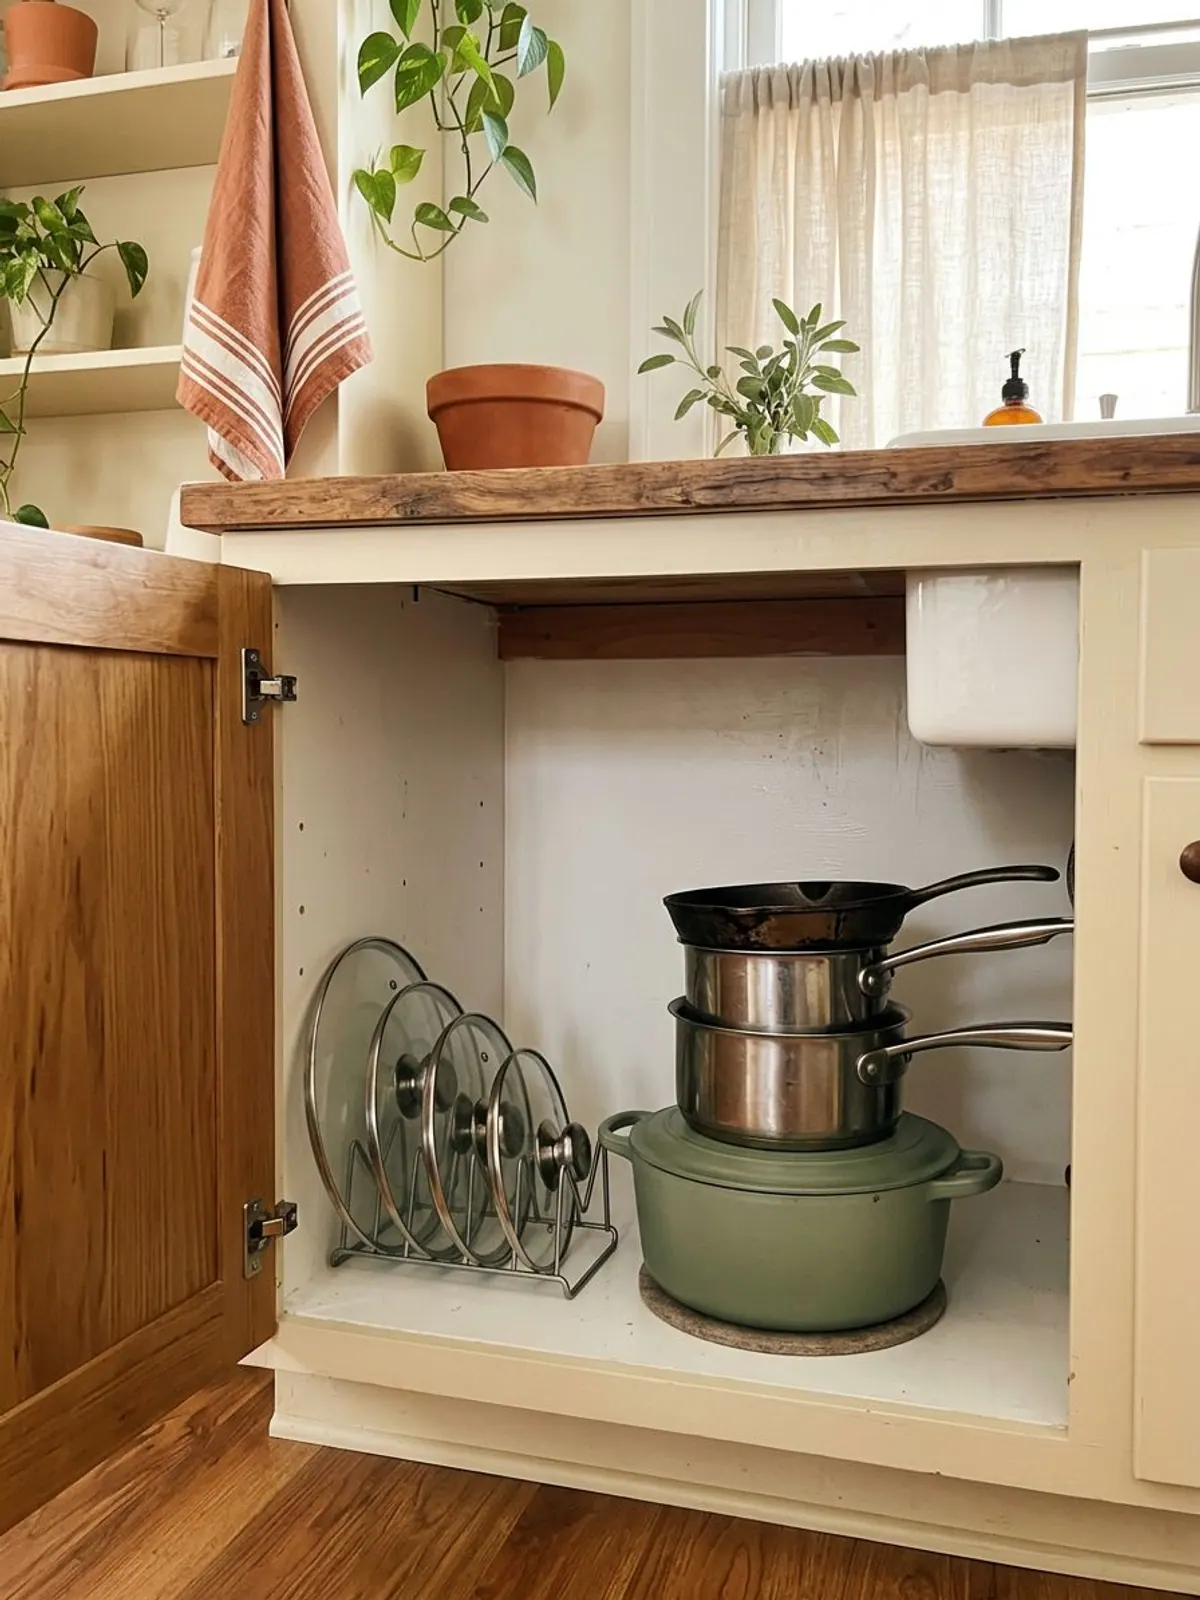
6. Pots, pans and bakeware. Scratched nonstick and warped pans go. Keep one of each size you actually cook with, donate duplicates and the single-use bakeware you have not touched in a year. Lids stand upright in one place so the stack stops sliding.
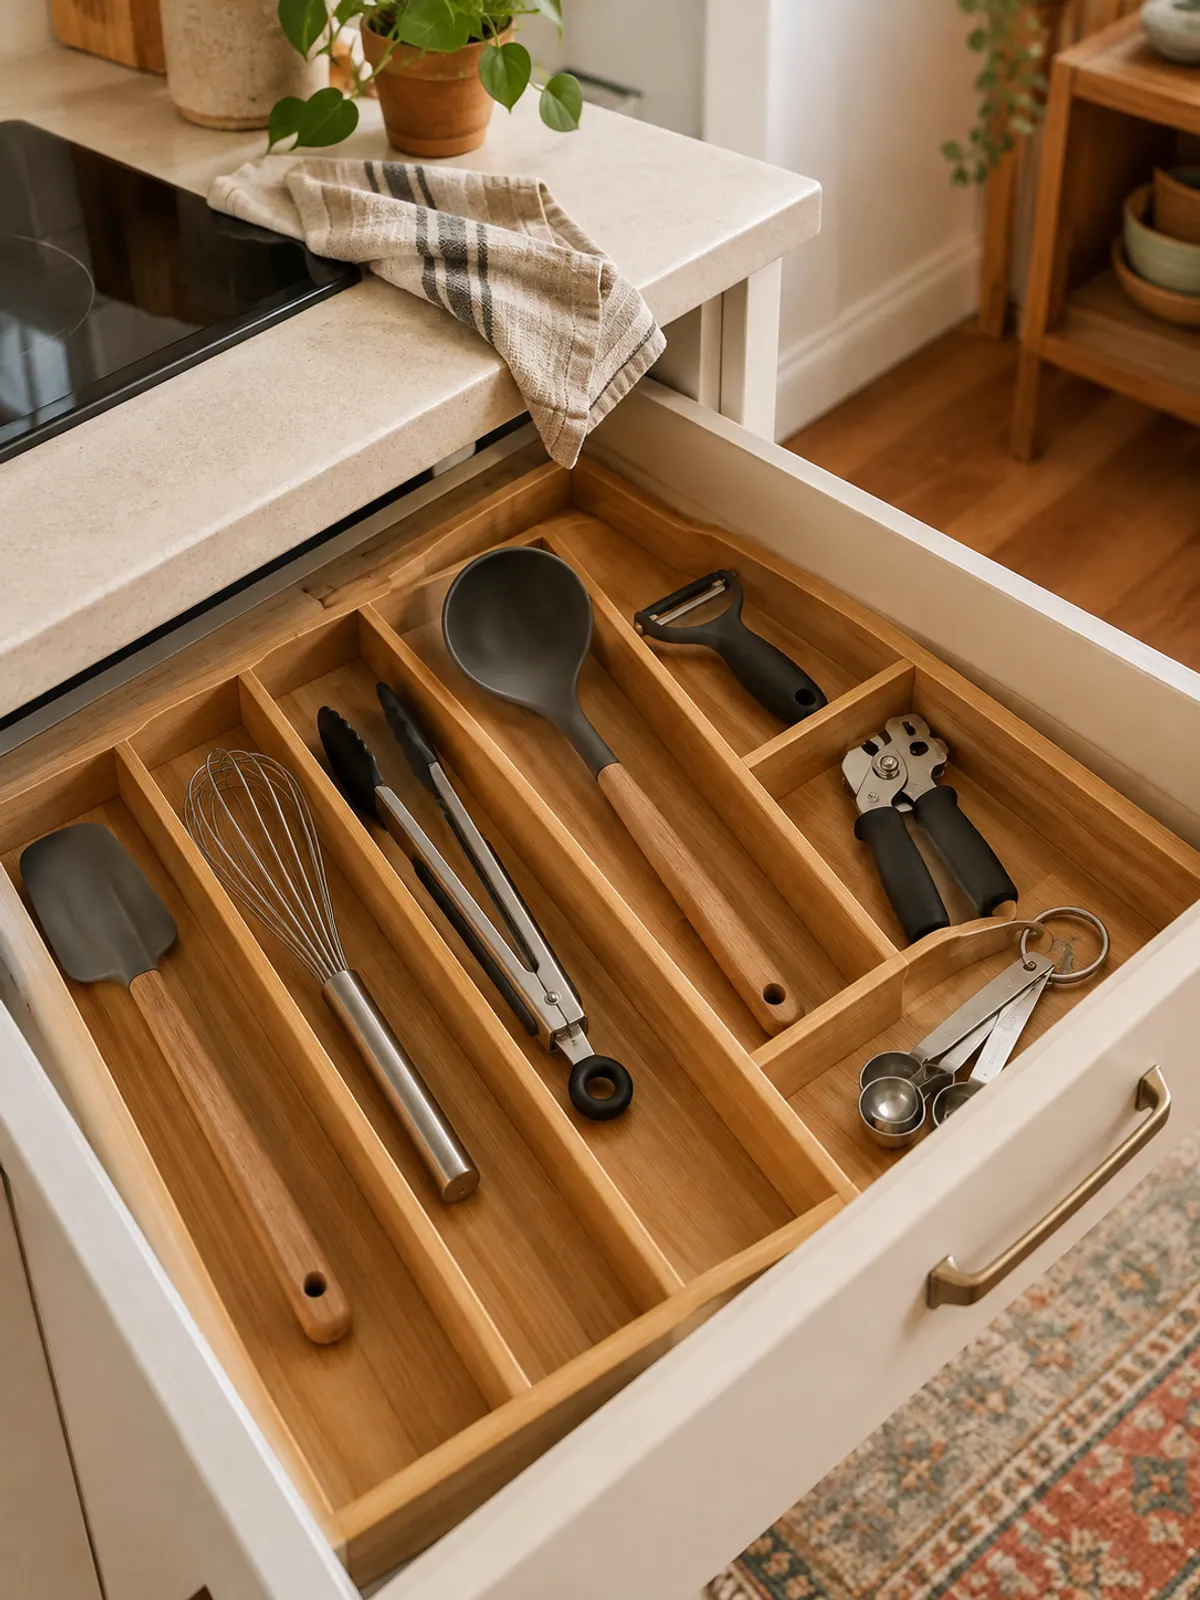
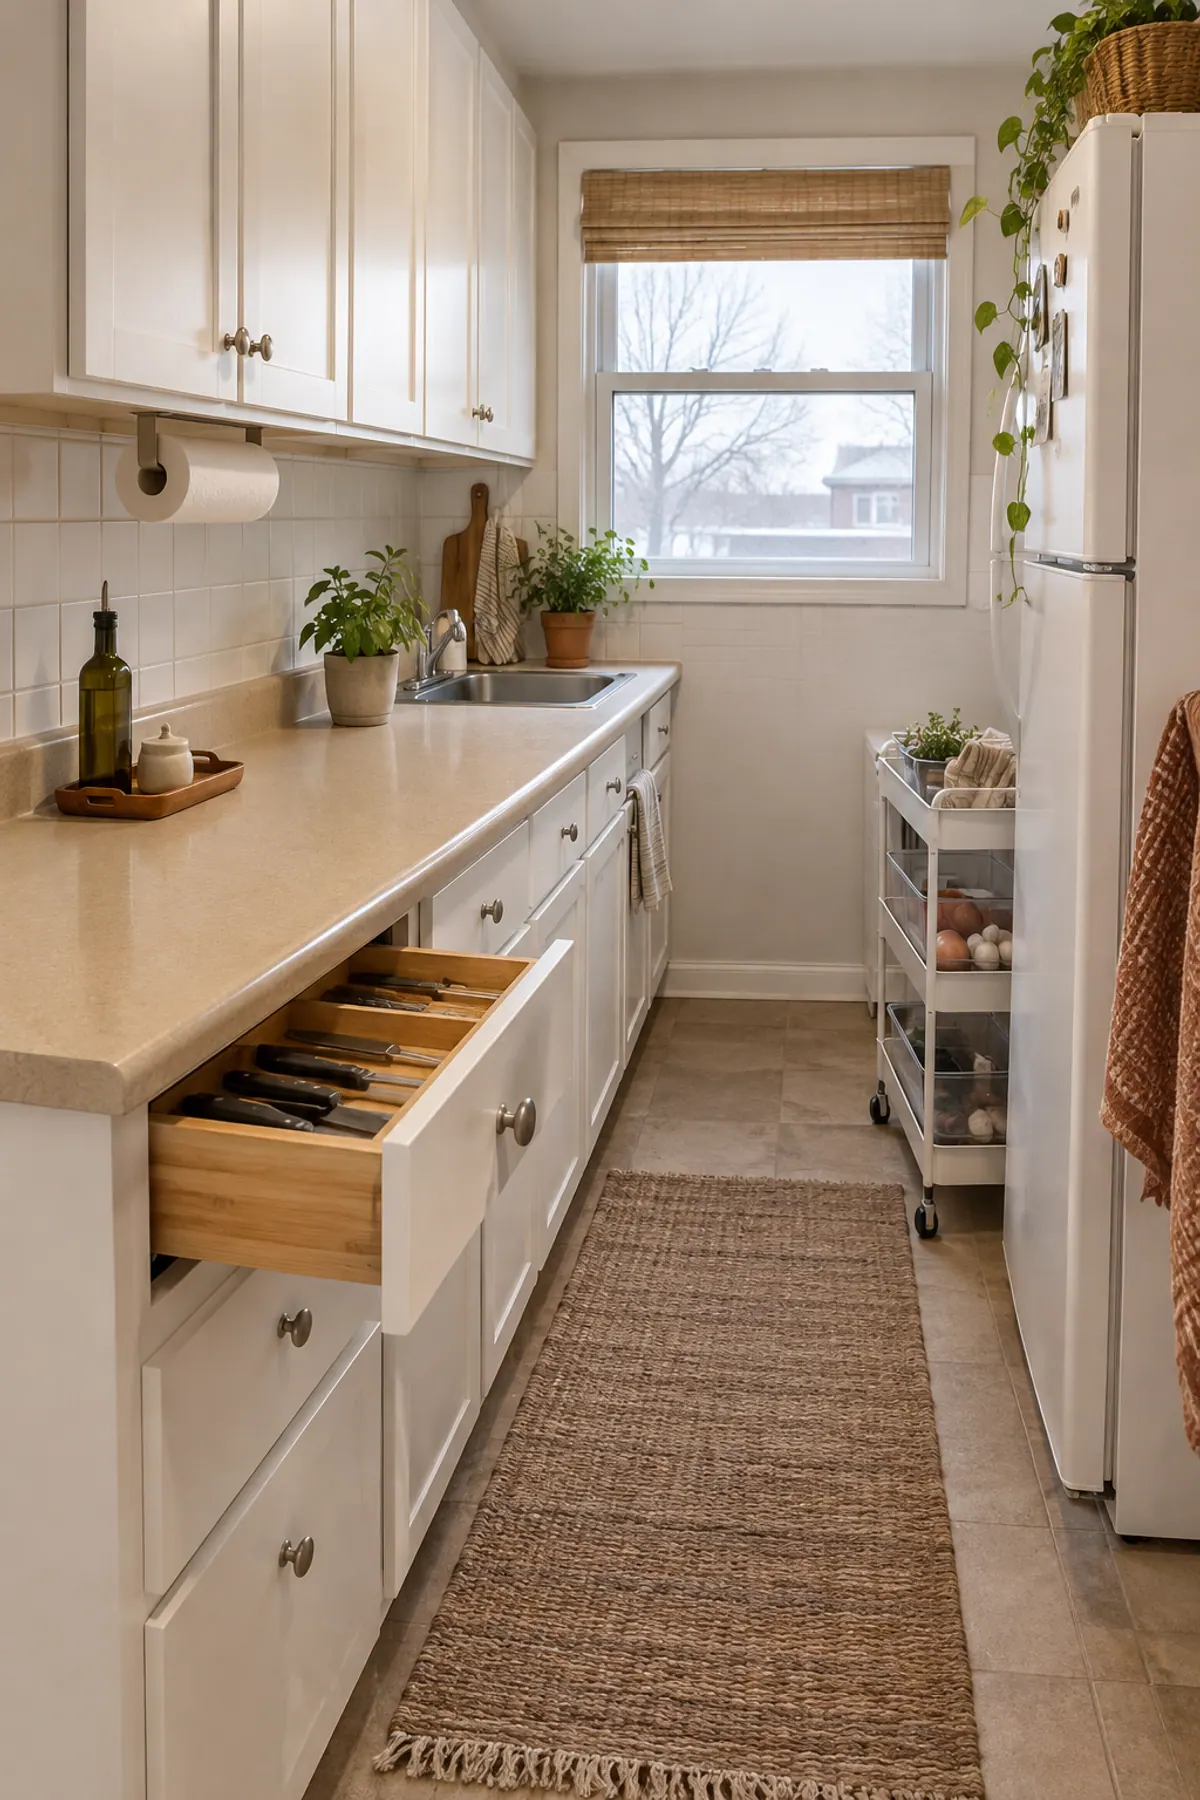
7. Utensil and junk drawers. Empty the drawer onto a towel. Keep one of each tool you use and donate the doubles; gadgets used less than once a year go too. In the junk drawer, toss dead batteries, old menus and broken twist ties, then put back only what earns the space.
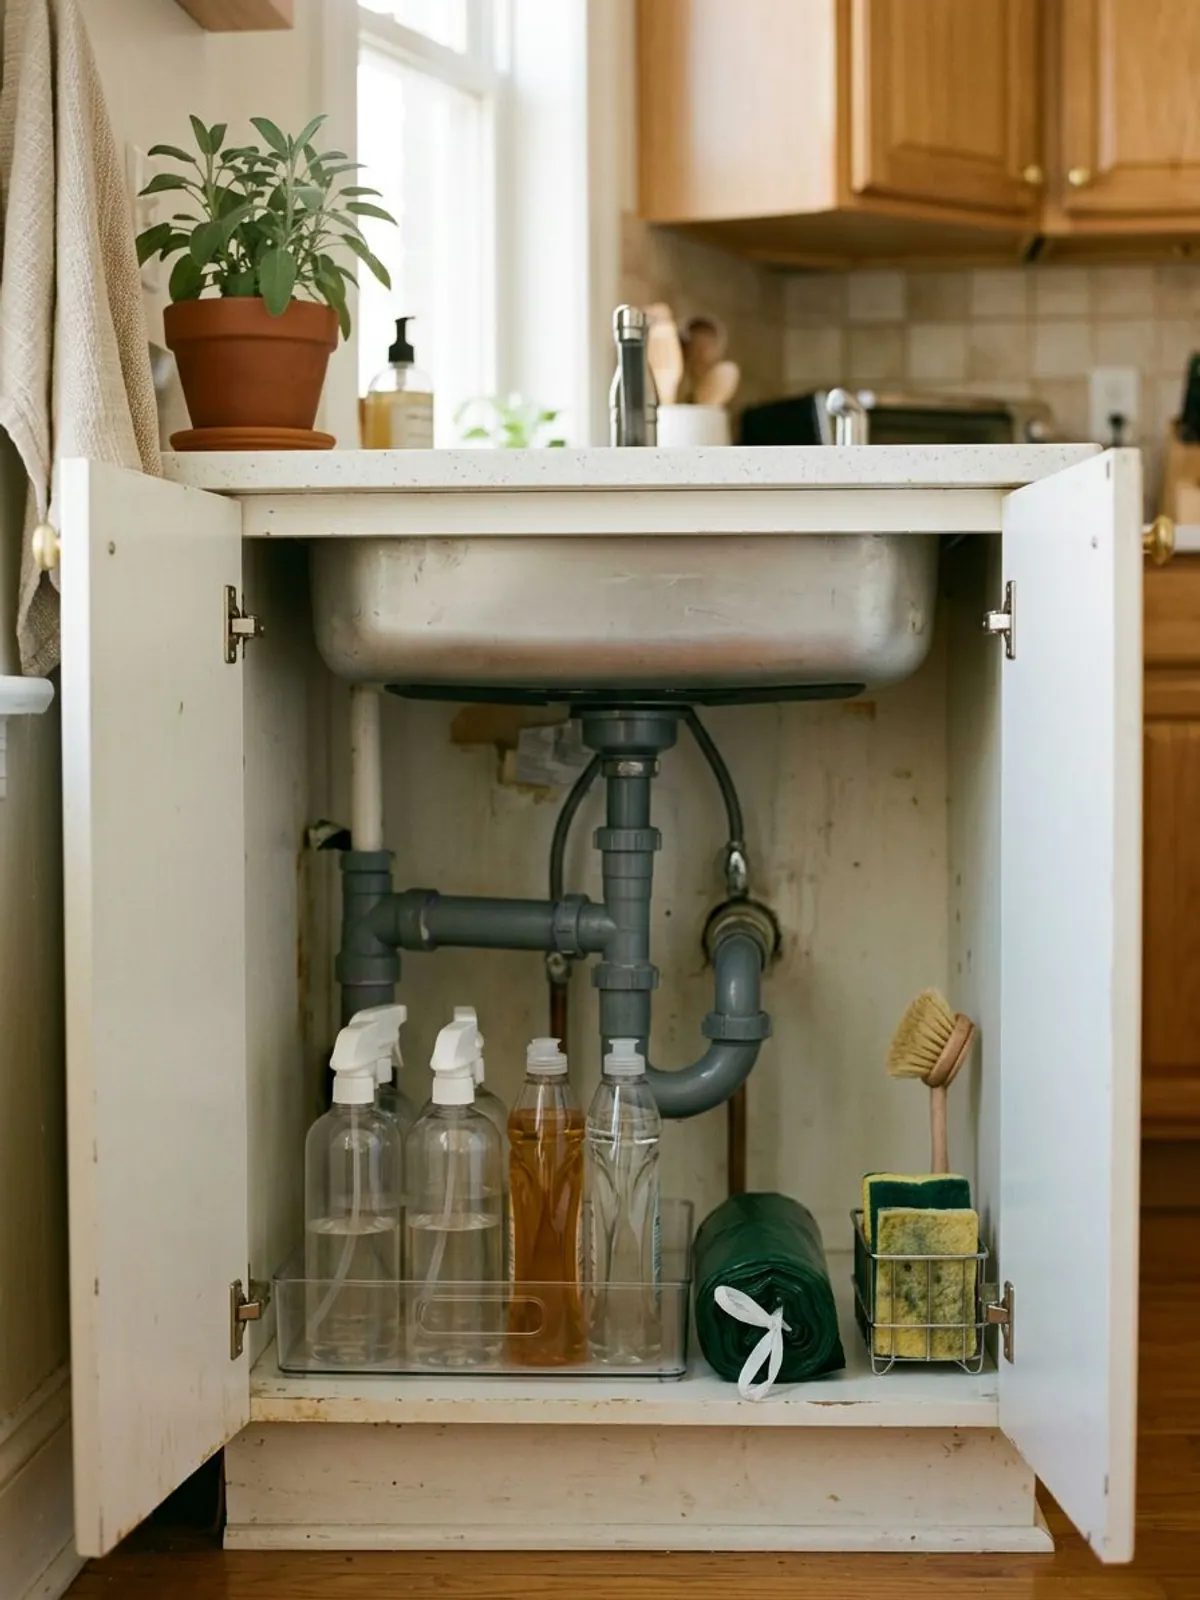
8. Under the sink. Pull everything out. Combine half-empty bottles of the same cleaner, toss crusty sponges and dried-out products, and put a shallow tray down to catch drips. If you spot a leak or water damage, photograph it and tell the landlord in writing.
Keep counts: how many of each to keep
Most kitchen decluttering tips say "get rid of what you do not need" and stop there. A number is easier. These are our starting points for a small kitchen, not rules. Add a few if you host often or cook in batches, and keep your best pieces up to the number.
| Item | 1 person | 2 people |
|---|---|---|
| Dinner plates | 4 | 6 |
| Bowls | 4 | 6 |
| Mugs | 4 | 6 |
| Drinking glasses | 4 | 8 |
| Frying pans | 1 | 2 |
| Saucepans with lids | 2 | 2 |
| Stockpot or Dutch oven | 1 | 1 |
| Baking sheets | 1 | 2 |
| Cutting boards | 2 | 2 |
| Food containers with lids | 8 | 12 |
| Dish towels | 4 | 6 |
| Wooden spoons and spatulas | 3 | 4 |
What to toss without thinking
Some things do not need a decision. If you find these during the kitchen declutter, they go straight into the trash or recycling bag.
Toss without thinking
Where it goes: donate, recycle, trash
Clean, unchipped dishes, extra pans and unused gadgets go to a donation center. Unopened, in-date shelf-stable food goes to a food bank. Glass jars, metal tins and clean plastic go to recycling, but check your city's rules, because they vary a lot. Everything broken or expired goes in the trash.
Write a drop-off day on page 3 of the printable and put the donate box by the door. A full donate box that sits in the hallway for a month is just clutter in a new spot.
Keep the kitchen decluttered
Now is the time to organize, because now you know what you are keeping. If the counters are clear and the cabinets close easily, you may not need to buy anything. If a drawer still slides around, a divider is the one purchase that earns its place.
What we like
- One in, one out for mugs, gadgets and containers
- A 5-minute counter reset every night
- A fridge check before every grocery run
- Repeat the checklist each season, it gets faster
Keep in mind
- Buying bins before decluttering
- Keeping "backup" duplicates of tools you rarely use
- Storing appliances on the counter because there is room today
- Letting the donate box live by the door
For the organizing step, see our rental kitchen organization ideas and small kitchen ideas for renters. Want the rest of the apartment? The new year home reset checklist covers six zones in one weekend, and the minimalist apartment declutter checklist goes room by room.
Organizers to buy after you declutter
-
Bamboo drawer dividers
Typically $15 to $30
Stops the utensil drawer from sliding back into chaos.
Check price on Amazon for Bamboo drawer dividers -
Clear fridge bins
Typically $15 to $35 per set
Groups leftovers so nothing hides at the back.
Check price on Amazon for Clear fridge bins -
Pot lid organizer
Typically $12 to $25
Keeps lids upright in one spot.
Check price on Amazon for Pot lid organizer -
Glass food storage containers with lids
Typically $25 to $45 per set
Replace the mismatched pile with one nesting set.
Check price on Amazon for Glass food storage containers with lids
Get the free kitchen decluttering checklist
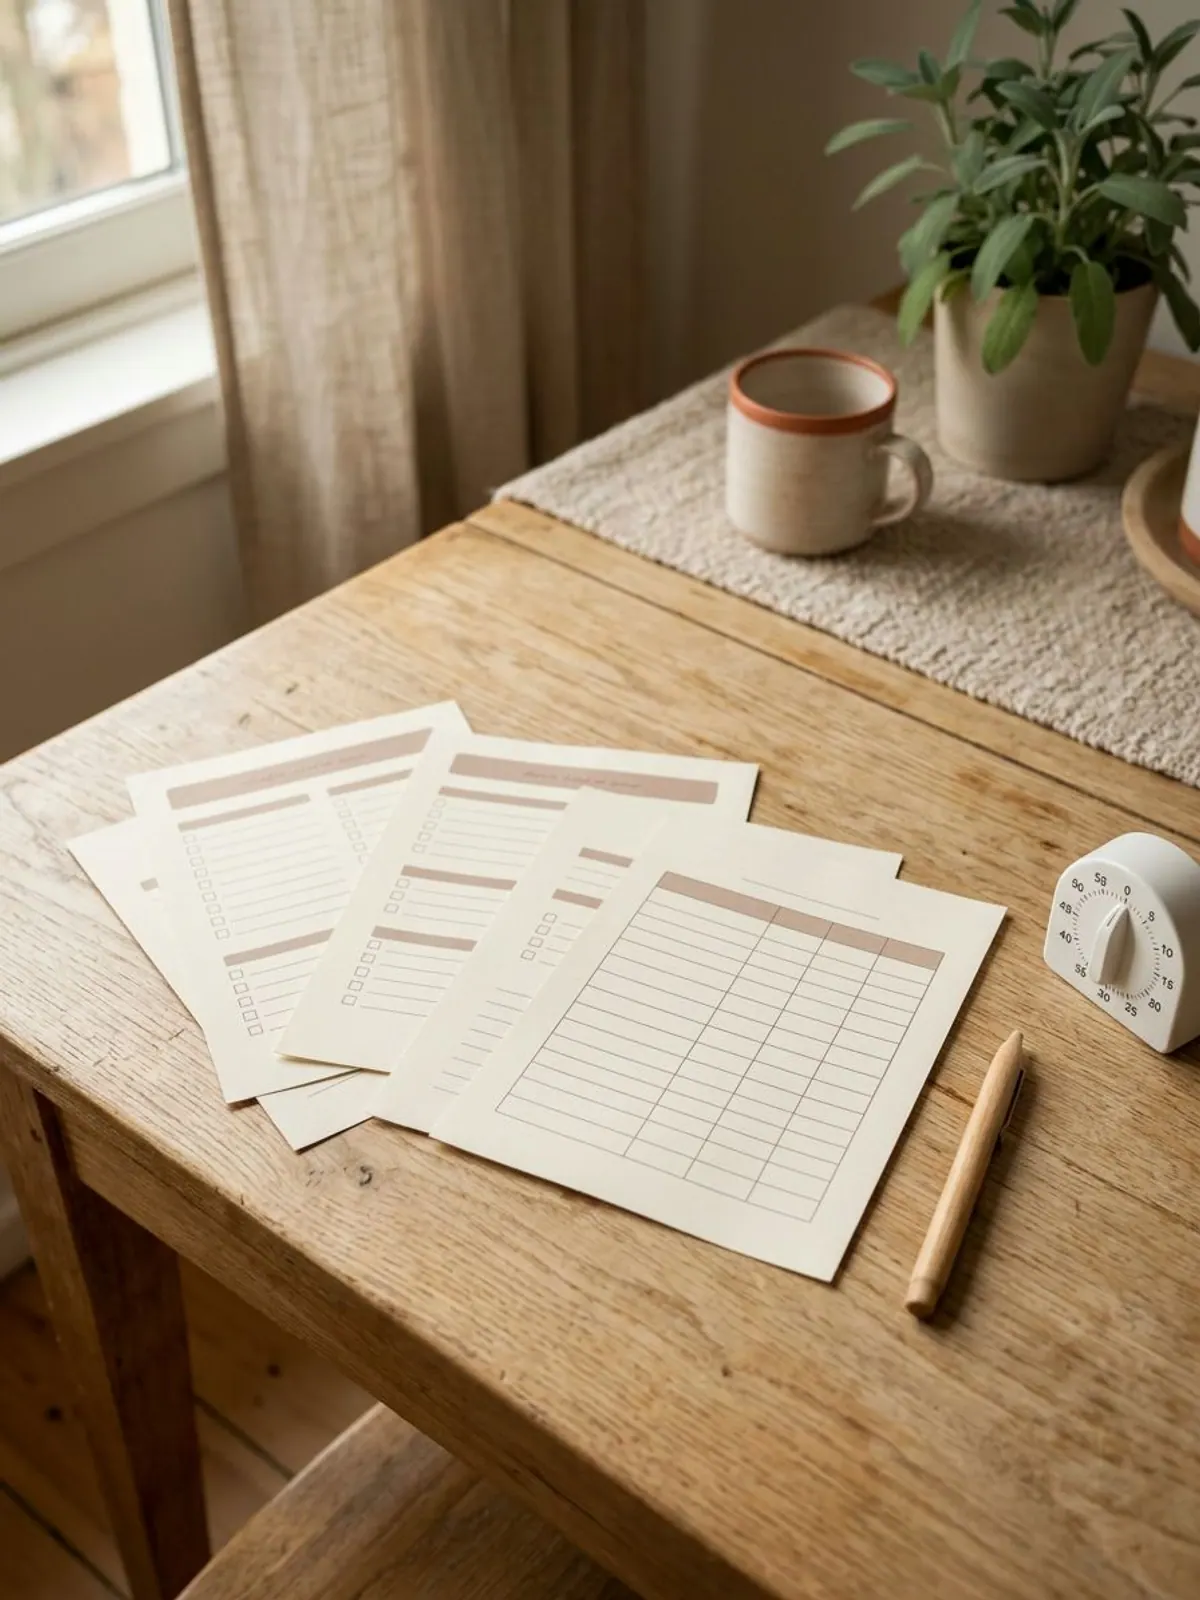
The free kitchen decluttering checklist is three pages on US Letter. Page 1 explains the three bags, the timer and the zone order. Page 2 is the eight-zone checklist with minutes and a "done when" line for each. Page 3 has the keep counts with a column to fill in, where it all goes, a keep-it-clear routine and space for your drop-off day.
Download the free kitchen decluttering checklist (PDF, 3 pages). On A4 paper, choose "fit to page" when you print. Tape page 2 inside a cabinet door while you work.
Want the whole apartment, not just the kitchen? The 30-Day Small-Apartment Declutter and Cleaning Reset is the paid version: 32 pages, one small zone a day for a month in the order that shows from the front door, the 4-box sort (keep, relocate, donate, toss), a home-for-everything map and a cleaning rotation sized for an apartment. This checklist is the kitchen in one afternoon; the 30-day reset is every room, one small zone at a time.
Frequently asked questions
What should I get rid of when decluttering my kitchen?
Start with the easy ones: expired food and spices, chipped or cracked dishes, scratched nonstick pans, containers without lids, duplicate gadgets and dried-out cleaning products. Then use keep counts for dishes, mugs, pans and containers, and donate anything over the number.
Where do I start decluttering my kitchen?
Start with the counters. Clearing and wiping them first gives you a place to sort everything else and an instant visible win. Then work the fridge, pantry, containers, dishes, pots and pans, drawers and finally under the sink.
How long does it take to declutter a kitchen?
A small apartment kitchen takes about 90 minutes with this checklist: 10 to 15 minutes per zone across eight zones. If that is too much at once, do two zones a night for four nights.
How many dishes should one person keep?
A useful starting point for one person is about 4 plates, 4 bowls, 4 mugs and 4 glasses, and about 6 of each (8 glasses) for two people. Add a few if you host often. These are starting points, not rules.
What do I do with kitchen items I declutter?
Clean, unchipped dishes, pans and gadgets can go to a donation center. Unopened, in-date shelf-stable food can go to a food bank. Glass jars and metal tins usually go to recycling (check local rules), and broken or expired items go in the trash.
Save it for later
Pin this to your Kitchen & Dining board so it's there when you need it.
Save to Pinterest