This post contains affiliate links. As an Amazon Associate we earn from qualifying purchases, at no extra cost to you. Read our disclosure.
Key takeaways
- Try a test patch on a hidden spot and wait a few days before you commit to the whole kitchen.
- Flat-front doors and drawers work best. Raised panels and heavy texture do not.
- Degrease first: grease is the main reason contact paper lifts.
- Eight 15 by 30 inch doors and four drawer fronts need about 3 rolls, because of waste.
- Keep contact paper away from the stove, and keep the original knobs in a labeled bag.
In this post10 sections
- Is contact paper on kitchen cabinets really renter safe?
- Do a test patch first
- What you need
- How to cover kitchen cabinets with contact paper in 7 steps
- How many rolls of contact paper do you need?
- Where contact paper works, and where it does not
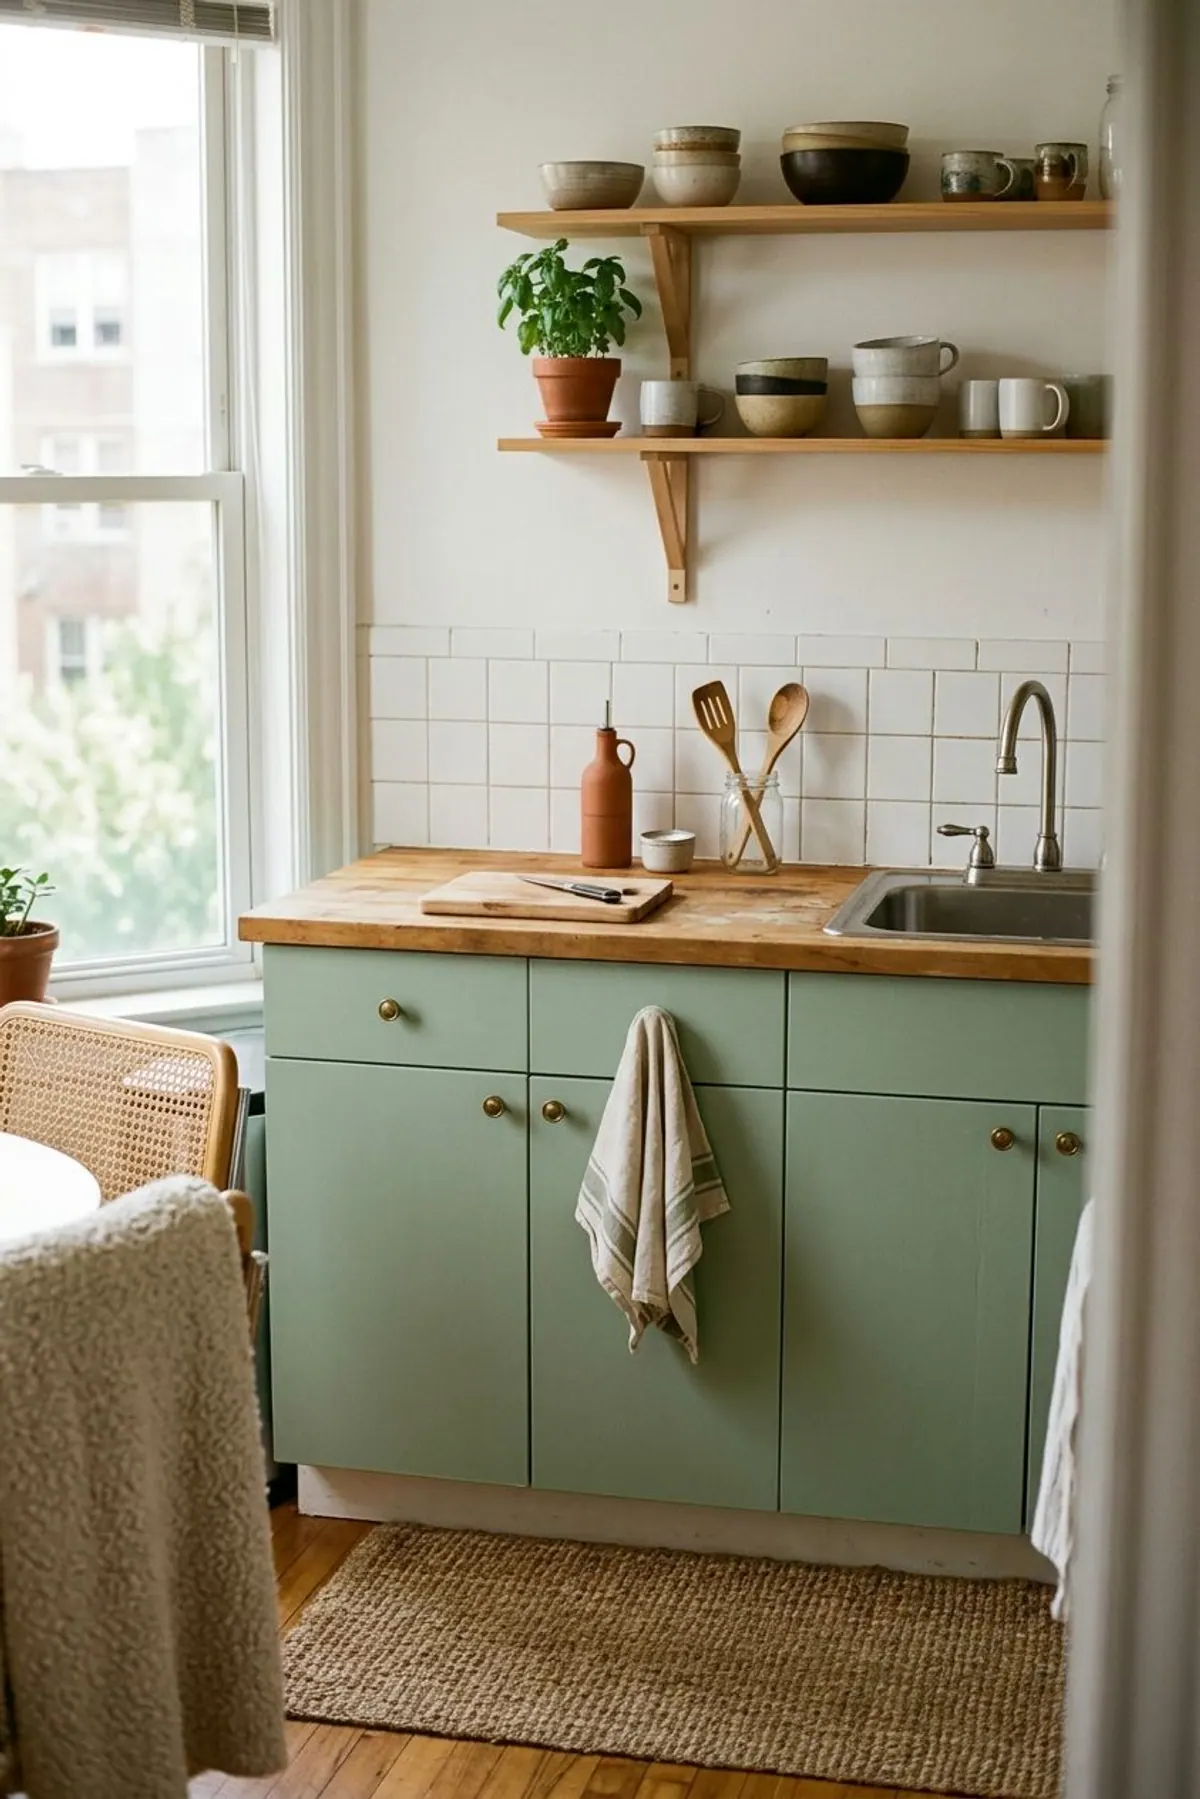
- Colors that look like paint, not like a sticker
- How to remove contact paper from cabinets
- Shop the look
- FAQ
Disclosure: some links below are Amazon search links, and we may earn a small commission if you buy. It costs you nothing, and we have not tested these products hands-on.
Contact paper is the rental-kitchen fix that costs about the price of a few takeout dinners. It is not risk free, though: how cleanly it comes off depends on your cabinet finish, so we start with how to check that, then cover the steps.
Is contact paper on kitchen cabinets really renter safe?
It depends on the finish underneath. Sources agree on the method but not on removal: some renters report it peels off with low heat, while Hunker's removal guide notes it can leave a sticky film that needs cleaning, and some commenters say it pulled off a worn finish. Treat any cabinet as unproven until you test a hidden spot.
What we like
- Costs a fraction of painting or replacing doors
- No sanding, no fumes, no primer
- Changes color in one weekend
- Peels off with low heat on a sound finish
Keep in mind
- Can lift old paint or worn veneer when removed
- Lifts near the stove if heat and steam reach the edges
- Shows bubbles and seams if the surface is not smooth
- Textured or raised-panel doors do not wrap well
Do a test patch first
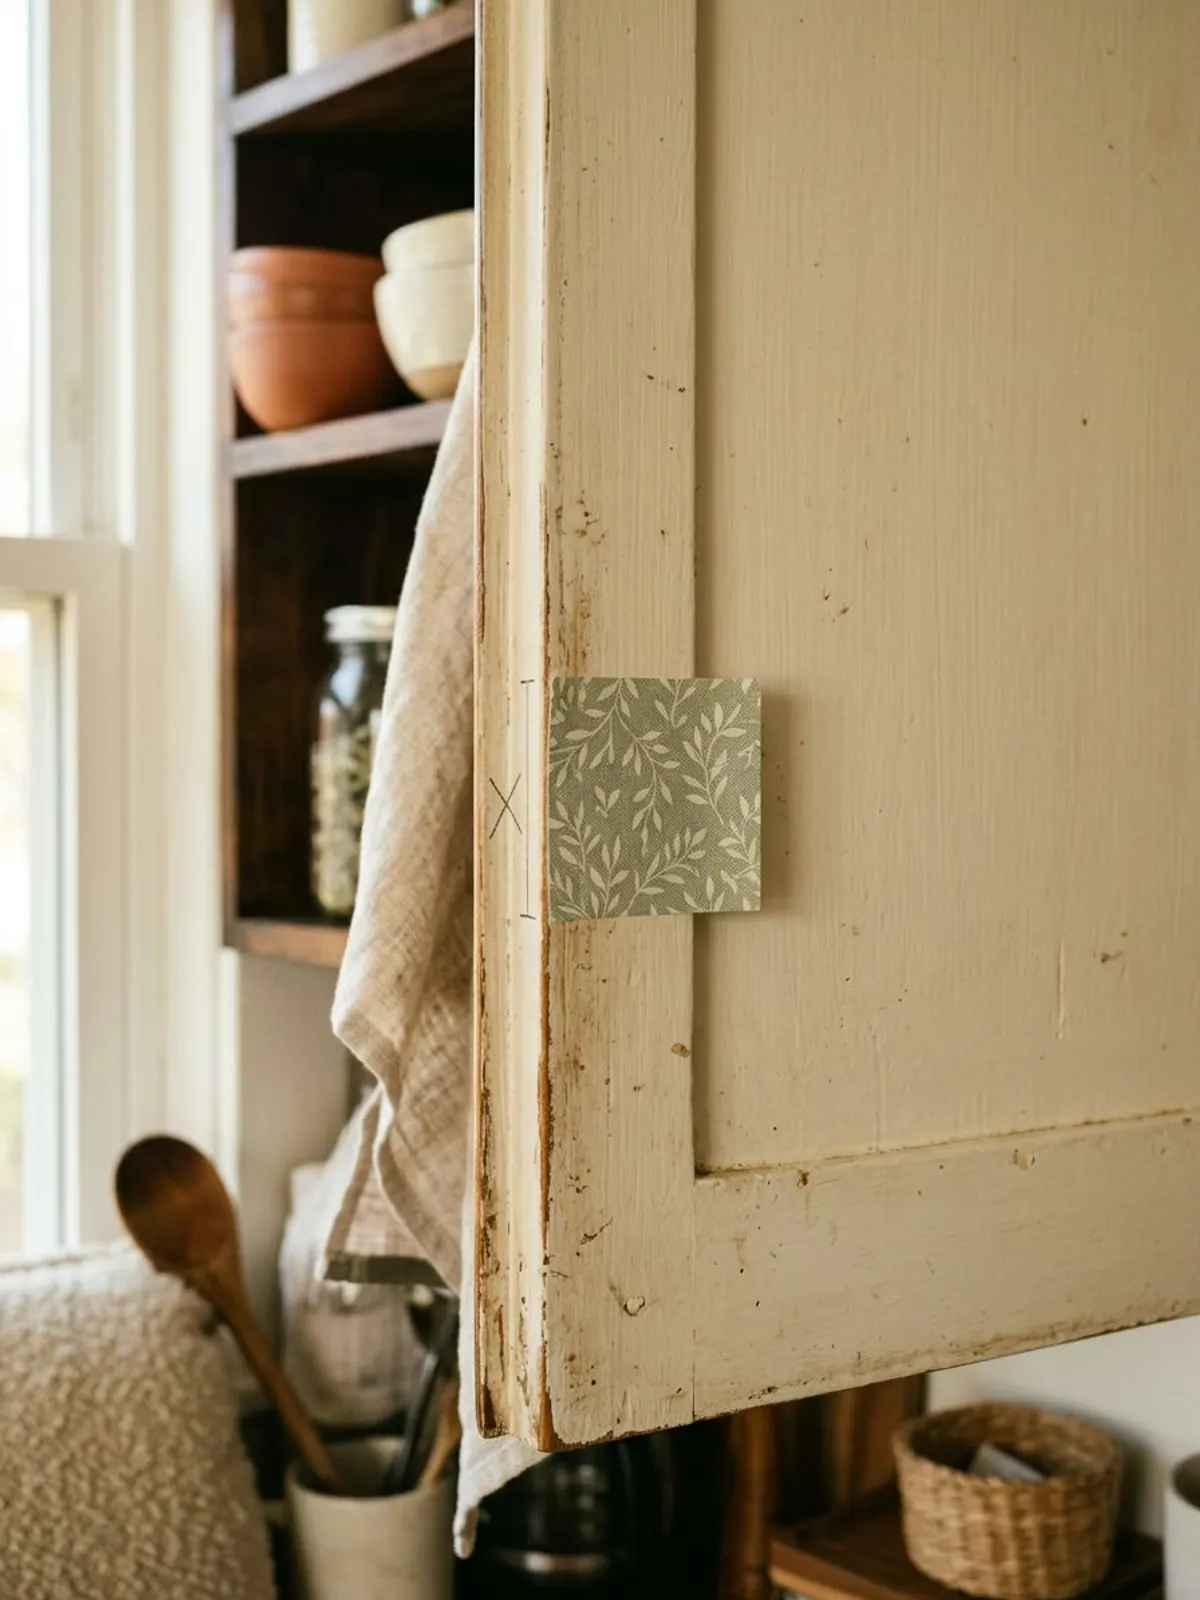
Cut a 3 by 3 inch square and stick it on the inside edge of one door, where nobody will see it. Leave it for 3 to 7 days, then warm it with a hair dryer on low and peel it back slowly. If the finish stays intact, you can go ahead.
What you need
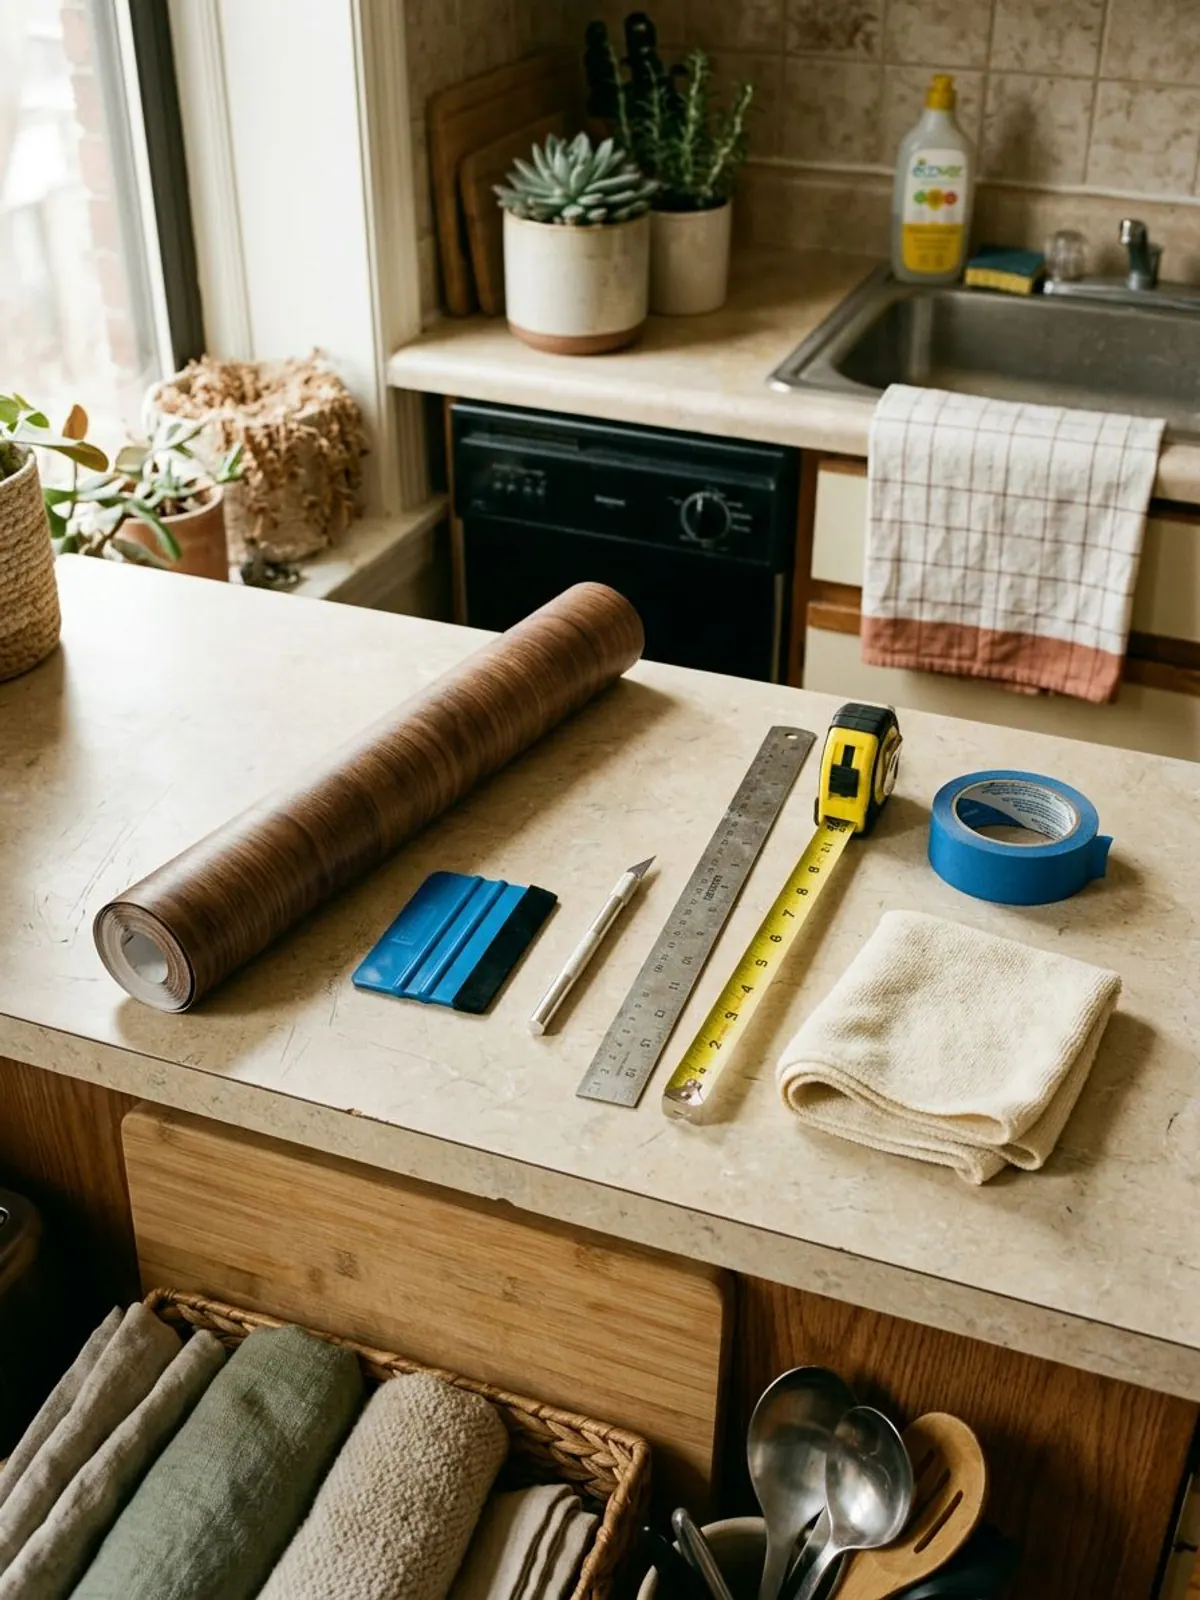
Supplies
How to cover kitchen cabinets with contact paper in 7 steps
-
Step 1: Take off the doors and hardware
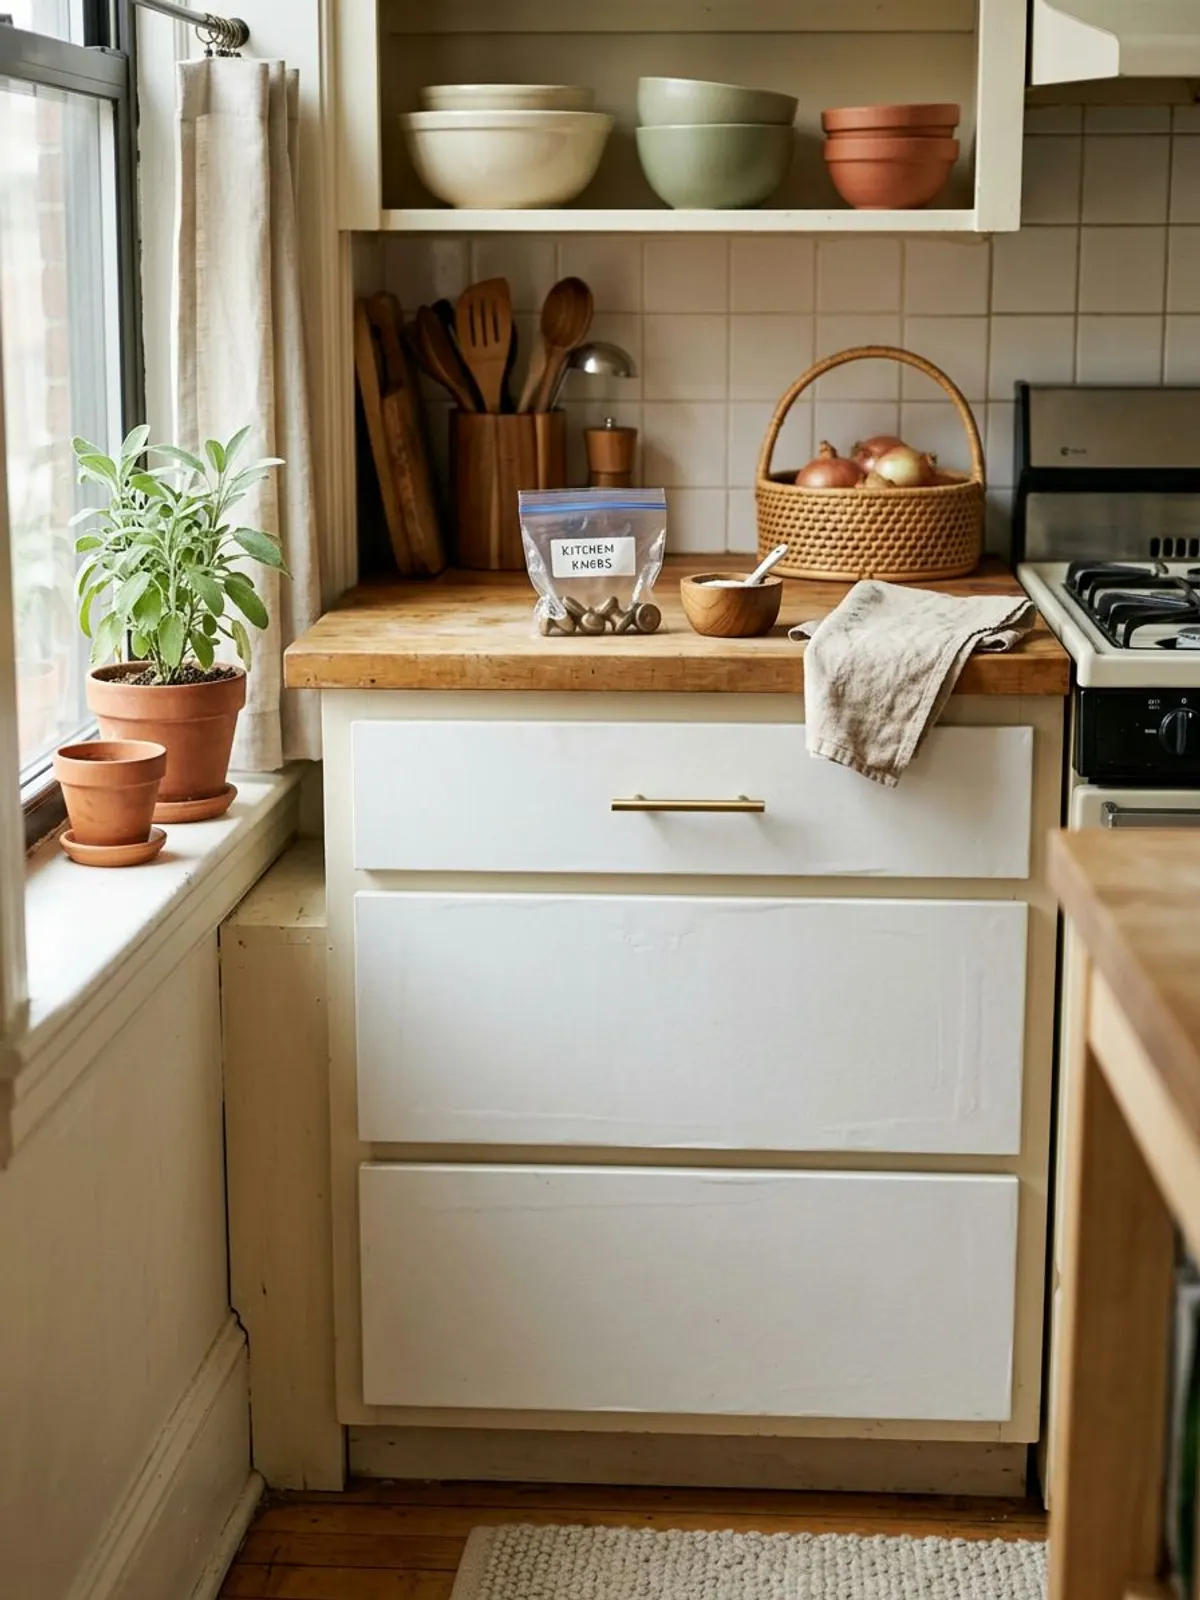
Number each door with painter's tape and keep the knobs and screws in a labeled bag. Working on a table is easier than on a vertical door.
-
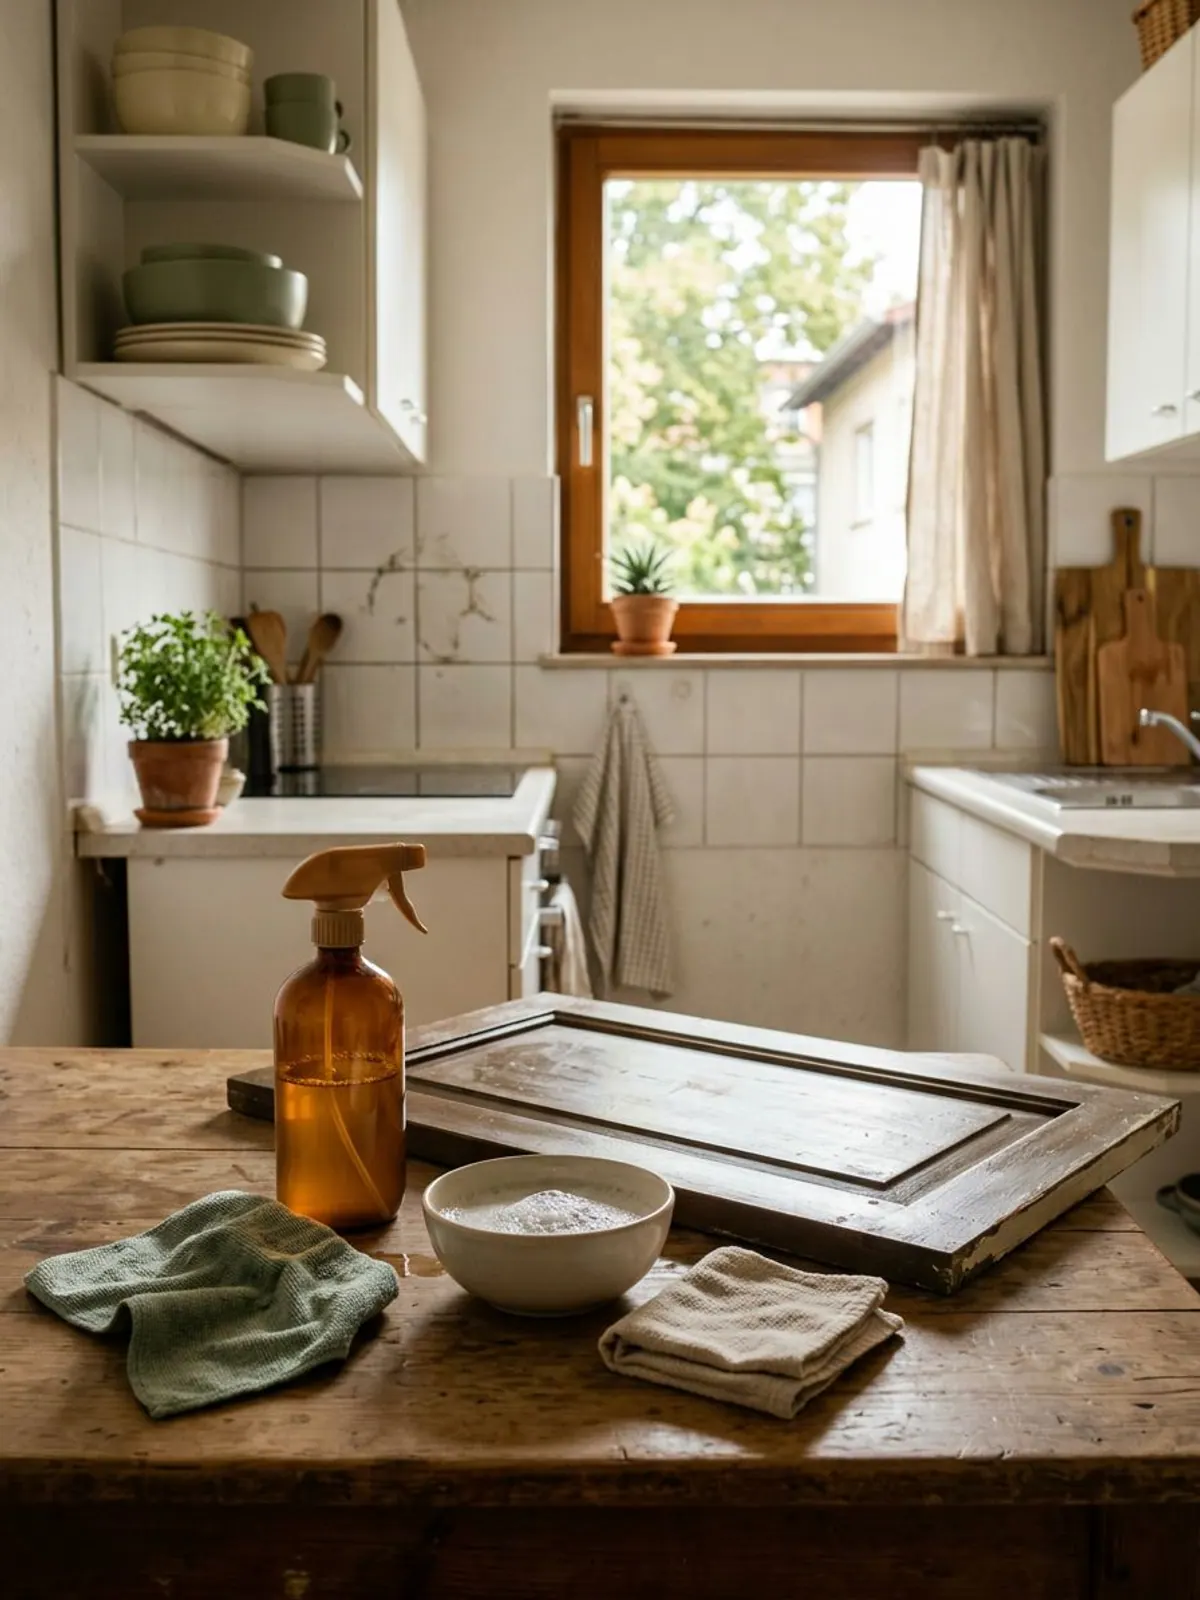
Step 2: Degrease and dry
Wipe every surface with a degreasing cleaner or dish soap, rinse with clean water and let it dry fully. Cooking grease is what makes the paper let go later.
-
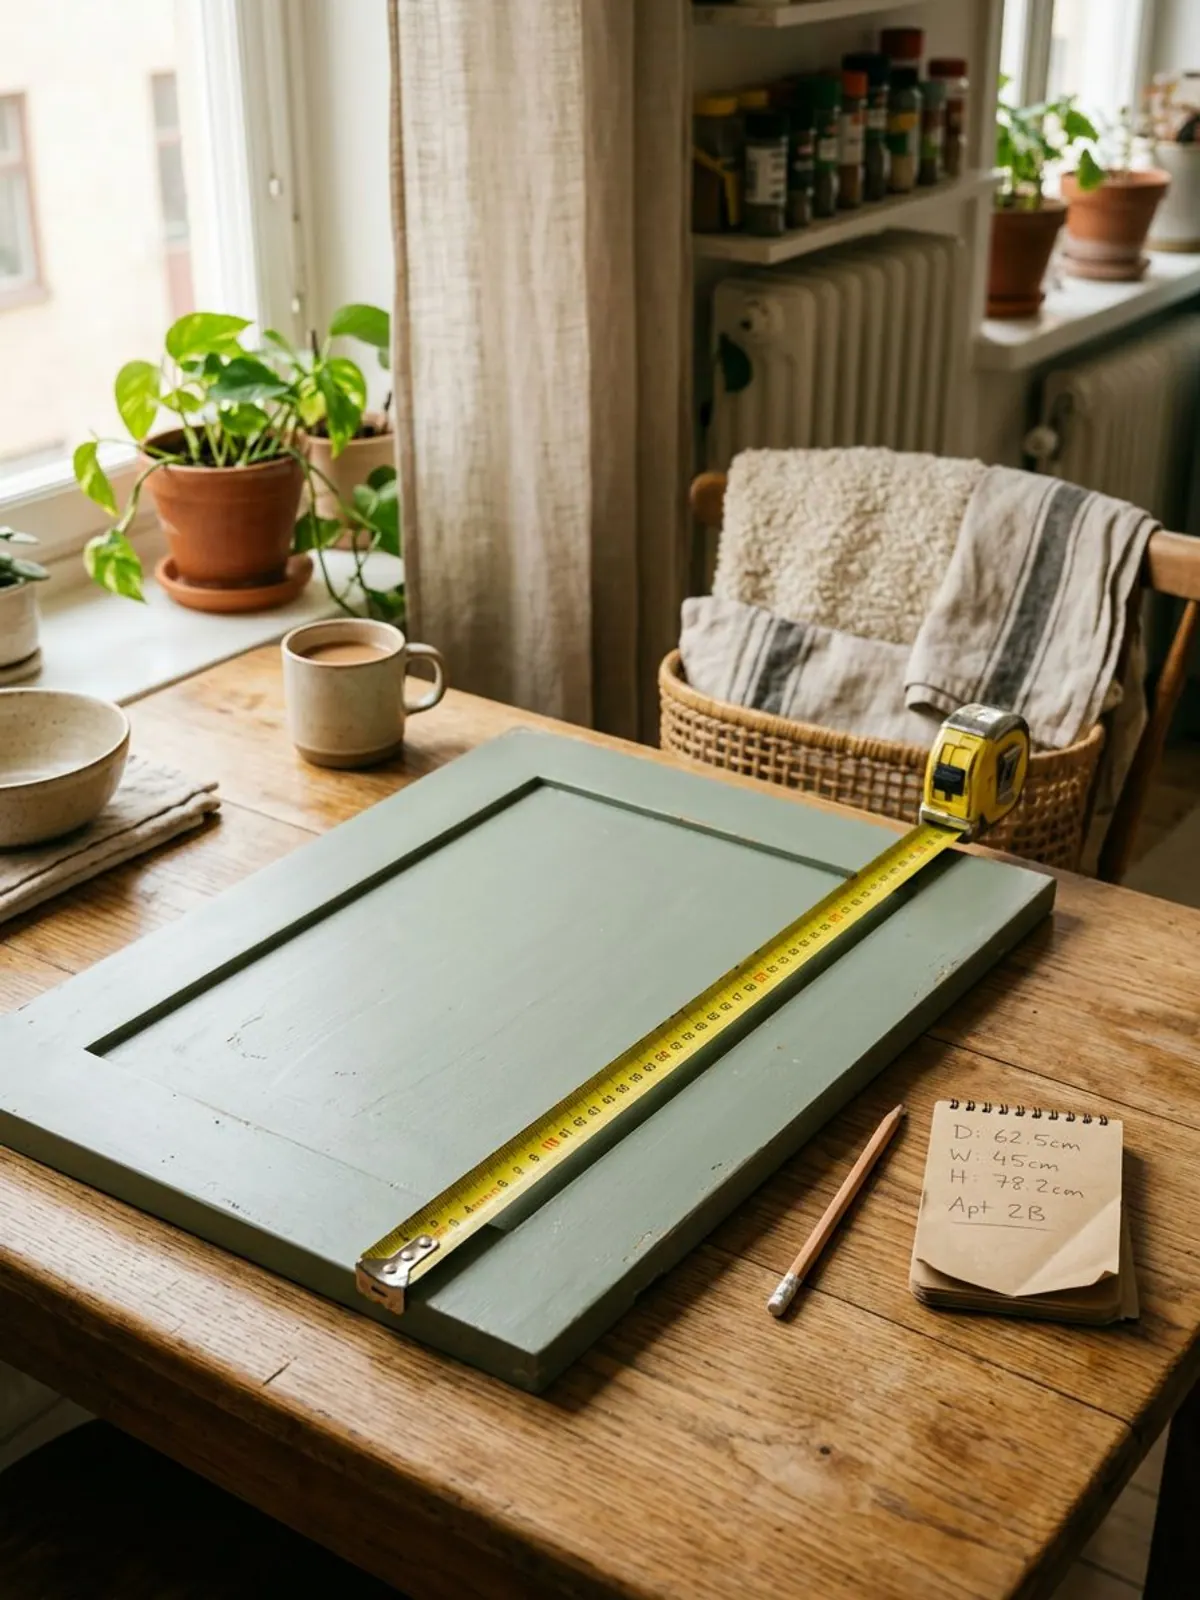
Step 3: Measure each door
Measure the height and width of every door and drawer front and add 1 inch on all sides. Write the numbers on the tape on the back.
-
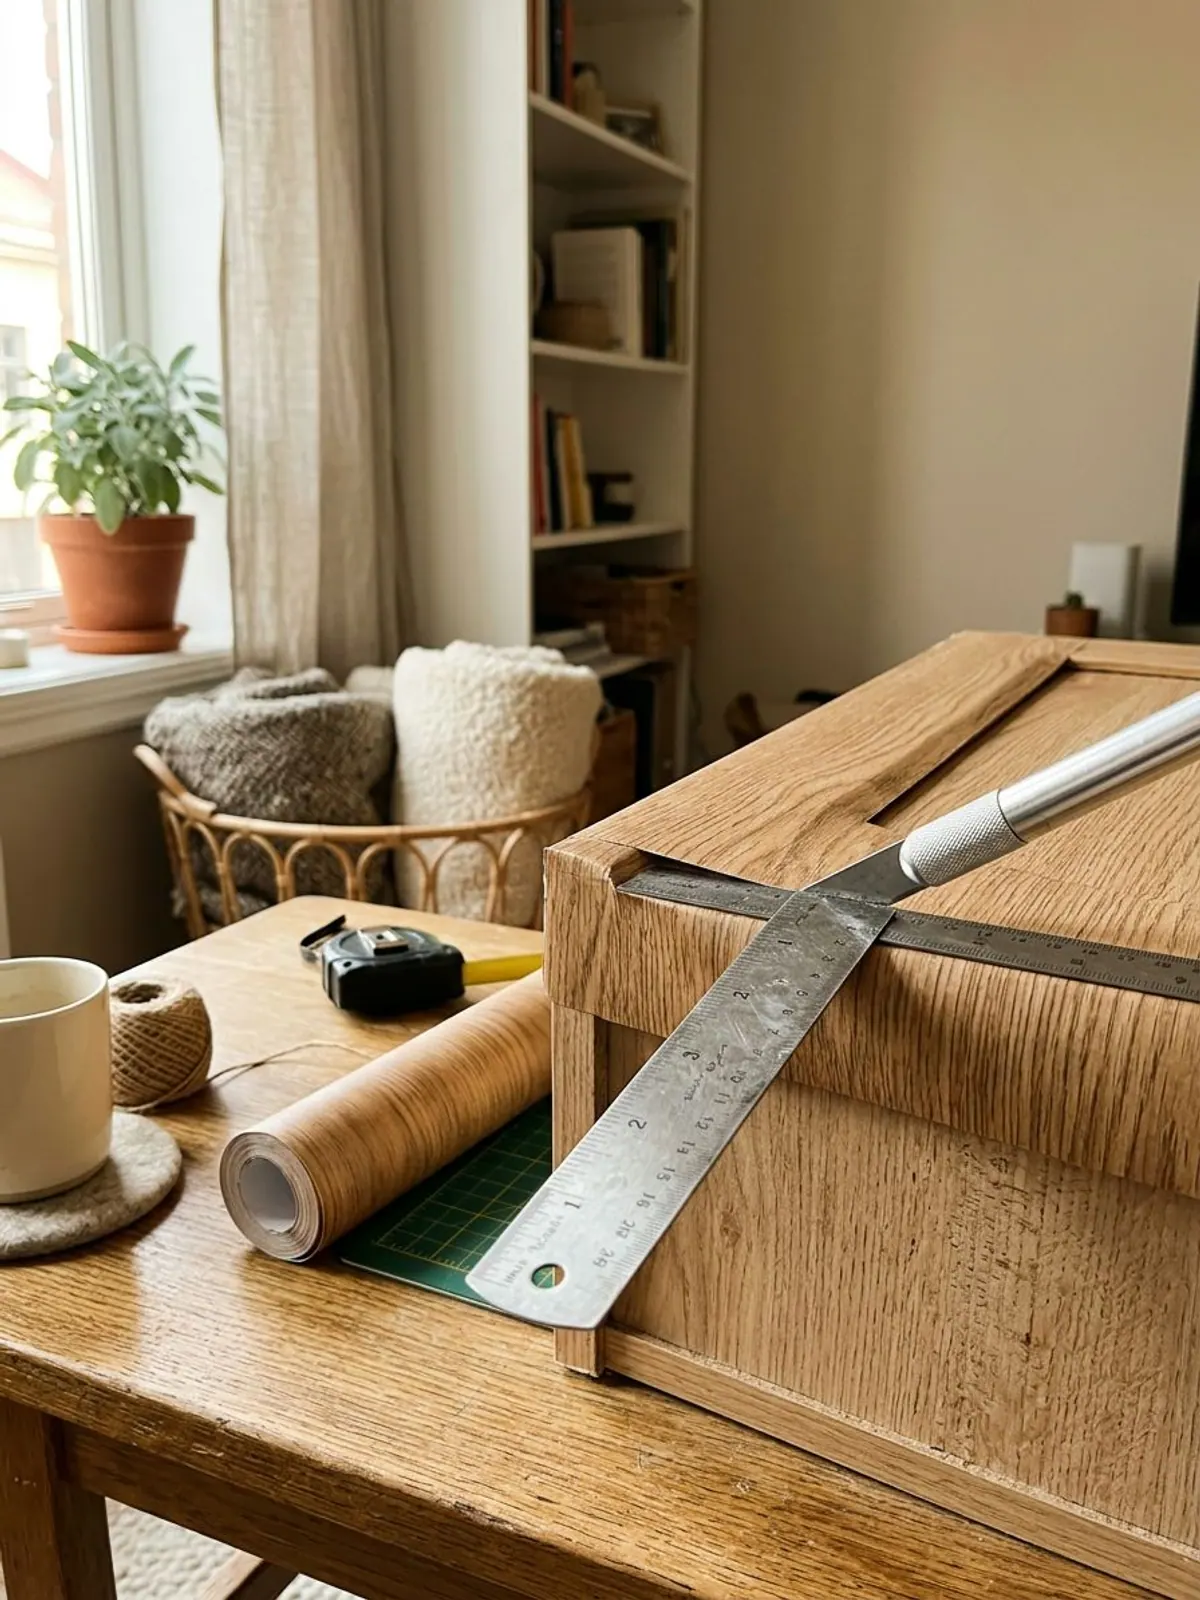
Step 4: Cut the paper to size
Cut on the backing grid with a ruler and a craft knife, leaving the extra inch on every side. Keep any pattern lined up, such as wood grain running in the same direction on all doors.
-
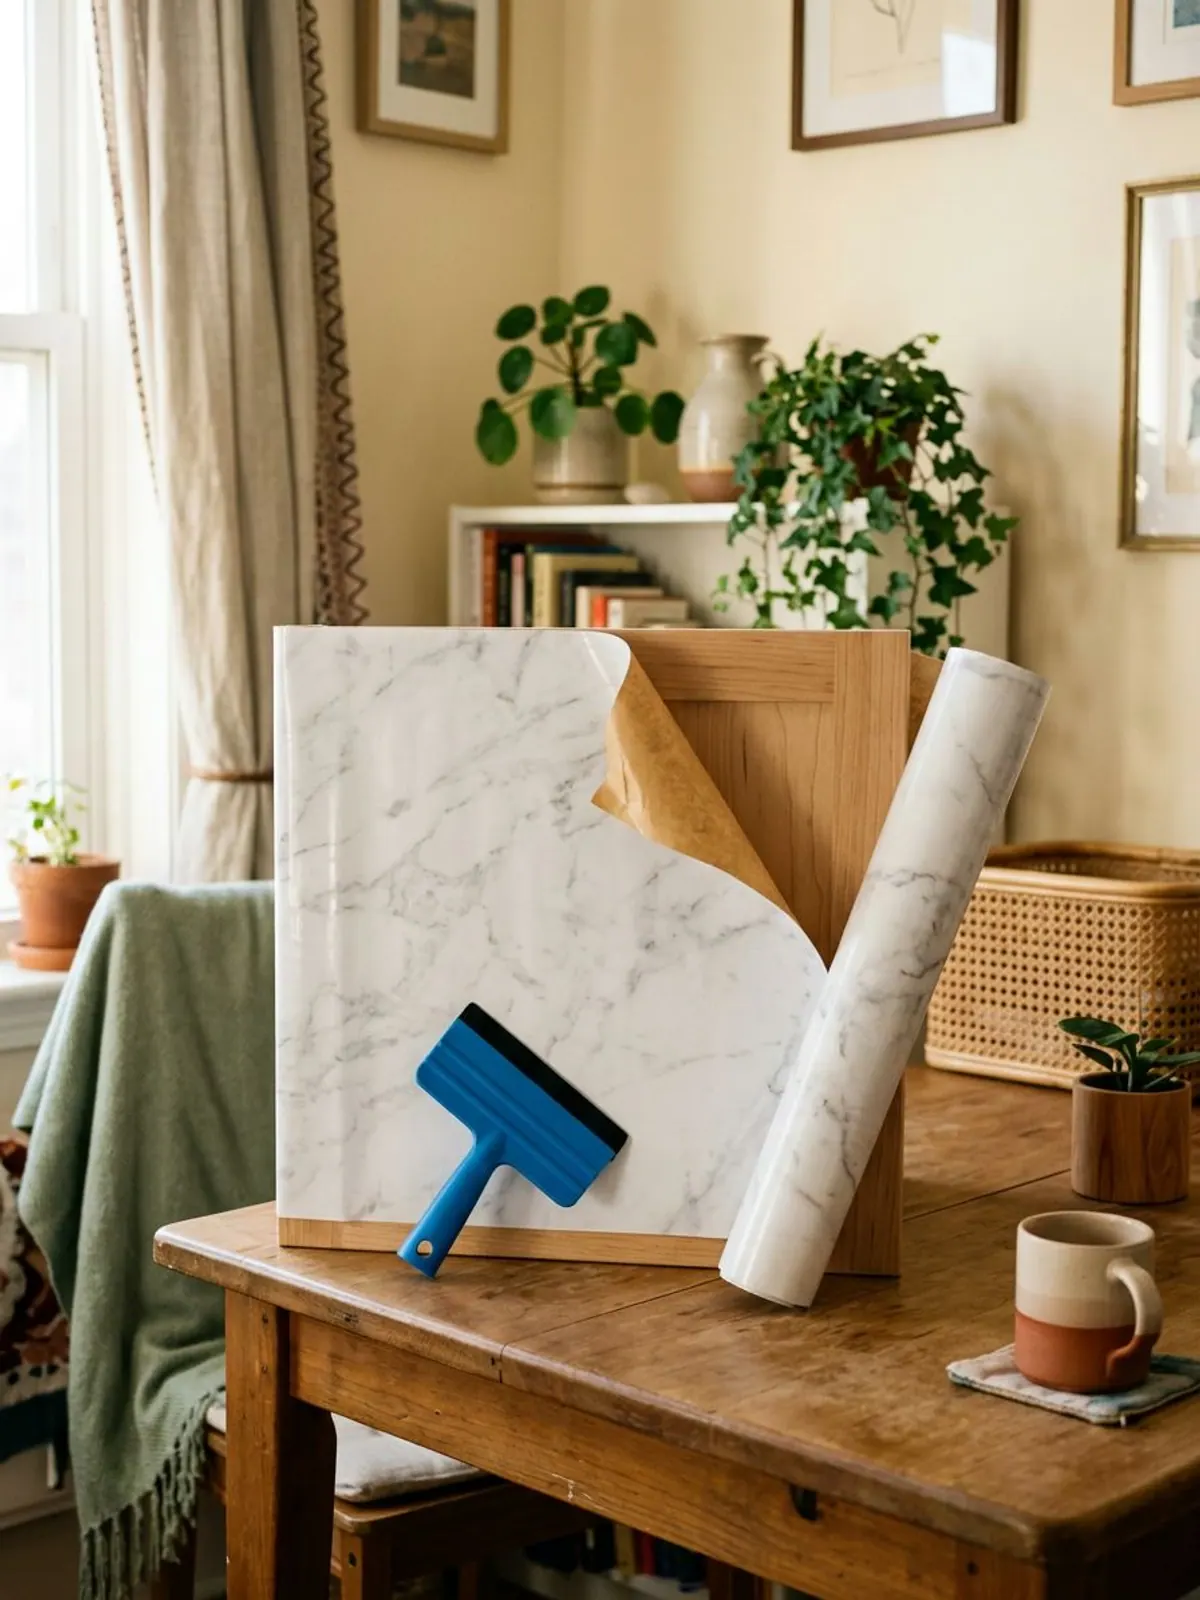
Step 5: Peel back a little, then smooth as you go
Peel 2 inches of backing, stick that edge to the top of the door and press with the squeegee from the center outward. Peel more backing as you go so air can escape.
-
Step 6: Fix bubbles and trim the edges
Prick a bubble with a pin and press the air out. Run the craft knife along the door edge against a ruler for a clean cut, then fold the last bit of paper around the edge.
-
Step 7: Cut holes for hinges and reattach
Find the hinge and knob holes by touch or with a pin, cut a small X and put the hardware back. Leave the doors closed for a day before you load the shelves.
A renter-safe makeover also pairs well with the other quick fixes in our renter-friendly kitchen makeover guide, where contact paper is one of several under $200 options.
How many rolls of contact paper do you need?
Many rolls are about 17.7 inches wide and 118 inches long, but sizes vary, so check each listing. Here is an example for a small kitchen: eight doors at 15 by 30 inches and four drawer fronts at 15 by 6 inches.
| Step | Number | Notes |
|---|---|---|
| Door area | 8 x (15 x 30) = 3,600 sq in | Doors only |
| Drawer fronts | 4 x (15 x 6) = 360 sq in | Add 1 inch margin per side |
| Waste and trimming | add 20 percent | About 4,750 sq in total |
| One roll, 17.7 x 118 in | about 2,090 sq in | Check your own roll size |
| Rolls to buy | 3 | Buy one extra if the pattern must match |
Buy all your rolls at once. Printed colors can vary from one order to the next, so a second batch may not match the first.
Where contact paper works, and where it does not
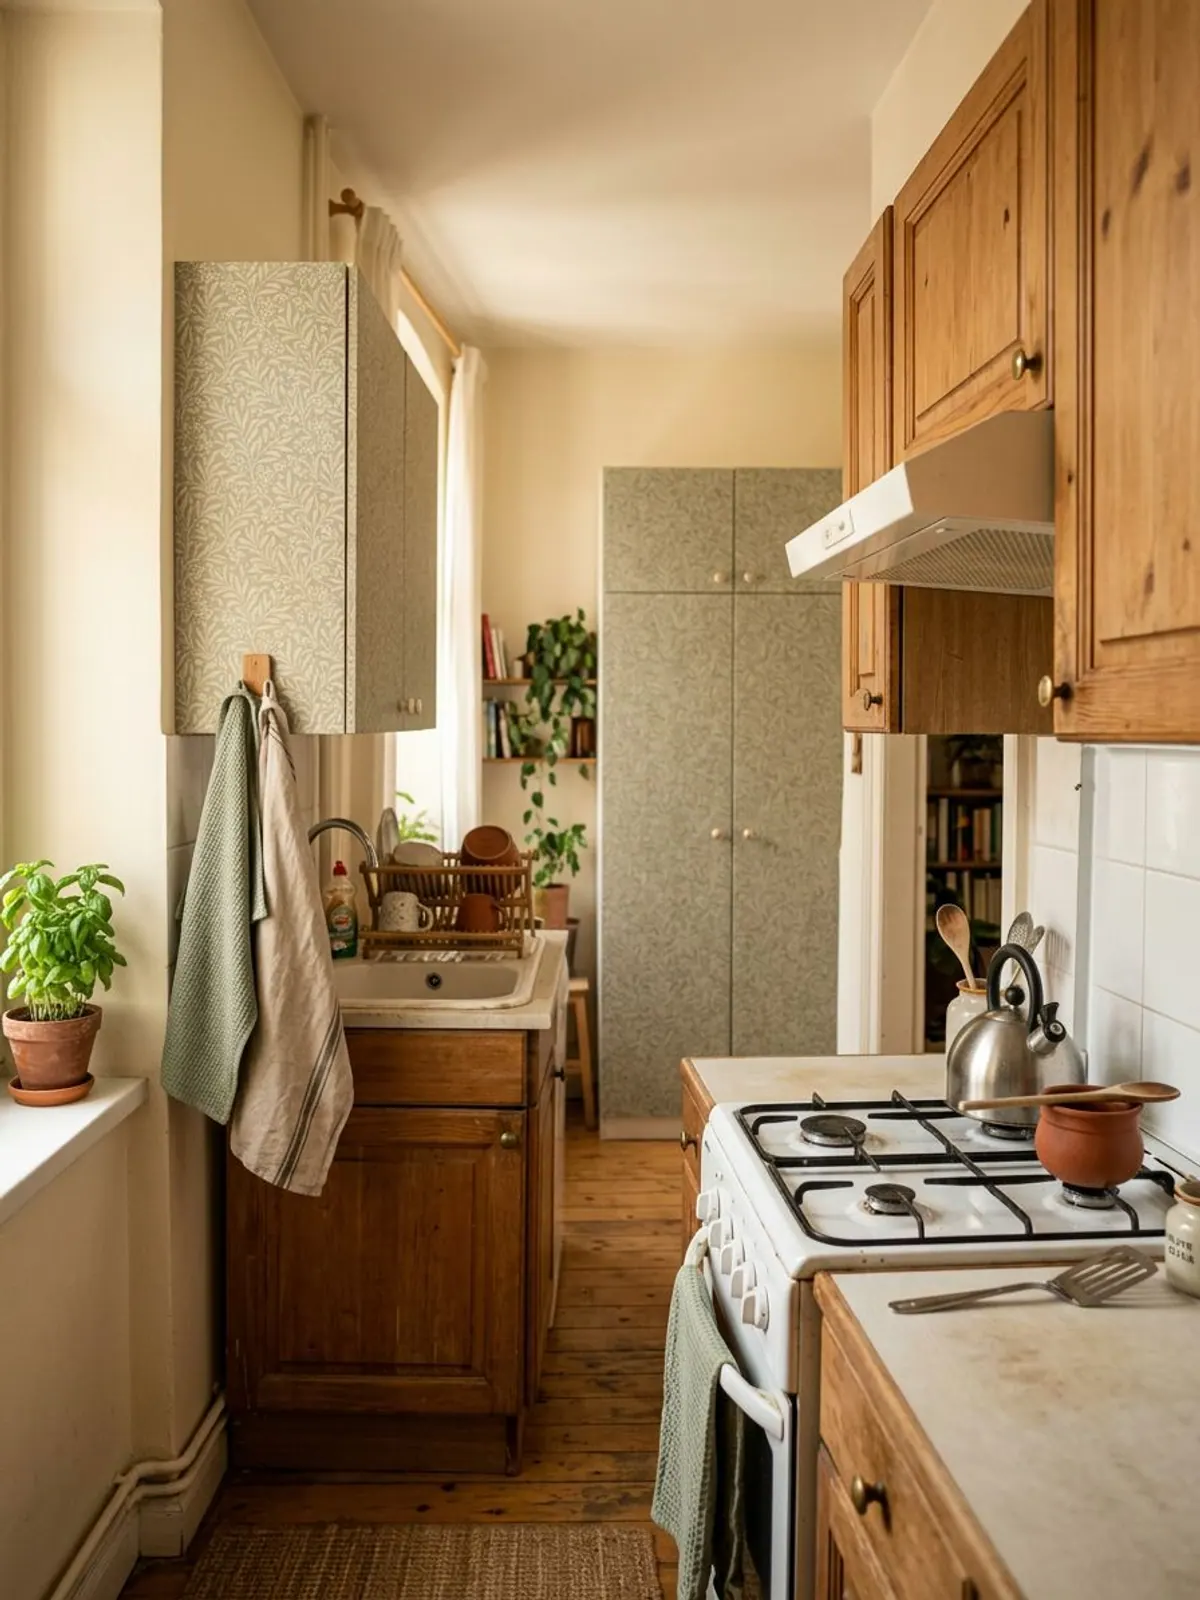
Cover cabinets across from the sink and the fridge first. Leave the cabinet next to the range bare, because heat and steam are what lift the edges. If you want a look there, a small peel and stick backsplash is a better fit.
| Surface | Works well? | Why |
|---|---|---|
| Flat-front doors | Yes | Smooth, easy to wrap |
| Drawer fronts | Yes | Small, quick wins |
| Inside shelves and drawers | Yes | No one sees seams, and it protects the shelf |
| Raised or shaker panels | No | The paper bridges the groove and bubbles |
| Next to the stove or oven | Skip | Heat and steam |
| Countertops | Careful | Heat, knives and water damage the surface |
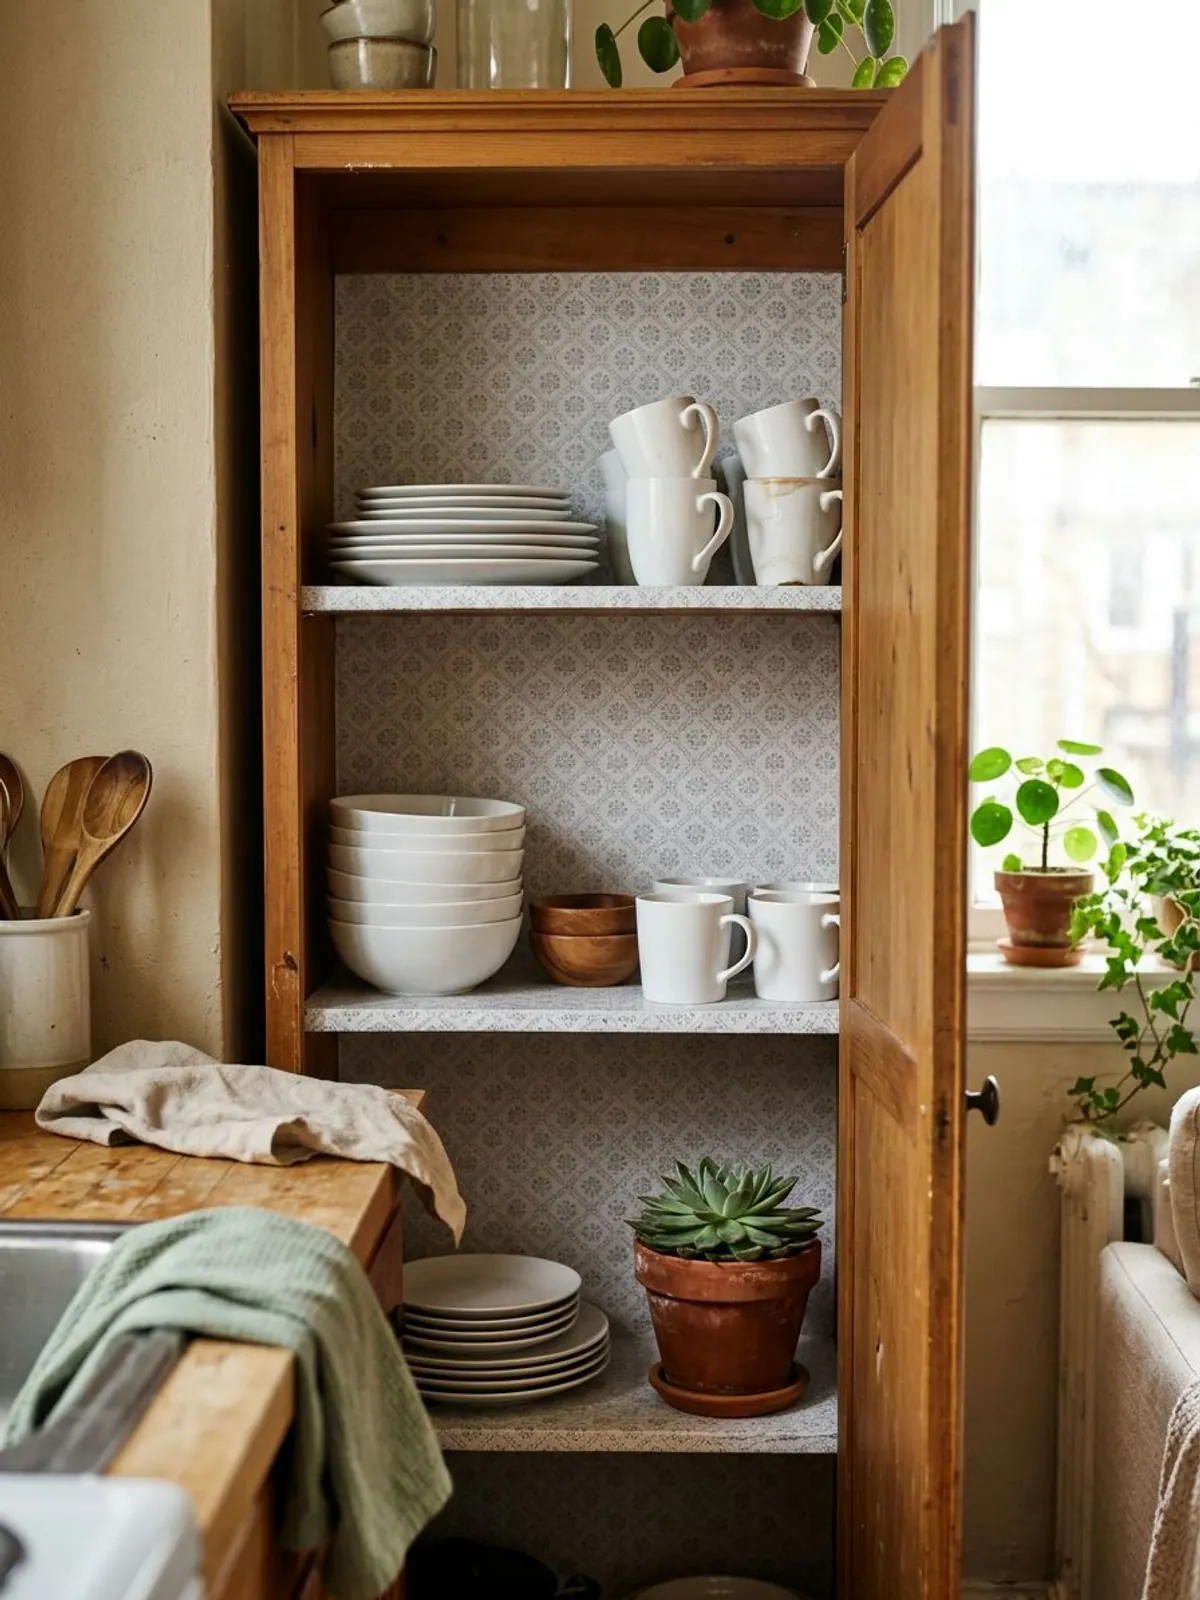
Colors that look like paint, not like a sticker

Matte beats glossy in a small kitchen because it hides seams and fingerprints. Sage, warm white and a real-looking walnut grain are the safest. Swap the knobs for matte black or brass after you finish, and keep the originals in the labeled bag for move-out.
How to remove contact paper from cabinets
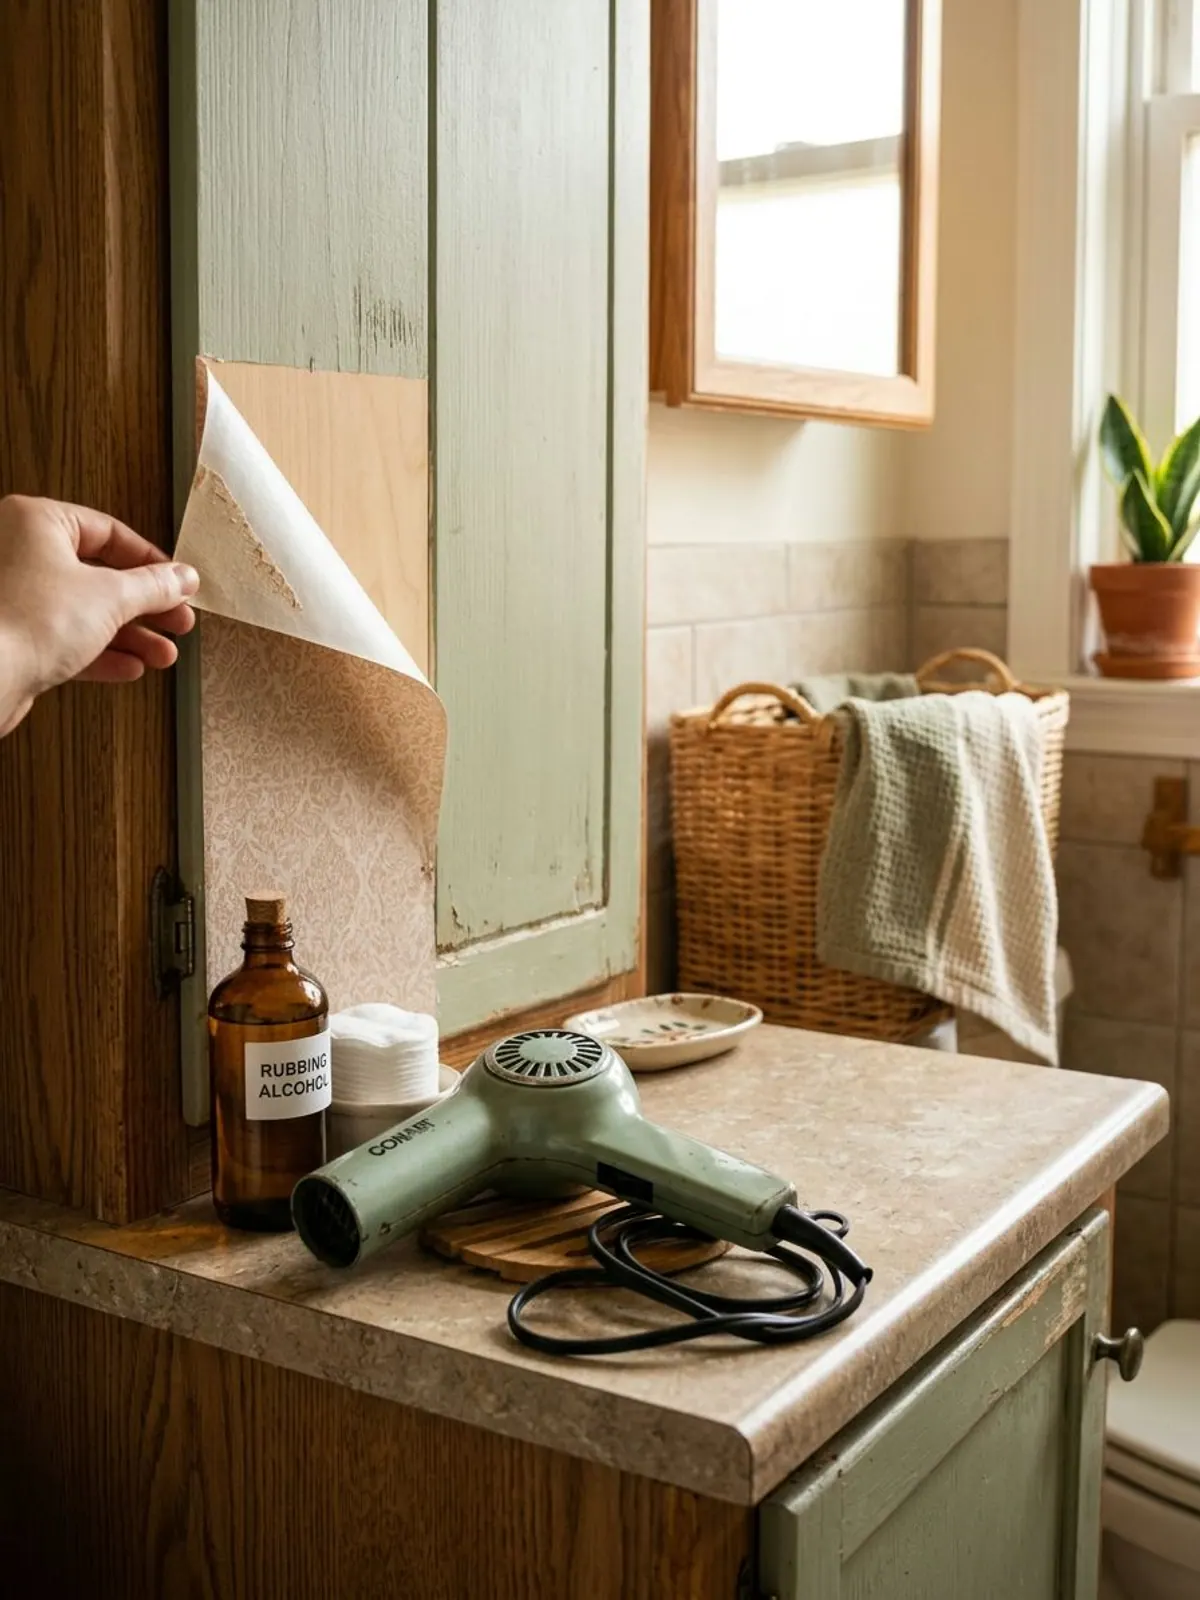
Warm a corner with a hair dryer on low, lift it with a fingernail and pull the paper back at a low angle, flat against the door. Wipe leftover adhesive with a cloth and a little rubbing alcohol, then test on a hidden spot first. Pull slowly: a quick yank is how finishes tear.
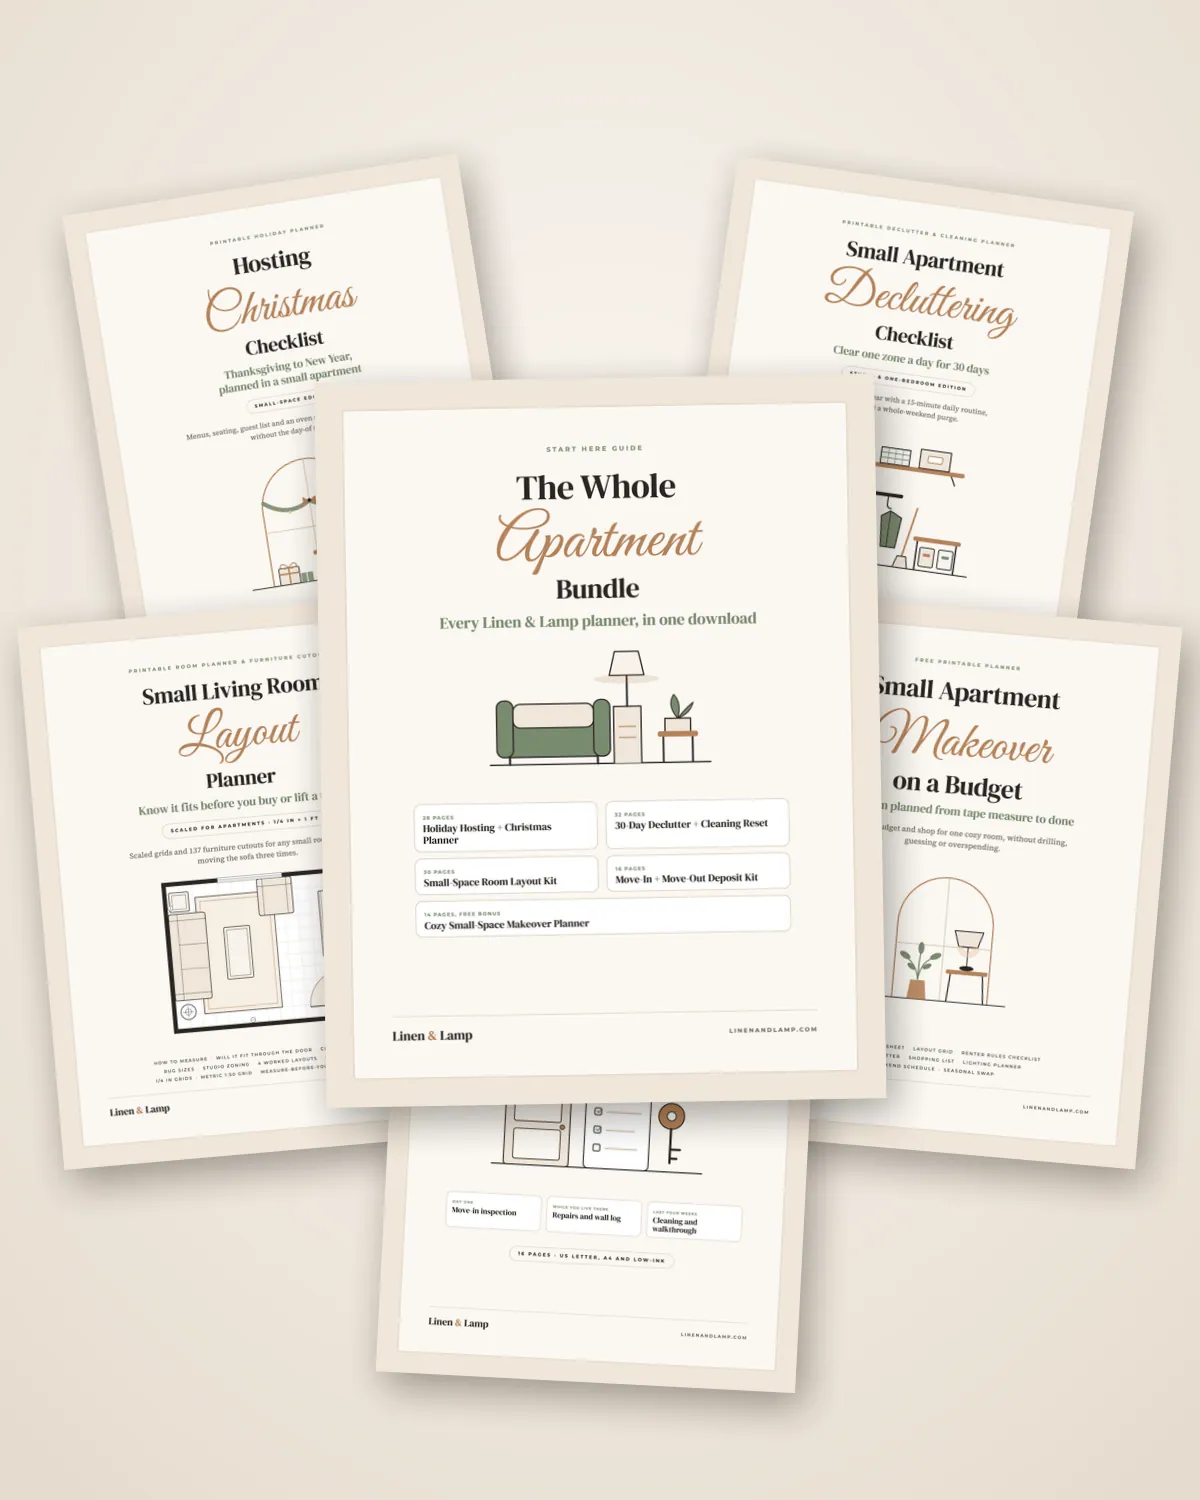
Planning a bigger reset before you move out? The 30-Day Declutter Reset breaks the kitchen, bedroom and closets into one small zone a day, and the Whole Apartment Bundle adds layout and hosting planners.
Shop the look
Product types used above. We have not tested these hands-on.
For a contact paper cabinet makeover
- Start here
Matte peel and stick contact paper, sage or white
Typically $12 to $25 per roll
The main material.
Check price on Amazon for Matte peel and stick contact paper, sage or white -
Wood grain contact paper, walnut
Typically $13 to $28 per roll
Looks like real wood in a small kitchen.
Check price on Amazon for Wood grain contact paper, walnut -
Felt-edge squeegee
Typically $5 to $12
Smooths without scratches.
Check price on Amazon for Felt-edge squeegee -
Craft knife with spare blades
Typically $8 to $15
Clean cuts on edges.
Check price on Amazon for Craft knife with spare blades -
Matte black cabinet knobs
Typically $10 to $25
A fresh look for the new fronts.
Check price on Amazon for Matte black cabinet knobs
Frequently asked questions
Does contact paper ruin kitchen cabinets?
Not always, but it can lift worn paint or veneer when removed. Test a hidden spot for a few days and warm the paper with a hair dryer on low when you peel it.
Will contact paper stick to greasy cabinets?
No. Clean with a degreasing cleaner or dish soap, rinse and let the surface dry before you stick anything. Grease is the main reason edges lift.
How long does contact paper last on cabinets?
It depends on the paper, the cabinet finish and the kitchen. Edges near the stove or sink tend to lift first, so keep them to the sides away from heat.
Can you put contact paper on top of paint or wood?
It sticks to smooth, sealed painted or laminate fronts. Rough, flaking or unsealed surfaces do not hold it, and may be damaged when it comes off.
Is contact paper safe near the stove?
Skip the cabinets next to the range and the oven. Heat and steam loosen the adhesive and the edges, and you want that area clean and easy to wipe.
Save it for later
Pin this to your Renter-Friendly Decor board so it's there when you need it.
Save to Pinterest