This post contains affiliate links. As an Amazon Associate we earn from qualifying purchases, at no extra cost to you. Read our disclosure.
Key takeaways
- Clean room by room, top to bottom, with the floors last.
- Photograph each room after you finish cleaning, with the date on the files.
- Ask your landlord for their own move-out list and a walkthrough time.
- Return every key and fob, give your forwarding address in writing and note the date.
- Deposit deadlines vary by state, so look up yours and write the date down.
In this post10 sections
- Start by asking your landlord for their list
- The move out cleaning order that saves time
- Room by room: what to clean and what to photograph
- Twelve easy-to-miss spots to clean last
- The photos to take after you clean
- Before you hand back keys
- Splitting the clean with a roommate
- Cleaning supplies for a move out clean
- Your next step
- FAQ
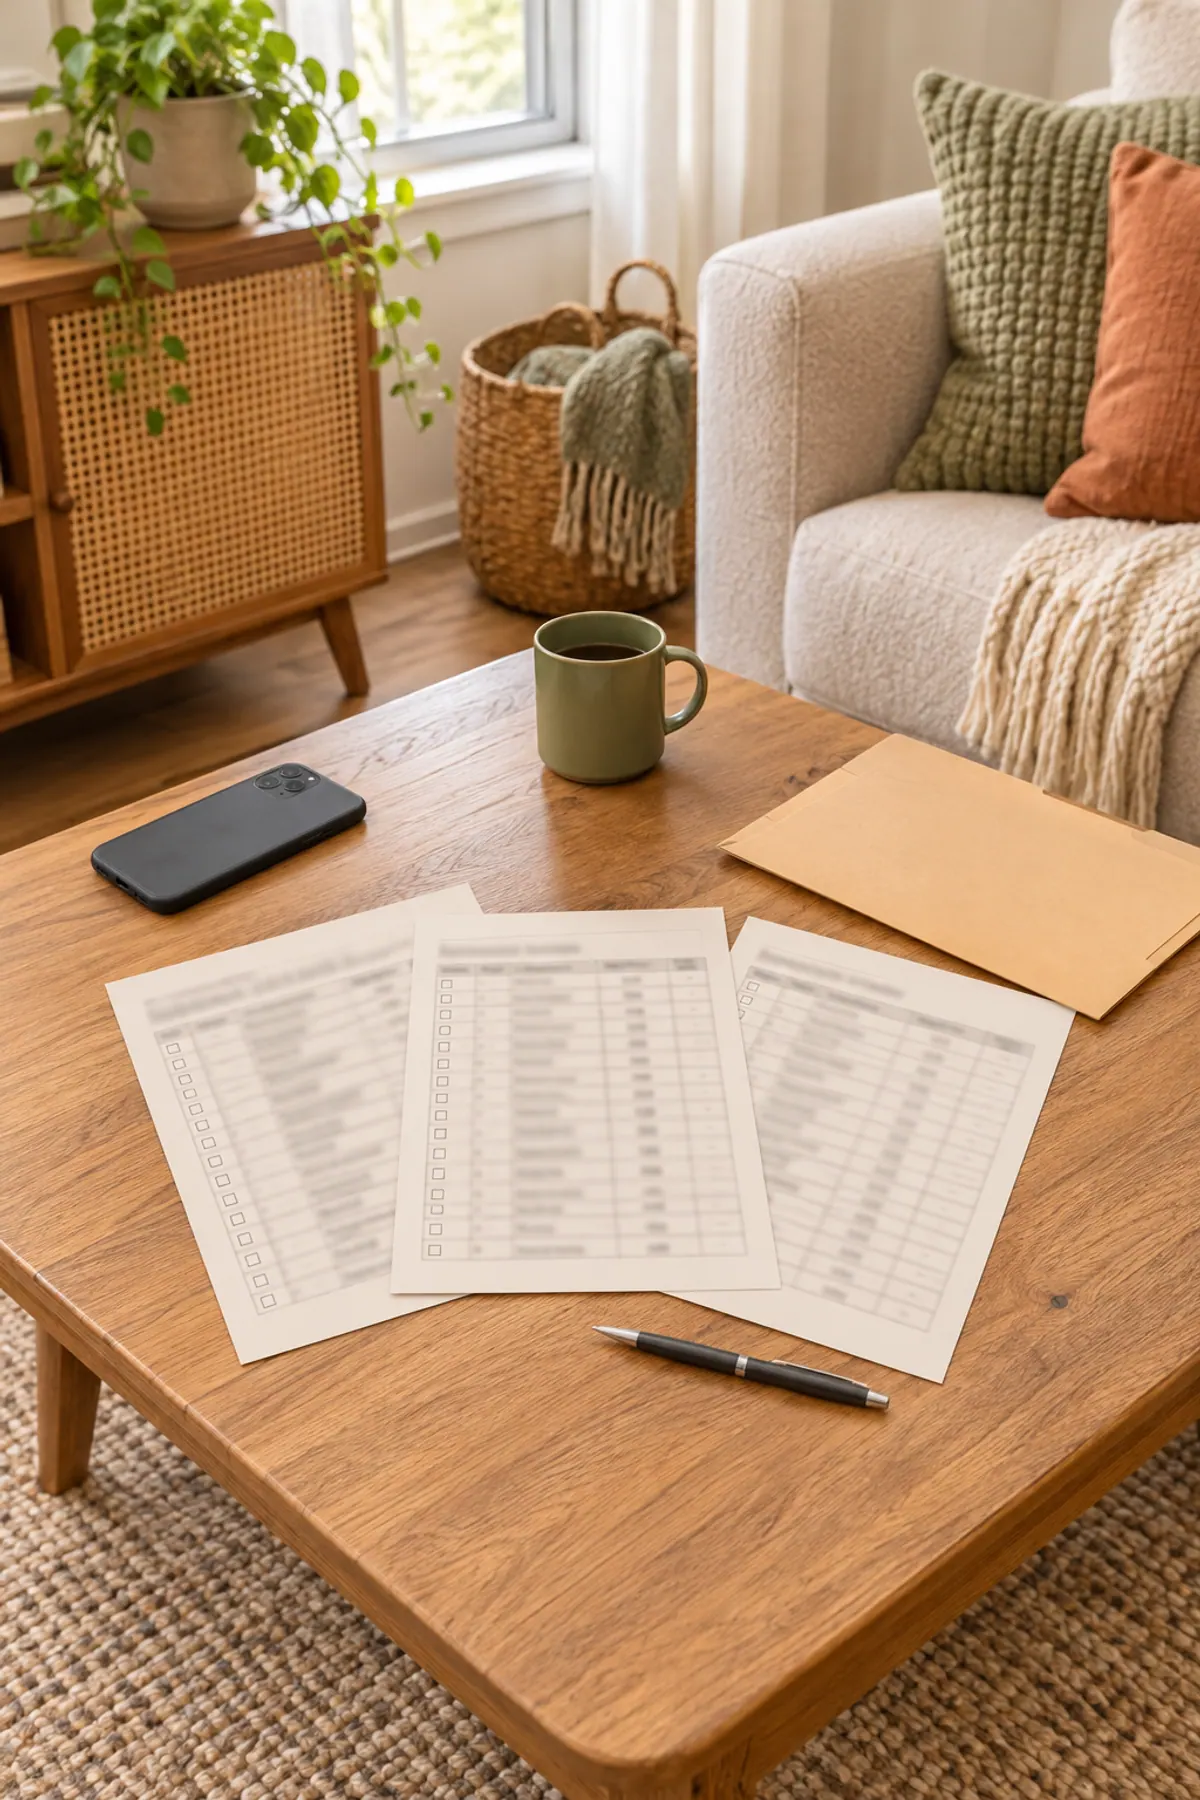
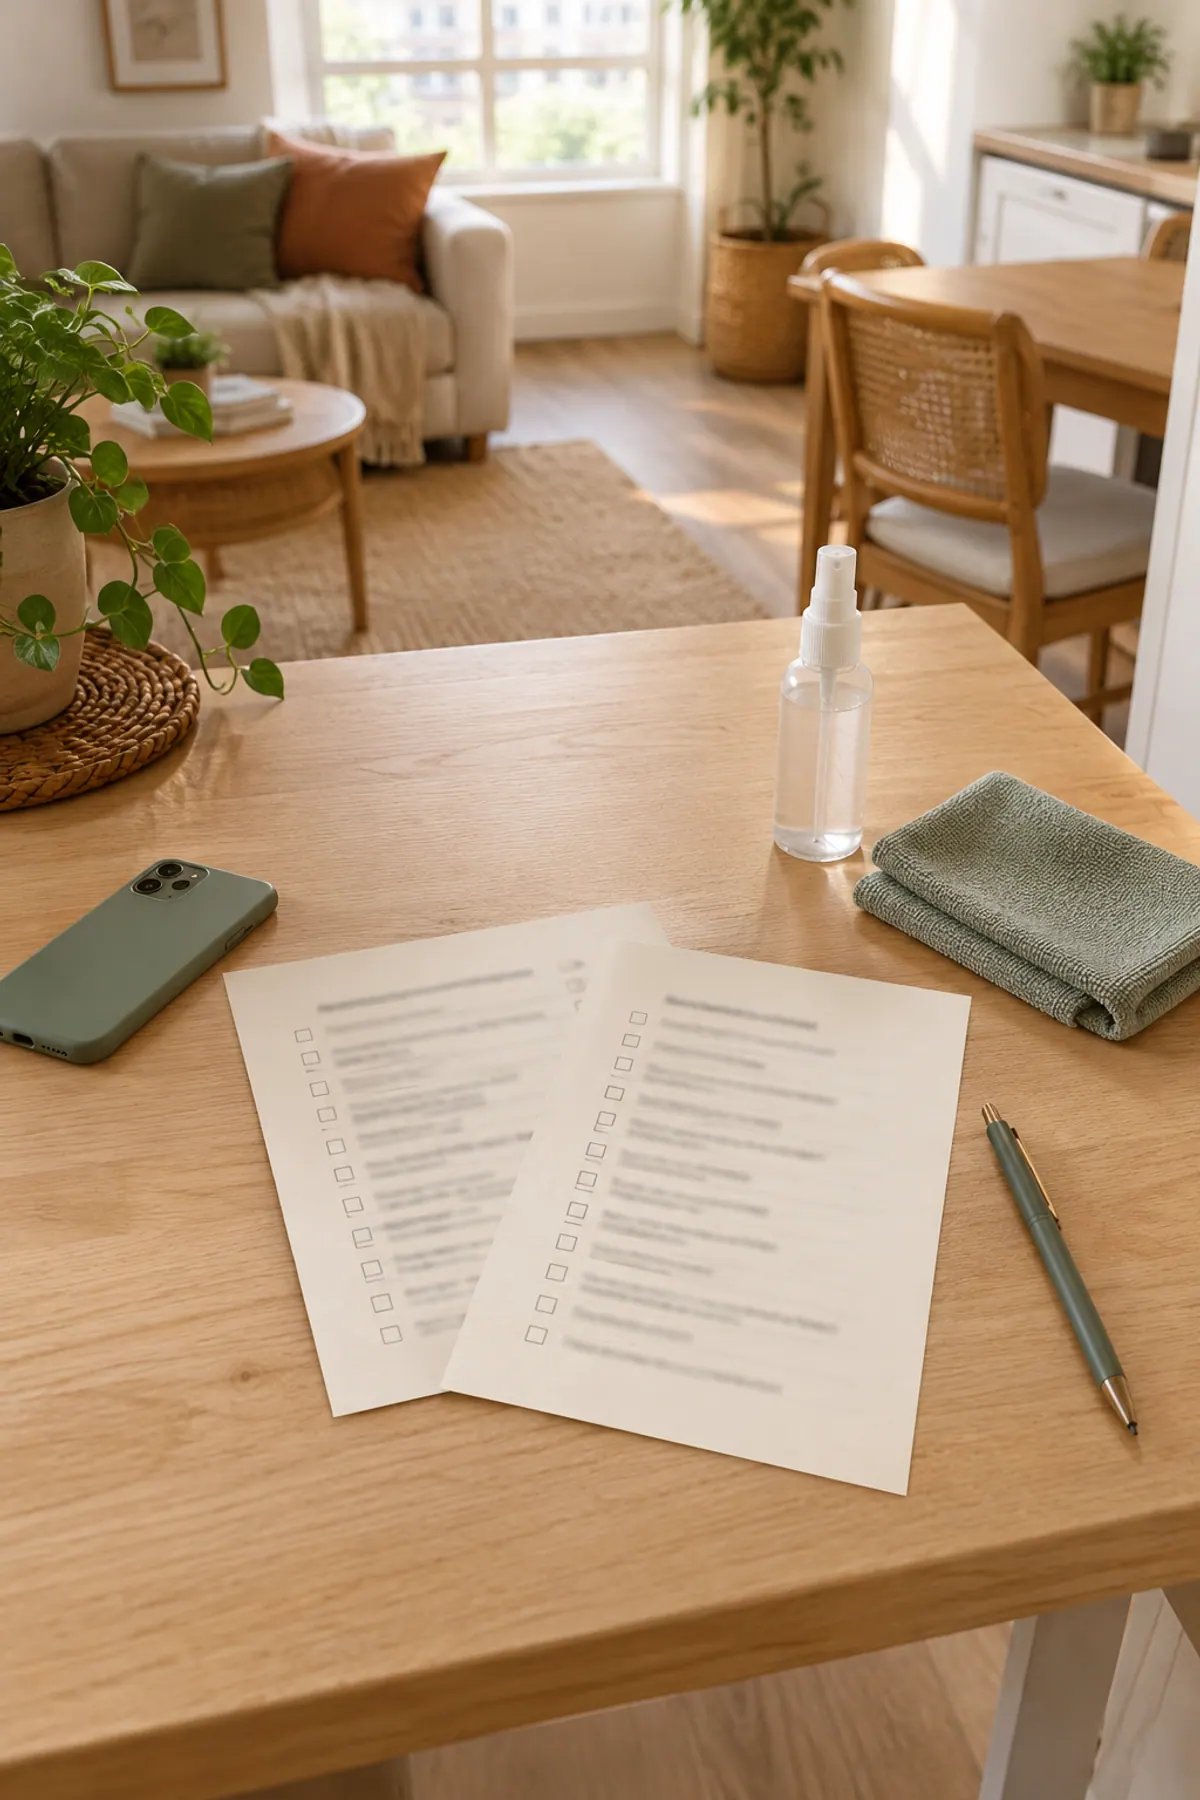
Get it free: enter your email in the box below and the download link for the move out cleaning checklist (PDF, 2 pages) appears right away. Page 1 has room by room cleaning lists for the kitchen, bathroom and bedrooms, each with a photo number column. Page 2 has the living area, the floors, a "before you hand back keys" box and a photo log.
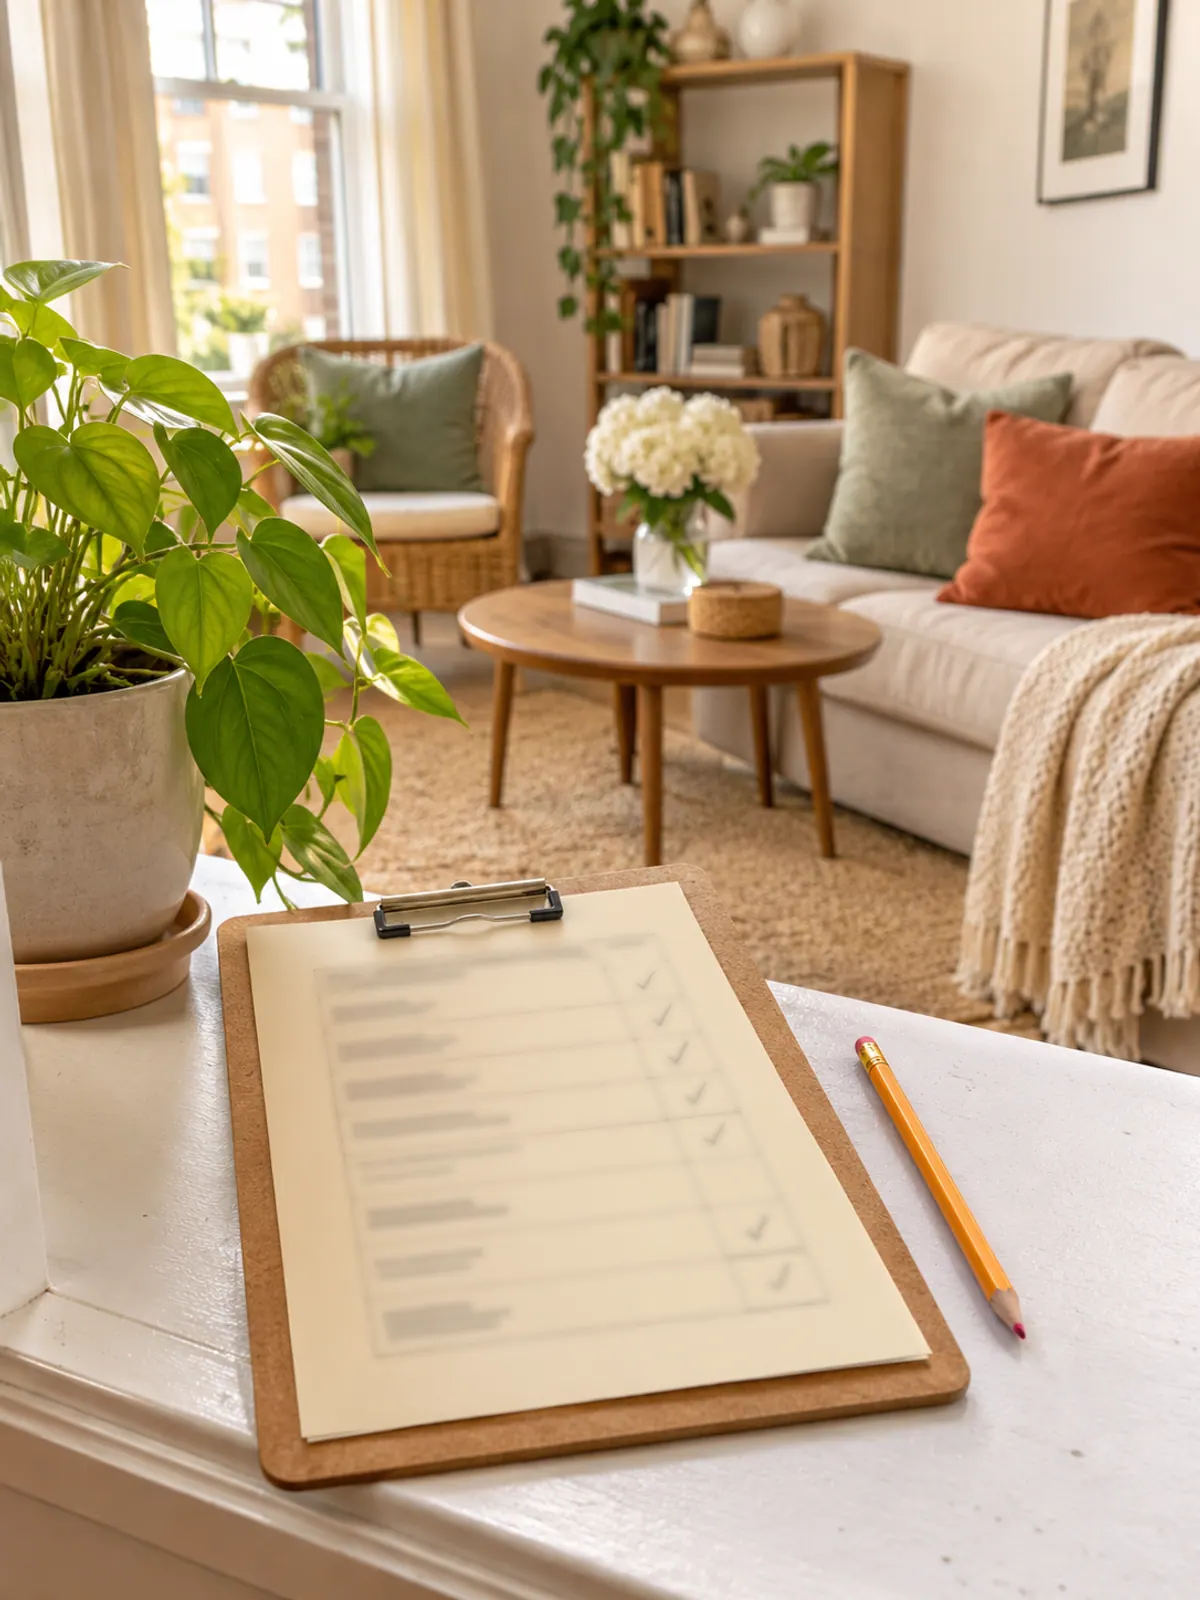
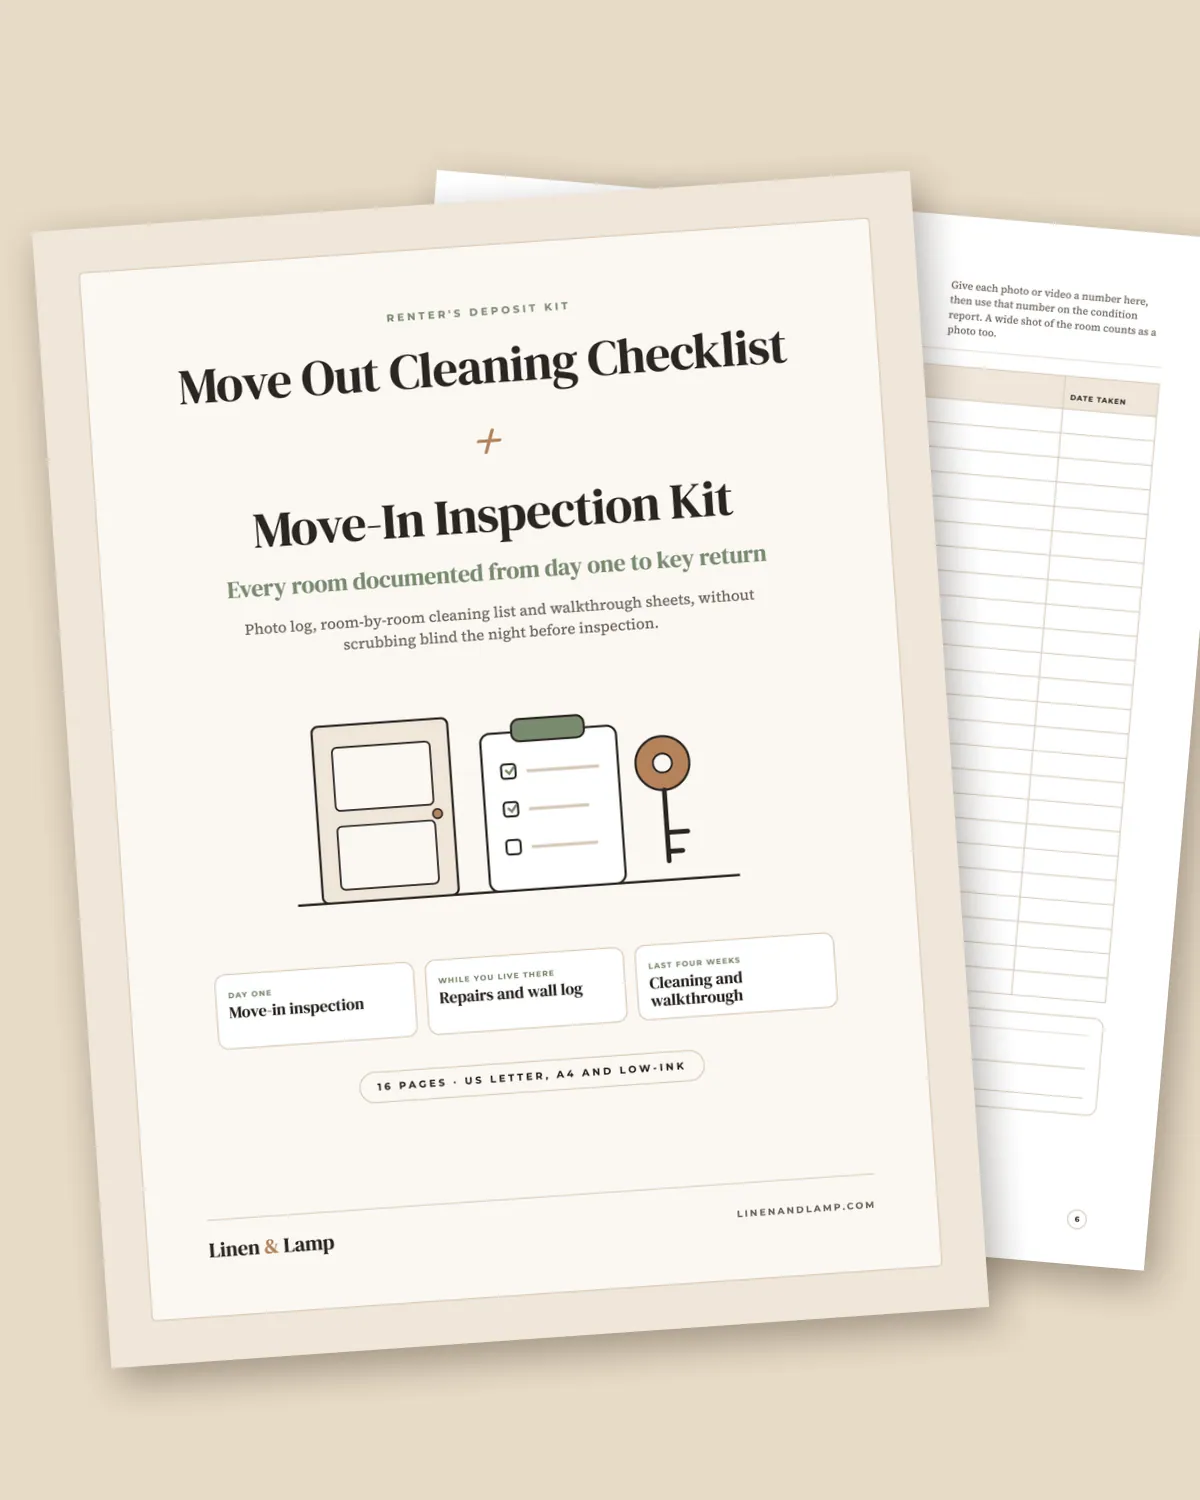
The free checklist covers the cleaning and the photos you take after it. What it cannot show is what the place looked like on day one. If you have no move-in photos to compare against, the Move-In Move-Out Deposit Kit ($6, 16 pages) adds a move-in versus move-out comparison sheet, a numbered photo log with 24 rows and a four-week move-out timeline. It is a documentation and cleaning tool, not legal advice.
Start by asking your landlord for their list
Before you buy a single sponge, ask the landlord or property manager whether they have their own move-out cleaning list, and read the move-out section of your lease. Some leases spell out what has to be cleaned and how the keys are returned, and some landlords hand over a checklist at notice time. If they have one, use it alongside ours: tick theirs first, then use ours for the photo column and the key return box.
If you are still weeks from your last day, the 8-week moving checklist for renters has the dates, and the 15-minute apartment cleaning schedule keeps the place in shape until then.
The move out cleaning order that saves time
-
Step 1: Get everything out first
Move every box, bag and piece of furniture out of the room you are about to clean, or into one corner. You cannot clean a floor or a closet shelf under your things.
-
Step 2: Work top to bottom in each room
Dust fans, vents and blinds first, then walls and switch plates, then counters and shelves, then baseboards. Dust falls, so the floor comes last.
-
Step 3: Start with the kitchen
The oven and fridge take the longest. Start them first, and follow the directions on any cleaner you use, including the ventilation and wait time on the label.
-
Step 4: Do the bathroom next
Tub, toilet, sink and mirror, then the drain and the exhaust fan cover.
-
Step 5: Finish with floors, then photos
Vacuum, then mop, working back toward the front door. Photograph each room only once its floor is done, so the photos show the finished state.
Room by room: what to clean and what to photograph
This is the same list that is on the printable, grouped so you can see the whole job at a glance. The photo column is the third one: write the photo number there as you go.
| Room | What to clean | Photo to take when done |
|---|---|---|
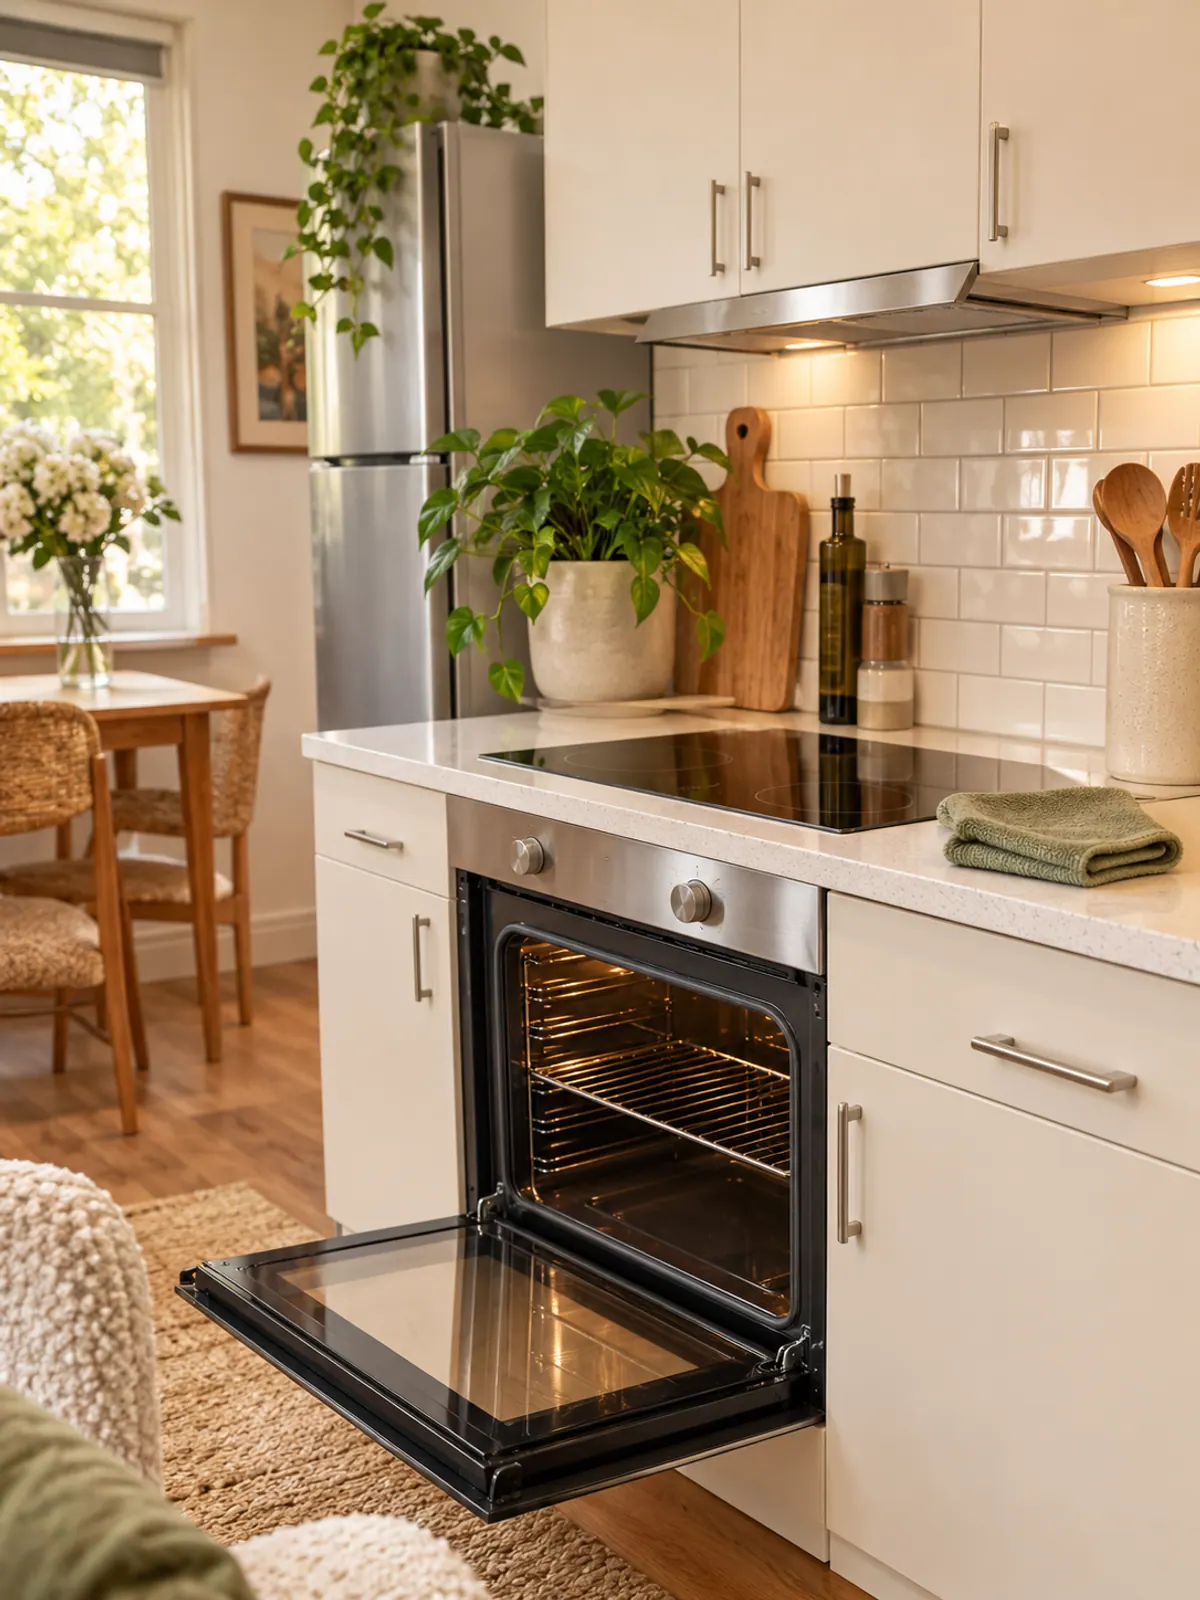
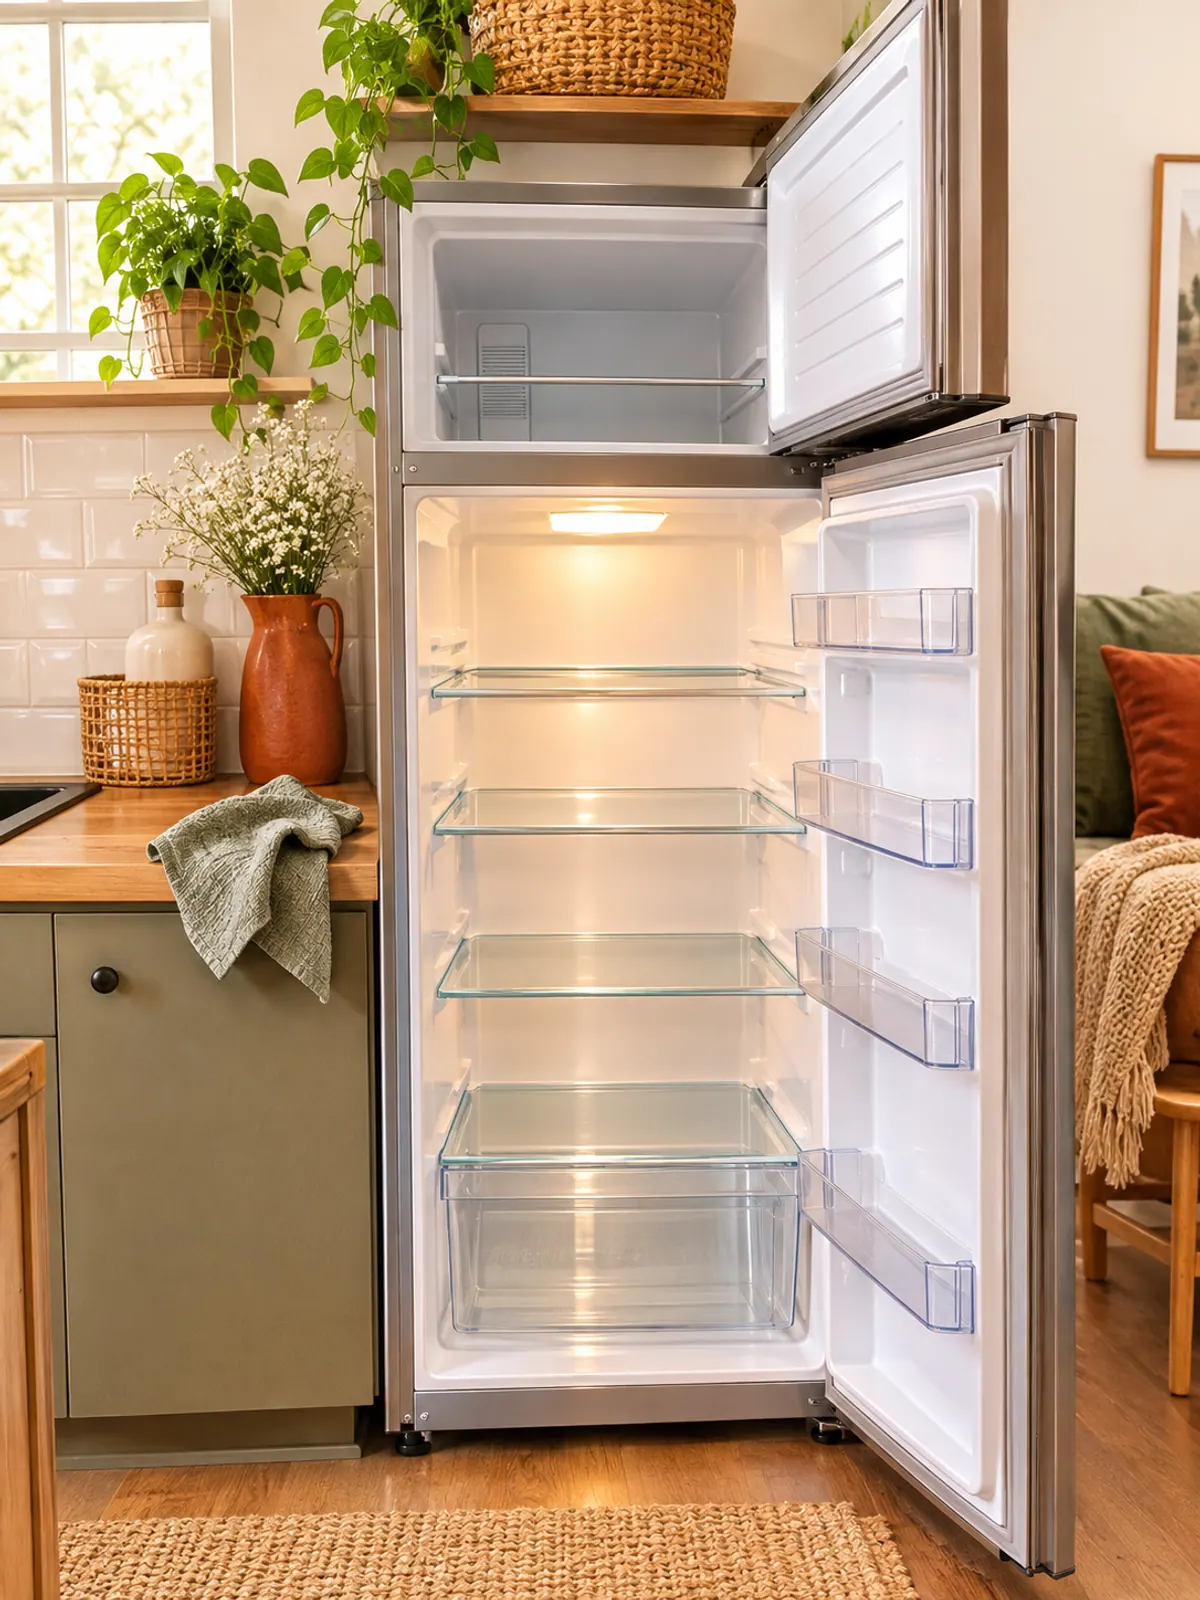
| Kitchen | Fridge and freezer, oven and stovetop, microwave, cabinets and drawers inside, counters, sink, dishwasher | Wide shot from the doorway, then oven, fridge interior and sink |
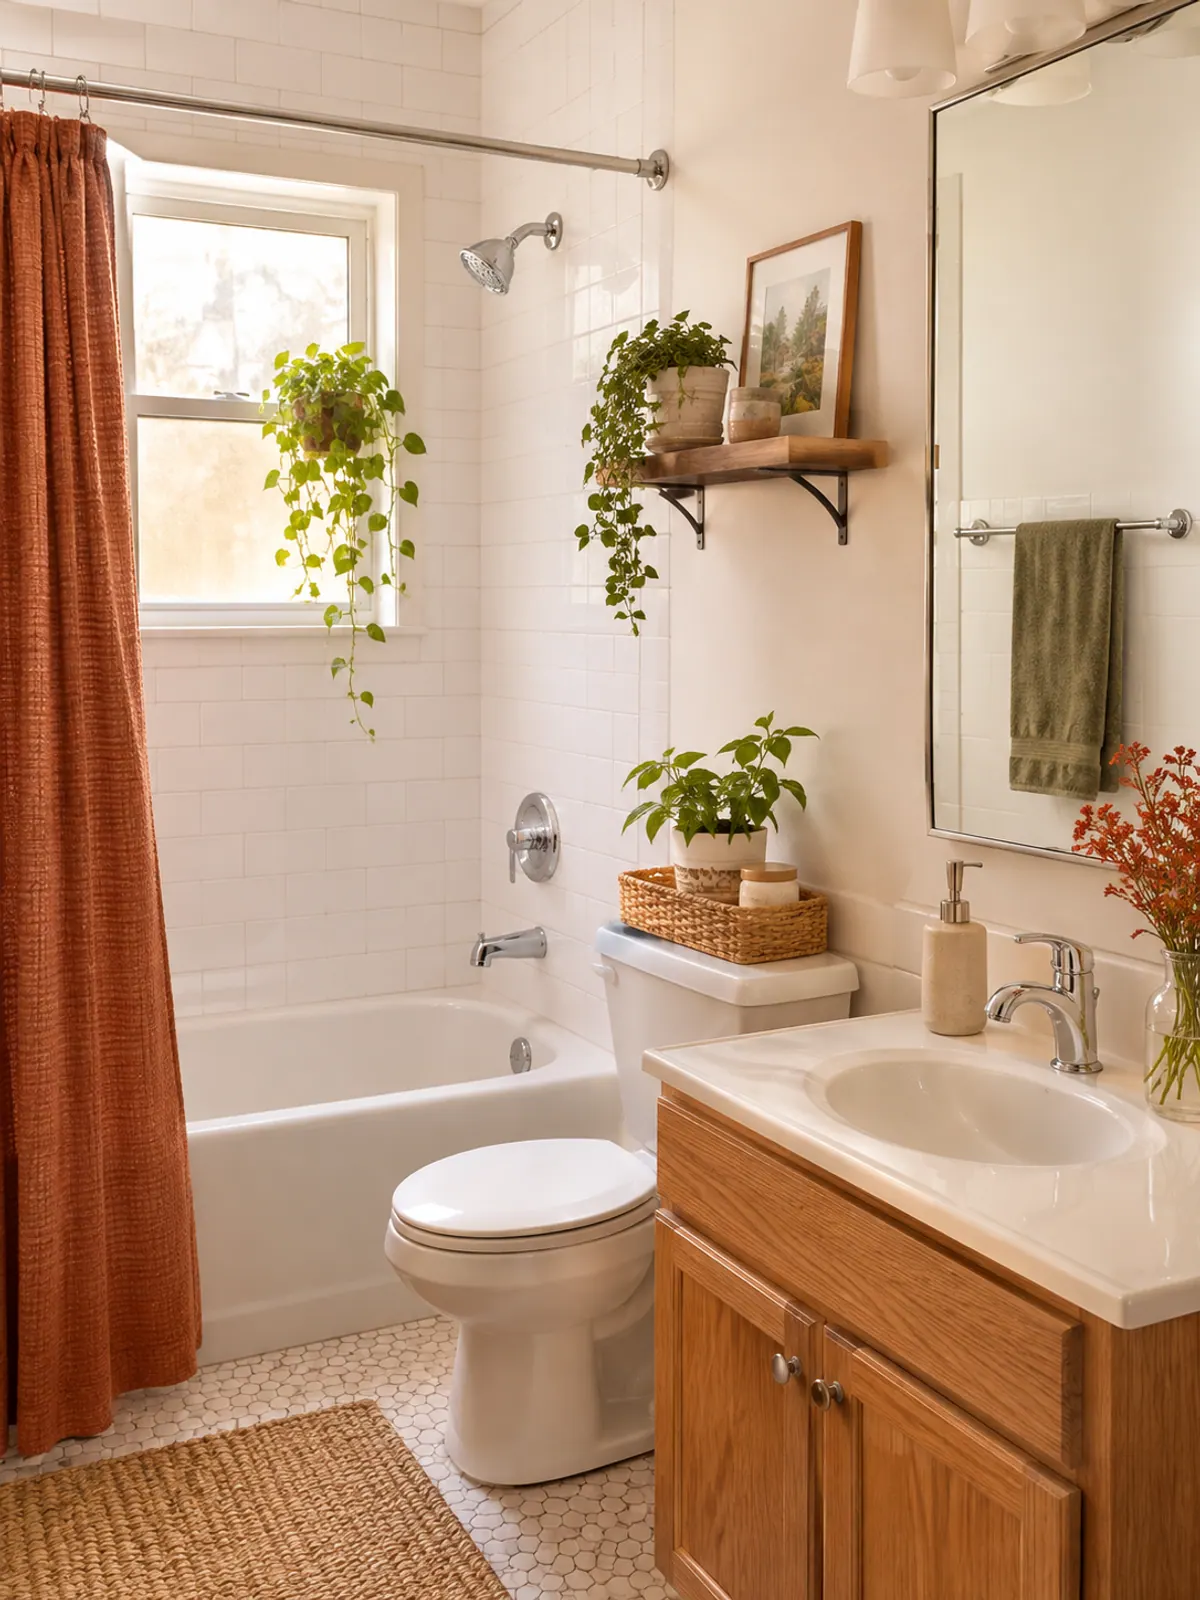
| Bathroom | Toilet, tub or shower and drain, sink and mirror, vanity inside, exhaust fan cover | Wide shot, then tub, toilet and sink |
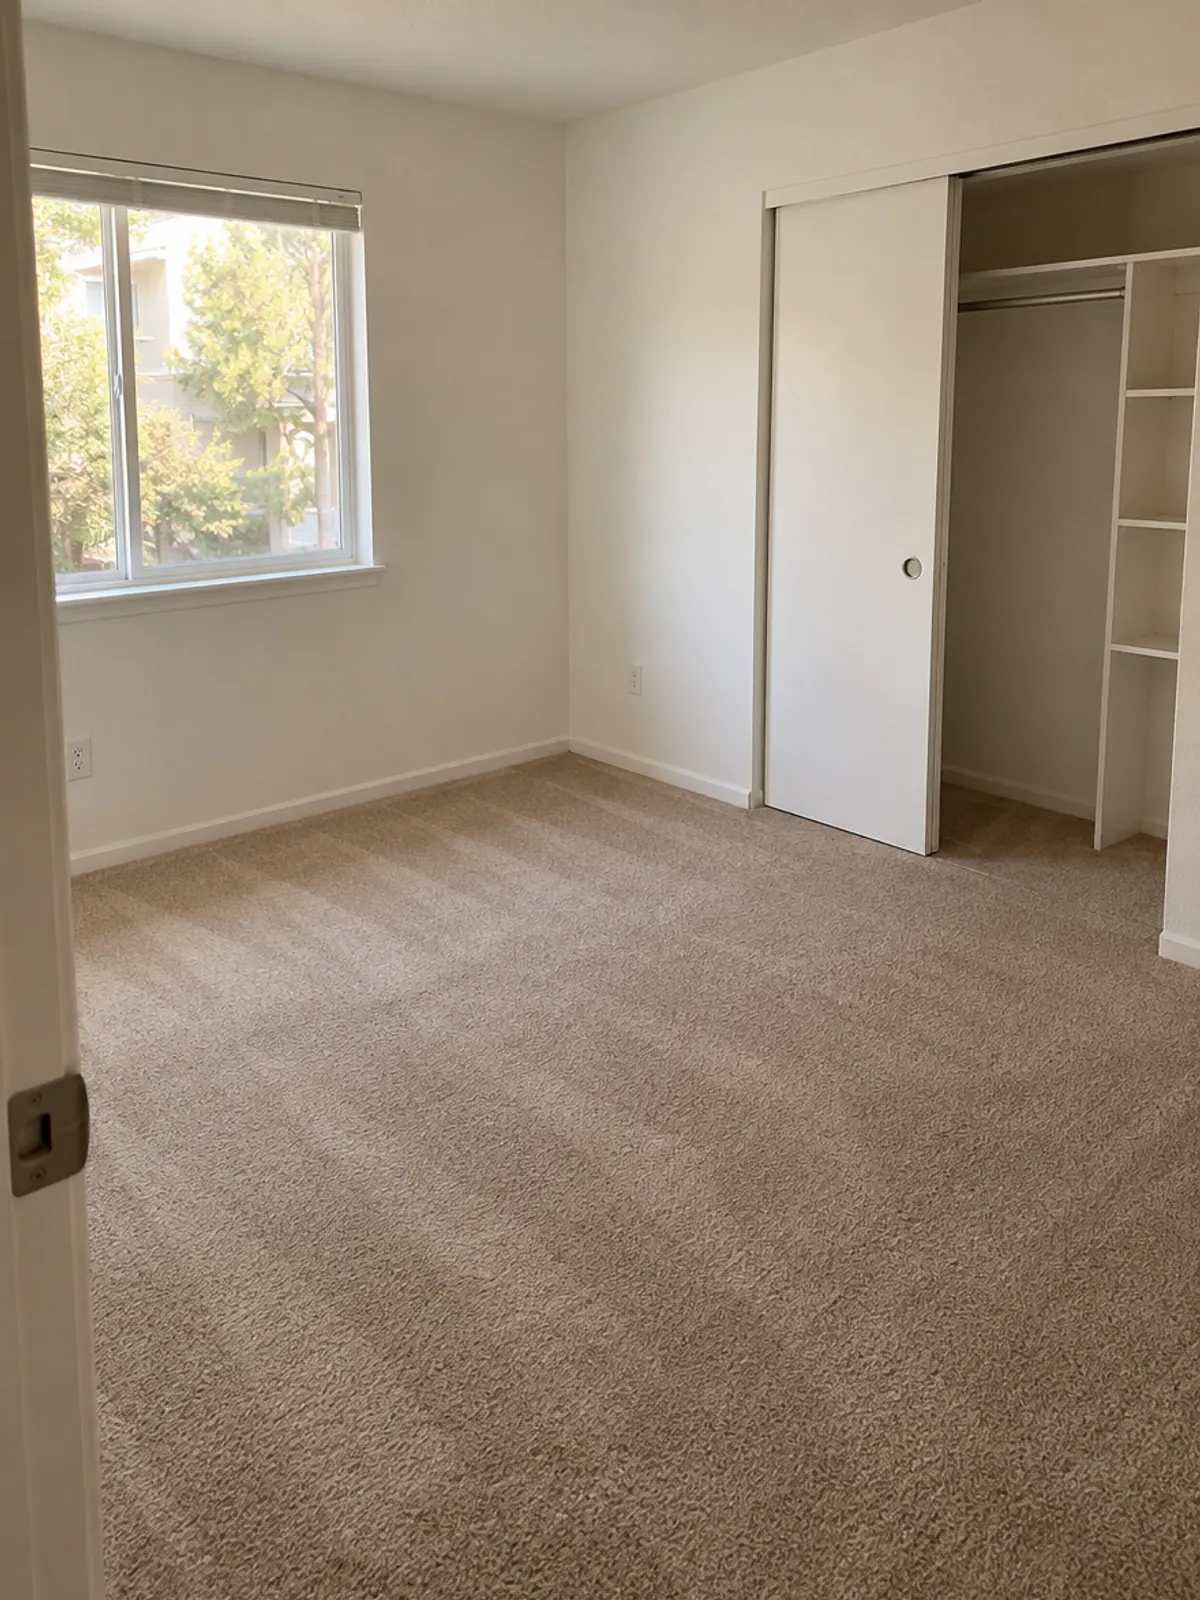
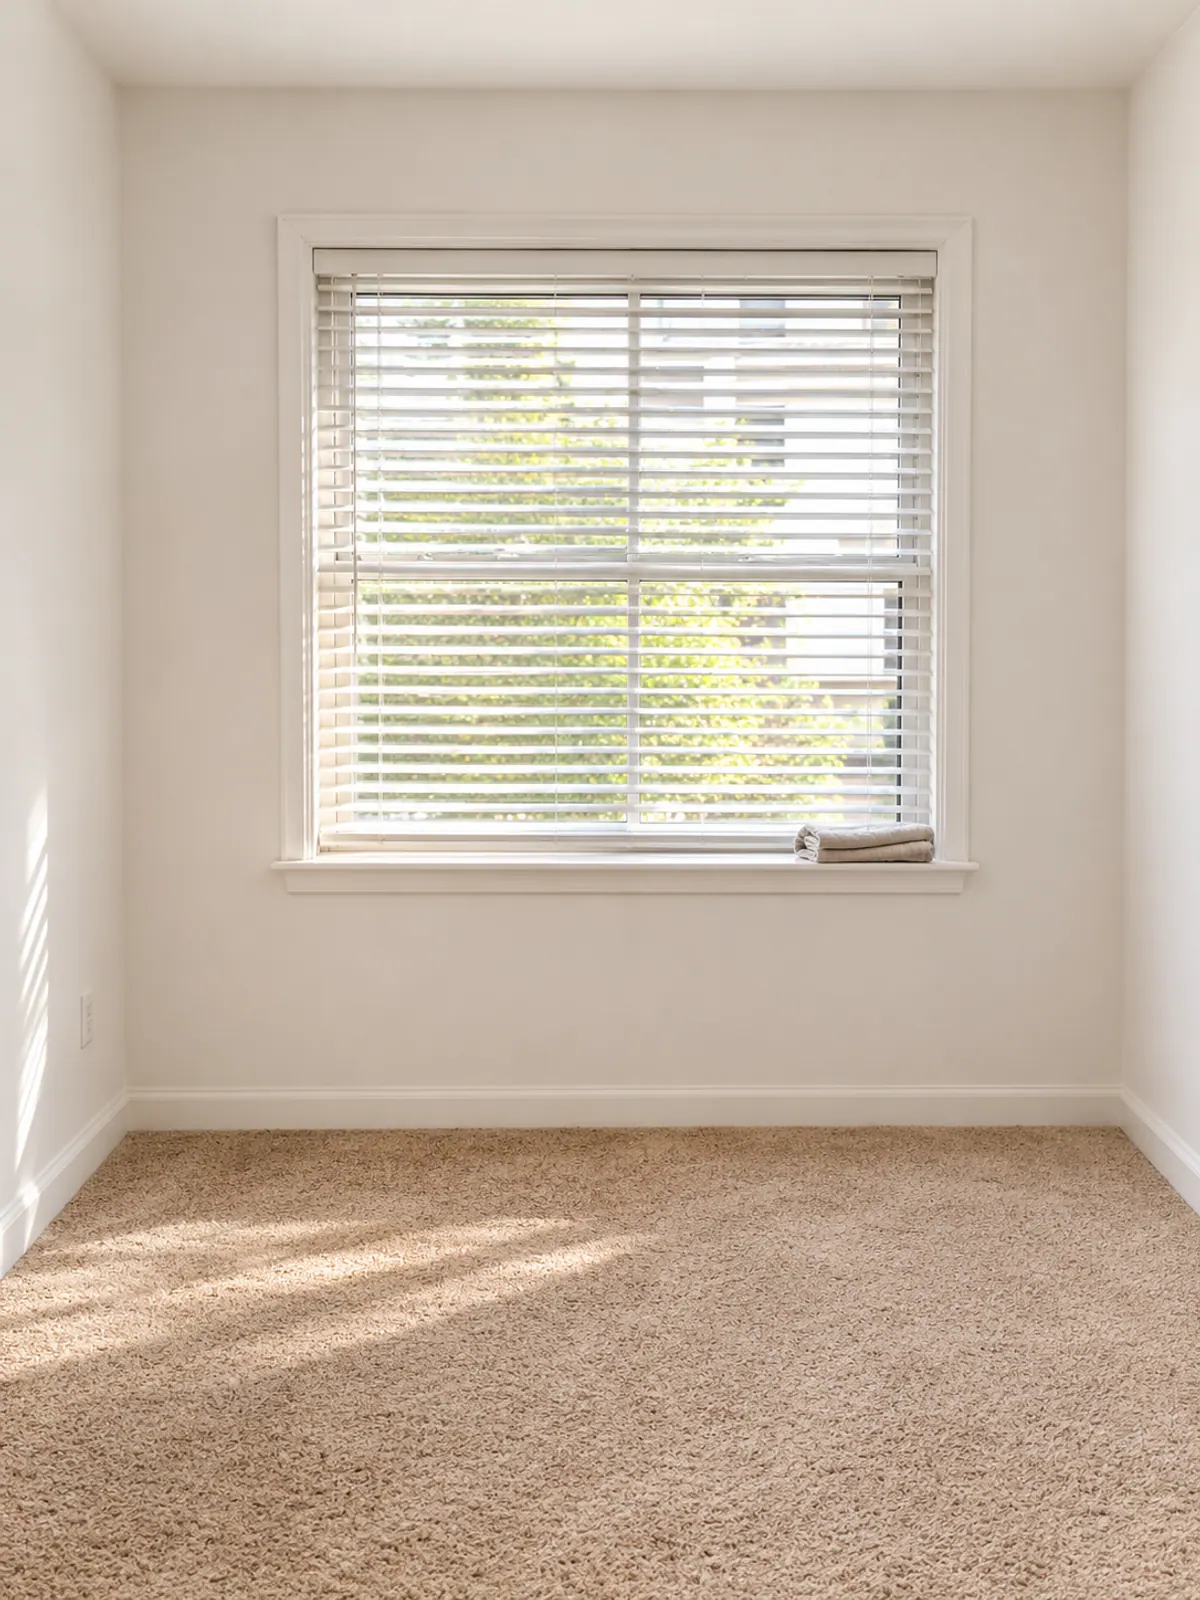
| Bedrooms and closets | Closet shelves and rods, switch plates, baseboards, window sills and tracks, blinds | Wide shot from each corner, then each closet open |
| Living area and entry | Walls and door frames, baseboards, vents, windows, entry closet, balcony | Wide shot from two corners, then windows and entry closet |
| Whole apartment | Everything out, carpets vacuumed, hard floors mopped | One last wide shot of each room, from the doorway |
Twelve easy-to-miss spots to clean last
These are the jobs people tend to forget because they sit out of sight. They are our picks, not a list from any landlord, so add anything your lease names.
Easy-to-miss spots (tick them as you clean)
The photos to take after you clean
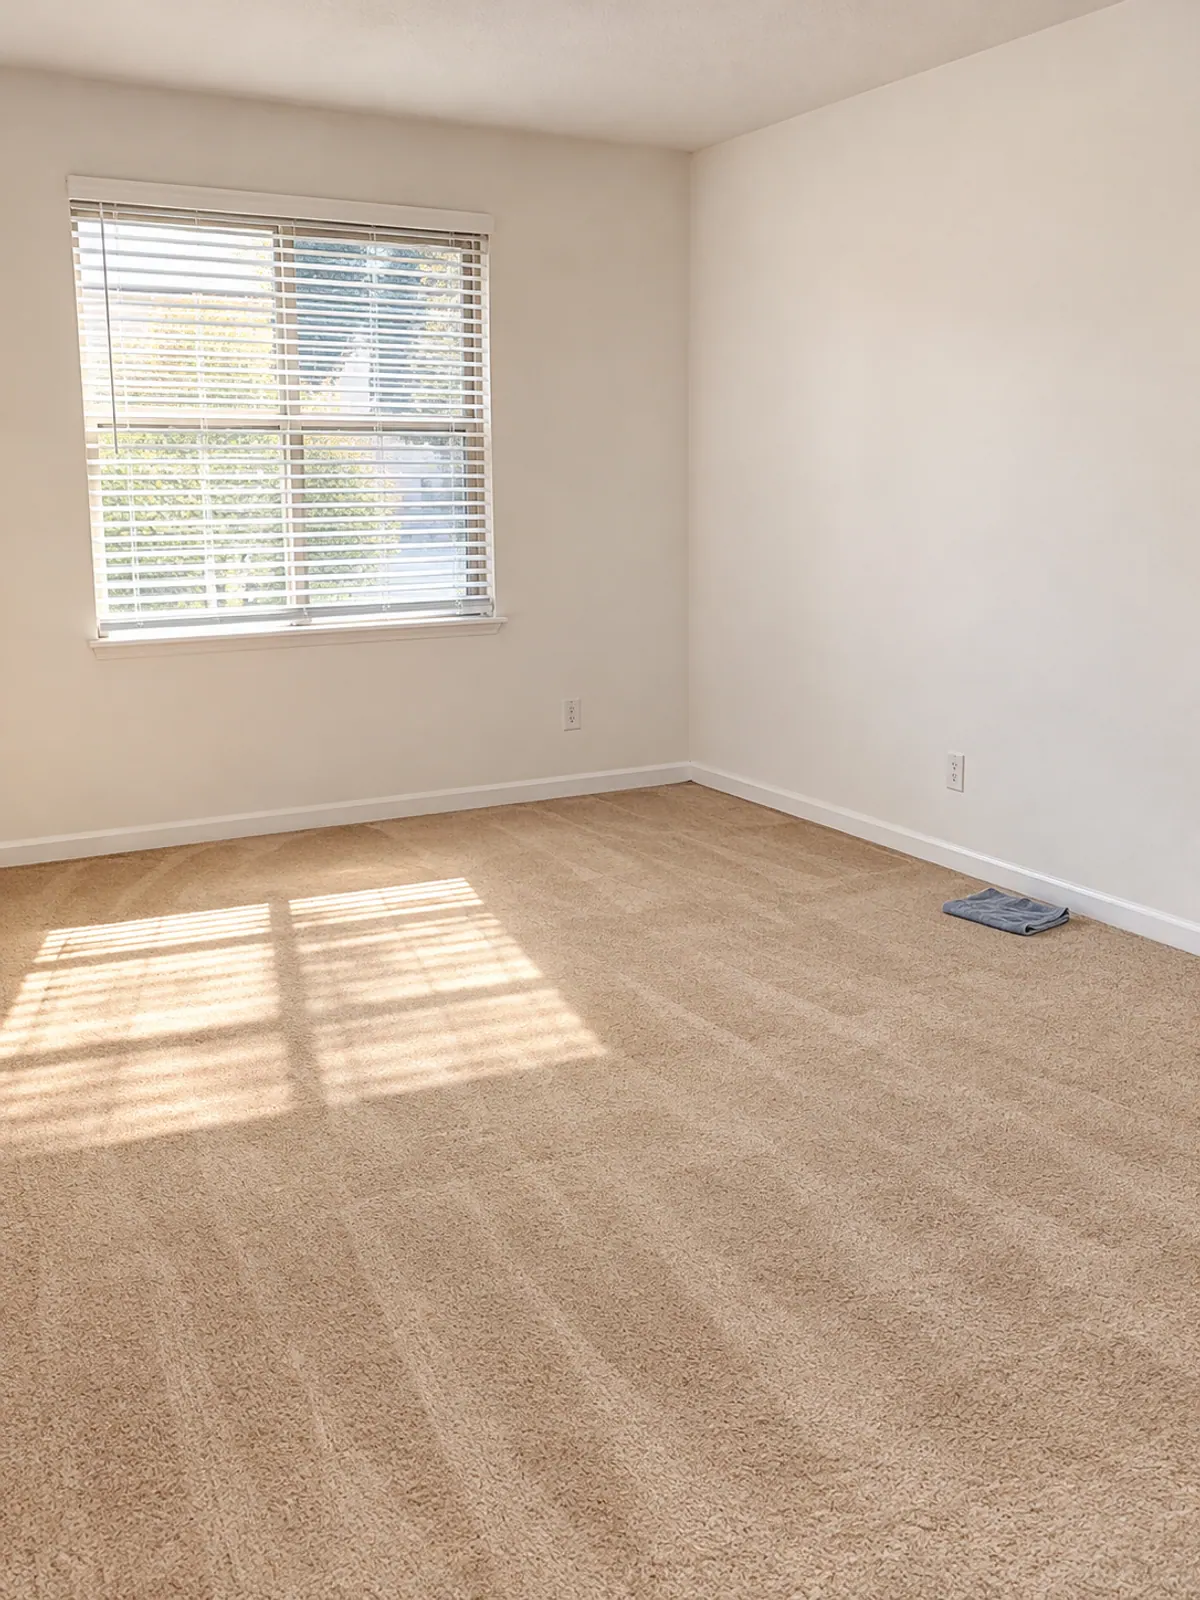
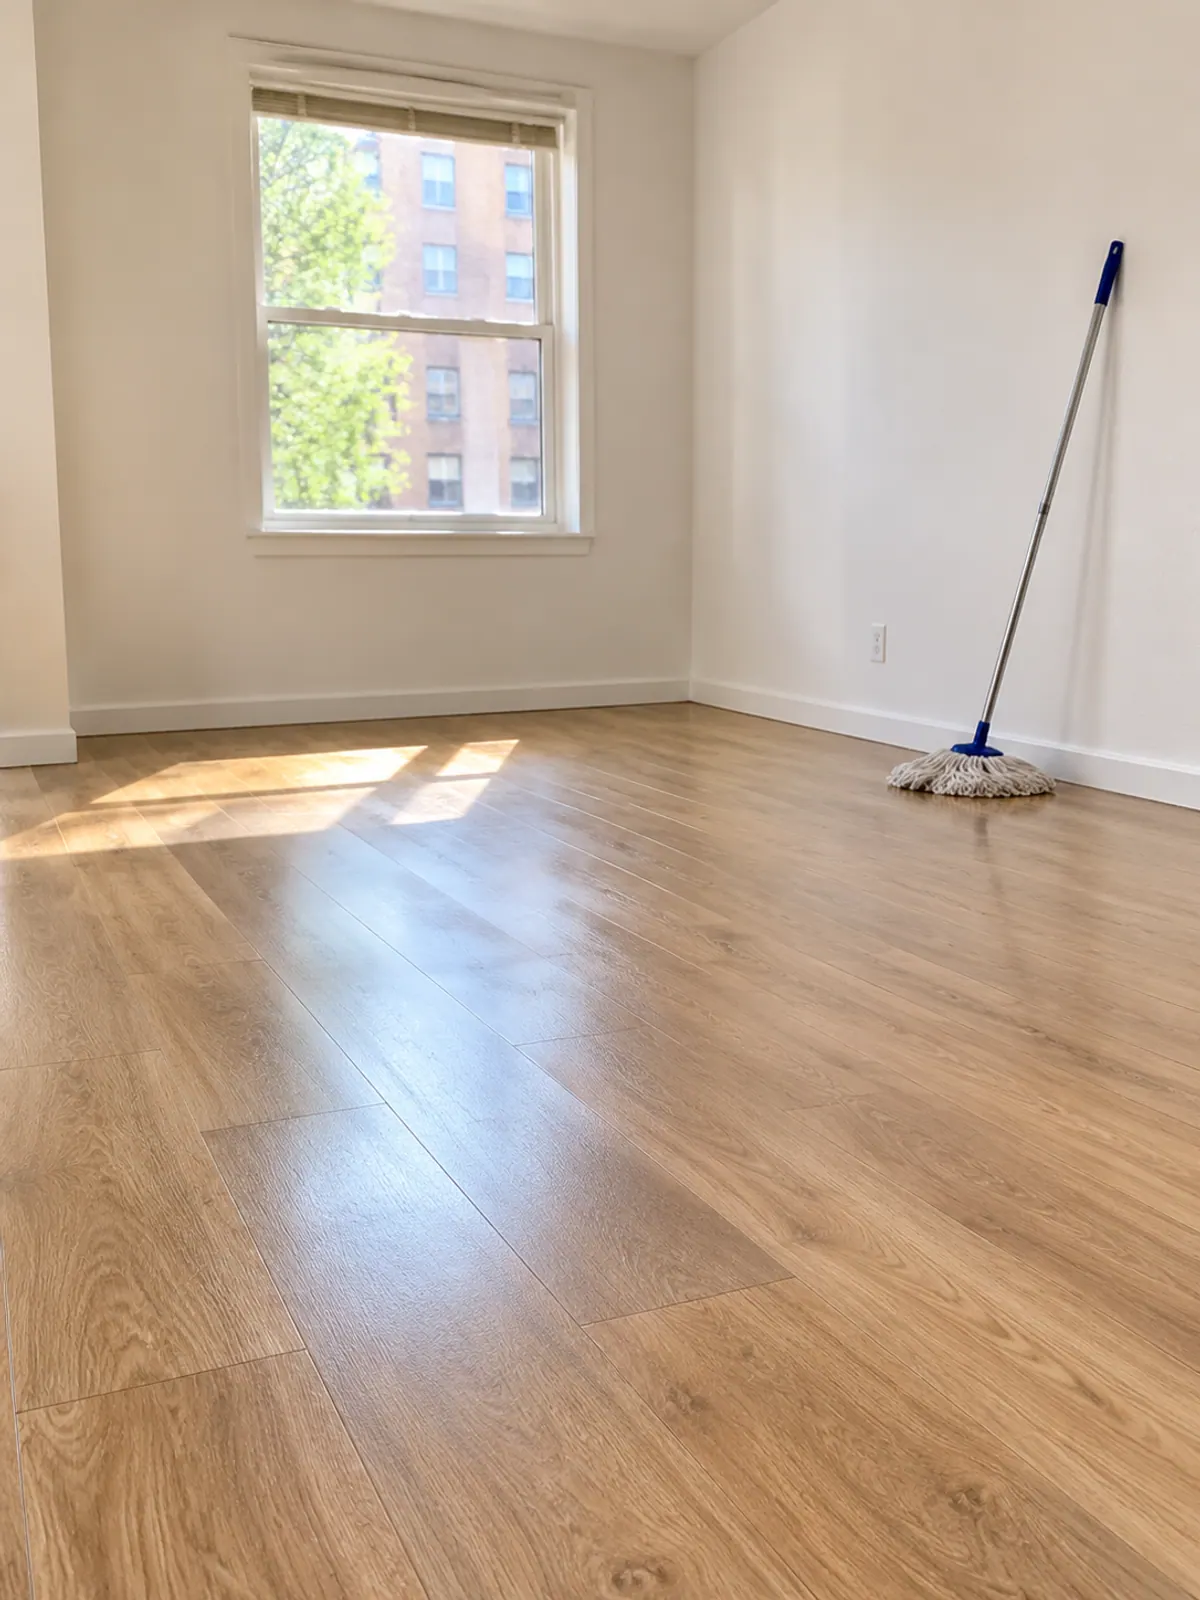
The photos are the part most checklists leave out. Hemlane's security deposit guide for tenants advises you to take dated pictures of every room from multiple angles before you leave. Take them after you finish cleaning, with the lights on and the blinds open, so they show the apartment as you handed it back.
-
Step 1: One wide shot from the doorway
Stand in the doorway of each room and take one photo that shows the whole room, floor included.
-
Step 2: One from each corner
Turn around and photograph the room from the opposite corner, so every wall is covered.
-
Step 3: Close photos of the problem spots
Oven interior, fridge interior, tub and drain, sink, closet shelves, and any mark or damage that was there before you moved in.
-
Step 4: Keys and fobs
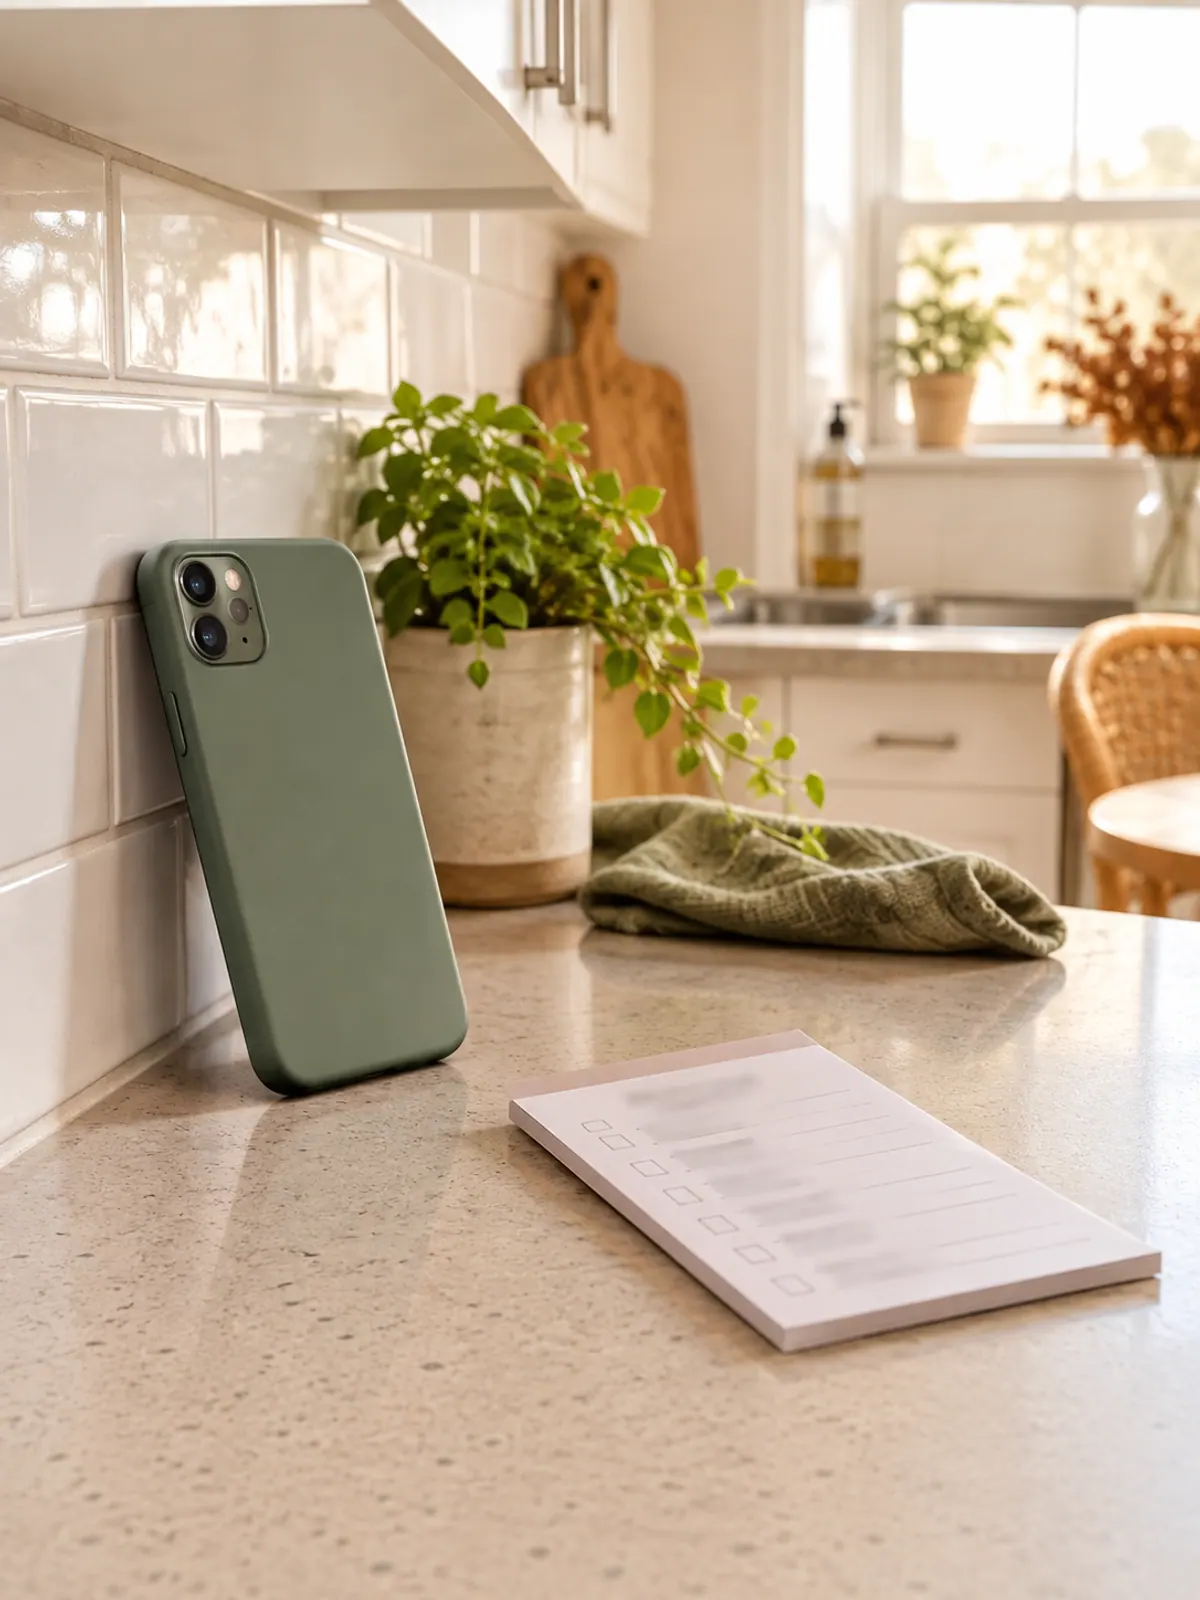
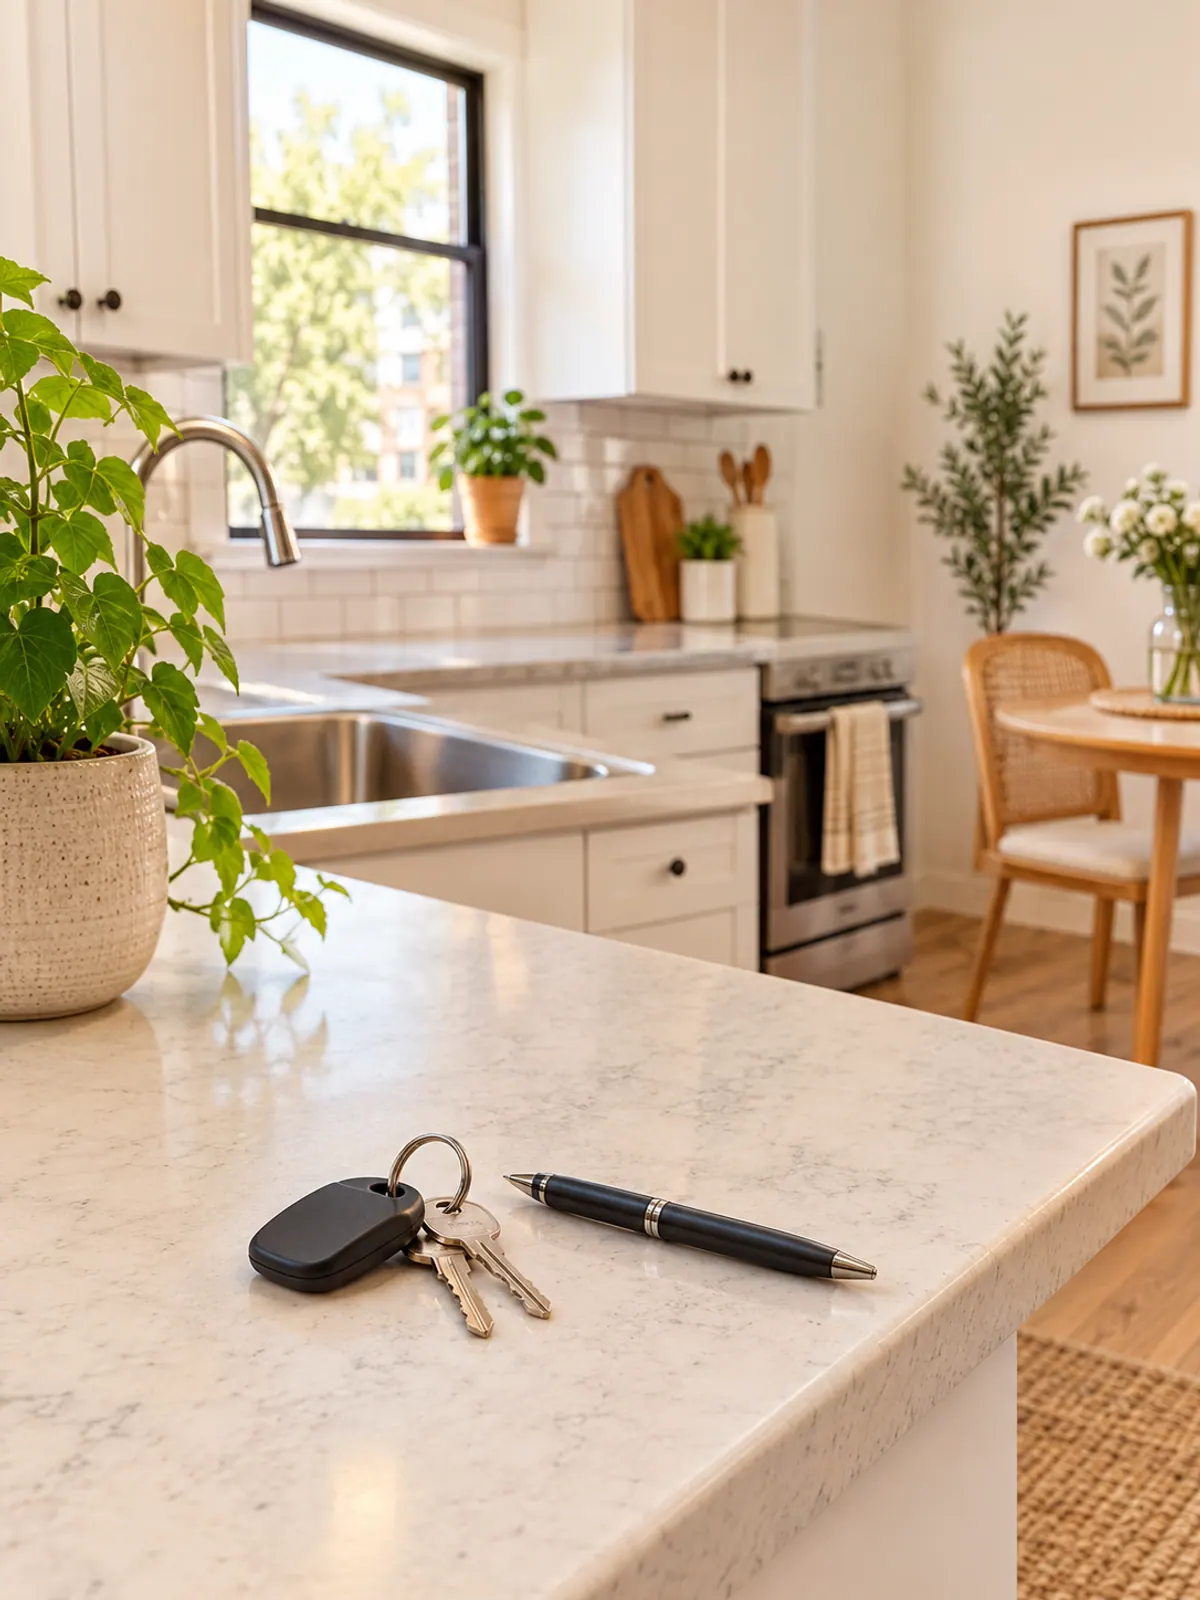
Photograph every key, fob and remote you are returning, laid out together.
-
Step 5: Write the number on the checklist
Note the photo number in the checklist's last column and on the photo log, so each task has a picture.
For a one-bedroom apartment that comes to about 30 photos by our estimate: kitchen 8, bathroom 5, bedroom 6, living area 6, closets and entry 3 and keys 2. Most phones store the date and time in the file details, so check yours, and keep the original files rather than screenshots.
Before you hand back keys
The last box on the checklist is short. Hemlane's guide also recommends you schedule a joint walkthrough with your landlord to point out the condition of the place, and to ask for a full accounting of any deductions. Check each of these before the day you give the keys back:
Key return day
Hemlane's guide says return deadlines for a security deposit usually range from 14 to 60 days depending on the state, and lists New York at 14 days, California at 21 and Illinois at 45. Your state may differ, so look up yours and write the date next to the key return on page 2. The same guide says a landlord cannot deduct from the deposit for minor damage from normal use, and gives light scuffs and nail holes from hanging pictures as examples of normal wear. Whether and how to fill nail holes is a question for your landlord and your lease, so ask before you start.
If your move-in photos are missing, the comparison sheet in the Move-In Move-Out Deposit Kit ($6) is where you write down what each room looked like then and now, side by side.
Splitting the clean with a roommate
If you share the apartment, split by room rather than by task, so each person owns the photos for their rooms. One easy split is that one person takes the kitchen and the other takes the bathroom, then you swap for the bedrooms and meet for the floors. That is our suggestion, not a rule. Print one checklist and keep one photo log, so nothing is cleaned twice and nothing is missed. The roommate chore chart has a fair way to divide the work.
Cleaning supplies for a move out clean
Prices are rough ranges and change. We have not tested these hands-on; see our disclosure.
Move out cleaning helpers
-
Cleaning caddy with handle
Typically $10 to $25
Carries every spray and cloth from room to room in one trip.
Check price on Amazon for Cleaning caddy with handle -
Microfiber cloth multipack
Typically $10 to $20
Wipe counters, mirrors and tubs without leaving lint.
Check price on Amazon for Microfiber cloth multipack -
Melamine cleaning sponges
Typically $6 to $15
Good for scuffs on walls and door frames. Test a small hidden spot first.
Check price on Amazon for Melamine cleaning sponges -
Long-handled scrub brush
Typically $8 to $18
Reaches tub corners and grout without kneeling in the bath.
Check price on Amazon for Long-handled scrub brush
Your next step
Print the free checklist and clean the kitchen first. If you want the move-in versus move-out comparison, the photo log and a four-week timeline to go with it, the Move-In Move-Out Deposit Kit ($6, 16 pages) has them. If you want the whole rental in one place, the Renter's Home Binder ($10, 31 pages) holds your lease, rent log and repair requests, and the Whole Apartment Bundle ($17, 120 pages) includes the kit along with the rest of our planners.
Frequently asked questions
What should I clean when I move out of an apartment?
Work through every room: the fridge, oven, microwave, cabinets and sink in the kitchen, the toilet, tub, sink and mirror in the bathroom, closets, baseboards, windows and blinds in the other rooms, and the floors last. The free checklist on this page lists each task with a photo column.
Do I have to deep clean my apartment when I move out?
Some leases say how clean the unit must be when you leave, and the wording differs, so read the move-out section of your lease and ask your landlord for their move-out list. This page is general guidance, not legal advice.
When should I take photos when moving out?
After you finish cleaning each room, with the lights on and the blinds open, and before you hand back the keys. Hemlane's tenant guide advises dated pictures of every room from multiple angles.
How many photos should I take when moving out?
Enough to show every room and the problem spots. By our estimate a one-bedroom apartment comes to about 30 photos, plus the keys. Keep the original files in two places.
How long does a landlord have to return a security deposit?
It depends on the state. Hemlane's guide says deadlines usually range from 14 to 60 days and lists New York at 14, California at 21 and Illinois at 45. Look up your own state and city, and check your lease.
Can a landlord charge for nail holes or normal wear?
Hemlane's guide says landlords cannot deduct from the deposit for minor damage from normal use, and gives light scuffs and nail holes from hanging pictures as examples. Rules differ by place, so ask your landlord about nail holes before you fill them.
Save it for later
Pin this to your Small-Space Living board so it's there when you need it.
Save to Pinterest