This post contains affiliate links. As an Amazon Associate we earn from qualifying purchases, at no extra cost to you. Read our disclosure.
Key takeaways
- Count back 8 weeks from the day your keys are due, and write the real dates beside each week.
- Give notice and send your forwarding address in writing, and keep a copy of both.
- Photograph every room when you move in and again when you move out, with dates.
- Clean after the furniture is out, top to bottom and back to front, and finish with the floors.
- This timeline is free. The printable deposit kit is a paid 16-page PDF at $6, and it is not legal advice.
- Deposit rules and deadlines vary by state and city, so check your lease and local rules.
In this post9 sections
- The 8-week moving timeline for renters
- Weeks 8 to 6: dates, declutter and supplies
- Weeks 5 to 3: pack, change your address and document the walls
- Weeks 2 and 1: repairs, cleaning plan and the last pack
- Move-out cleaning order and key return day
- After the move: first week and your deposit
- Your first 30 days in the new apartment
- Moving supplies for renters
- FAQ
Disclosure: some links below are Amazon search links, and we may earn a small commission if you buy. It costs you nothing, and we have not tested these products hands-on.
Most moving checklists are written for people who own a house. A renter has a lease, a landlord and a deposit riding on the last day, so this one runs on a different clock: the dates that matter for the deposit are built into the weeks, not tacked on at the end.
The 8-week moving timeline for renters
| Weeks out | Focus | What to do | Deposit step |
|---|---|---|---|
| 8 | Dates and paperwork | Read your lease for the notice period and move-out rules, then give notice in writing the way it asks. Book movers or a truck. | Find your move-in photos and condition report, or photograph today's condition if you have none. |
| 7 | Declutter | Sort into keep, sell, donate and toss. The fewer boxes, the cheaper the move. | Keep every email with your landlord in one folder. |
| 6 | Supplies | Collect boxes, tape, markers and furniture sliders. Make a labeling system. | Buy spackle and a putty knife if you hung anything on the walls. |
| 5 | Pack the rarely used | Off-season clothes, books, wall art, spare linens. Label every box by room. | List every nail hole and wall mark, with the room. |
| 4 | Utilities and address | Schedule utility stop and start dates. Change your address with the post office, banks, insurers and employer. | Send your landlord your forwarding address in writing and keep a copy. |
| 3 | Pack the main rooms | Kitchen and living room, leaving one week of dishes and basics. Check parking or elevator rules for move day. | Ask how the final walkthrough works and request a date. |
| 2 | Repairs and cleaning plan | Patch small holes if your lease allows it. Write the cleaning list by room and buy supplies. | Photograph repaired walls with the date. |
| 1 | Essentials and last checks | Pack a first-night box, empty and defrost the fridge, confirm movers. | Photograph every room once more as you empty it. |
| Move day and after | Move, clean, return keys | Clean room by room, check closets and drawers, take final photos, return keys. | Keep the receipt for the key return, then follow up on the deposit. |
Dates are the part everyone gets wrong, so write the real calendar dates next to each week the day you set your move date. Count back from the day your lease ends or your keys are due, not from the day the truck arrives. Rules about notice and deposits differ by state and city, so use the lease and your local rules for the exact deadlines.
Weeks 8 to 6: dates, declutter and supplies
-
Step 1: Week 8: read the lease and give notice
Find the move-out clause in your lease. Look for how much notice it asks for, whether it must be in writing and where to send it, then give notice that way and keep a copy.
Book your mover, truck or helpers now, because Friday and end-of-month slots go first. Make a folder, paper or digital, called Move, and put the lease, the notice and every landlord email in it.
-
Step 2: Week 7: sort before you pack
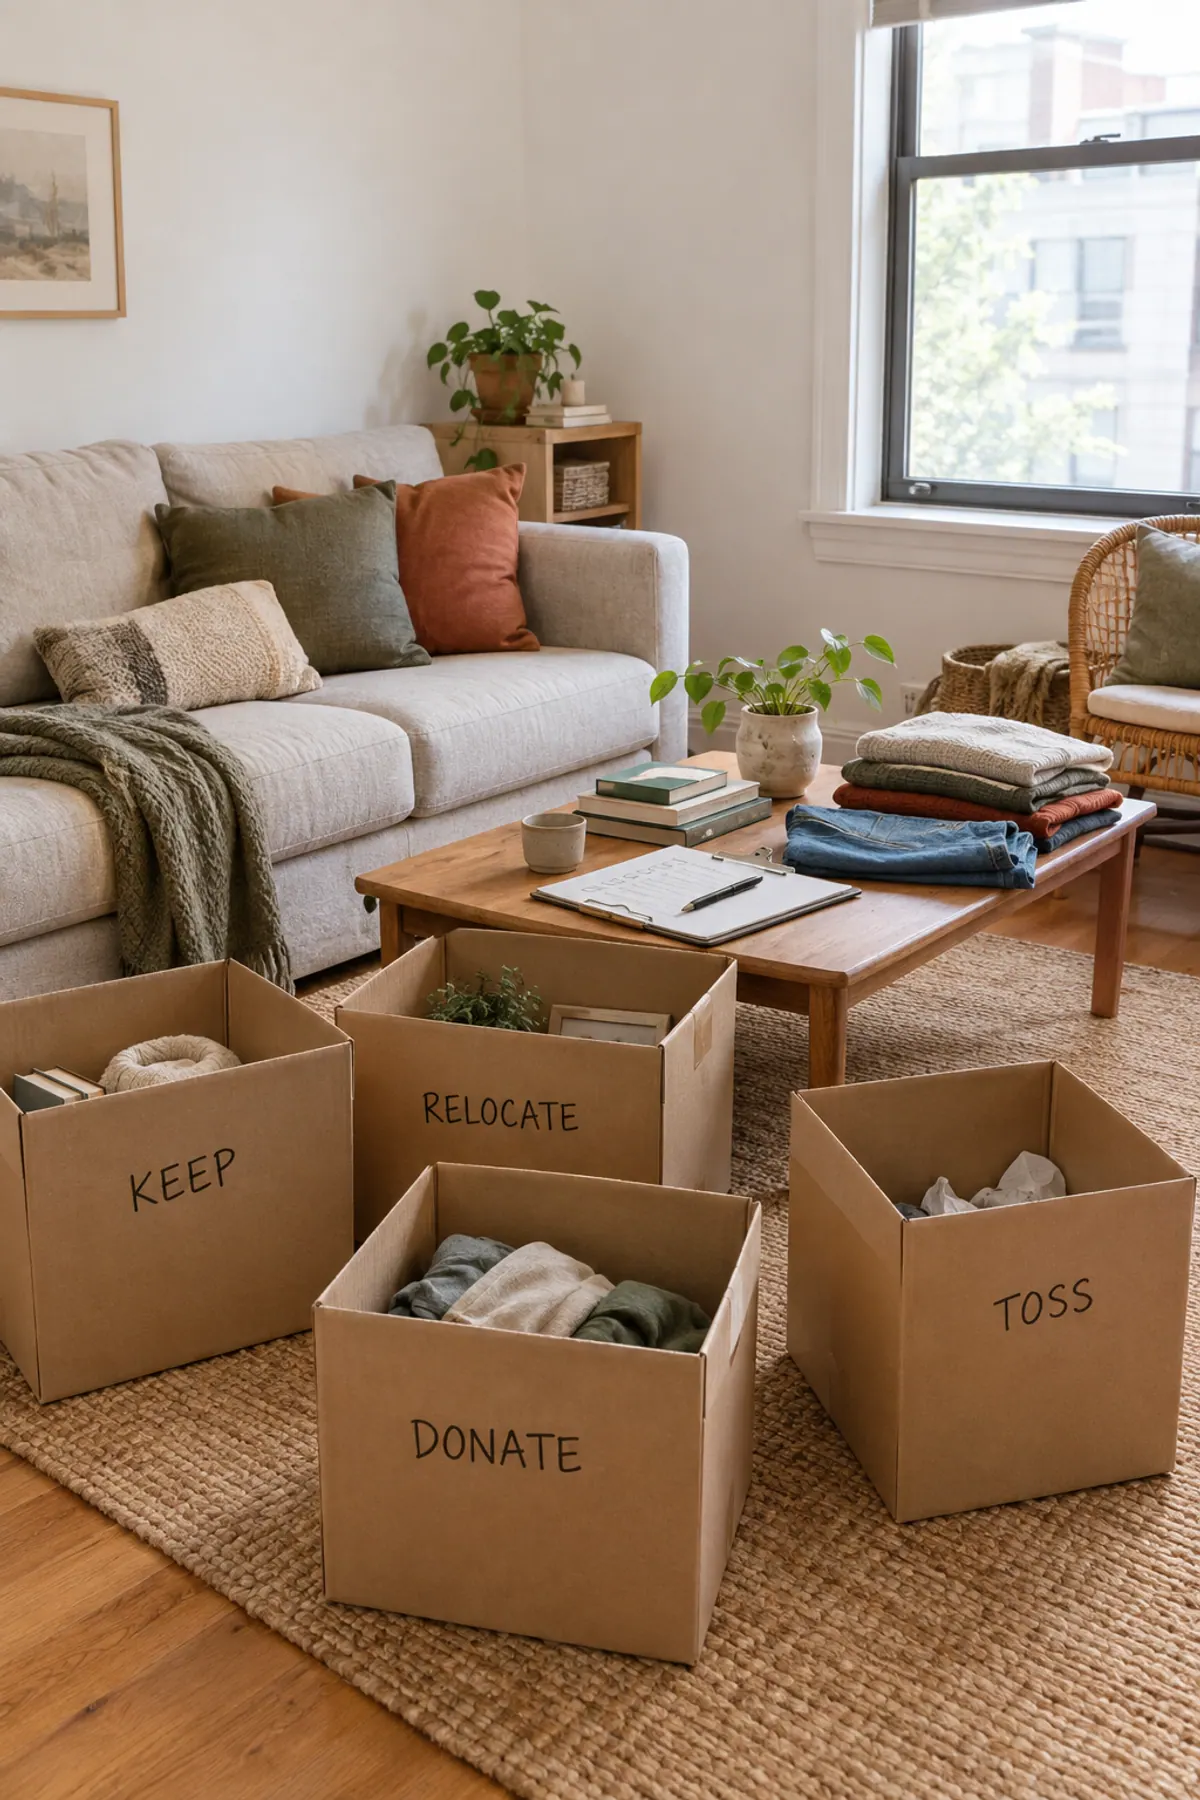
Pack only what you will use in the new place. Make four piles: keep, sell, donate, toss, and drop the donate bag at a charity this week so it leaves the apartment.
If you want a method for the sort, our minimalist declutter checklist settles most keep-or-go questions in a minute.
-
Step 3: Week 6: collect supplies
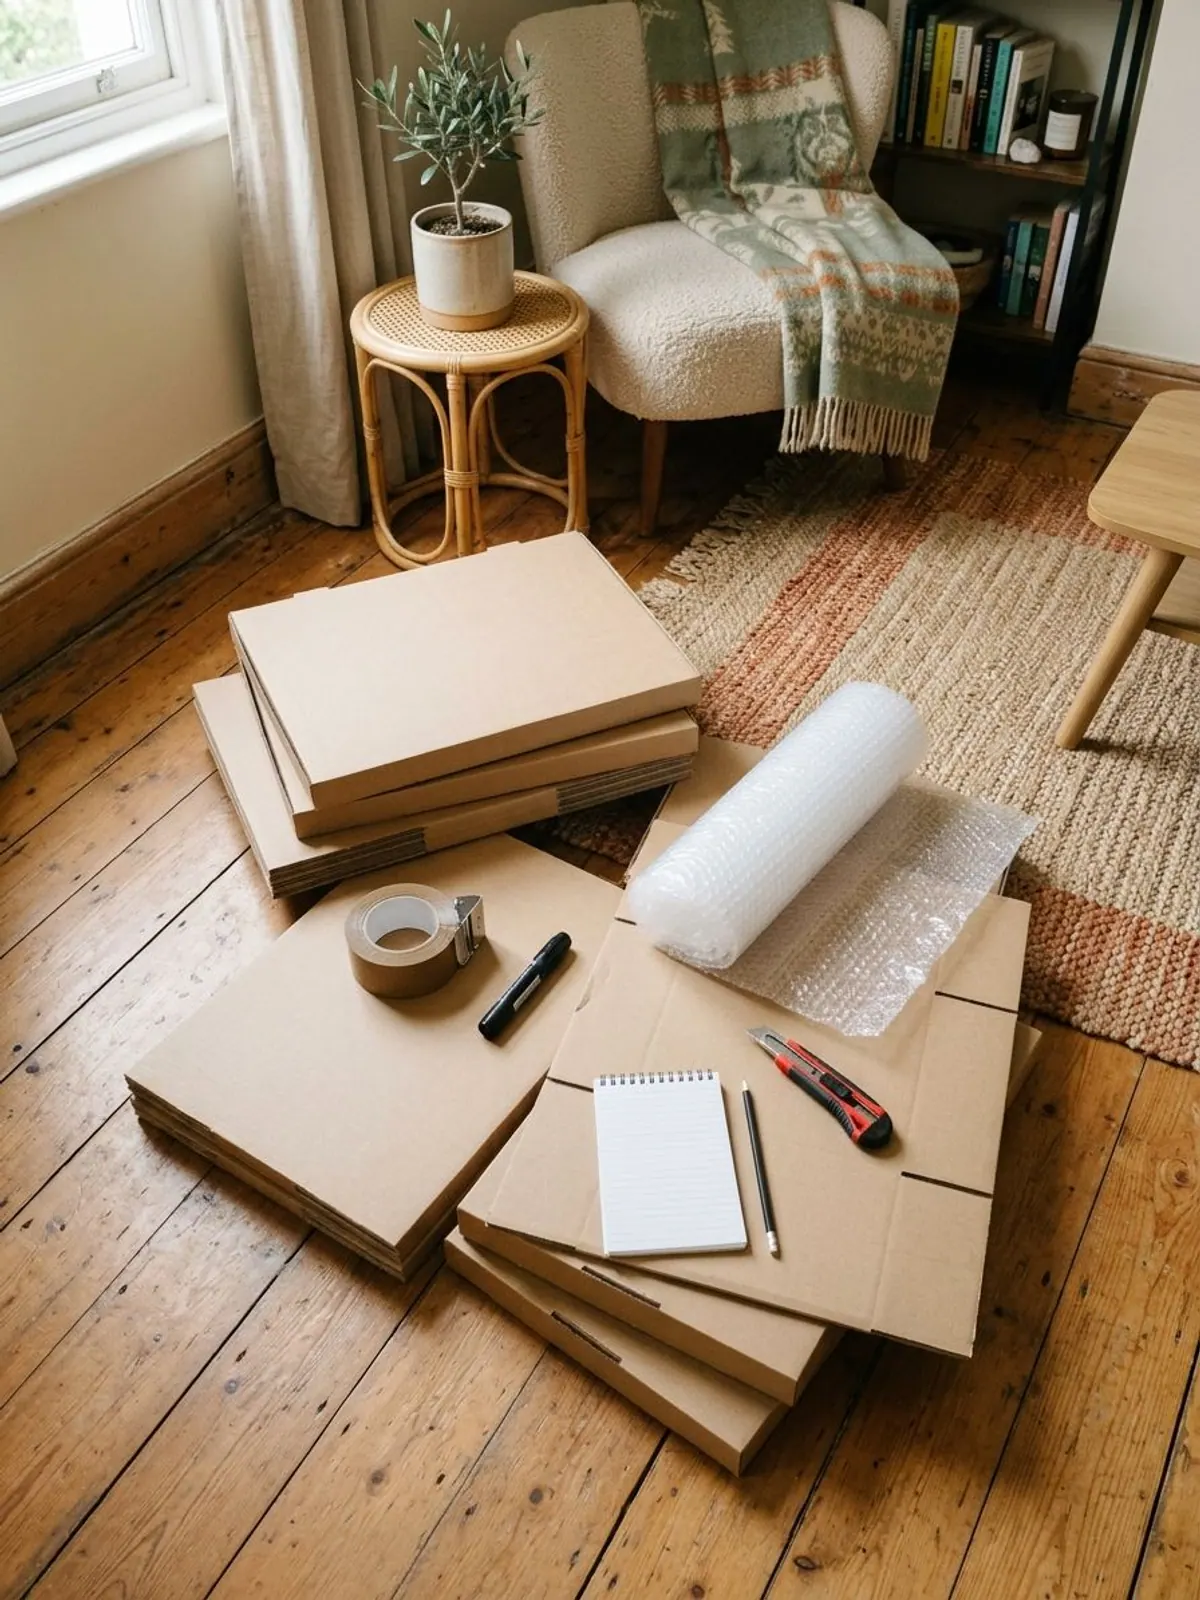
Order tape, markers and sliders, and ask a grocery or liquor store for sturdy free boxes. Use small boxes for books and dishes and large ones for linens, so no box is too heavy to lift.
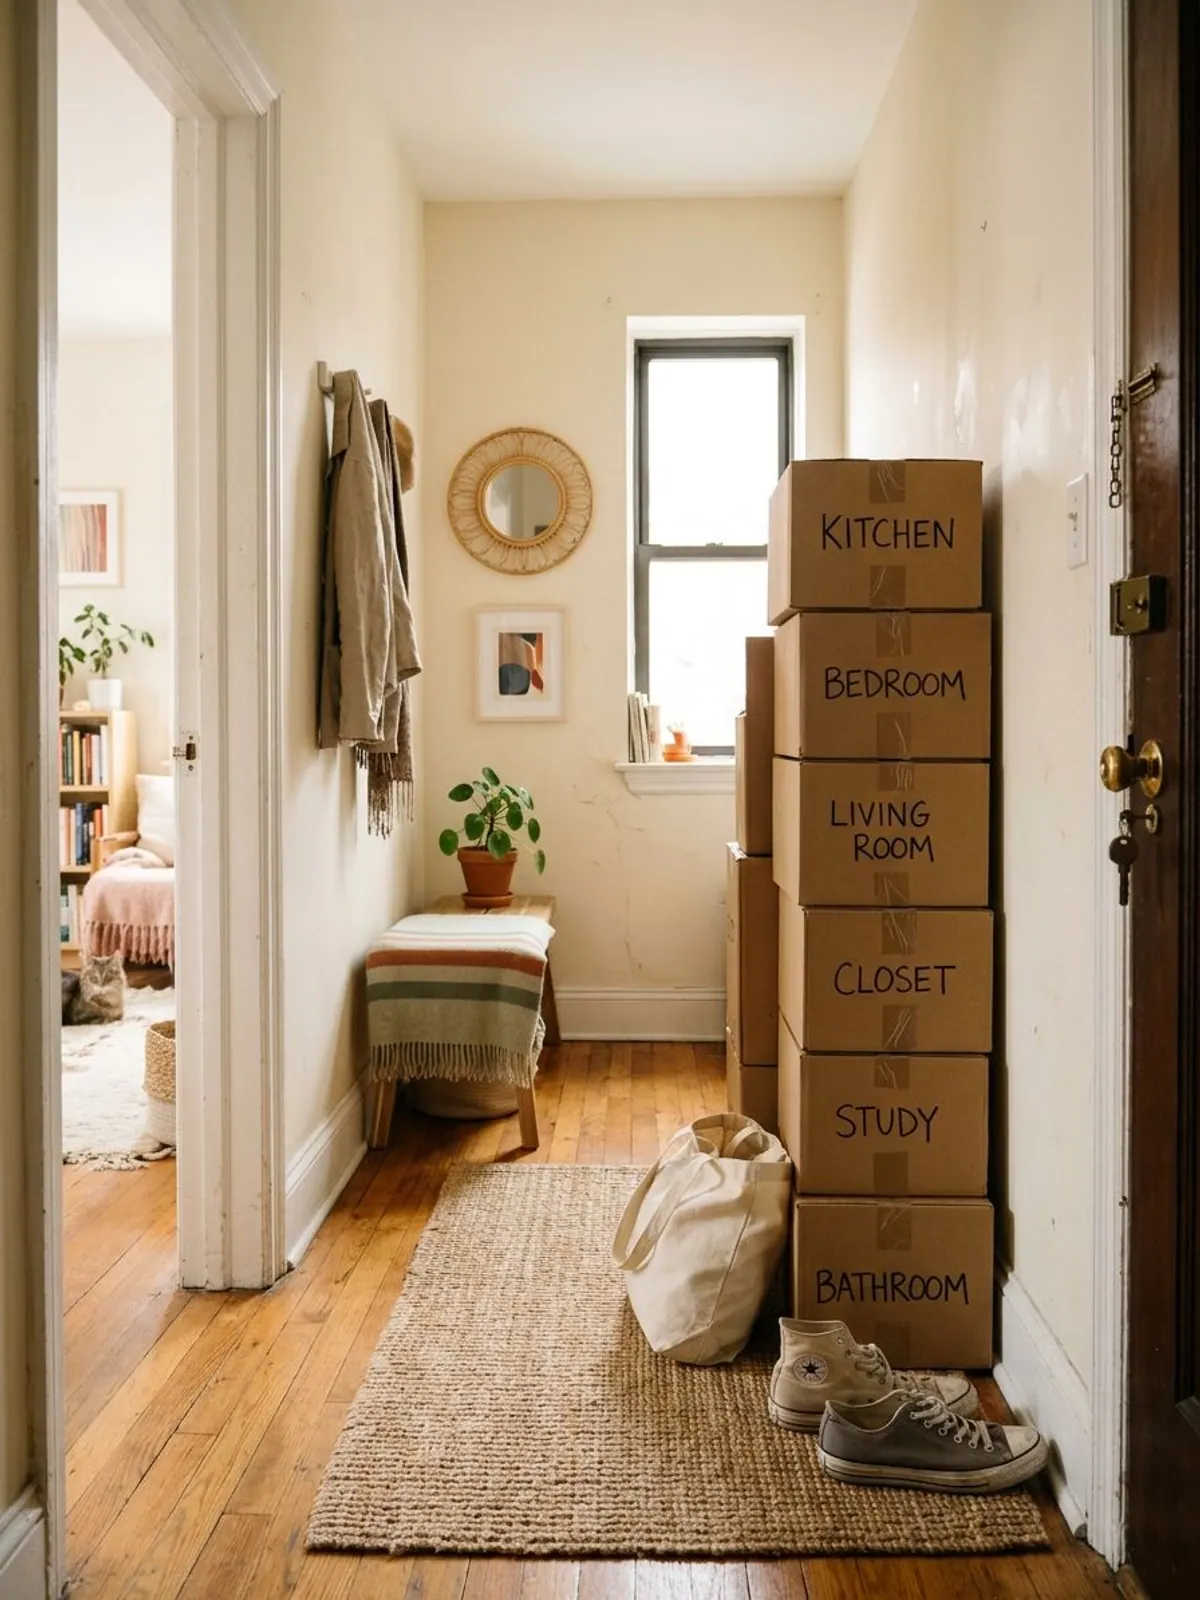
Pick a label system now: room name on two sides, plus a number so you can check the count when the truck unloads.
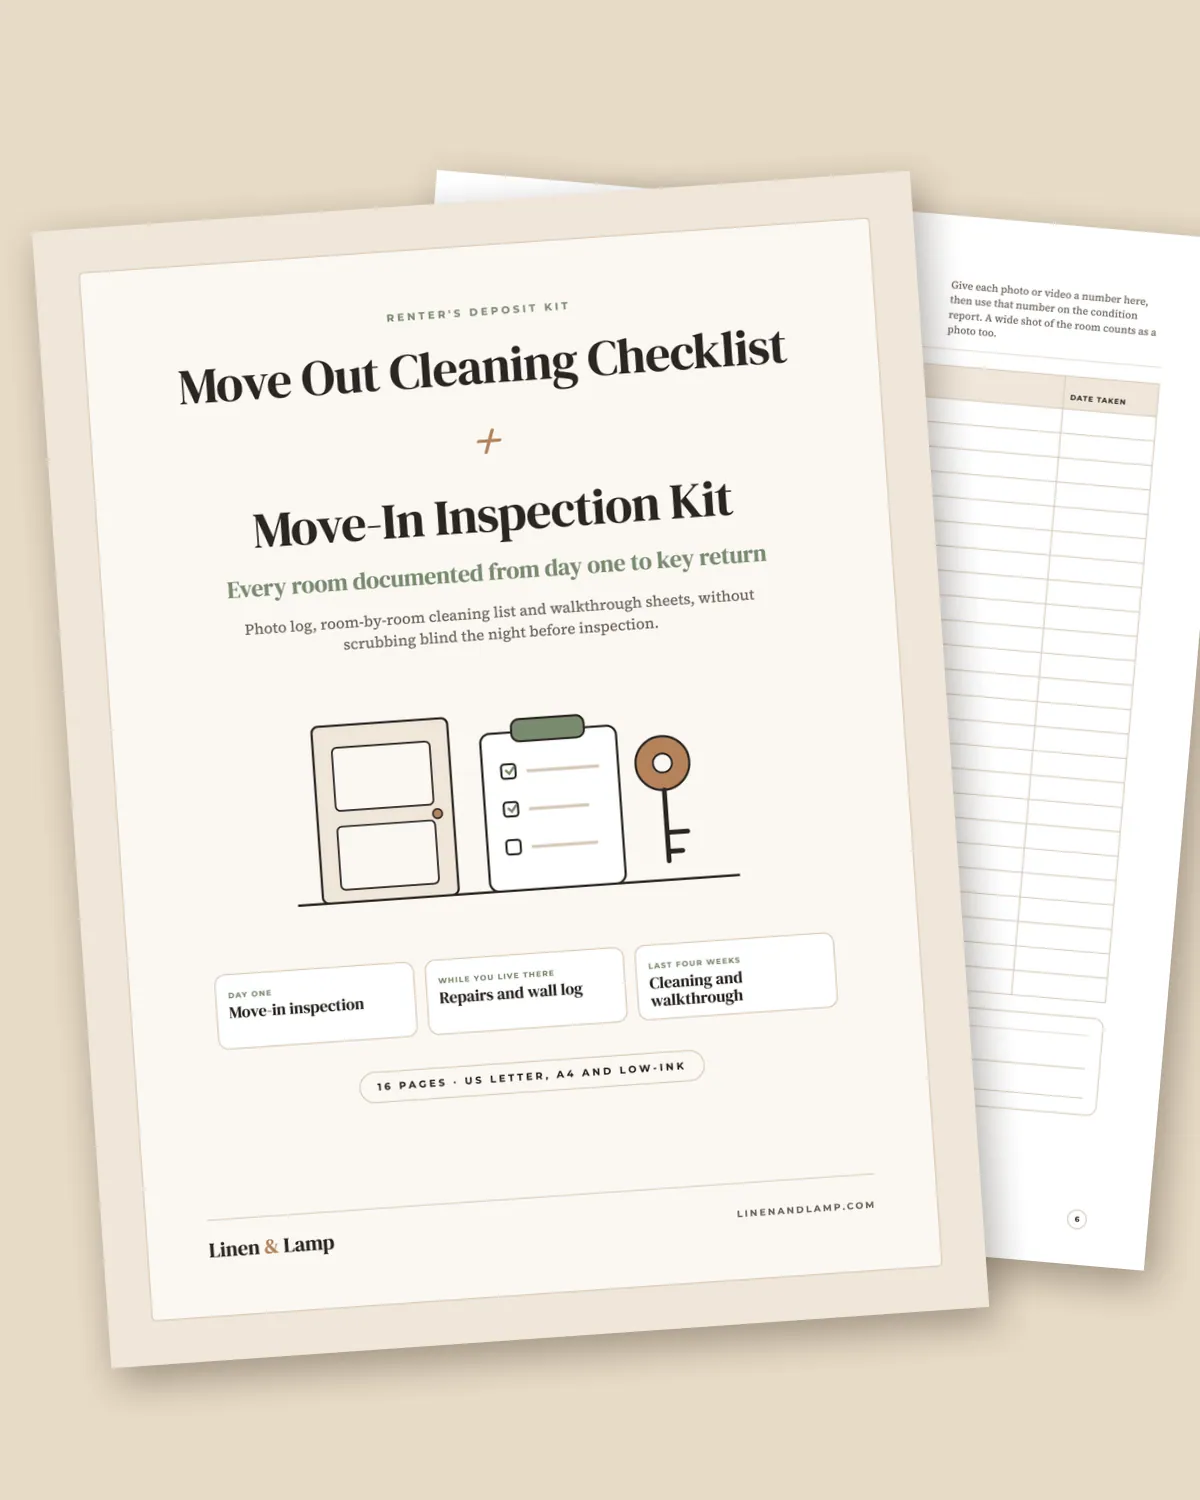
The timeline above is free. The printable that goes with it, the Move Out Cleaning Checklist + Move-In Inspection Kit, is a paid 16-page PDF at $6, and it is a documentation and cleaning tool, not legal advice. Everything below works without it.
Weeks 5 to 3: pack, change your address and document the walls
-
Step 1: Week 5: pack what you do not use and log the walls
Start with wall art, books, off-season clothes and decor. Take each frame down and note every hook and nail hole by room, so you know exactly what to patch.
More on hanging without leaving holes later: our no-drill floating shelves for renters guide covers the next apartment.
-
Step 2: Week 4: utilities, mail and your forwarding address
Call or log in to each utility with your last day and your next start date. Then change your address with the post office, your bank, your insurer, your employer and any subscription that ships to you.
Send your landlord your forwarding address in writing and keep a copy. It is one of the simplest ways to make sure the deposit paperwork can find you.
-
Step 3: Week 3: pack the main rooms and plan move day
Pack the kitchen and living room, but keep one week of plates, a pan and a towel set. Ask your building about elevator booking, parking spots and quiet hours, since some require a reservation.
Ask your landlord how the final walkthrough works and request a date. A booked walkthrough is a date you can plan the cleaning around.

Weeks 2 and 1: repairs, cleaning plan and the last pack
-
Step 1: Week 2: patch small holes and write the cleaning list
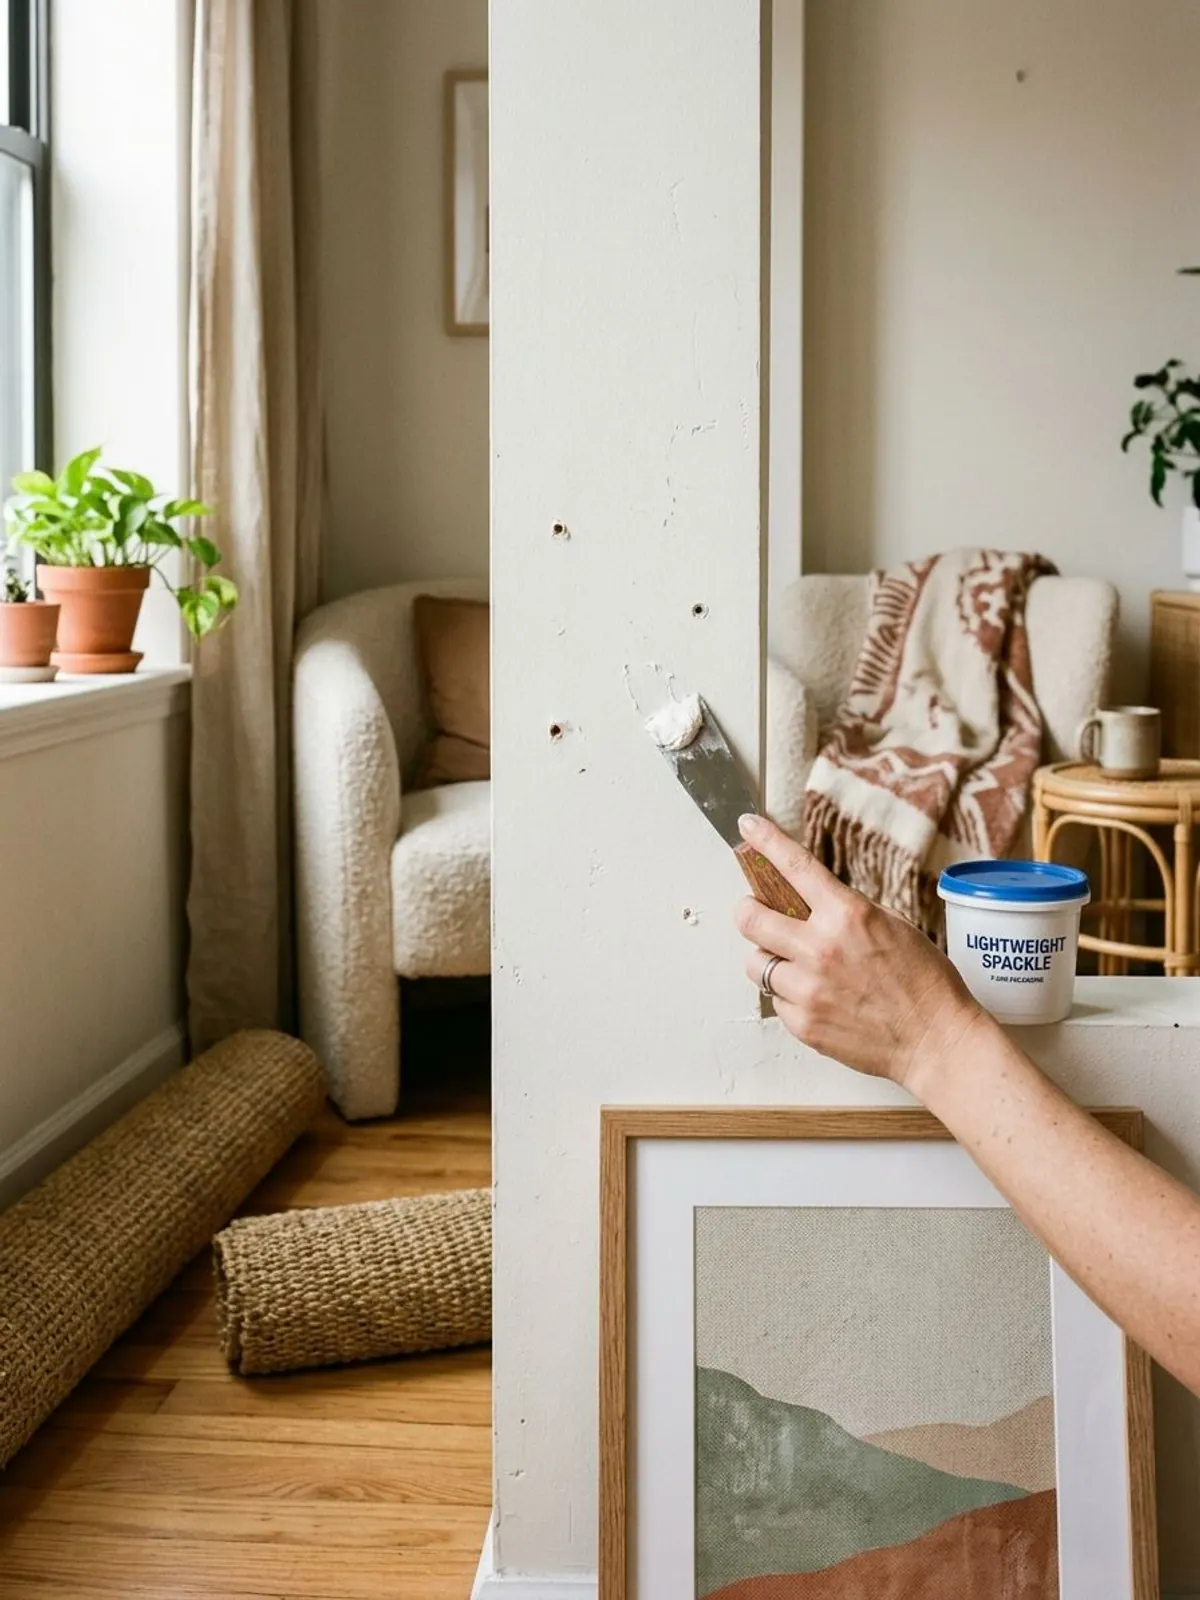
If your lease allows it, fill small nail holes with spackle, let it dry, sand it lightly and wipe the dust. Ask about touch-up paint first, because a patch that does not match can look worse than a small hole.
Then write the cleaning list by room. Kitchen: oven, fridge, cabinets, counters. Bathroom: tub, toilet, sink, mirror. Bedrooms and living room: floors, closets and window tracks.
-
Step 2: Week 1: first-night box, fridge and furniture protection
Pack a first-night box with sheets, a shower curtain, toilet paper, chargers and a few dishes. Empty and defrost the fridge a day ahead if you are bringing it.
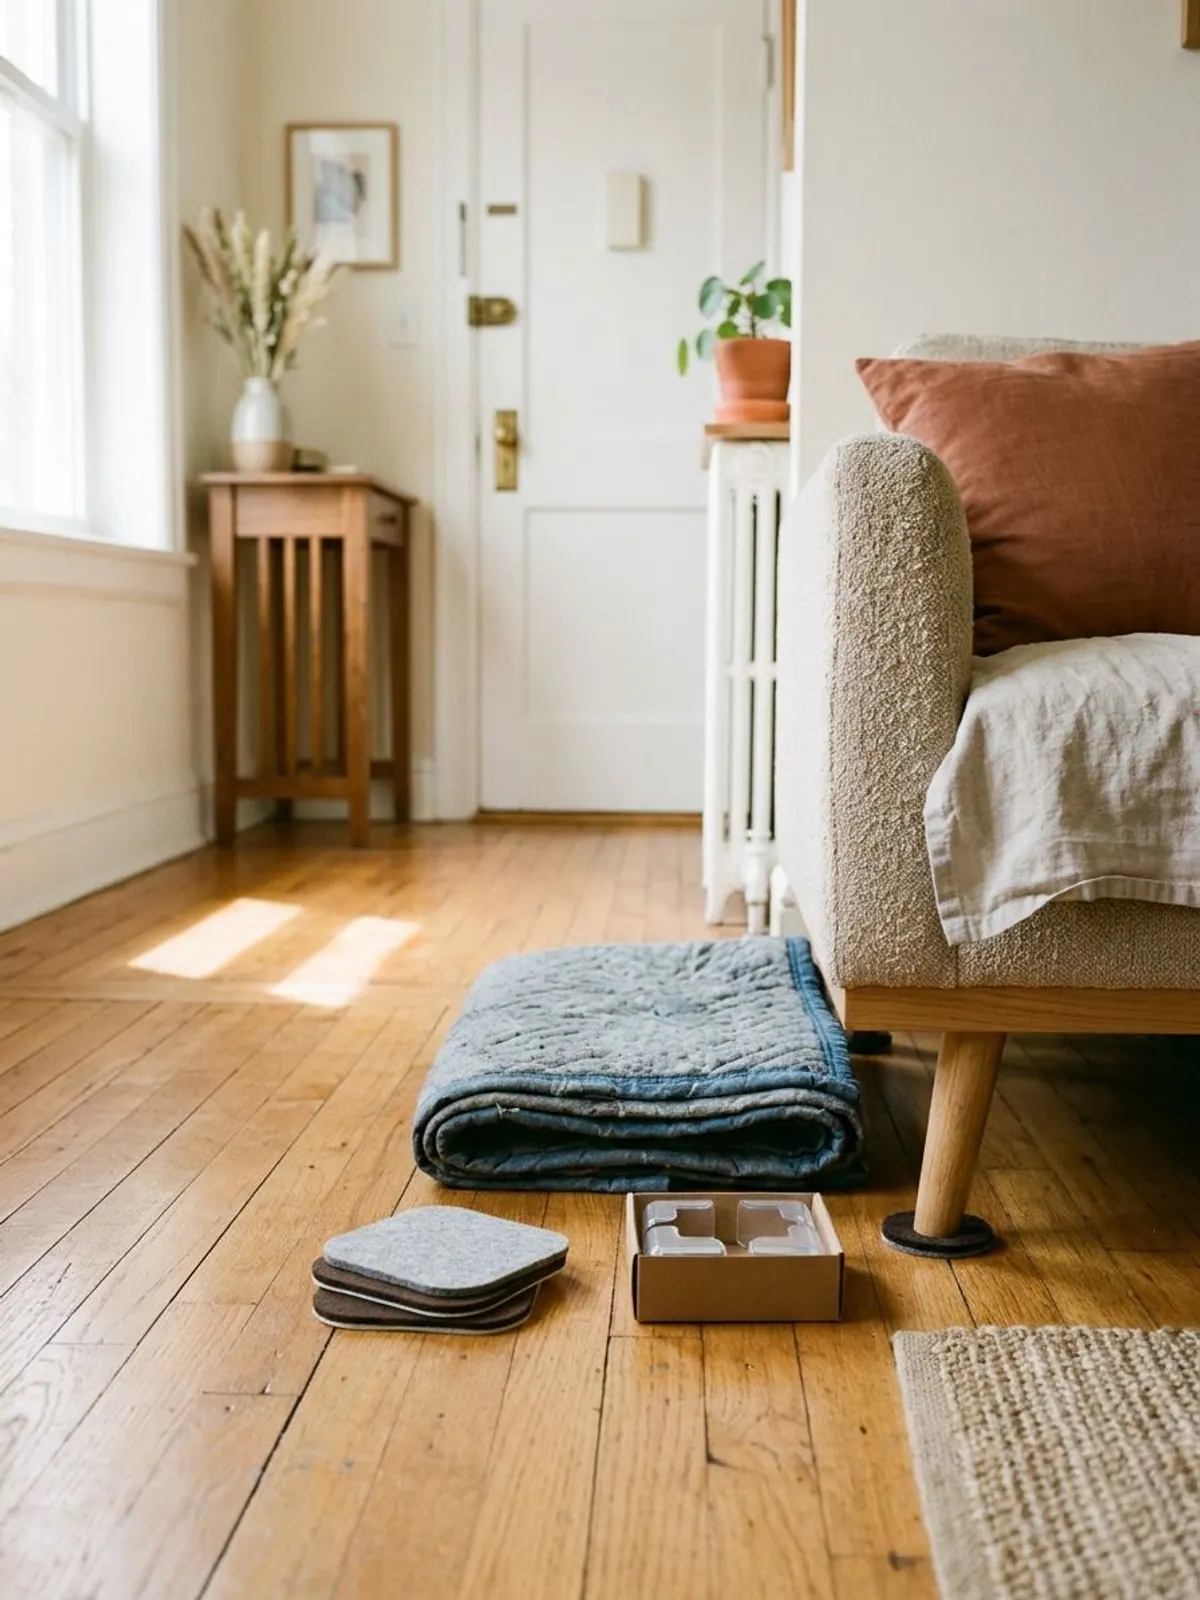
Lay felt sliders under heavy furniture and use corner guards so the walls, floors and doorframes get through move day intact. Our first apartment checklist helps you fill the next place.
Move-out cleaning order and key return day
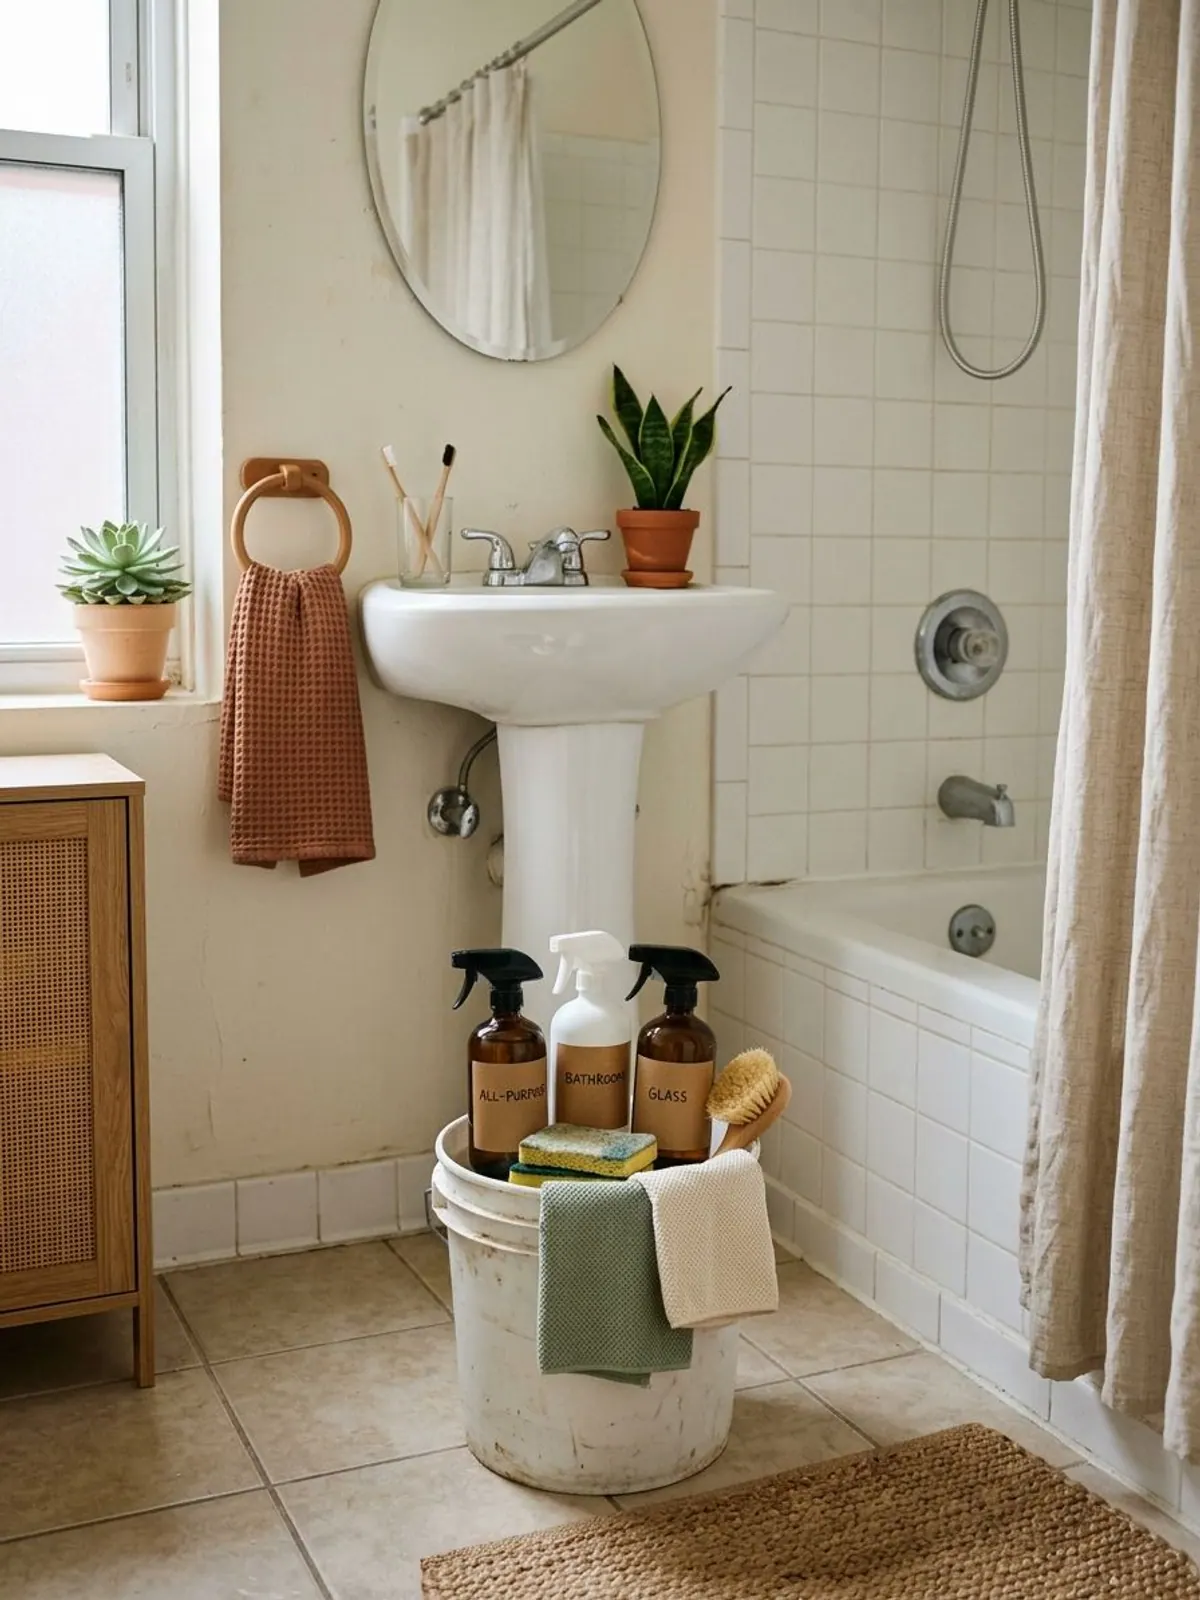
Clean after the furniture is gone, since you cannot do the floors or the closets properly with a sofa in the way. Work from the top of each room to the bottom and from the back of the apartment to the door, so you never clean something twice.
Move-out cleaning order
If you want the day-to-day habit that keeps this short, our small apartment cleaning schedule is a good one. Never mix bleach with ammonia or vinegar, because it makes dangerous fumes. Open a window while you work and read each label.
Then photograph every room with the date, close-ups of the oven, the tub and the floors, and the inside of closets. Put the keys back the way your landlord asks, ask for a written receipt or a note, and take a photo of that too.
After the move: first week and your deposit
In the new place, do the first-hour walk-through before you unpack: test the faucets, outlets, alarms and locks, and photograph every room. Email the photos to your landlord the same day and keep the reply. Then log any repair requests with the date.
For the deposit from the old place, ask how and when it will be returned and put the forwarding address in the same message. Deadlines and what may be deducted vary by state and city, so check your lease and local rules, and if you get a list of charges, compare it with your photos before you answer.
This is where the paid kit earns its $6: a photo log, the room-by-room condition report, a move-out timeline, a move-in versus move-out comparison sheet and a deduction review page, all in one 16-page PDF in US Letter, A4 and a low-ink version. It is a documentation tool, so it cannot promise a refund. If you also need the layout, declutter and hosting planners, the Renter Apartment Planner Bundle ($17) holds the deposit kit plus three more planners that cost $32 bought one at a time.
Your first 30 days in the new apartment
Unpack the kitchen and bathroom first, make the bed, and leave the rest of the boxes for the weekend. Once a space is working, our studio apartment ideas and no-drill curtain methods help you make it yours without damage.
Moving supplies for renters
Product types used above. We have not tested these hands-on. See our disclosure.
Supplies for a rental move
- Start here
Heavy-duty packing tape with dispenser
Typically $10 to $20
Seals boxes that will be stacked and carried.
Check price on Amazon for Heavy-duty packing tape with dispenser -
Moving boxes assorted sizes
Typically $30 to $70
Small boxes for books, larger ones for linens.
Check price on Amazon for Moving boxes assorted sizes -
Thick permanent markers
Typically $8 to $15
Room names on two sides of every box.
Check price on Amazon for Thick permanent markers -
Felt furniture sliders and corner guards
Typically $10 to $25
Lets you slide heavy pieces without scratching floors.
Check price on Amazon for Felt furniture sliders and corner guards -
Lightweight spackle and putty knife
Typically $8 to $18
For small nail holes, if your lease allows patching.
Check price on Amazon for Lightweight spackle and putty knife -
Microfiber cleaning cloths
Typically $10 to $20
Wipes most surfaces with water alone.
Check price on Amazon for Microfiber cleaning cloths
Frequently asked questions
How early should you start a moving checklist as a renter?
Start about 8 weeks before the date your keys are due. That gives you time to give notice as your lease asks, book movers, sort and pack at a calm pace and plan the cleaning. A shorter move can fit the same list with weeks combined.
What should be on a moving out of apartment checklist?
Written notice to your landlord, utility stop dates, a change of address, your forwarding address sent in writing, packing, small repairs if your lease allows them, a room-by-room cleaning list, dated photos and a key return receipt.
How do renters protect their security deposit when moving?
Keep dated photos from move-in and move-out, send your forwarding address in writing, follow the lease's move-out terms and clean to the standard it describes. Rules and deadlines vary by state and city, so check yours.
What do you need to change your address when moving?
Start with the post office, then your bank, insurer, employer, subscriptions and any government accounts you use. Schedule it about 4 weeks out so mail follows you.
Is there a free printable for this moving checklist?
The timeline on this page is free to read and copy by hand. The printable version of the deposit steps is the Move Out Cleaning Checklist + Move-In Inspection Kit, a paid 16-page PDF at $6.
Save it for later
Pin this to your Small-Space Living board so it's there when you need it.
Save to Pinterest