This post contains affiliate links. As an Amazon Associate we earn from qualifying purchases, at no extra cost to you. Read our disclosure.
Key takeaways
- Space clips 6 to 8 in for sheers, 4 to 6 in for linen and 3 to 4 in for lined or blackout panels.
- Rings: panel width divided by the spacing, plus one. A 54 in linen panel at 5 in takes 12.
- Clip ends first, then the center, then fill in evenly.
- Put one ring outside each bracket so the outer edge stays put.
- Clip rings work on a tension rod for light panels only.
In this post9 sections
- What you need before you start
- How many clip rings per curtain panel
- Which curtains work with clip rings (by header type)
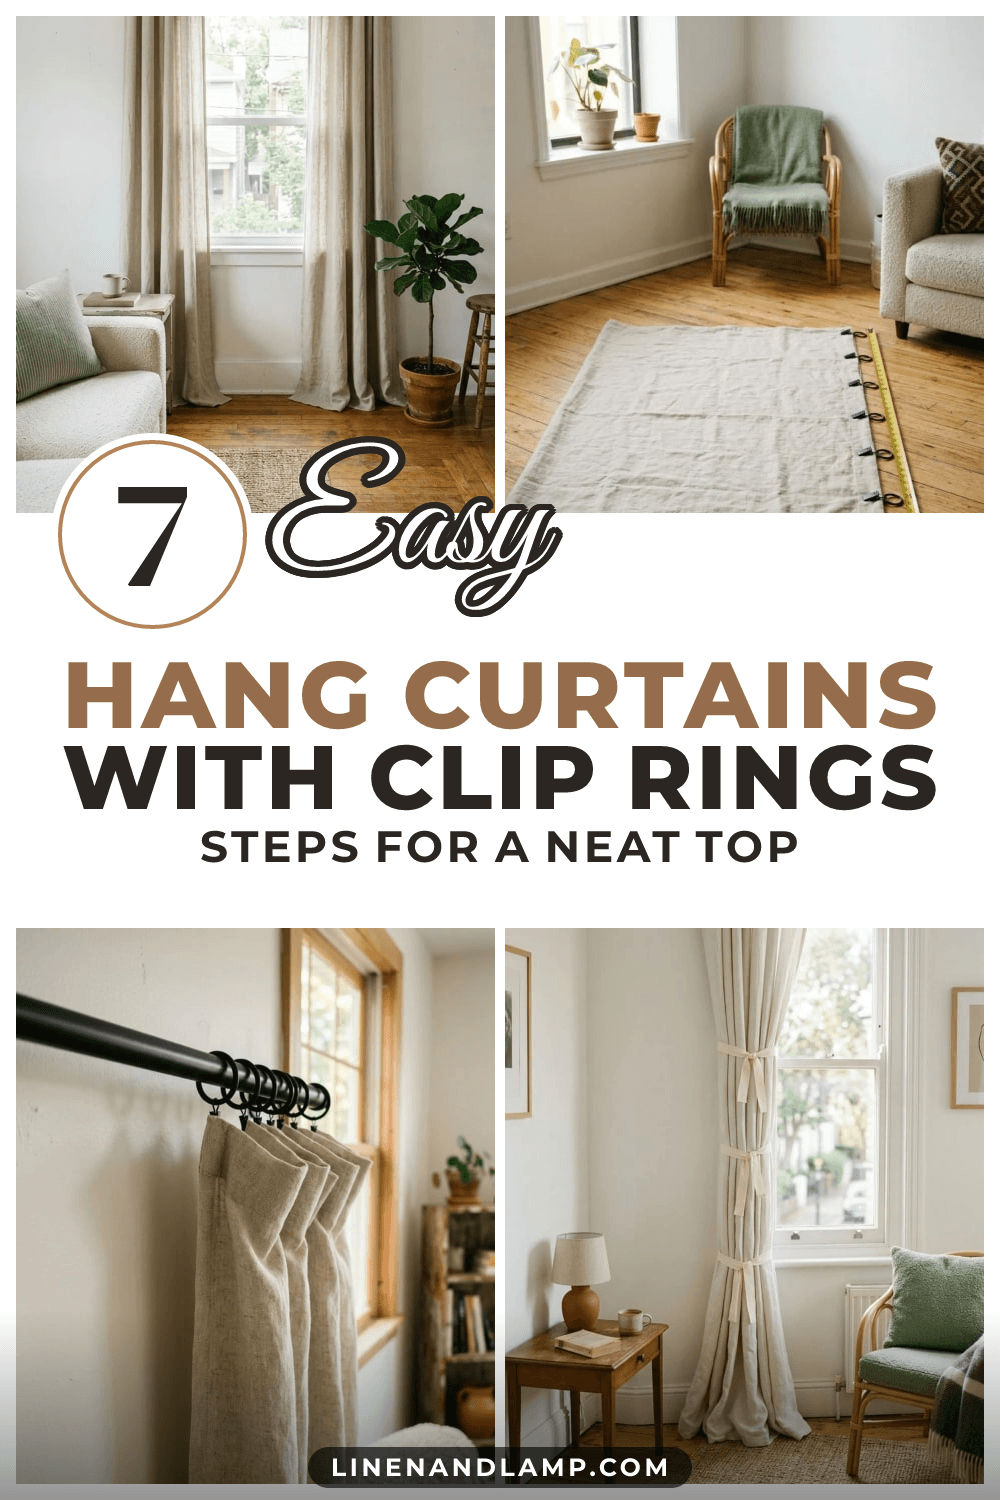
- How to hang curtains with clip rings in 7 steps
- Mistakes that make clip ring curtains sag
- Variations: renters, cafe curtains and drop cloths
- Example: one 36 inch window, two linen panels
- Shop the clip ring curtain list
- FAQ
What you need before you start
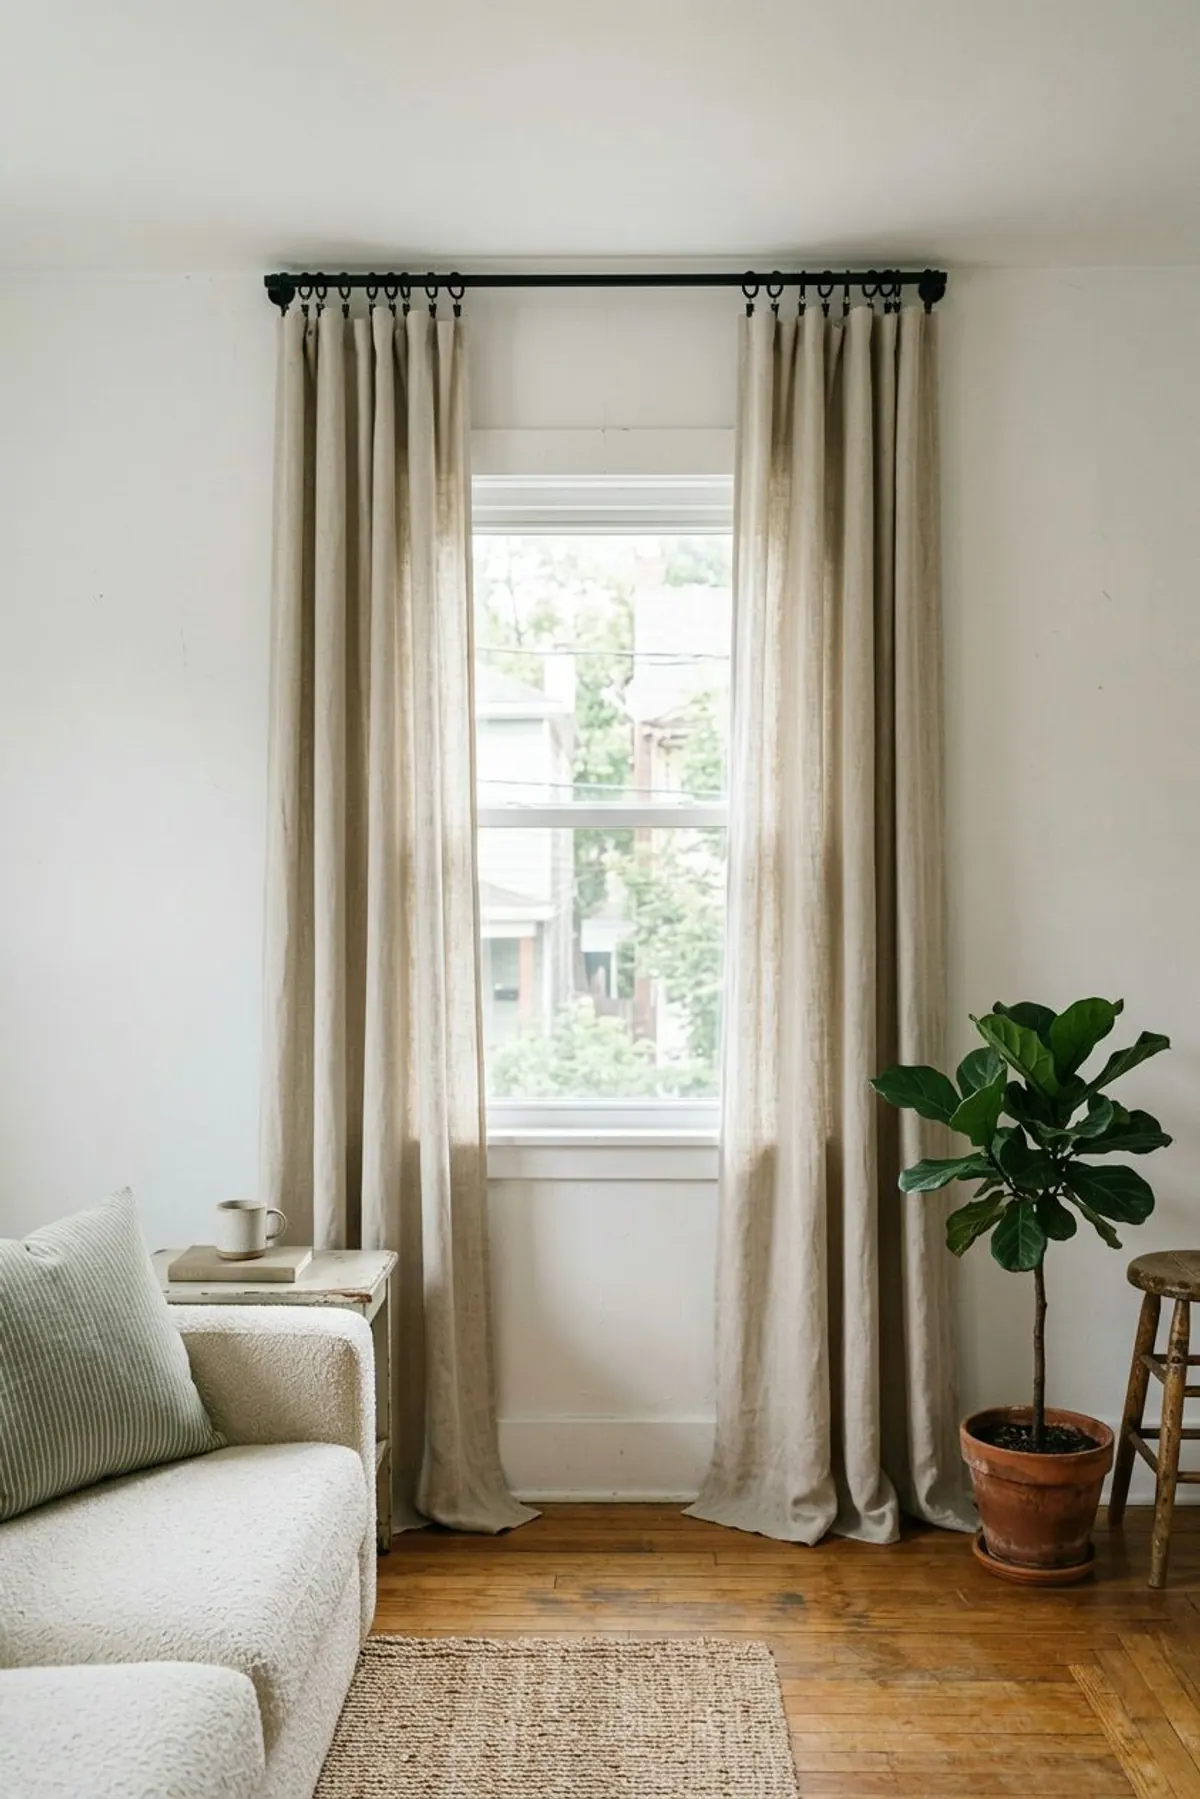
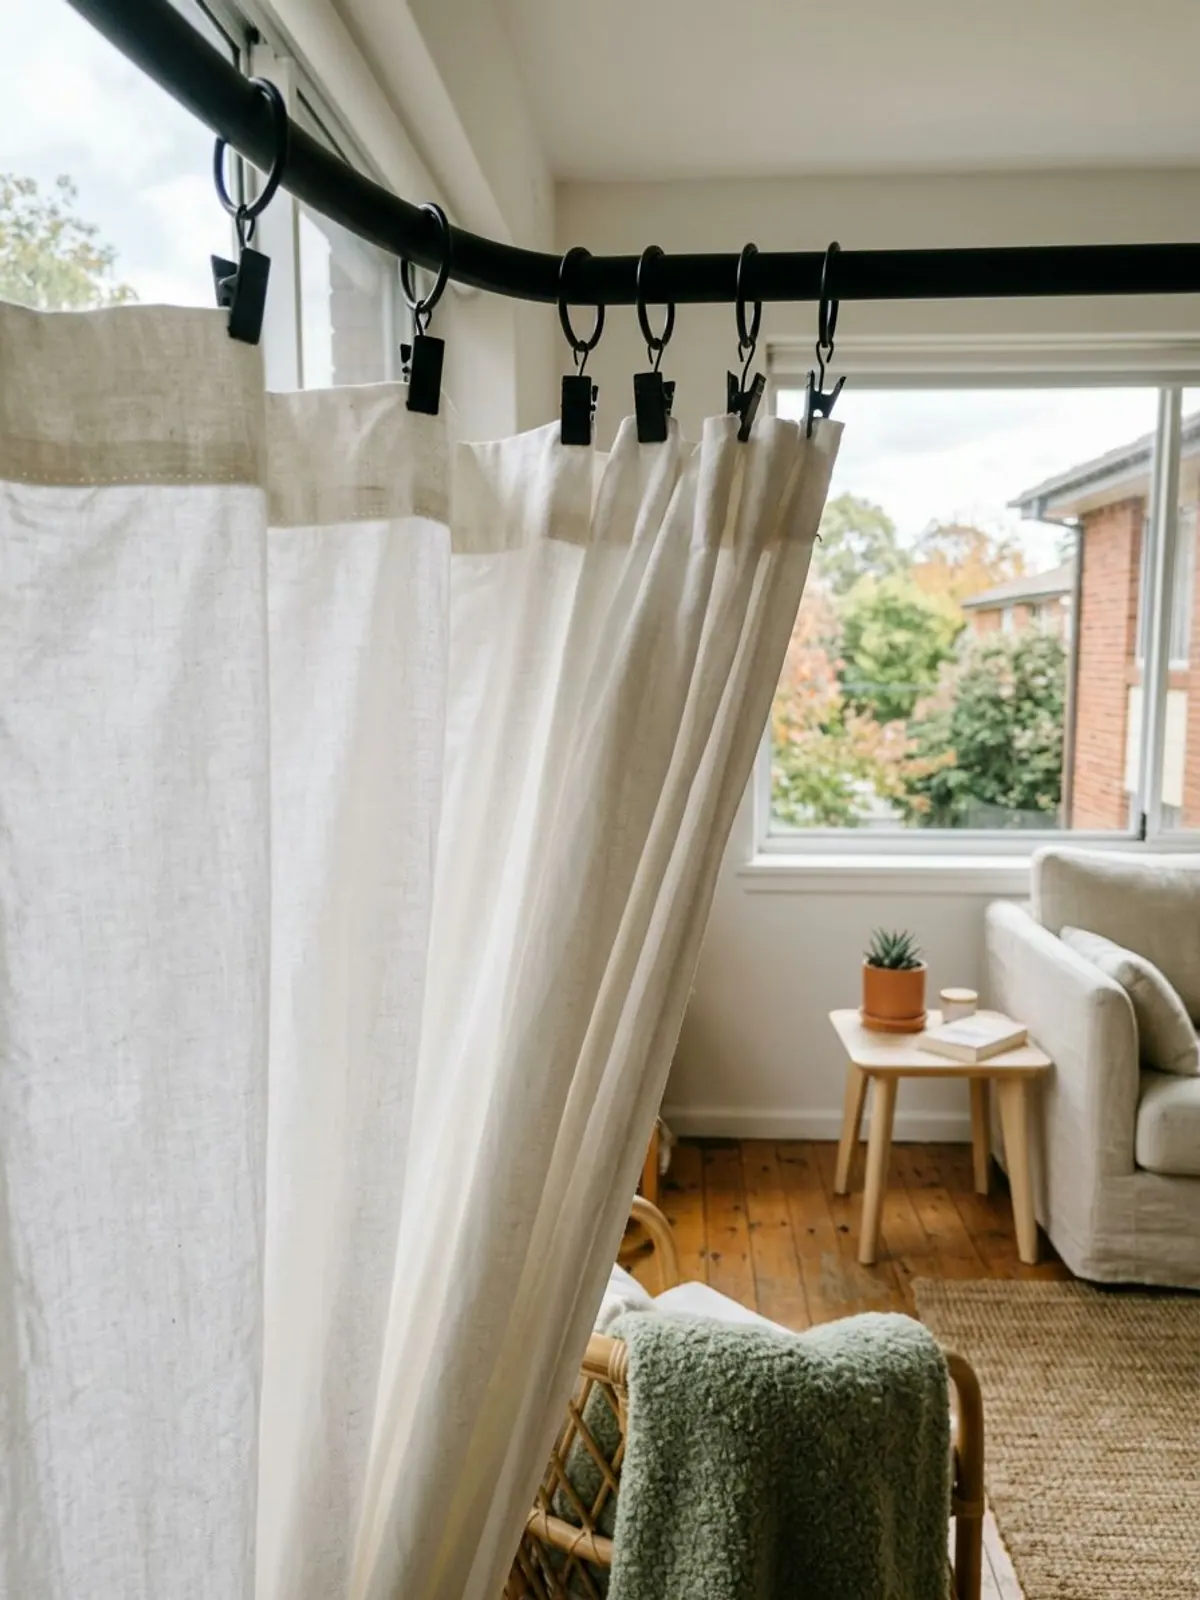
Clip rings are rings with a small spring clip hanging from each one. They turn almost any flat panel, drop cloth or tablecloth into a curtain, and they let you raise or lower the hem an inch just by clipping higher or lower.
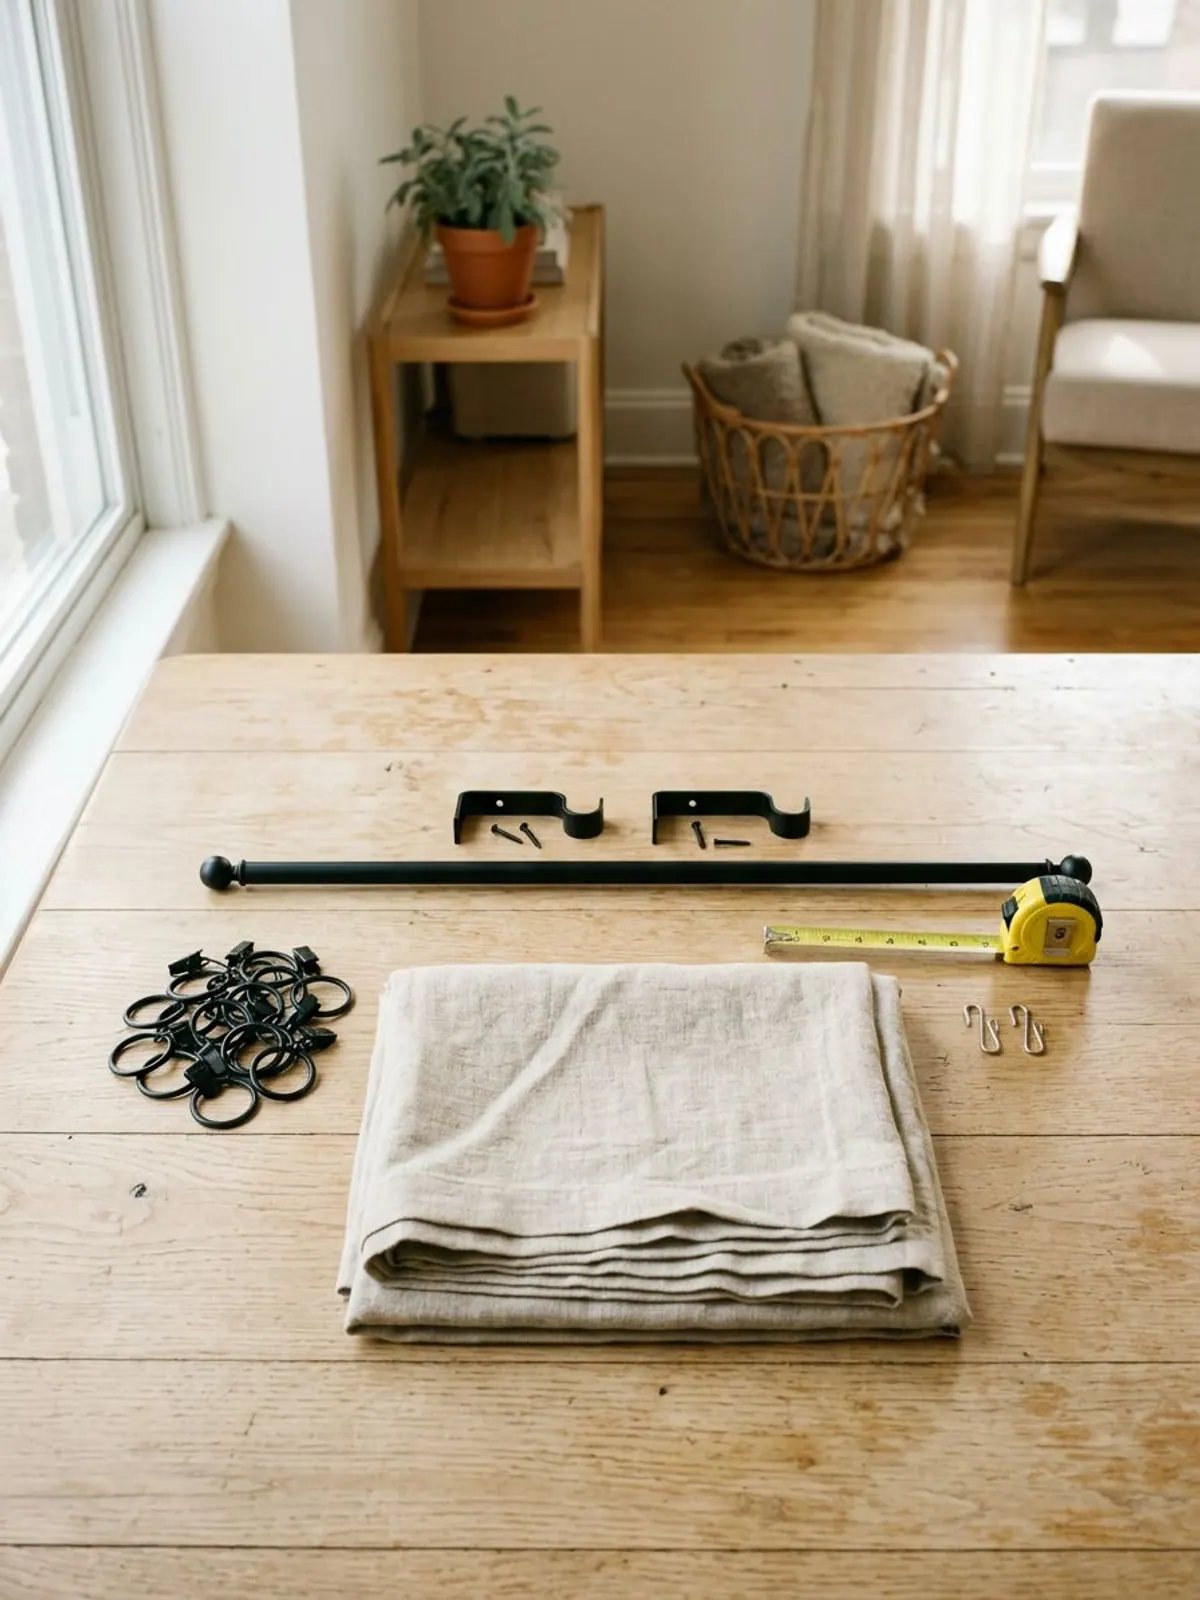
Supplies for hanging curtains with clip rings
How many clip rings per curtain panel
The answer depends on the fabric weight. Heavier fabric droops between clips, so it needs them closer together. Start with one clip at each outer edge, then space the rest evenly.
| Fabric | Spacing between clips | Rings for a 54 in panel | Rings for a 100 in panel |
|---|---|---|---|
| Sheer or light cotton | 6 to 8 in | 8 to 10 | 14 to 18 |
| Medium: linen, cotton canvas, drop cloth | 4 to 6 in | 10 to 15 | 18 to 26 |
| Heavy: lined, blackout, velvet | 3 to 4 in | 15 to 19 | 26 to 34 |
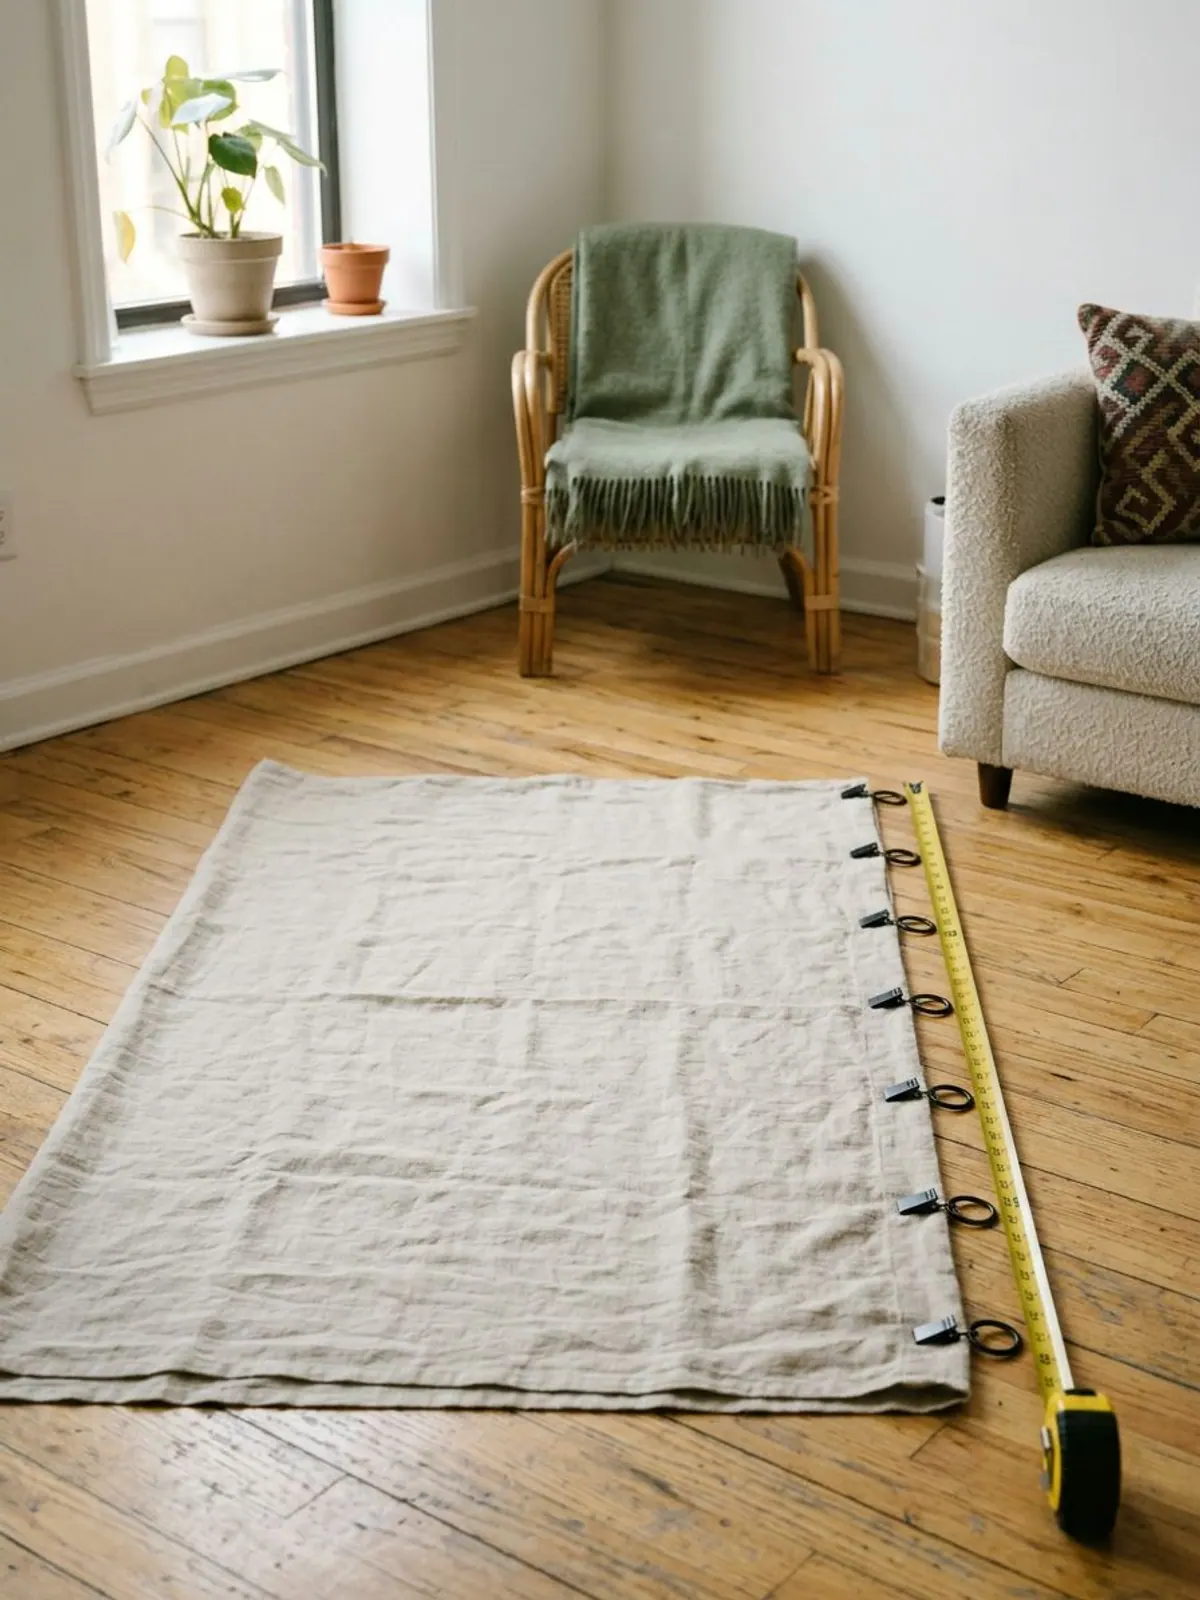
The math is simple: divide the panel width by the spacing, then add one. A 54 inch linen panel at 5 inches is 54 / 5 = about 11 gaps, so 12 rings. Some guides use 3 to 4 rings per foot of panel width for a fuller, more tailored look, which lands at the closer end of each range.
Most clip rings sell in packs of 7, 14, 20 or 28. For two medium panels you usually need two packs of 14.
Which curtains work with clip rings (by header type)
| Curtain header | Where the clip goes | Notes |
|---|---|---|
| Flat panel, drop cloth or tablecloth | Top edge, on the back | The easiest; any spacing works |
| Rod pocket | Back of the pocket, just below the stitching | The pocket folds flat and hides behind the clips |
| Back tab | Top edge, one clip at each tab | Tabs stay hidden at the back |
| Grommet | Top hem, one clip above each grommet | Works, but the grommet holes still show |
| Pinch pleat | Pin hook in each pleat, hooked to the ring's eyelet | Remove or ignore the clips; one ring per pleat plus each end |
Rod pocket curtains are the most common reason people switch to rings: a rod pocket bunches and will not slide. On rings, the same panel opens and closes with one pull.
Not sure about the rod height, width or panel length? Those rules are in our guide to how to hang curtains properly. This guide picks up once the rod is up.
Planning a whole room, not just the window? The free makeover planner has a measuring grid with space for every window, plus a renter rules page to check before you drill.
How to hang curtains with clip rings in 7 steps
-
Step 1: Measure the drop
Clip rings add drop between the rod and the top of the fabric, usually 1 to 2 1/2 inches depending on the ring and clip. Hang one ring on the rod and measure from the bottom of its clip to the floor. That is the panel length for a hem that just touches the floor.
-
Step 2: Count the rings
Use the table above: panel width divided by the spacing, plus one. Add one more ring per panel if you plan to put the end ring outside the bracket (step 6).
-
Step 3: Press the top edge
Iron or steam the top 4 inches of each panel. Clips grip a flat edge evenly, and wrinkles at the top show more on rings than on a rod pocket.
-
Step 4: Clip the ends, then the middle, then fill in
Lay the panel face down. Clip the two outer corners about 1/2 inch in from each edge, then the exact center, then the middle of each half. Fill in the rest so every gap matches. A strip of cardboard cut to your spacing makes this quick.
-
Step 5: Hide the clips
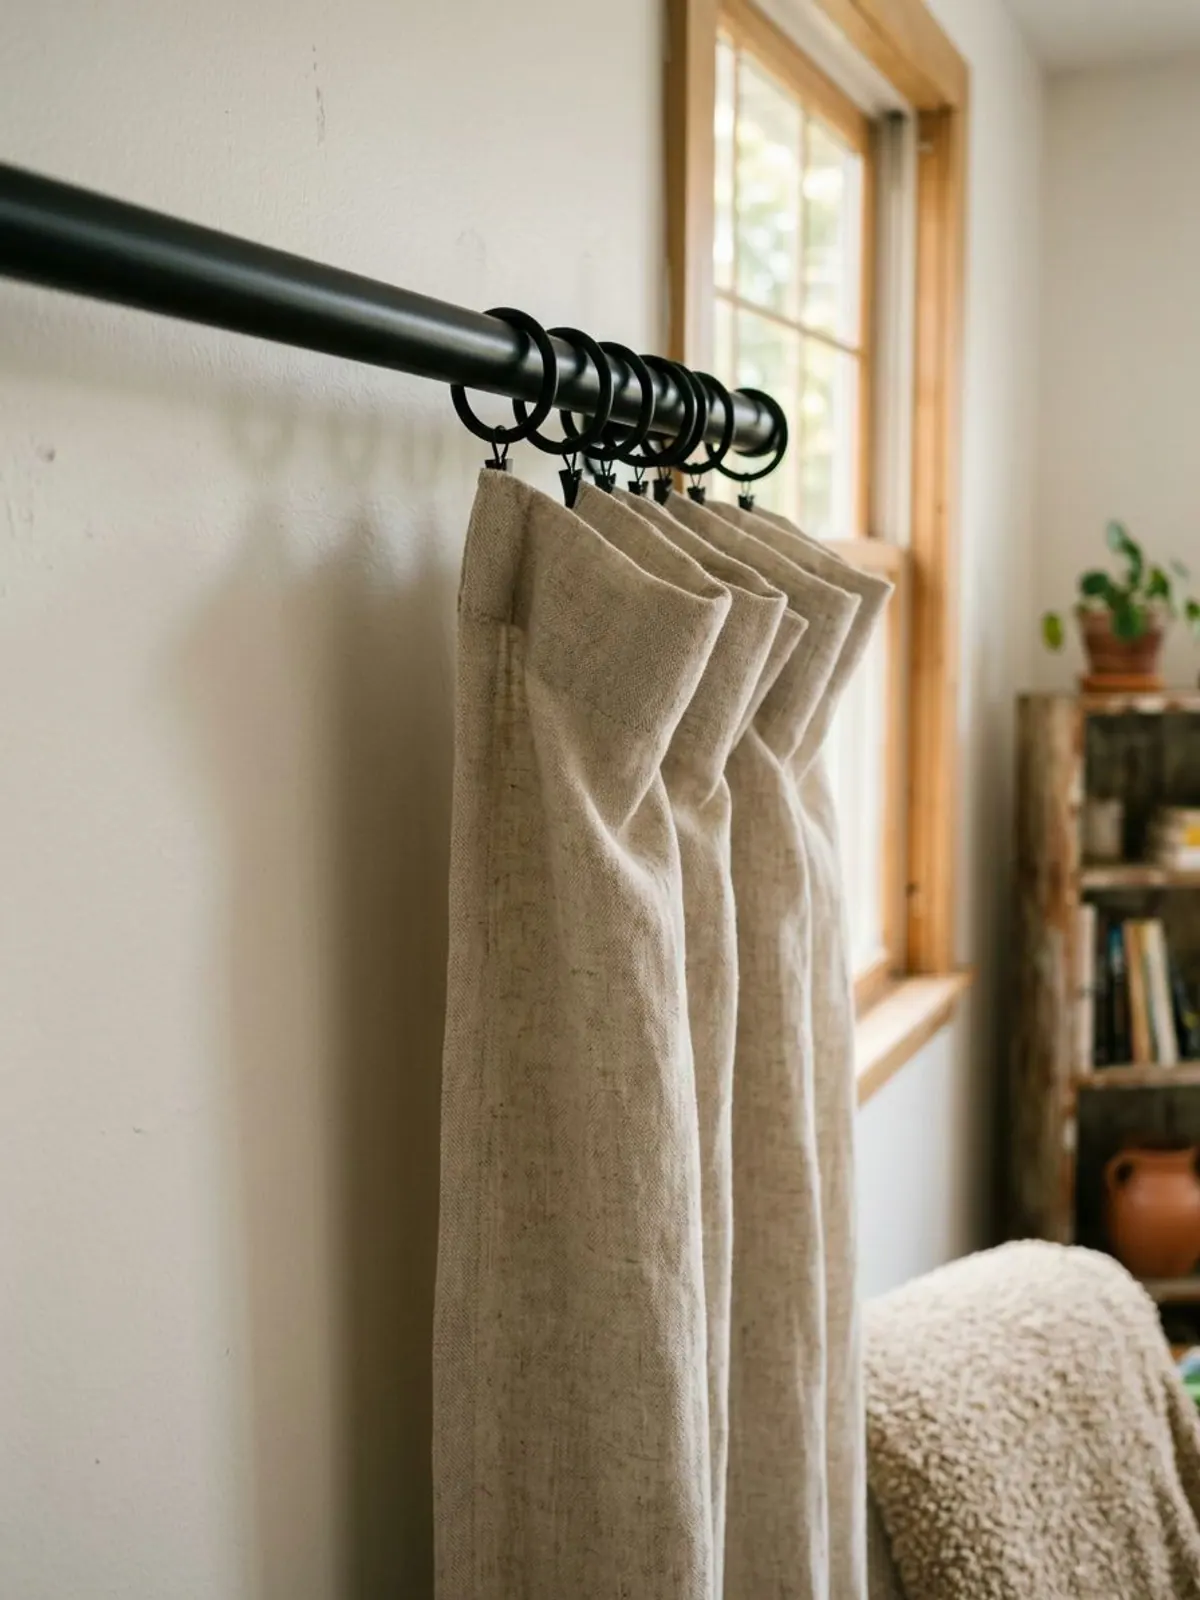
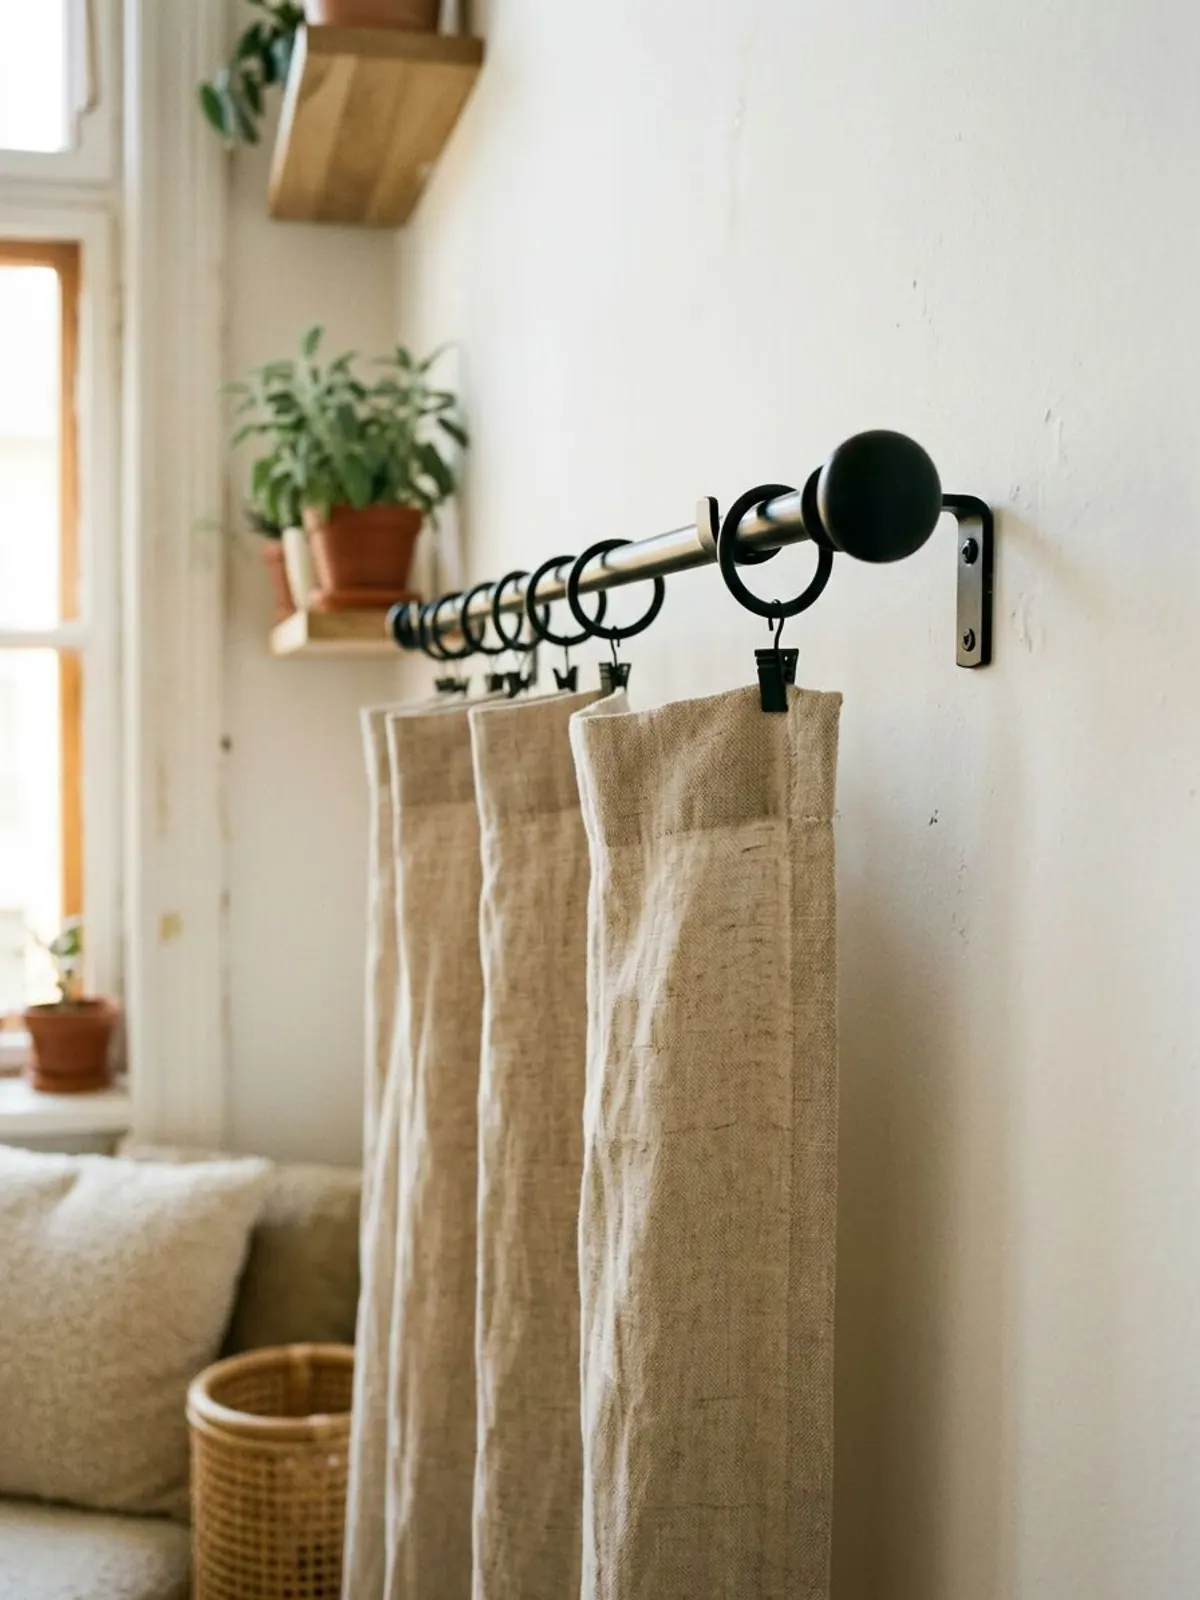
For a clean front, clip the back of the fabric about 1 inch below the top edge instead of right on the edge. The top folds forward over the clip, so from the room you see fabric, not hardware.
-
Step 6: Slide the rings on, with one outside the bracket
Take one end of the rod off its bracket, slide all the rings on, then put the last ring of each panel on the rod between the bracket and the finial. That end ring holds the outer edge in place, so the panel does not creep toward the middle.
-
Step 7: Hang, adjust and train the folds
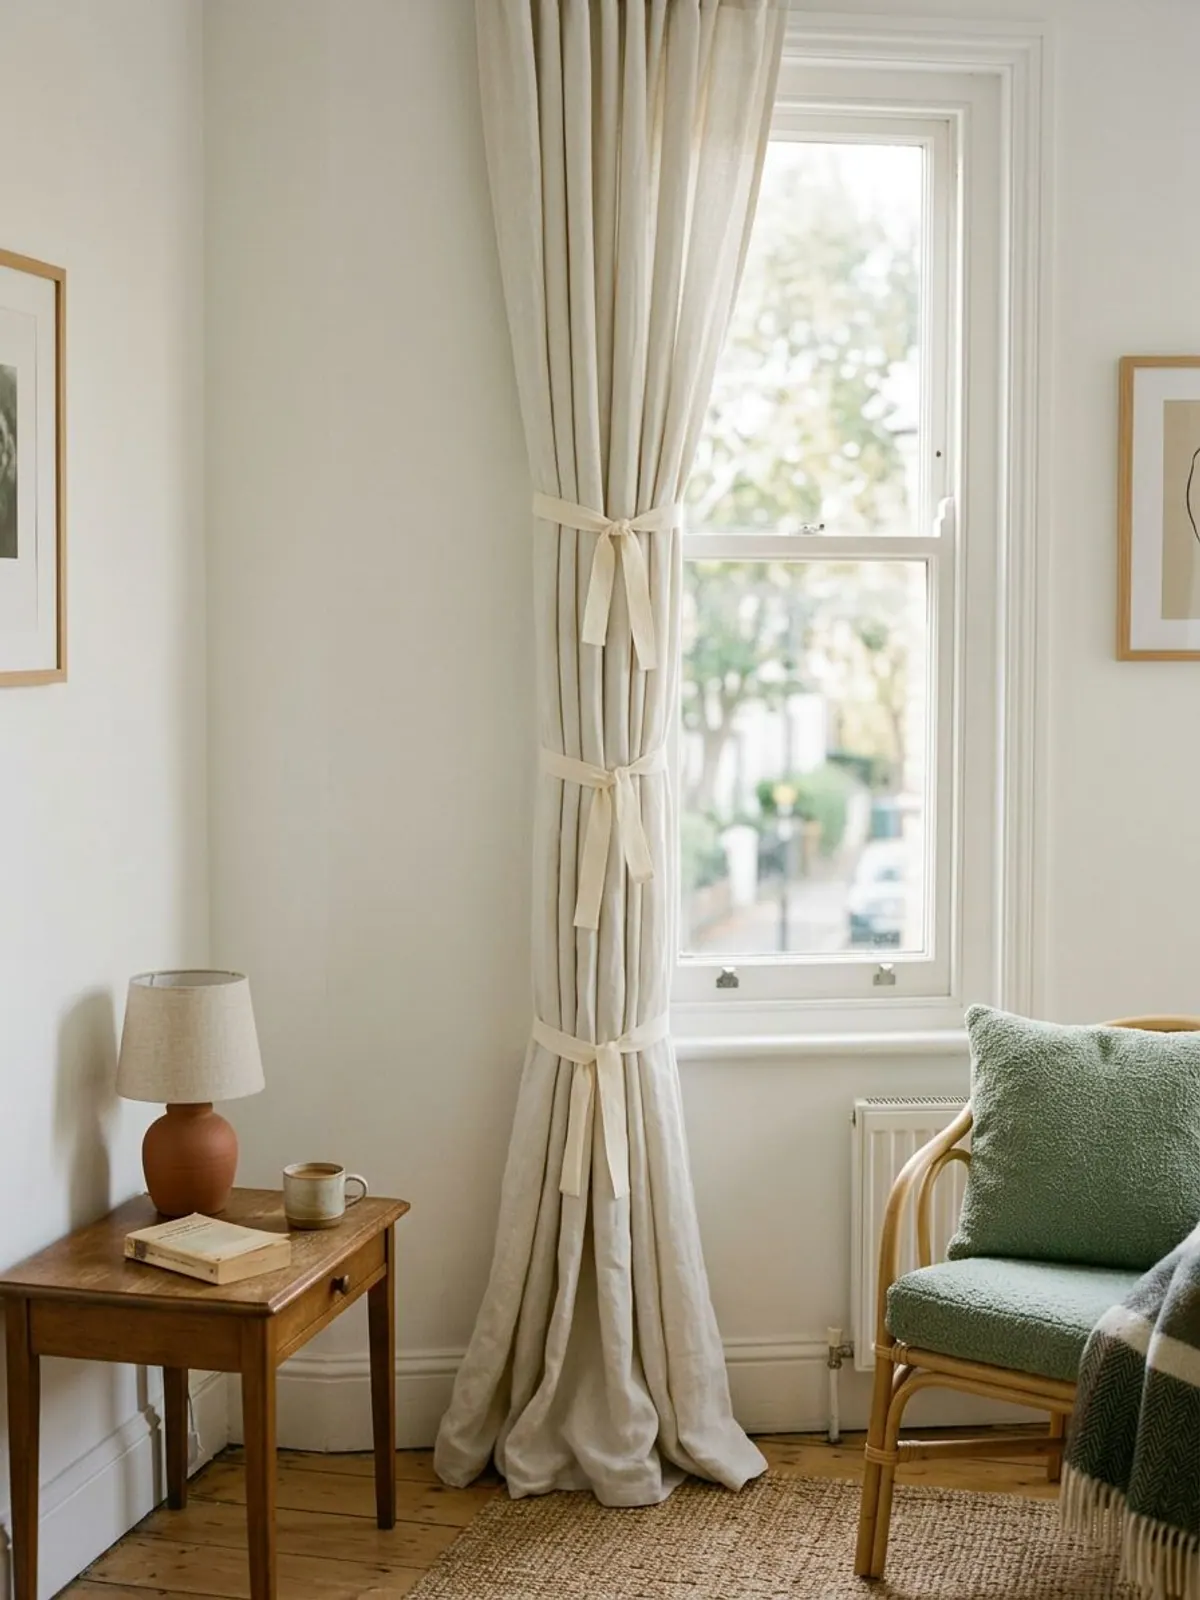
Put the rod back up and check the hem. Too long or too short by an inch? Move every clip up or down the same amount. Then pull the open panel into even folds and tie it loosely with fabric strips at three heights for 2 to 3 days; the folds stay neat after that.
Mistakes that make clip ring curtains sag
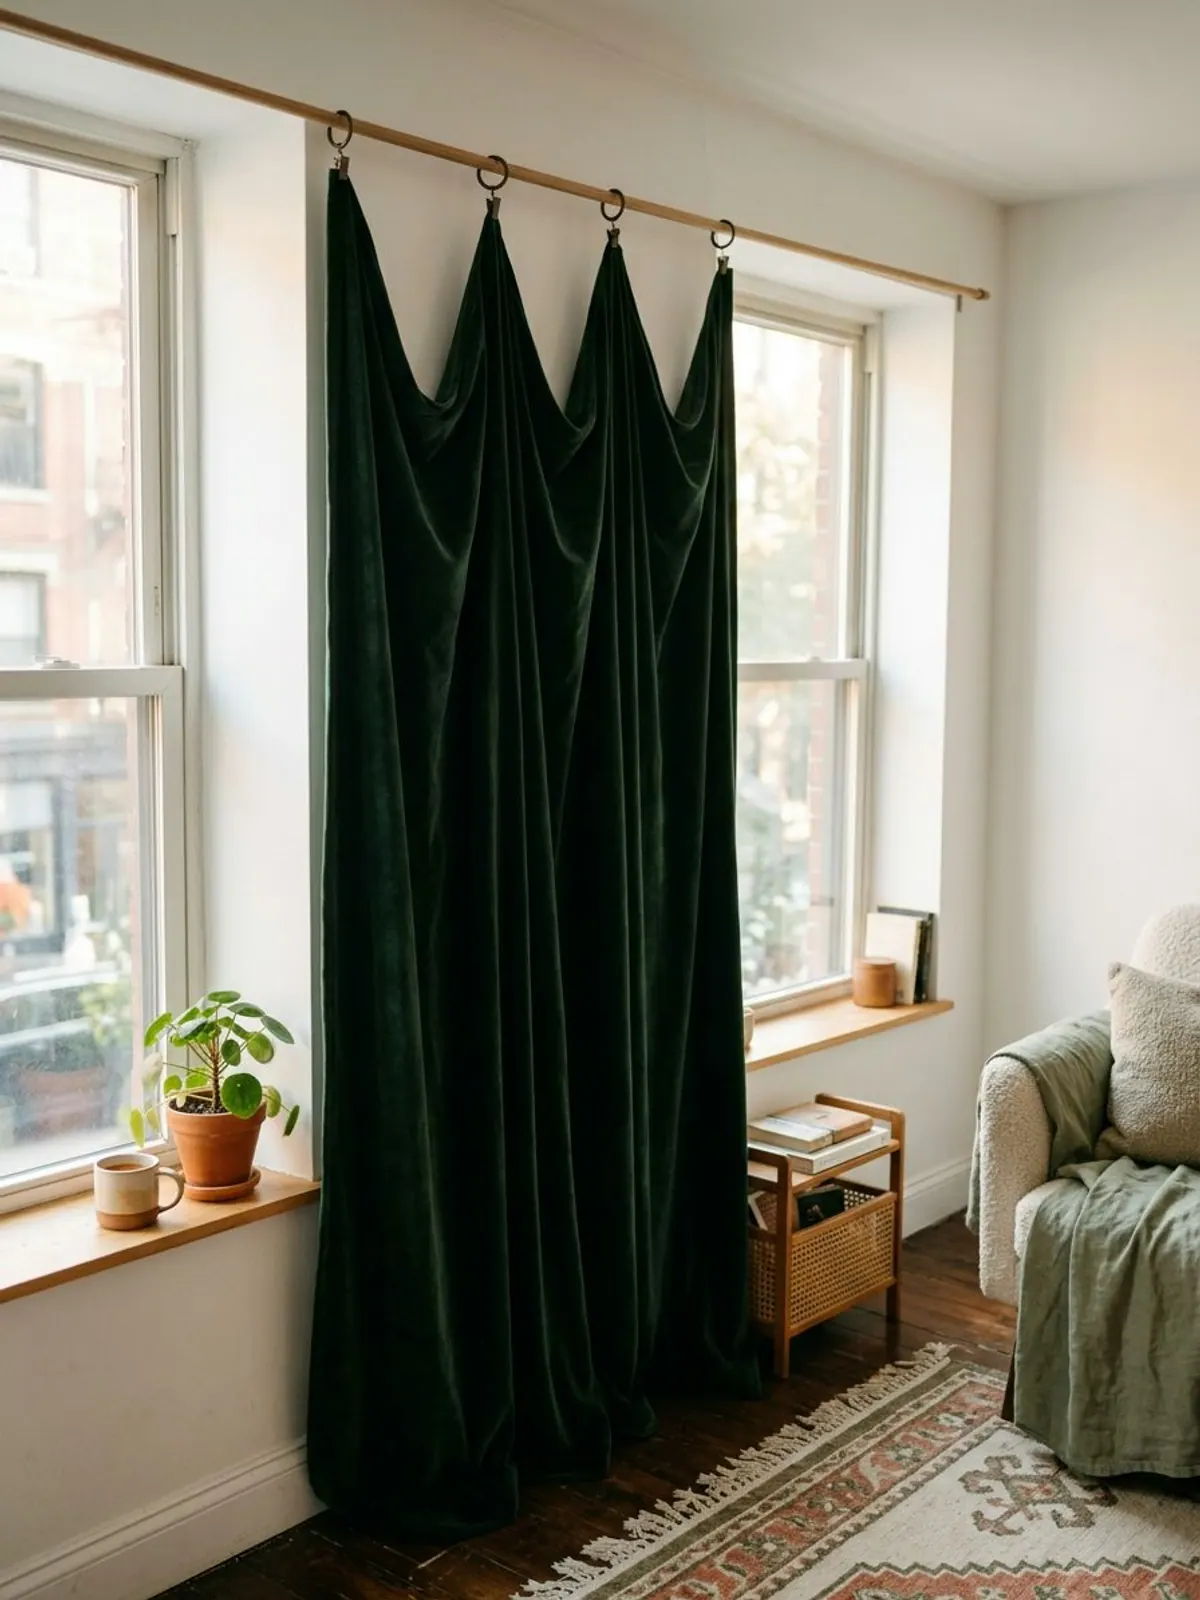
Do this
- Clips 3 to 4 in apart on heavy or blackout panels
- Rings at least 1/2 in bigger inside than the rod
- One end ring outside each bracket
- Clips on the back, about 1 in below the top edge
- Drop measured from the clip, not the rod
Not this
- Clips 8 in or more apart on a heavy panel, so it swags between them
- Rings that barely fit the rod and stick at every bracket
- All rings between the brackets, so the outer edge drifts in
- Clips on the front edge where every one shows
- A heavy lined panel on a thin tension rod
The tension rod one is the most common renter mistake. Tension rods are made for light fabric; a lined panel plus 20 rings can pull one down, especially in a wide window.
Variations: renters, cafe curtains and drop cloths
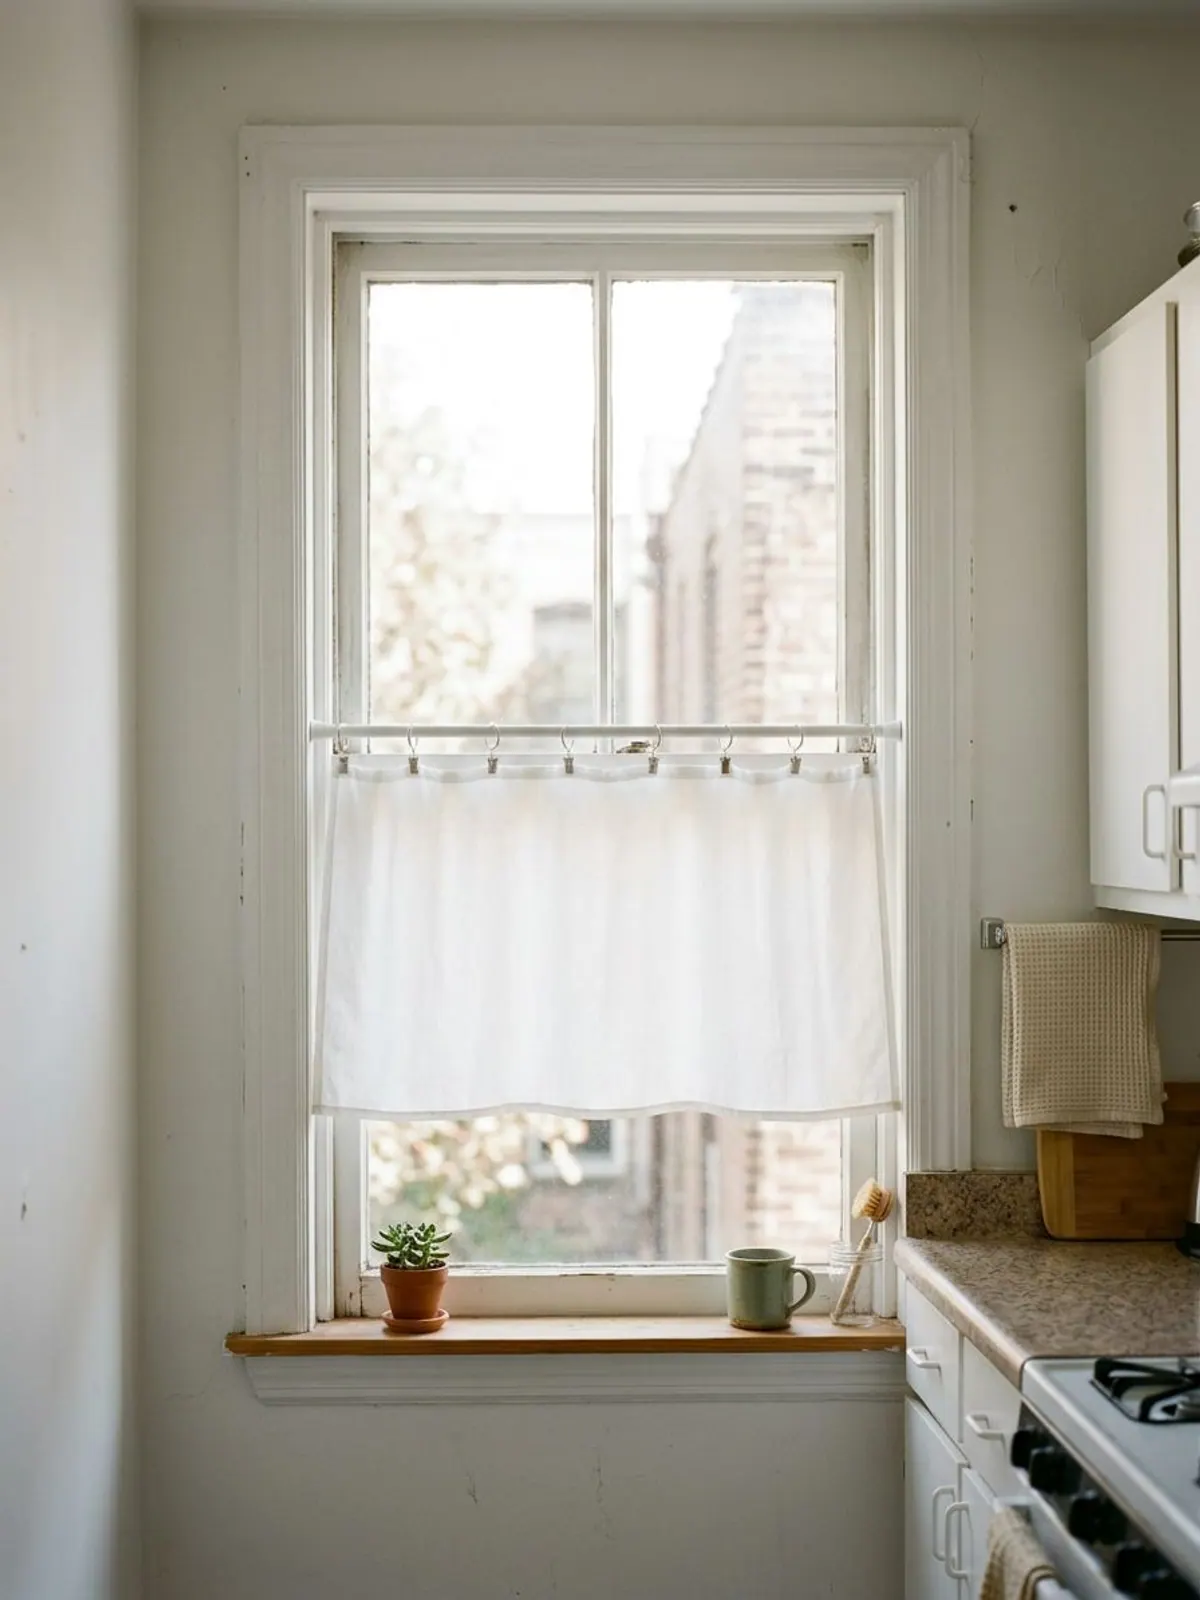
Renters: clip rings on a tension rod.
A tension rod inside the window frame holds a light panel on clip rings with zero holes. Choose rings that clear the thicker section of the rod, since most adjustable rods have a fat tube and a thin one. For full-length panels hung high, use no-drill brackets instead; our no-drill curtain guide compares five methods.
Cafe curtains.
A short panel on clips across the lower half of a kitchen or bathroom window gives privacy and keeps the light. Light cotton or linen at 6 to 8 inch spacing is enough.
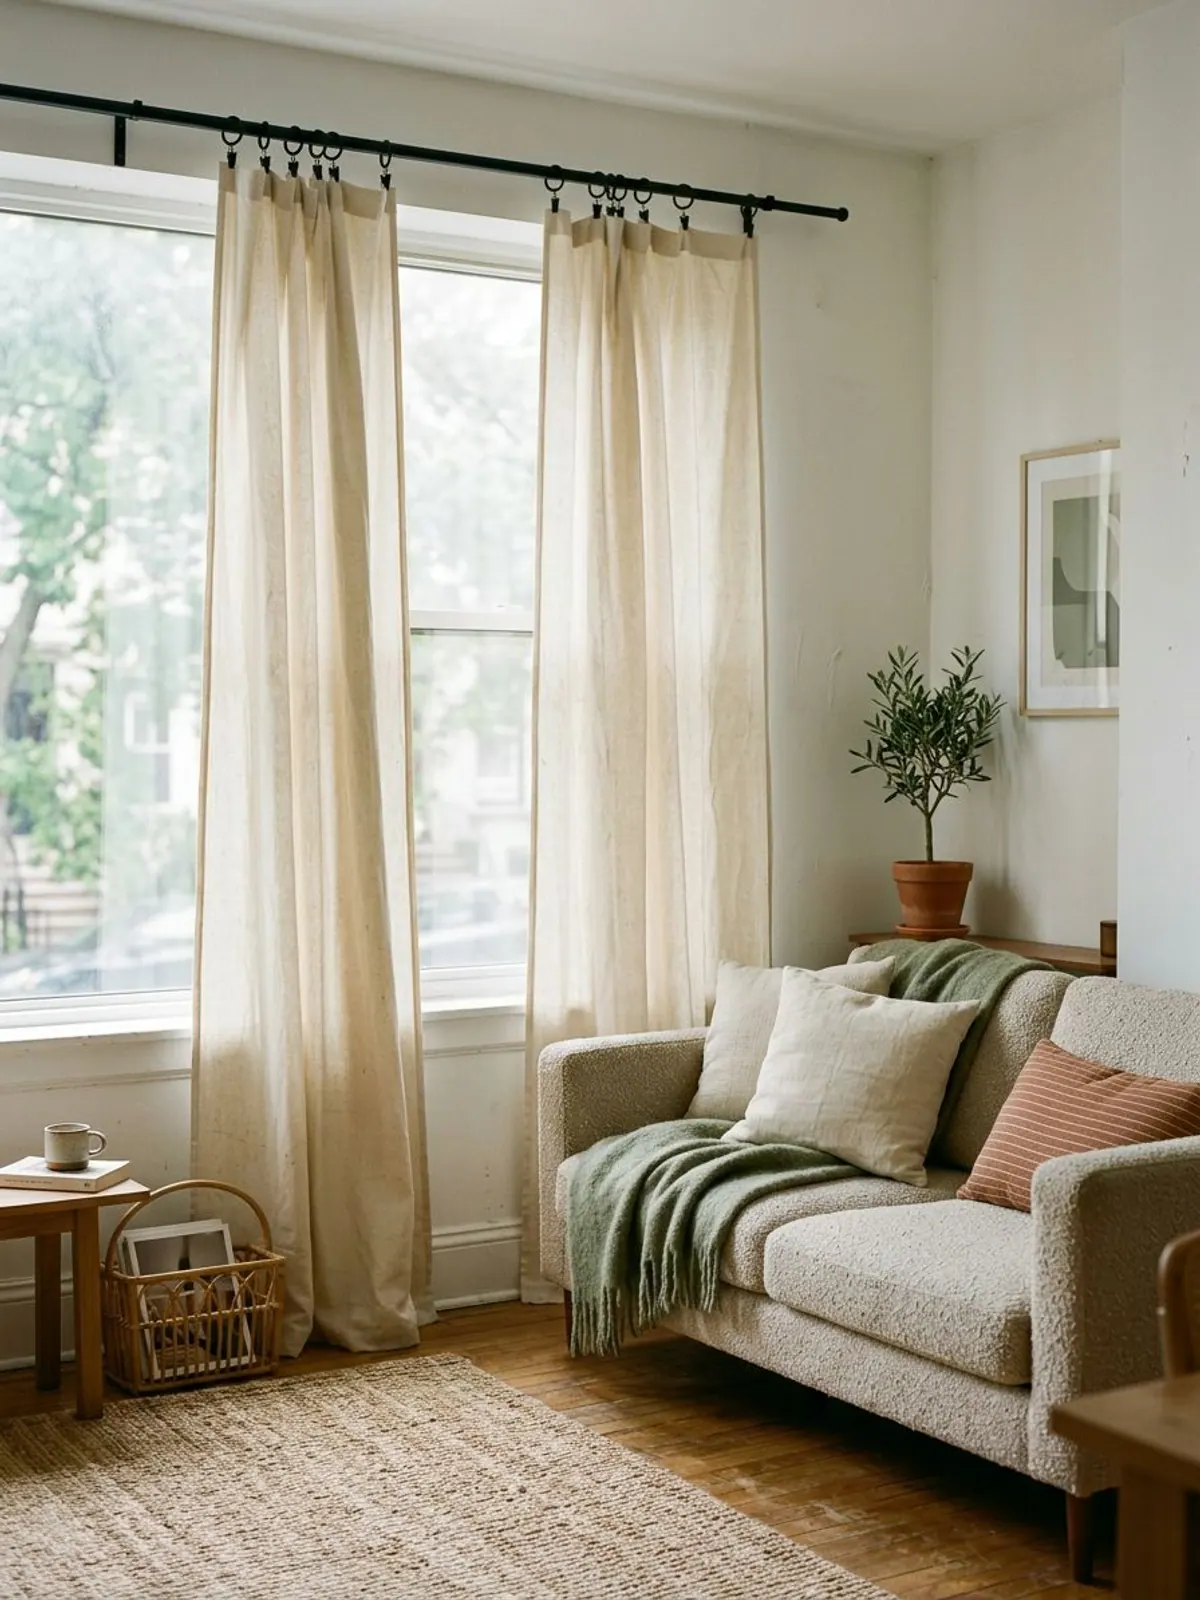
Drop cloth curtains.
Canvas painter's drop cloths are a budget favorite for curtains. They are heavier than they look, so treat them as medium to heavy: clips every 4 to 5 inches, and wash them first to soften the canvas and shrink them before you measure the length.
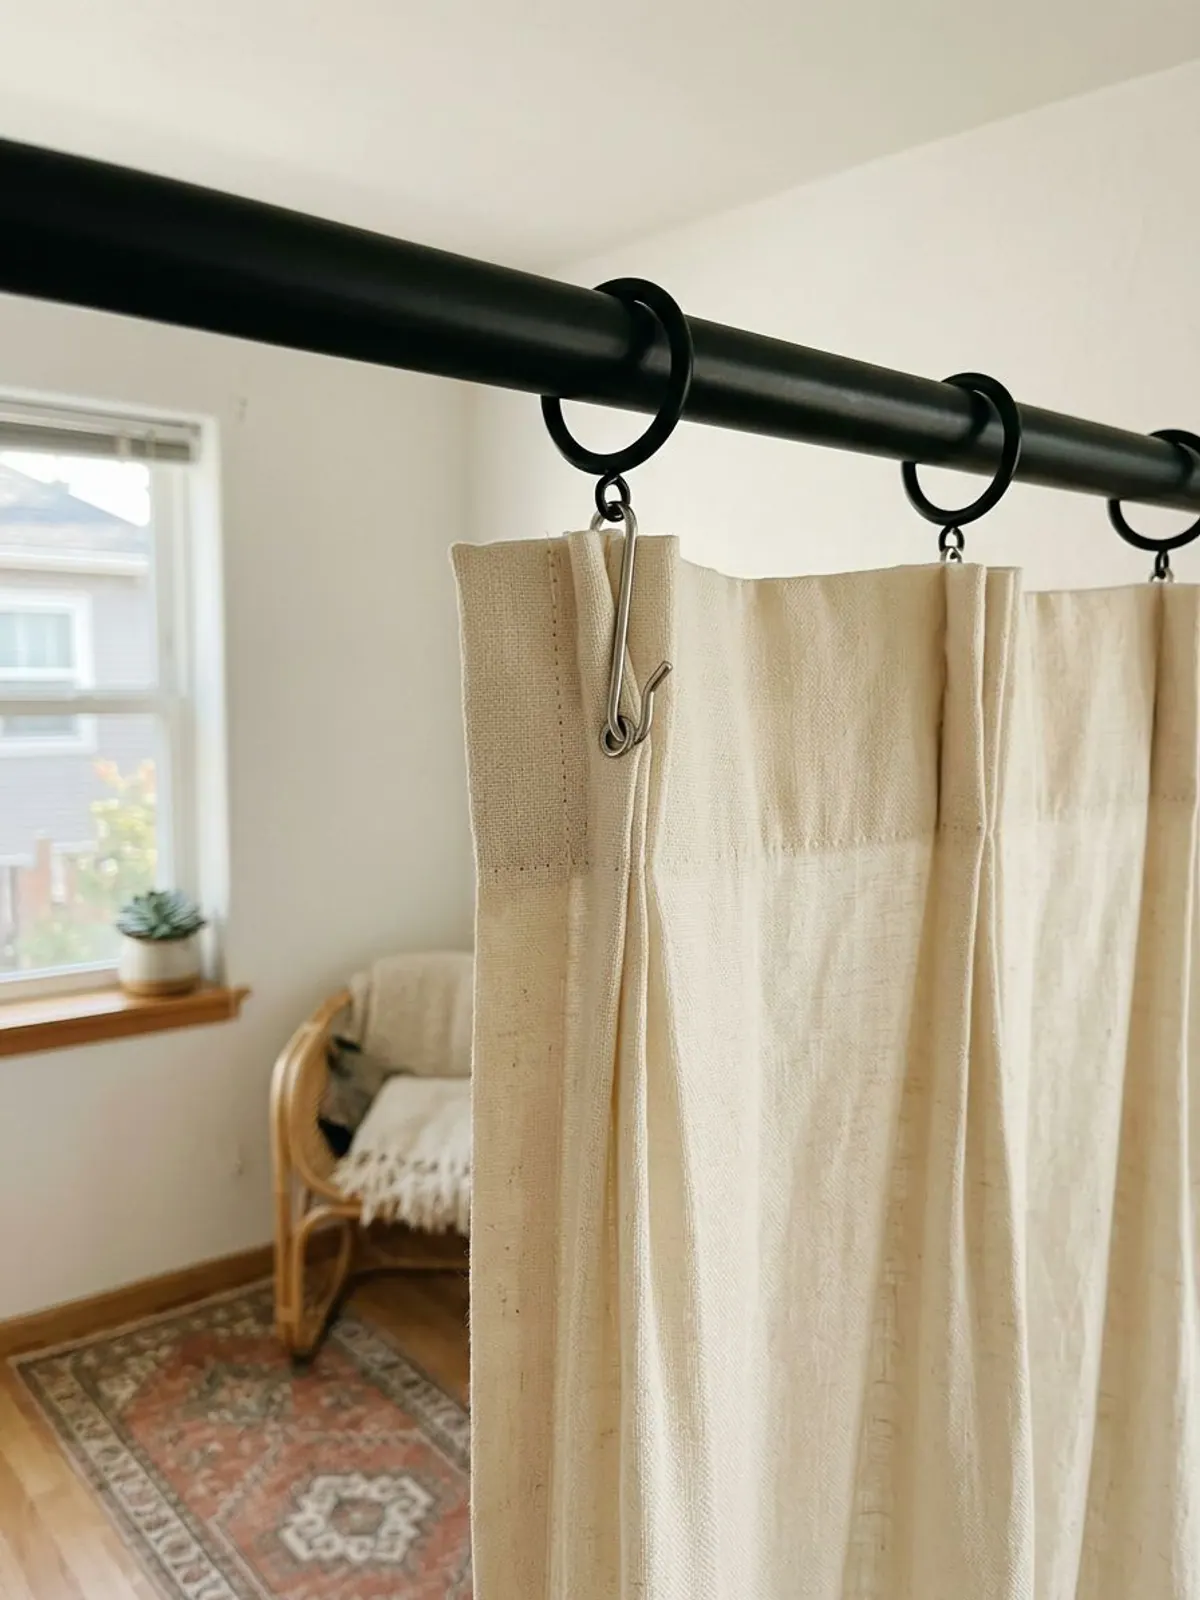
Pinch pleat curtains.
These already have their folds sewn in. Push a drapery pin hook into the back of each pleat and hook it into the eyelet at the bottom of the ring. Use one ring per pleat, plus one at each outer end.
Example: one 36 inch window, two linen panels
Here is a worked count. The window is 36 inches wide; with the rod extending 10 inches past the frame on each side, the span is 56 inches. Two 54 inch medium linen panels give about 1.9 times fullness.
| Item | Count | Typical cost |
|---|---|---|
| Clip rings at 5 in spacing | 12 per panel, 24 total, plus 2 end rings = 26 | 2 packs of 14: about $16 to $36 |
| 1 in curtain rod, 48 to 84 in | 1 | About $25 to $50 |
| Linen-look panels, 54 x 96 in | 2 | About $25 to $50 for 2 |
| Total | About $66 to $136 |
If you already have a rod, rings are the cheapest upgrade a curtain can get: often under $20 for a window.
Shop the clip ring curtain list
These are the product types used above. We have not tested specific models, and ring sizes vary, so compare the inside diameter with your rod. See our disclosure.
For hanging curtains with clip rings
- Start here
Curtain clip rings, 1.5 in inside diameter, 28 pack
Typically $12 to $25
Fits a 1 in rod with room to slide.
Check price on Amazon for Curtain clip rings, 1.5 in inside diameter, 28 pack -
Curtain clip rings with eyelets, 14 pack
Typically $8 to $18
The eyelet takes a pin hook for pinch pleats.
Check price on Amazon for Curtain clip rings with eyelets, 14 pack -
Drapery pin hooks
Typically $6 to $12 a pack
For pinch pleat panels.
Check price on Amazon for Drapery pin hooks -
Tension curtain rod
Typically $12 to $30
No holes; light panels and cafe curtains only.
Check price on Amazon for Tension curtain rod -
1 in adjustable curtain rod with brackets
Typically $25 to $50
Holds lined or drop cloth panels without bowing.
Check price on Amazon for 1 in adjustable curtain rod with brackets -
Canvas drop cloth, 6 x 9 ft
Typically $15 to $30
A budget curtain panel once washed.
Check price on Amazon for Canvas drop cloth, 6 x 9 ft
Planning every window in the apartment at once? The free makeover planner has a measuring grid and a shopping list with room for the rod size, ring count and panel length of each window.
Frequently asked questions
How many clip rings do I need per curtain panel?
Divide the panel width by the spacing and add one. For a 54 inch panel that is about 8 to 10 rings for sheers, 10 to 15 for linen or cotton, and 15 to 19 for lined or blackout fabric.
How far apart should curtain rings be?
About 6 to 8 inches for light fabric, 4 to 6 inches for medium fabric like linen, and 3 to 4 inches for heavy, lined or blackout panels, so the fabric does not droop between clips.
Can you use clip rings on rod pocket curtains?
Yes. Clip the back of the pocket just below the stitching. The pocket folds flat behind the clips, and the curtain slides open and closed instead of bunching on the rod.
How do you hide clip rings on curtains?
Clip the back of the fabric about 1 inch below the top edge instead of on the edge. The top folds forward over the clip, so only the rings show from the front.
Can you hang curtains with clip rings on a tension rod?
Yes for light panels and cafe curtains. Pick rings that clear the thicker section of the rod. Heavy lined panels need a mounted rod or no-drill brackets.
How do you hang pinch pleat curtains with clip rings?
Push a drapery pin hook into the back of each pleat and hook it into the eyelet at the bottom of the ring. Use one ring per pleat plus one at each end.
Save it for later
Pin this to your Renter-Friendly Decor board so it's there when you need it.
Save to Pinterest